


![[ New Arrival ] Porto Max Electric Scooter For Commute & Grocery Shopping - HOVSCO](http://www.hovsco.com/cdn/shop/files/PotroMax-3.jpg?v=1706927007&width=1200)
- by SteveJames
What Should You Check Before Stop-and-Go Commuting?
- by SteveJames
E-Bikes
Accessories
 Free Shipping
 15-Day Returns
 2-Year Warranty
Free Shipping
15-Day Returns
2-Year Warranty
2-Year Warranty
Free Shipping
15-Day Returns
2-Year Warranty
A short city commute is a series of stops: intersections, driveways, crosswalks, and parking transitions, each one demanding a controlled stop and a smooth restart. On that kind of route, fit and low-speed control matter more than maximum speed. The riding technique itself — mounting, braking, and turning — is taught in our how to ride an electric bike guide; this article covers the stop-and-go skills that make a short commute work.
A cruise along a quiet path asks for balance and comfort at speed. A stop-and-go commute asks for the same balance at near-zero speed, repeated dozens of times, often in traffic. The skills are related but not identical, and the stop-start version is the one that needs practice first.
A stop-and-go commute is won in the slow moments: mounting, parking, and restarting with control. Riders who master the foot-down stop, the stable restart, and the controlled turn at a driveway find the whole trip easier than riders who focus on top speed.
The repetition is what makes the skills matter: a 20-minute commute with 15 stops repeats those stops twice a day, hundreds of times a year. Each stop is a small test of the same fit and control checks, which is why getting them right early pays off on every single ride.
The stop-and-go skills also transfer to the bike's setup: a saddle that is too high or a handlebar that is too far changes every stop. Fit the bike to the stop, not the other way around, and the rest of the commute follows.
Before the first real commute, confirm the bike works with the rider at every stop. The table below lists the controls that decide stop-and-go comfort.
| Control | Why it matters |
|---|---|
| Brake reach | Lever within reach without stretching, even with gloves |
| Foot-down | Both feet can reach the ground at a stop |
| Low-speed balance | Stable at walking pace in tight spaces |
| Restart | Smooth acceleration from a standstill |
| Visibility | Clear view forward and easy shoulder checks |
The five controls are connected: brake reach affects stopping, foot-down affects stability, stability affects restart, and visibility affects every decision in traffic. A weakness in one shows up in all the others, so the checks should be done as a set, not one at a time.
If any control requires a stretch or a wobble, the fit needs adjustment before the bike is ready for traffic. Fit problems do not resolve with practice.
Brake reach is the first fit check on a stop-and-go route: the levers should sit within easy reach so braking happens without shifting your grip. With gloves on, the reach changes, so test it in the gear you will actually ride in.
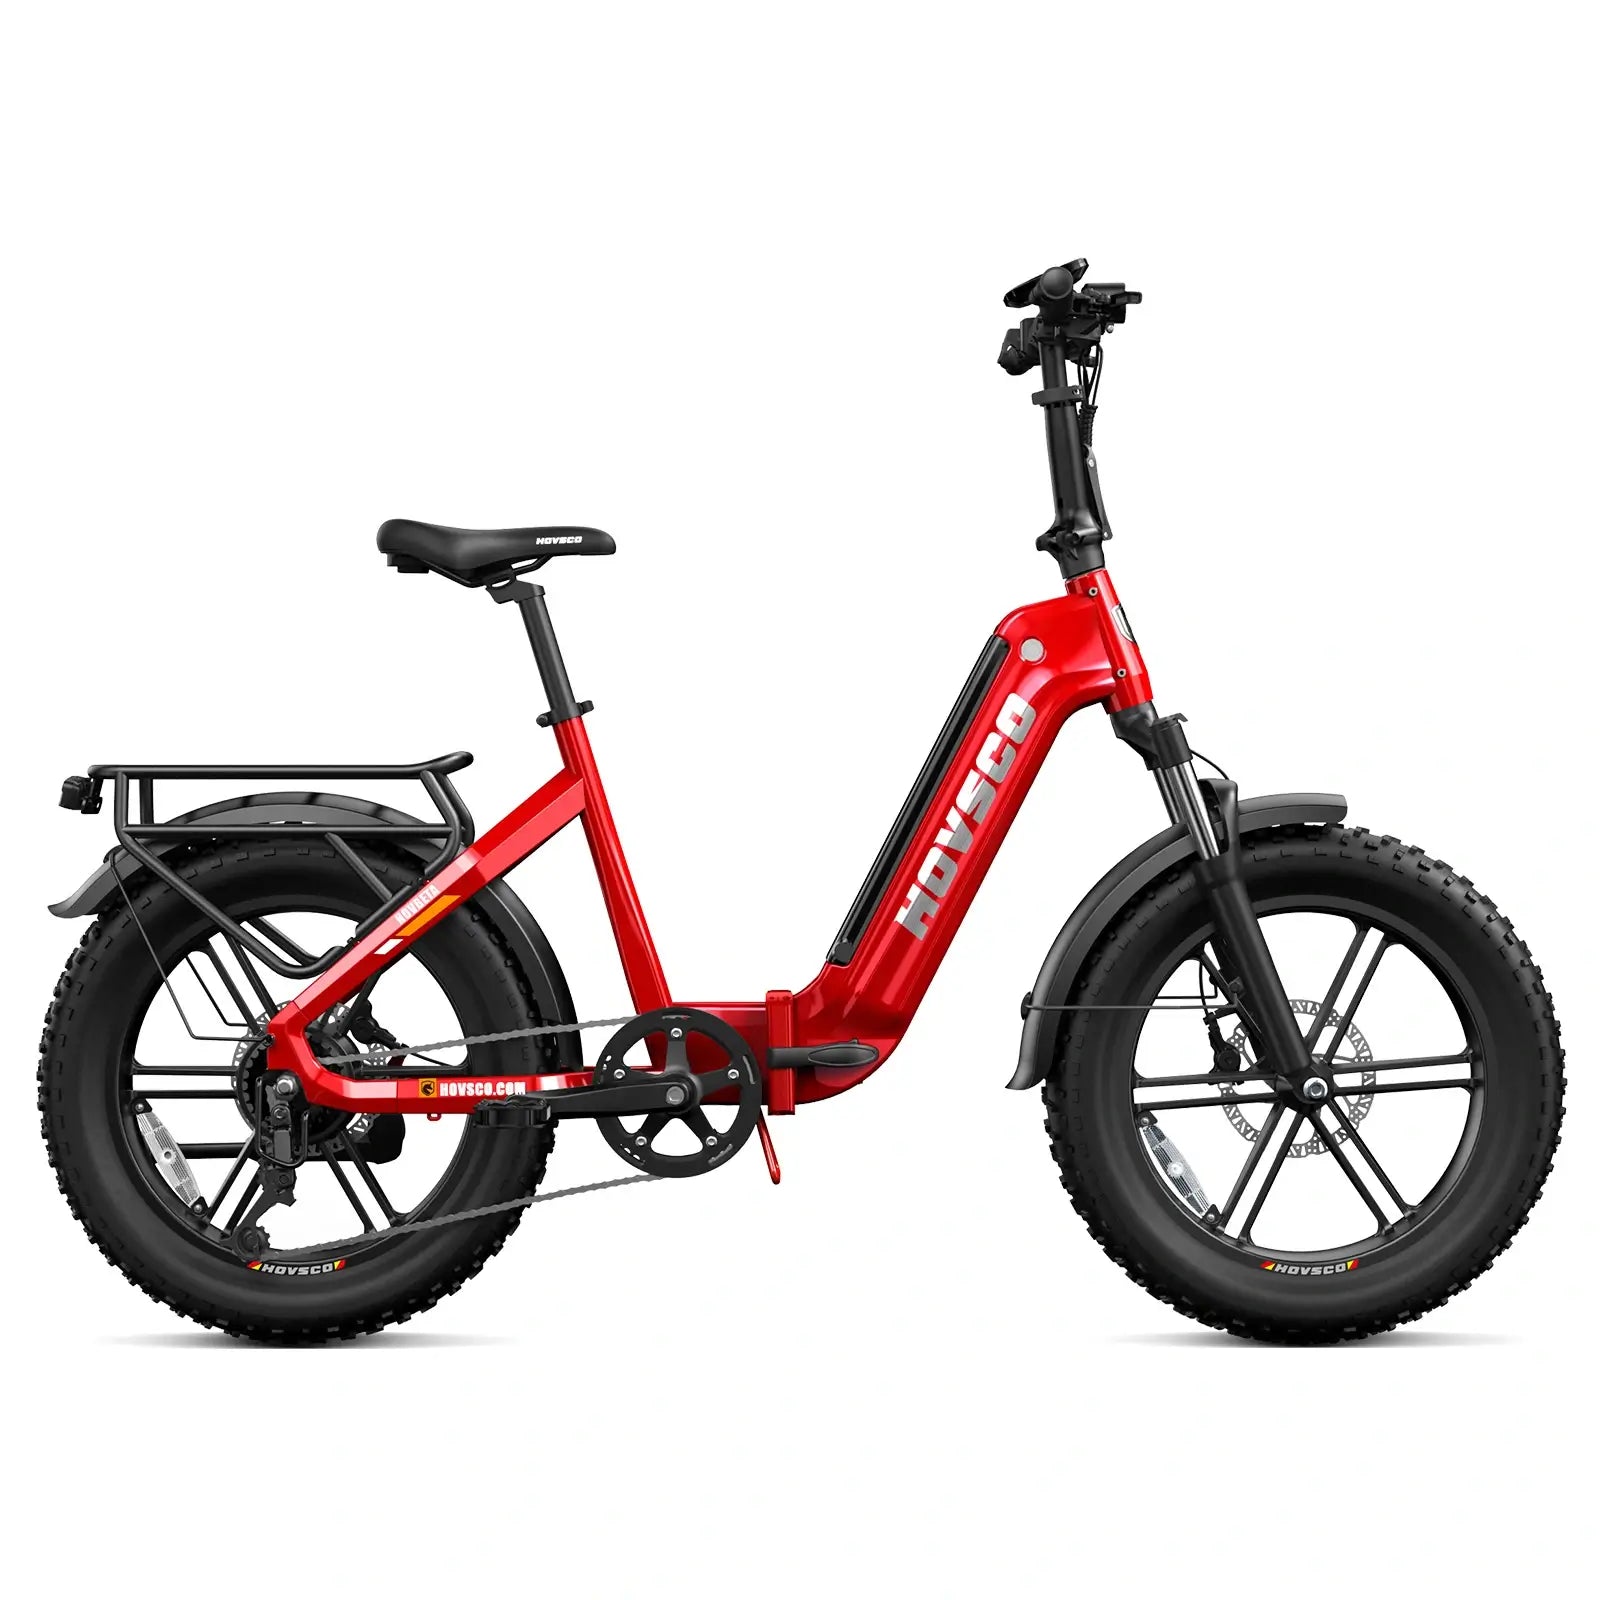
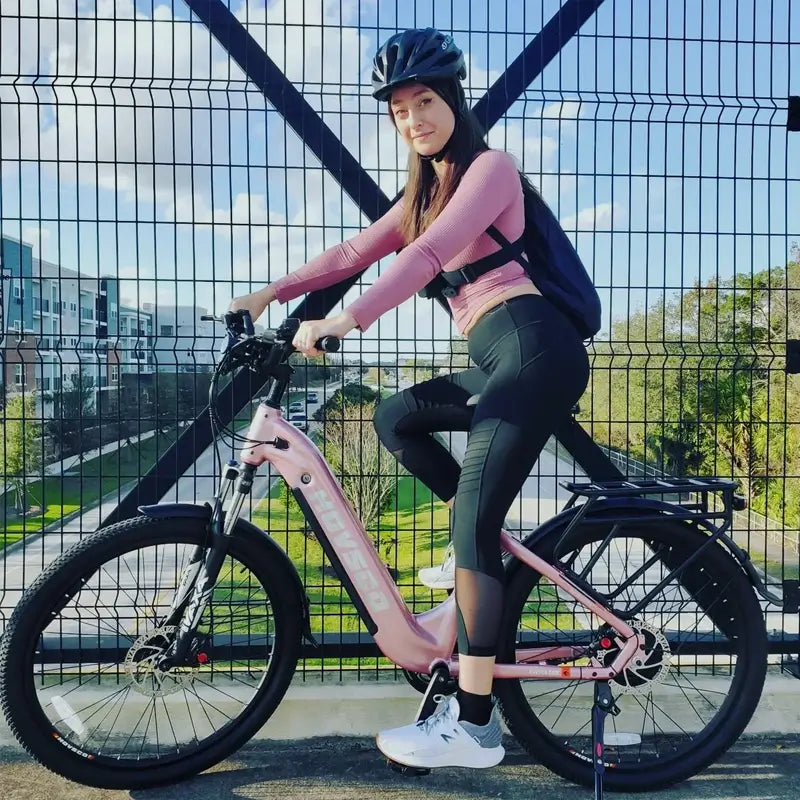
Foot-down stability is the second check. At every stop the saddle and frame should let you place both feet flat or nearly flat, which keeps the bike stable while you wait at intersections. A step-through frame makes the entry easier, but it does not guarantee fit — saddle height, reach, and weight still decide the stop experience.
If the brake levers require a reach, the rider's grip shifts mid-stop, and the shift becomes a wobble at exactly the moment the bike should be steady. The fix is simple — adjust lever reach or saddle position — but it has to happen before traffic, not after a close call.
The restart is where stop-and-go commutes get hard: from a standstill with a loaded backpack, the rider must balance, find the pedal, and accelerate without a wobble. On an e-bike, the motor makes the restart easier only if the assist is set sensibly.
Start on a lower assist level for the first weeks so the motor eases in gently rather than surging. Practice the restart sequence away from traffic — foot down, pedal positioned, gentle push, smooth acceleration — until it is automatic. Maximum product speed is not a target for crowded routes.
The first week of stop-and-go riding is the calibration week: riders learn how the motor responds from a standstill, how much assist feels right, and how the bike behaves with a loaded bag. Keep the first week slow and the calibration is painless.
At every stop, the rider needs a clear view forward and an easy way to check behind before moving. Position the bike where drivers can see it, keep both hands on the bars until the bike is moving, and look over the shoulder before pulling away from a curb or turning.
Stop-and-go routes amplify positioning mistakes: a bike stopped too close to a blind corner or in a driver's blind spot is a bike in danger at the exact moment the light changes. Hold a predictable position in the lane and make eye contact with drivers at intersections when possible.
The shoulder check is easier on some frames than others: a more upright position makes the look-behind natural, while a stretched reach makes it harder. Try the check at a standstill and at slow speed before choosing a geometry that makes it difficult.
A predictable position also makes the commute faster in traffic: drivers who can read the bike's next move stop hesitating, and hesitation is where delay and danger both come from.
The stop-and-go sequence should feel boring before the first morning ride. Practice it in a low-traffic area first: stop at a marked line, put a foot down, check behind, restart, and repeat. Then add the driveway turn and the crosswalk stop.
Practice with the same load you will carry — backpack, bag, or briefcase — because the weight changes the restart and the braking distance. A rider who practiced with the real load has already removed the surprise of a bike that handles differently loaded.
Add one variable at a time: first the stop-start sequence, then the backpack, then a quiet street with real intersections. Each added variable teaches something new, and riders who layer them in order rarely get surprised on the first real commute.
Run this checklist before the first commute and again after the first week.
| Check | Pass condition |
|---|---|
| Brake reach | Levers reached without stretching, with gloves |
| Foot-down | Both feet flat or nearly flat at a stop |
| Restart | Smooth acceleration on low assist |
| Shoulder check | Easy look behind without swerving |
| Practice done | Stop-start sequence practiced with the real load |
Re-run the checklist after any fit change, new shoes, or a new backpack — the checks measure the rider plus the gear, and the gear changes the numbers.
" On a stop-and-go route, the bike that wins is the one the rider can stop and restart without thinking. Fit, brake reach, and low-assist practice matter more than the top speed on the spec sheet." — HOVSCO Engineering & Content Team
Stop-and-go commuting is won at the stops: brake reach, foot-down stability, a smooth restart, and visibility. Confirm the fit, practice the sequence with the real load on low assist, and the crowded intersections stop being the hard part of the day.
What matters most on a stop-start city route?
Fit, brake reach, low-speed control, stable stopping, visibility, and smooth restarting matter more than maximum speed. Practice the controls in a low-traffic area before commuting.
Should I use a high assist level for stop-and-go riding?
Start low. A lower assist level eases the motor in gently at restarts and keeps acceleration predictable in traffic. Raise it only when a specific hill or stretch needs more power.
How do I stop safely at a busy intersection?
Brake progressively with both levers, put a foot down when stopped, check behind before moving, and hold a visible position in the lane. Practice the sequence in a low-traffic area first.
Does a step-through frame make stop-and-go riding easier?
It simplifies mounting and dismounting, but it does not guarantee fit. Saddle height, brake reach, weight, and foot-down control still decide how comfortable every stop is.
How long does it take to get comfortable with stop-and-go commuting?
Most riders settle in within a week of deliberate practice — stop, foot down, restart, turn, repeat — done away from traffic first. The key is practicing with the same load and the same assist level you will use.
Share:
How to Store an E-Bike in a Dorm or Apartment
How Much Can a Business E-Bike Actually Carry?