


![[ New Arrival ] Porto Max Electric Scooter For Commute & Grocery Shopping - HOVSCO](http://www.hovsco.com/cdn/shop/files/PotroMax-3.jpg?v=1706927007&width=1200)
- by SteveJames
How to Ride an Electric Bike (Step-by-Step for Beginners)
- by SteveJames
E-Bikes
Accessories
 Free Shipping
 15-Day Returns
 2-Year Warranty
Free Shipping
15-Day Returns
2-Year Warranty
2-Year Warranty
Free Shipping
15-Day Returns
2-Year Warranty
The motor does the heavy lifting; the skills still belong to you. Riding an e-bike for the first time is less about strength and more about learning four things in order: controls, mounting, braking, and low-speed turns. Below we walk through each step, from the parked bike to your first real route. Safety basics are covered in our e-bike safety for beginners guide, and the current first-bike options are ranked in our best electric bikes for beginners shortlist.
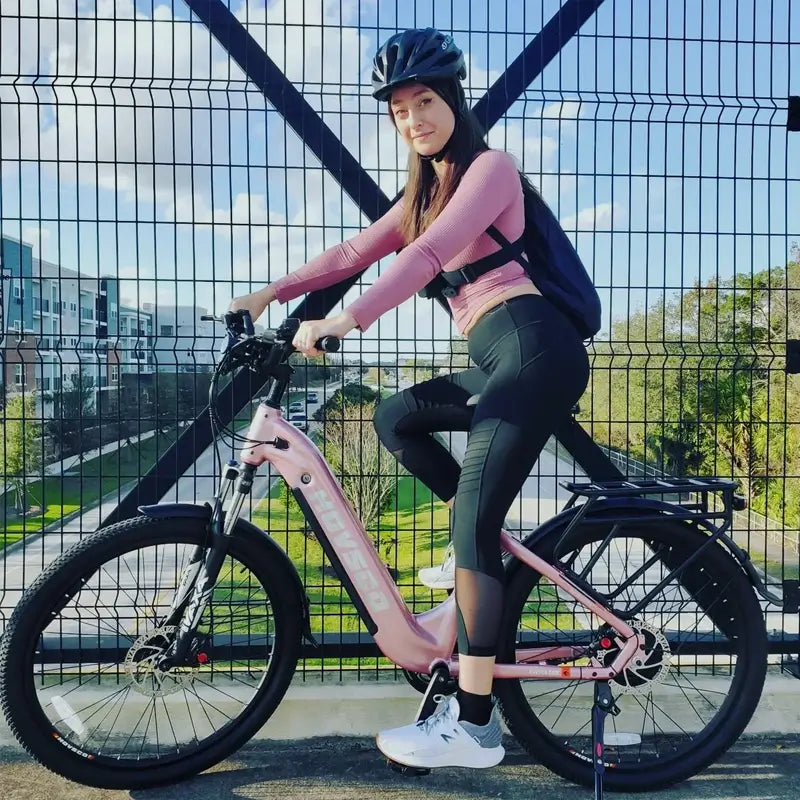
Start with the bike parked and the power off. Set the saddle so you can stand over the frame comfortably, reach the brake levers without stretching, and place both feet flat at a stop. On a step-through model this is quick to verify; on any bike, the saddle should never force you onto your toes when you come to a halt.
Identify every control while the bike is stationary: both brake levers, the display, the assistance buttons, the throttle if fitted, the lights, and the battery indicator. Then read the exact manual before you turn assistance on. The manual answers most beginner questions faster than any forum — how the motor starts, how walk mode works, and what each error code means are all usually explained in the first few pages.
Set up your gear before the first ride, not during it. A properly fitted helmet, flat-soled shoes that stay on the pedals, and clothing that will not catch in the chain cover the basics. Skip headphones for the first sessions; hearing traffic is part of the learning. None of this needs to be expensive — it needs to be ready.
Mount the bike on level ground and hold yourself steady with both feet flat. Rock the bike gently side to side to feel its weight, then lift each foot off the ground one at a time. This two-minute exercise teaches the balance point before the motor adds anything to the equation.
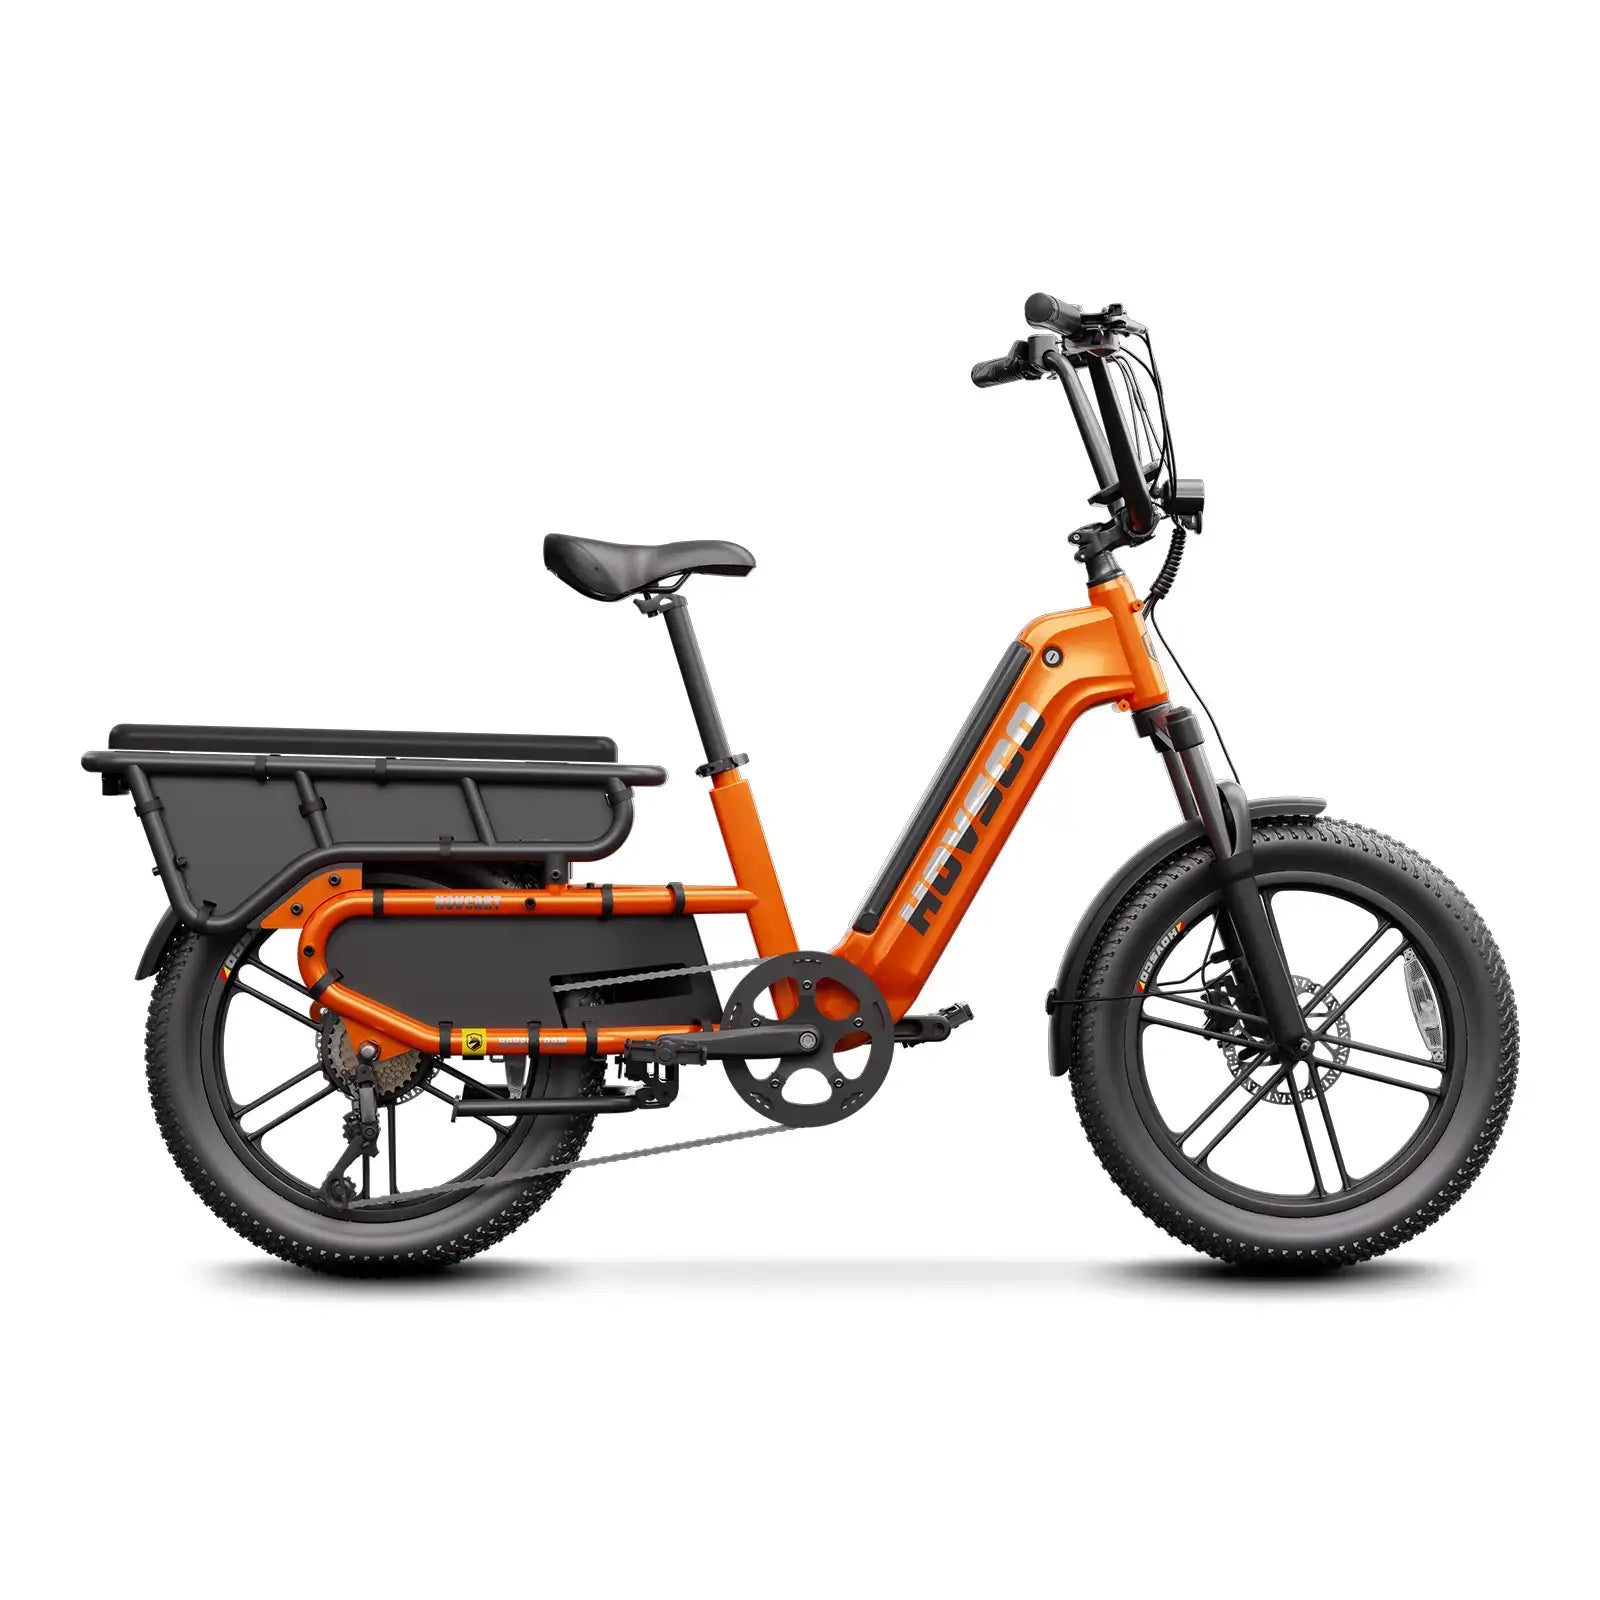
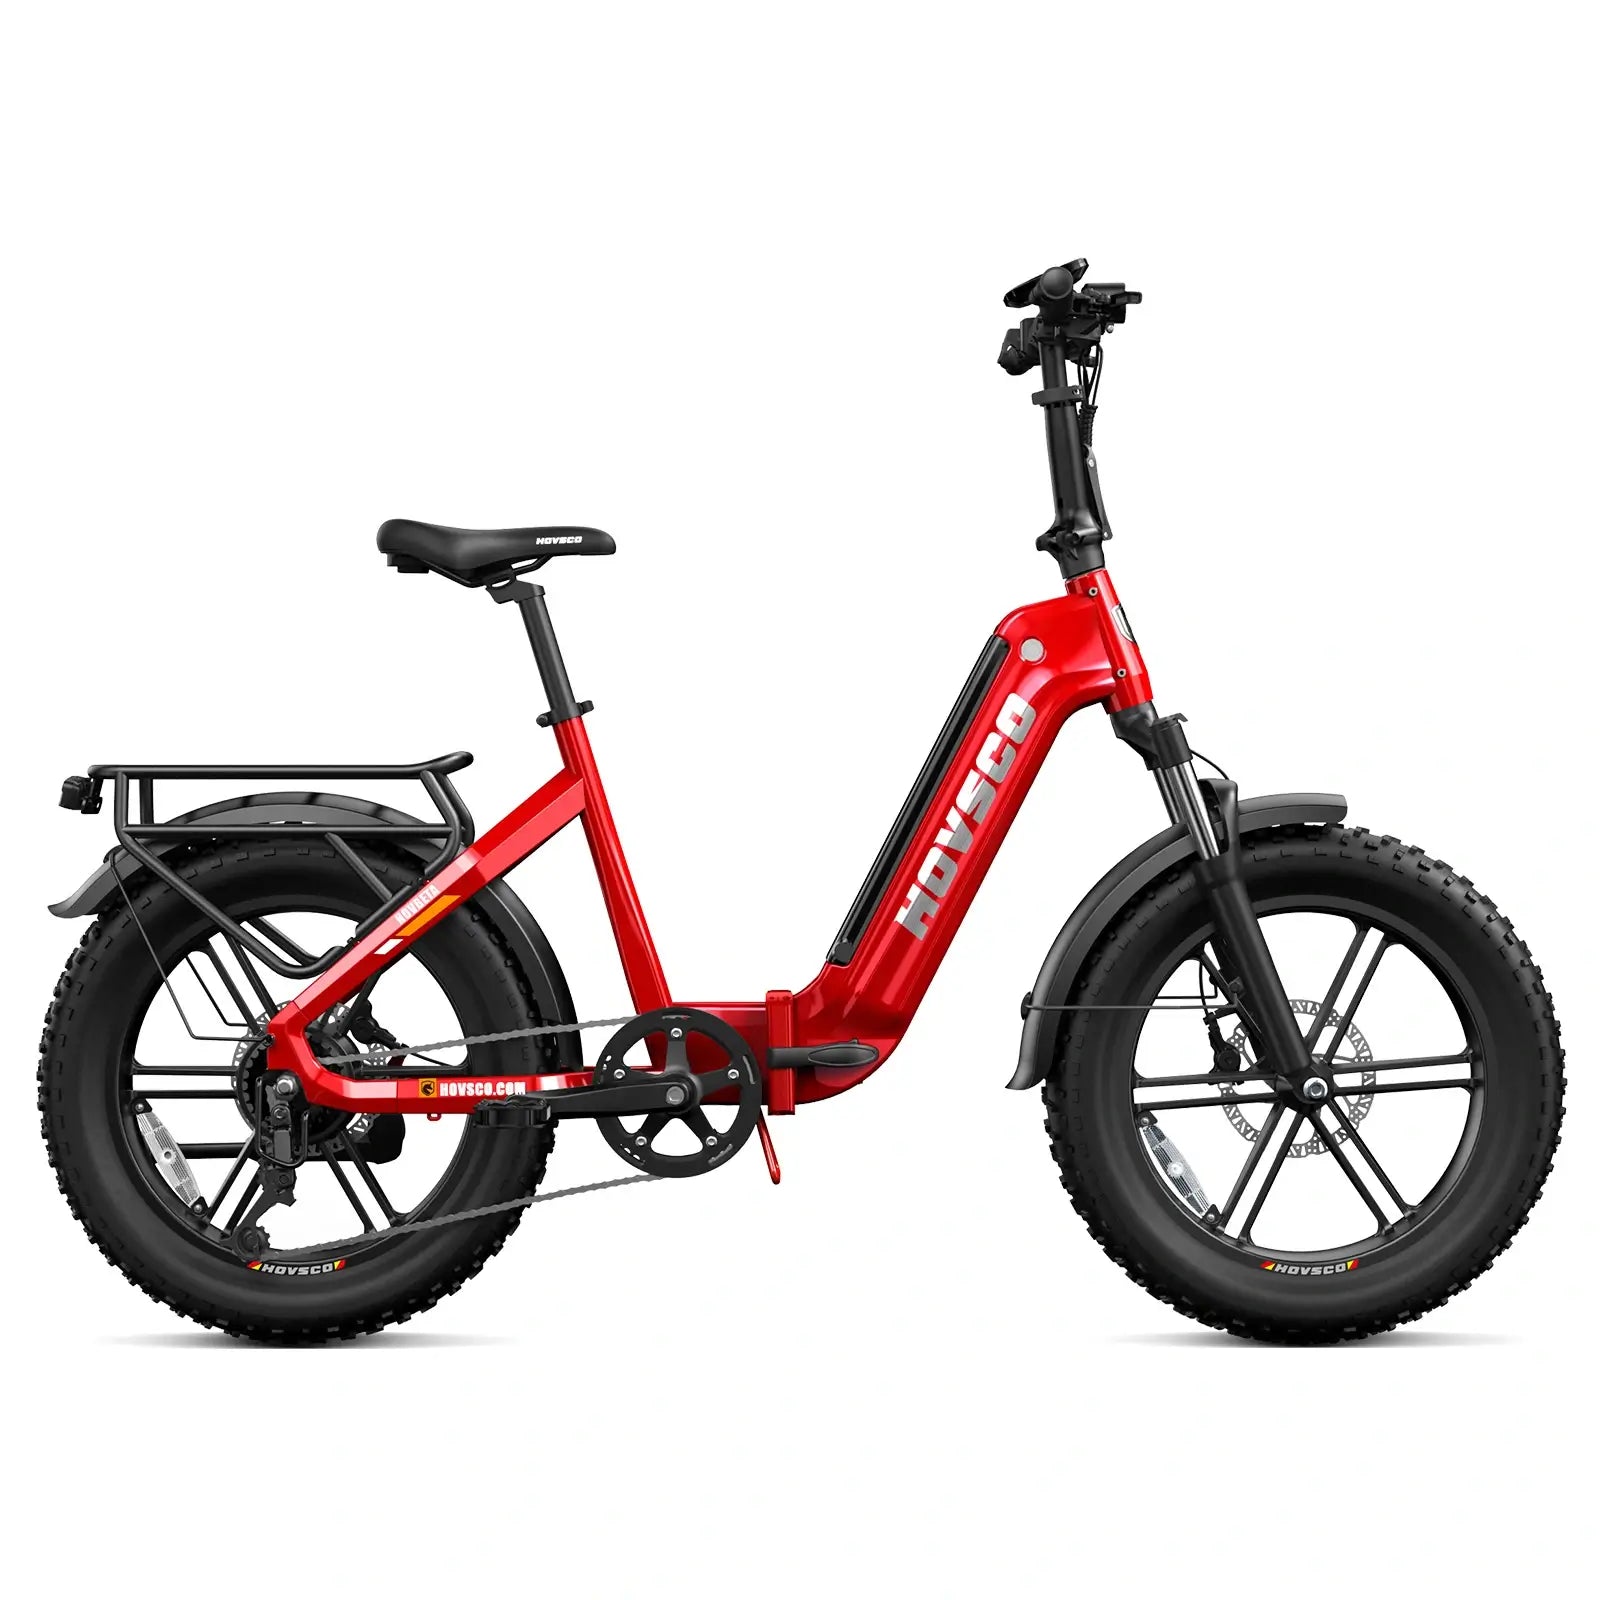
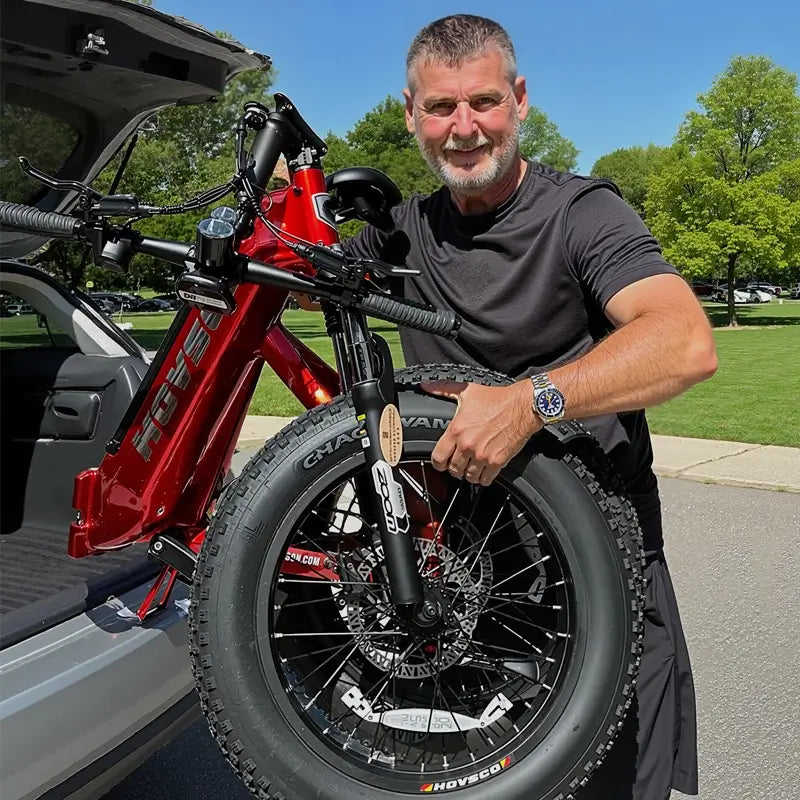
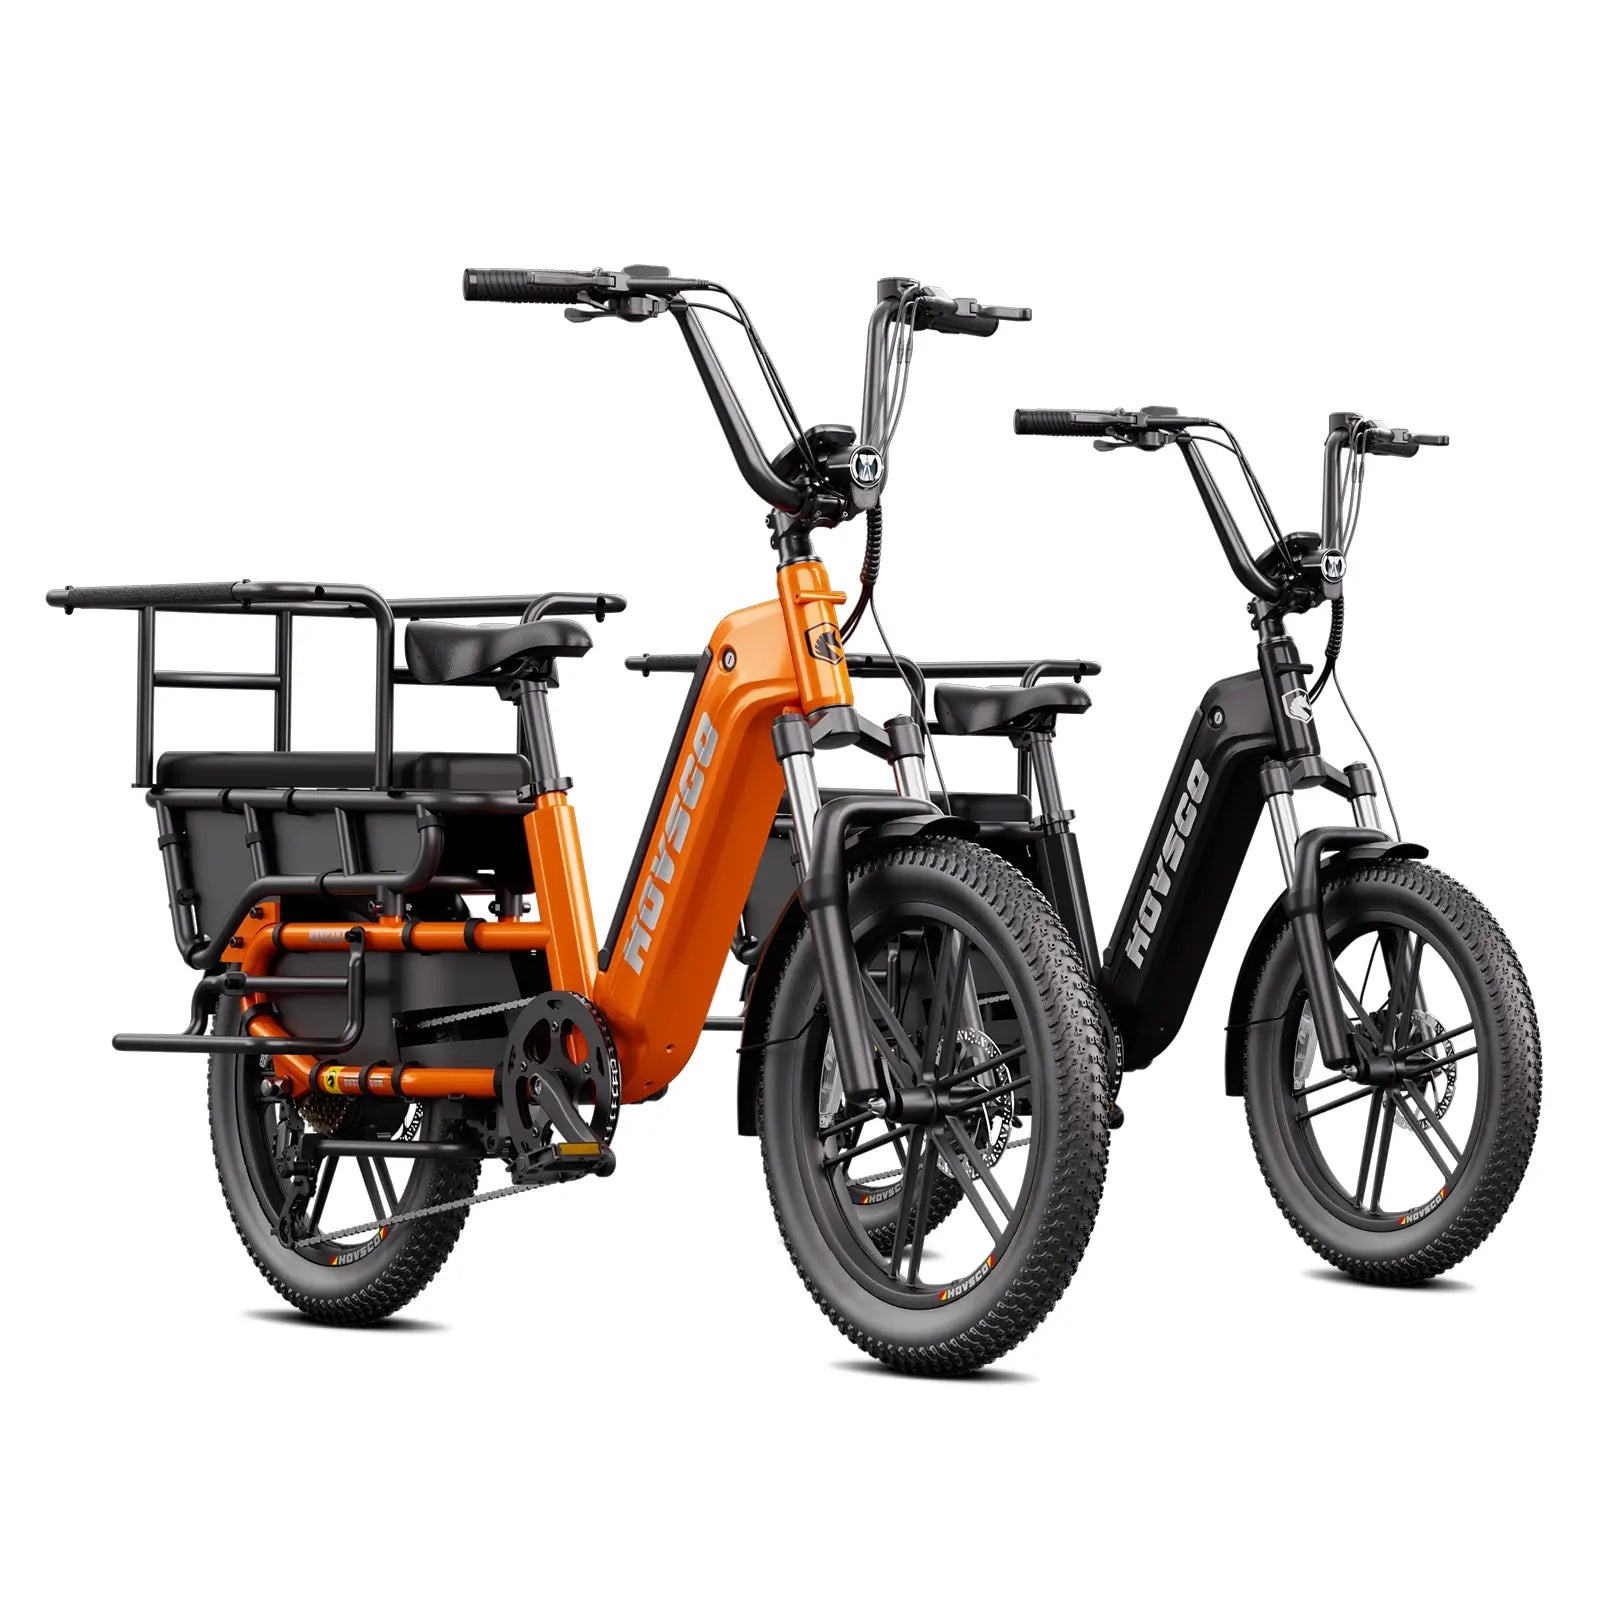
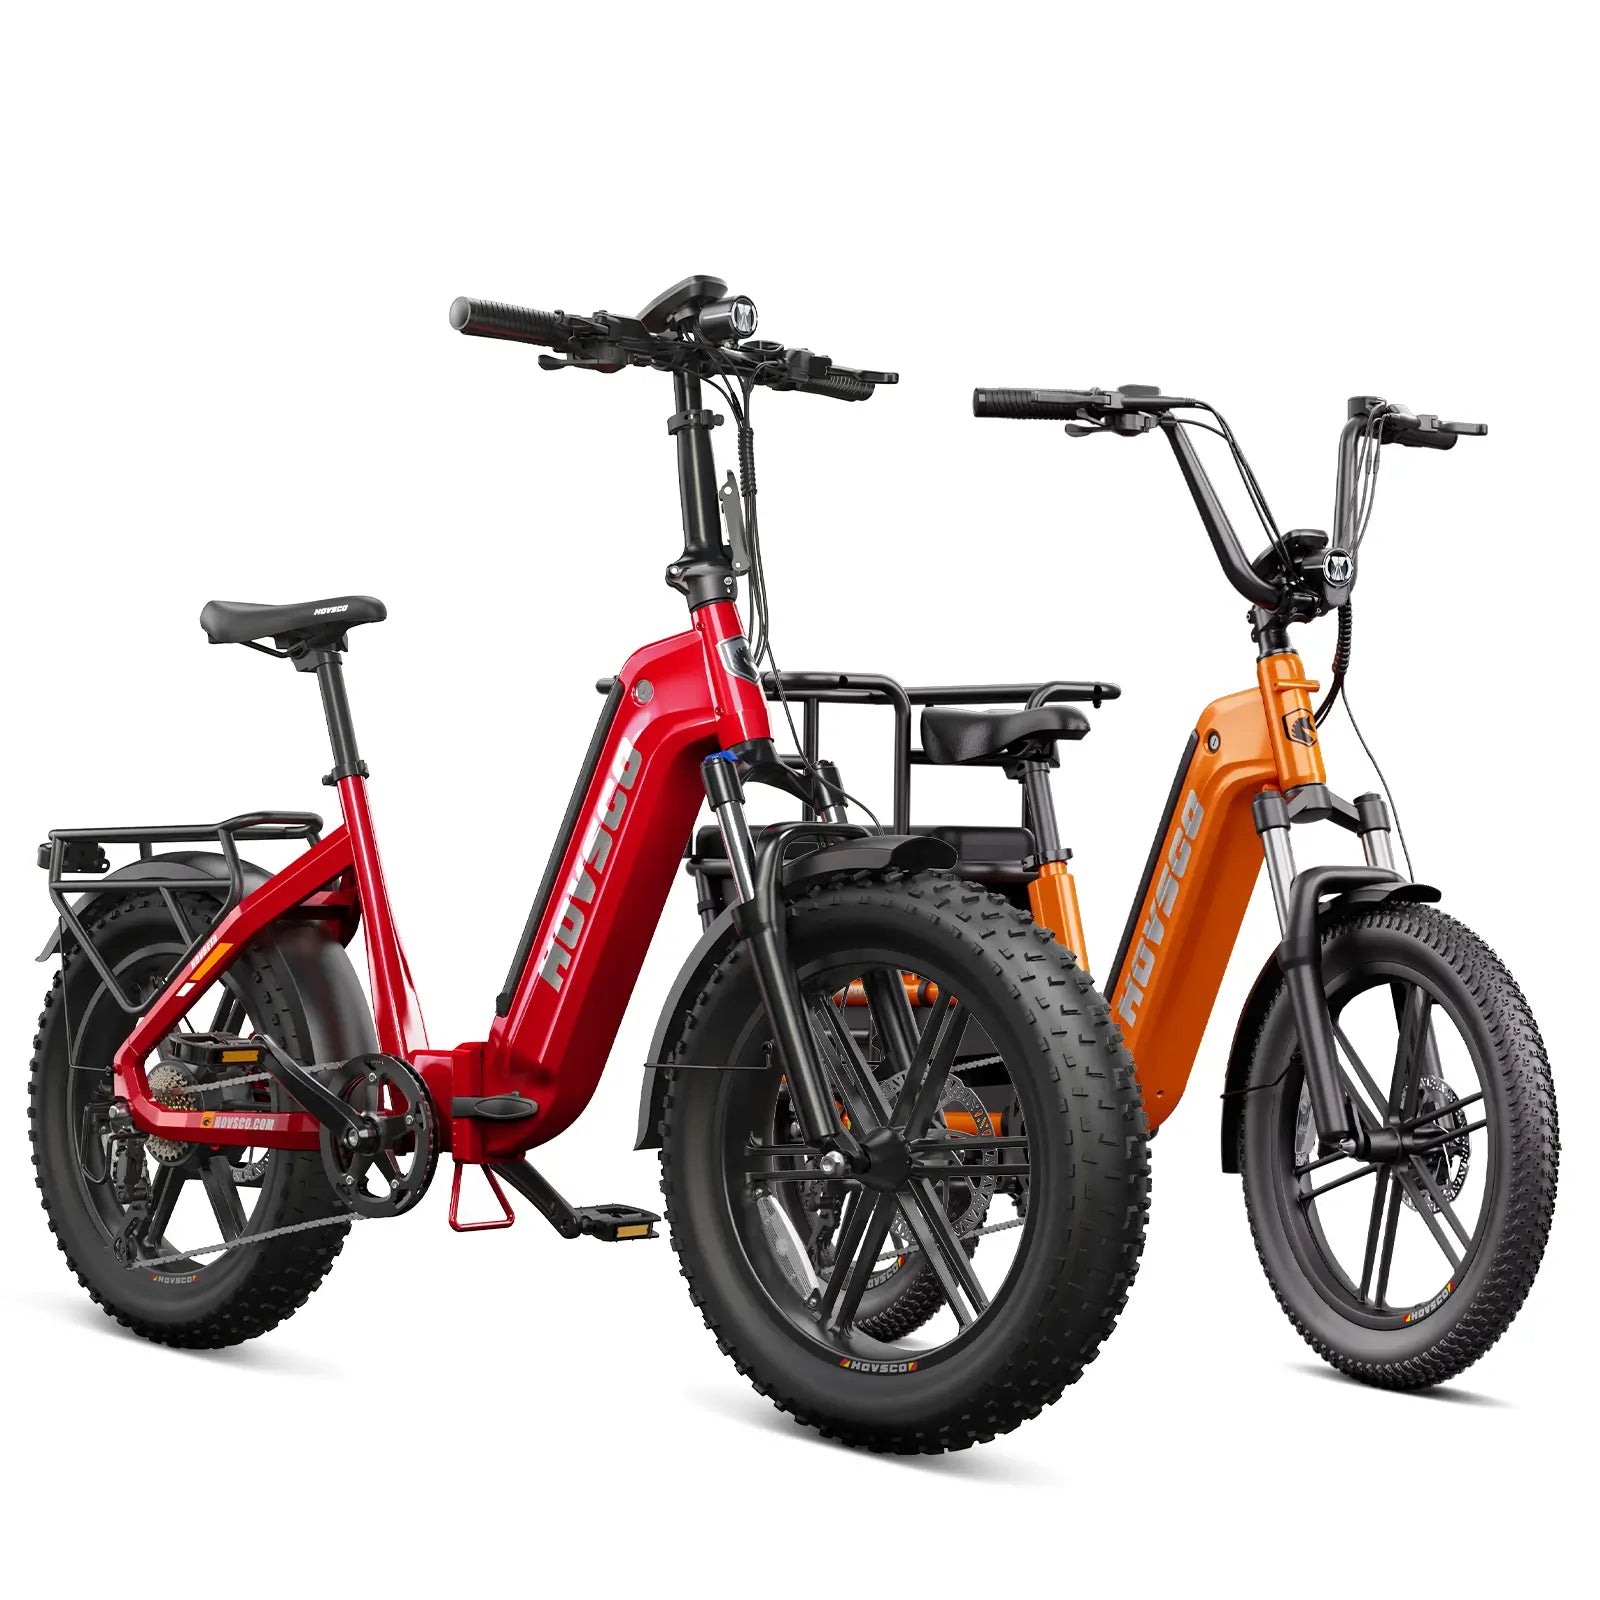
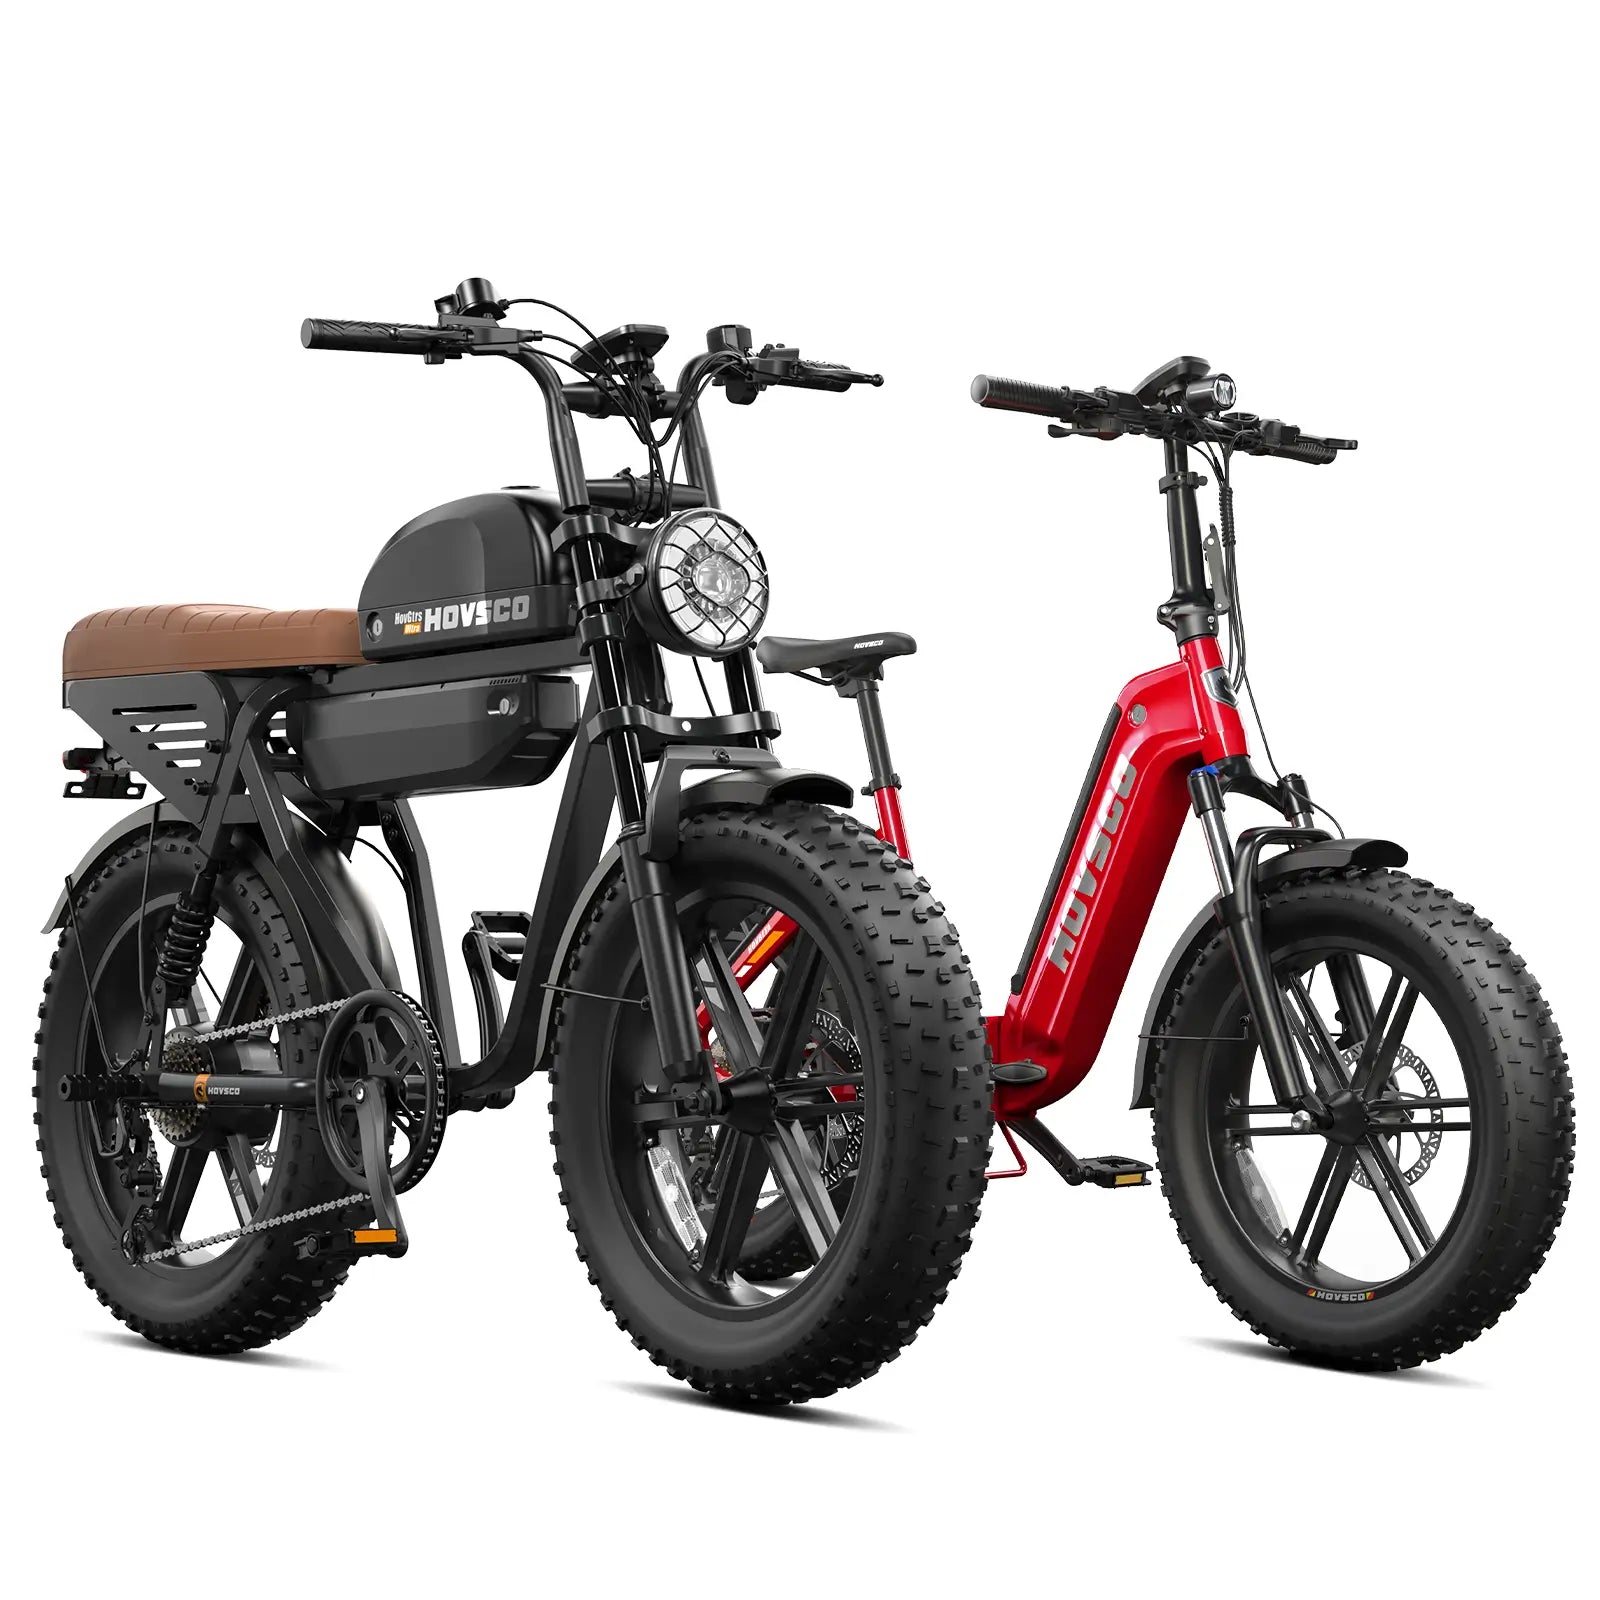
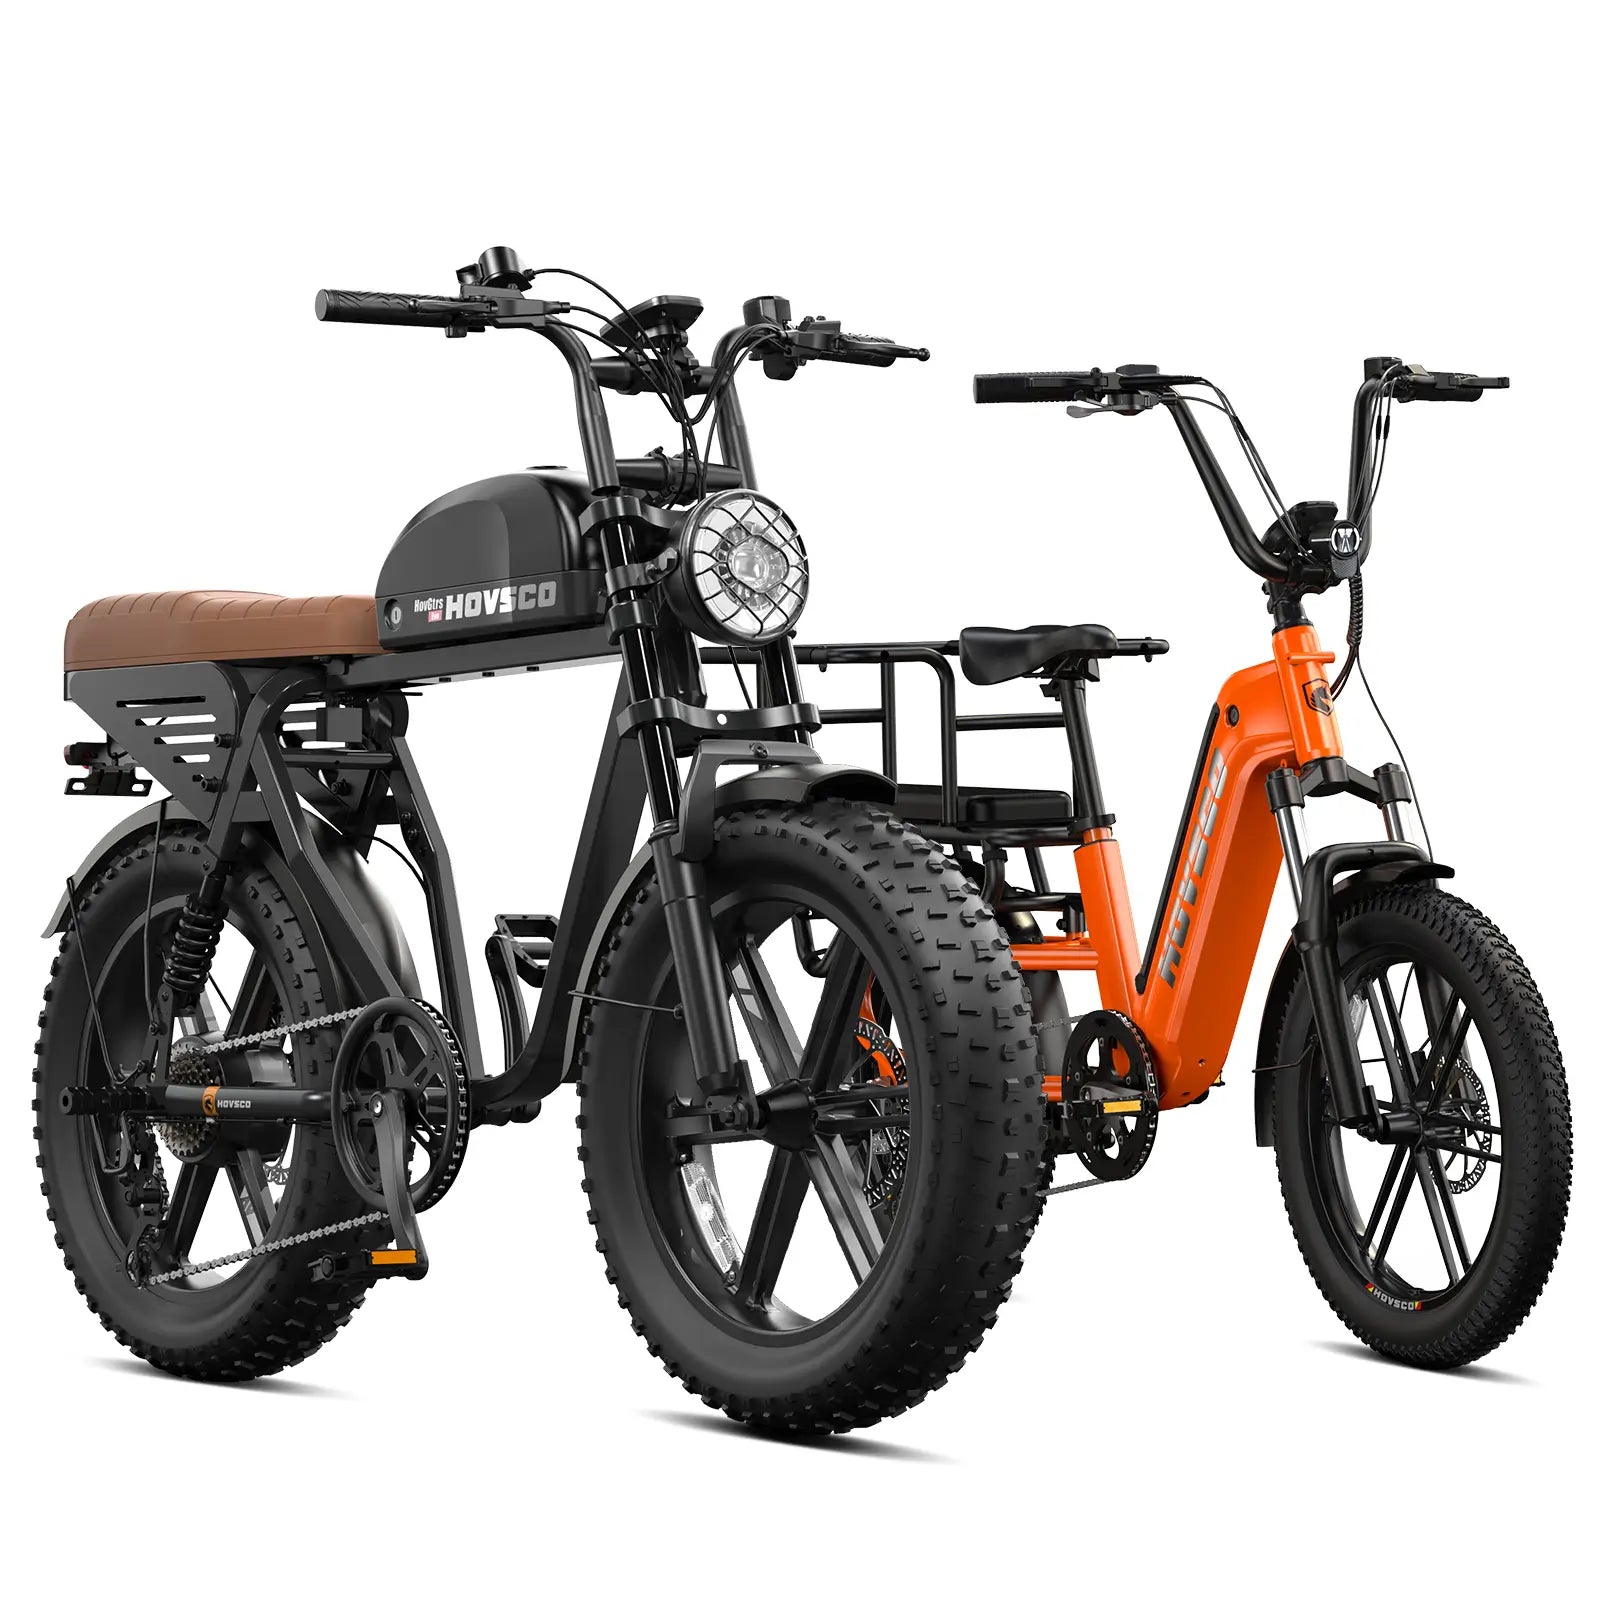
Heavier e-bikes — the HovBeta and HovCart both publish a 66.4 lb complete weight — feel different from a conventional bike when you first lift a leg over. That is normal. The fix is not more strength; it is practicing the mount and dismount until it feels boring. If the first attempt feels unsteady, use walk mode or push the bike to a clear, flat space and try again.
Practice the dismount too, because it is the mirror image of the mount: slow down, stop completely, then step off toward the side you feel most stable on. Repeat the sequence five times on each side. A rider who can mount and dismount without thinking has already removed the two moments when most first-ride wobbles happen.
With power still off, walk the bike forward, backward, and in a tight circle. Practice using the kickstand, parking on a slight grade, and leaning the bike against a wall without it rolling. New riders often skip this step, and it is exactly where walking, backing up, and parking confidence come from.
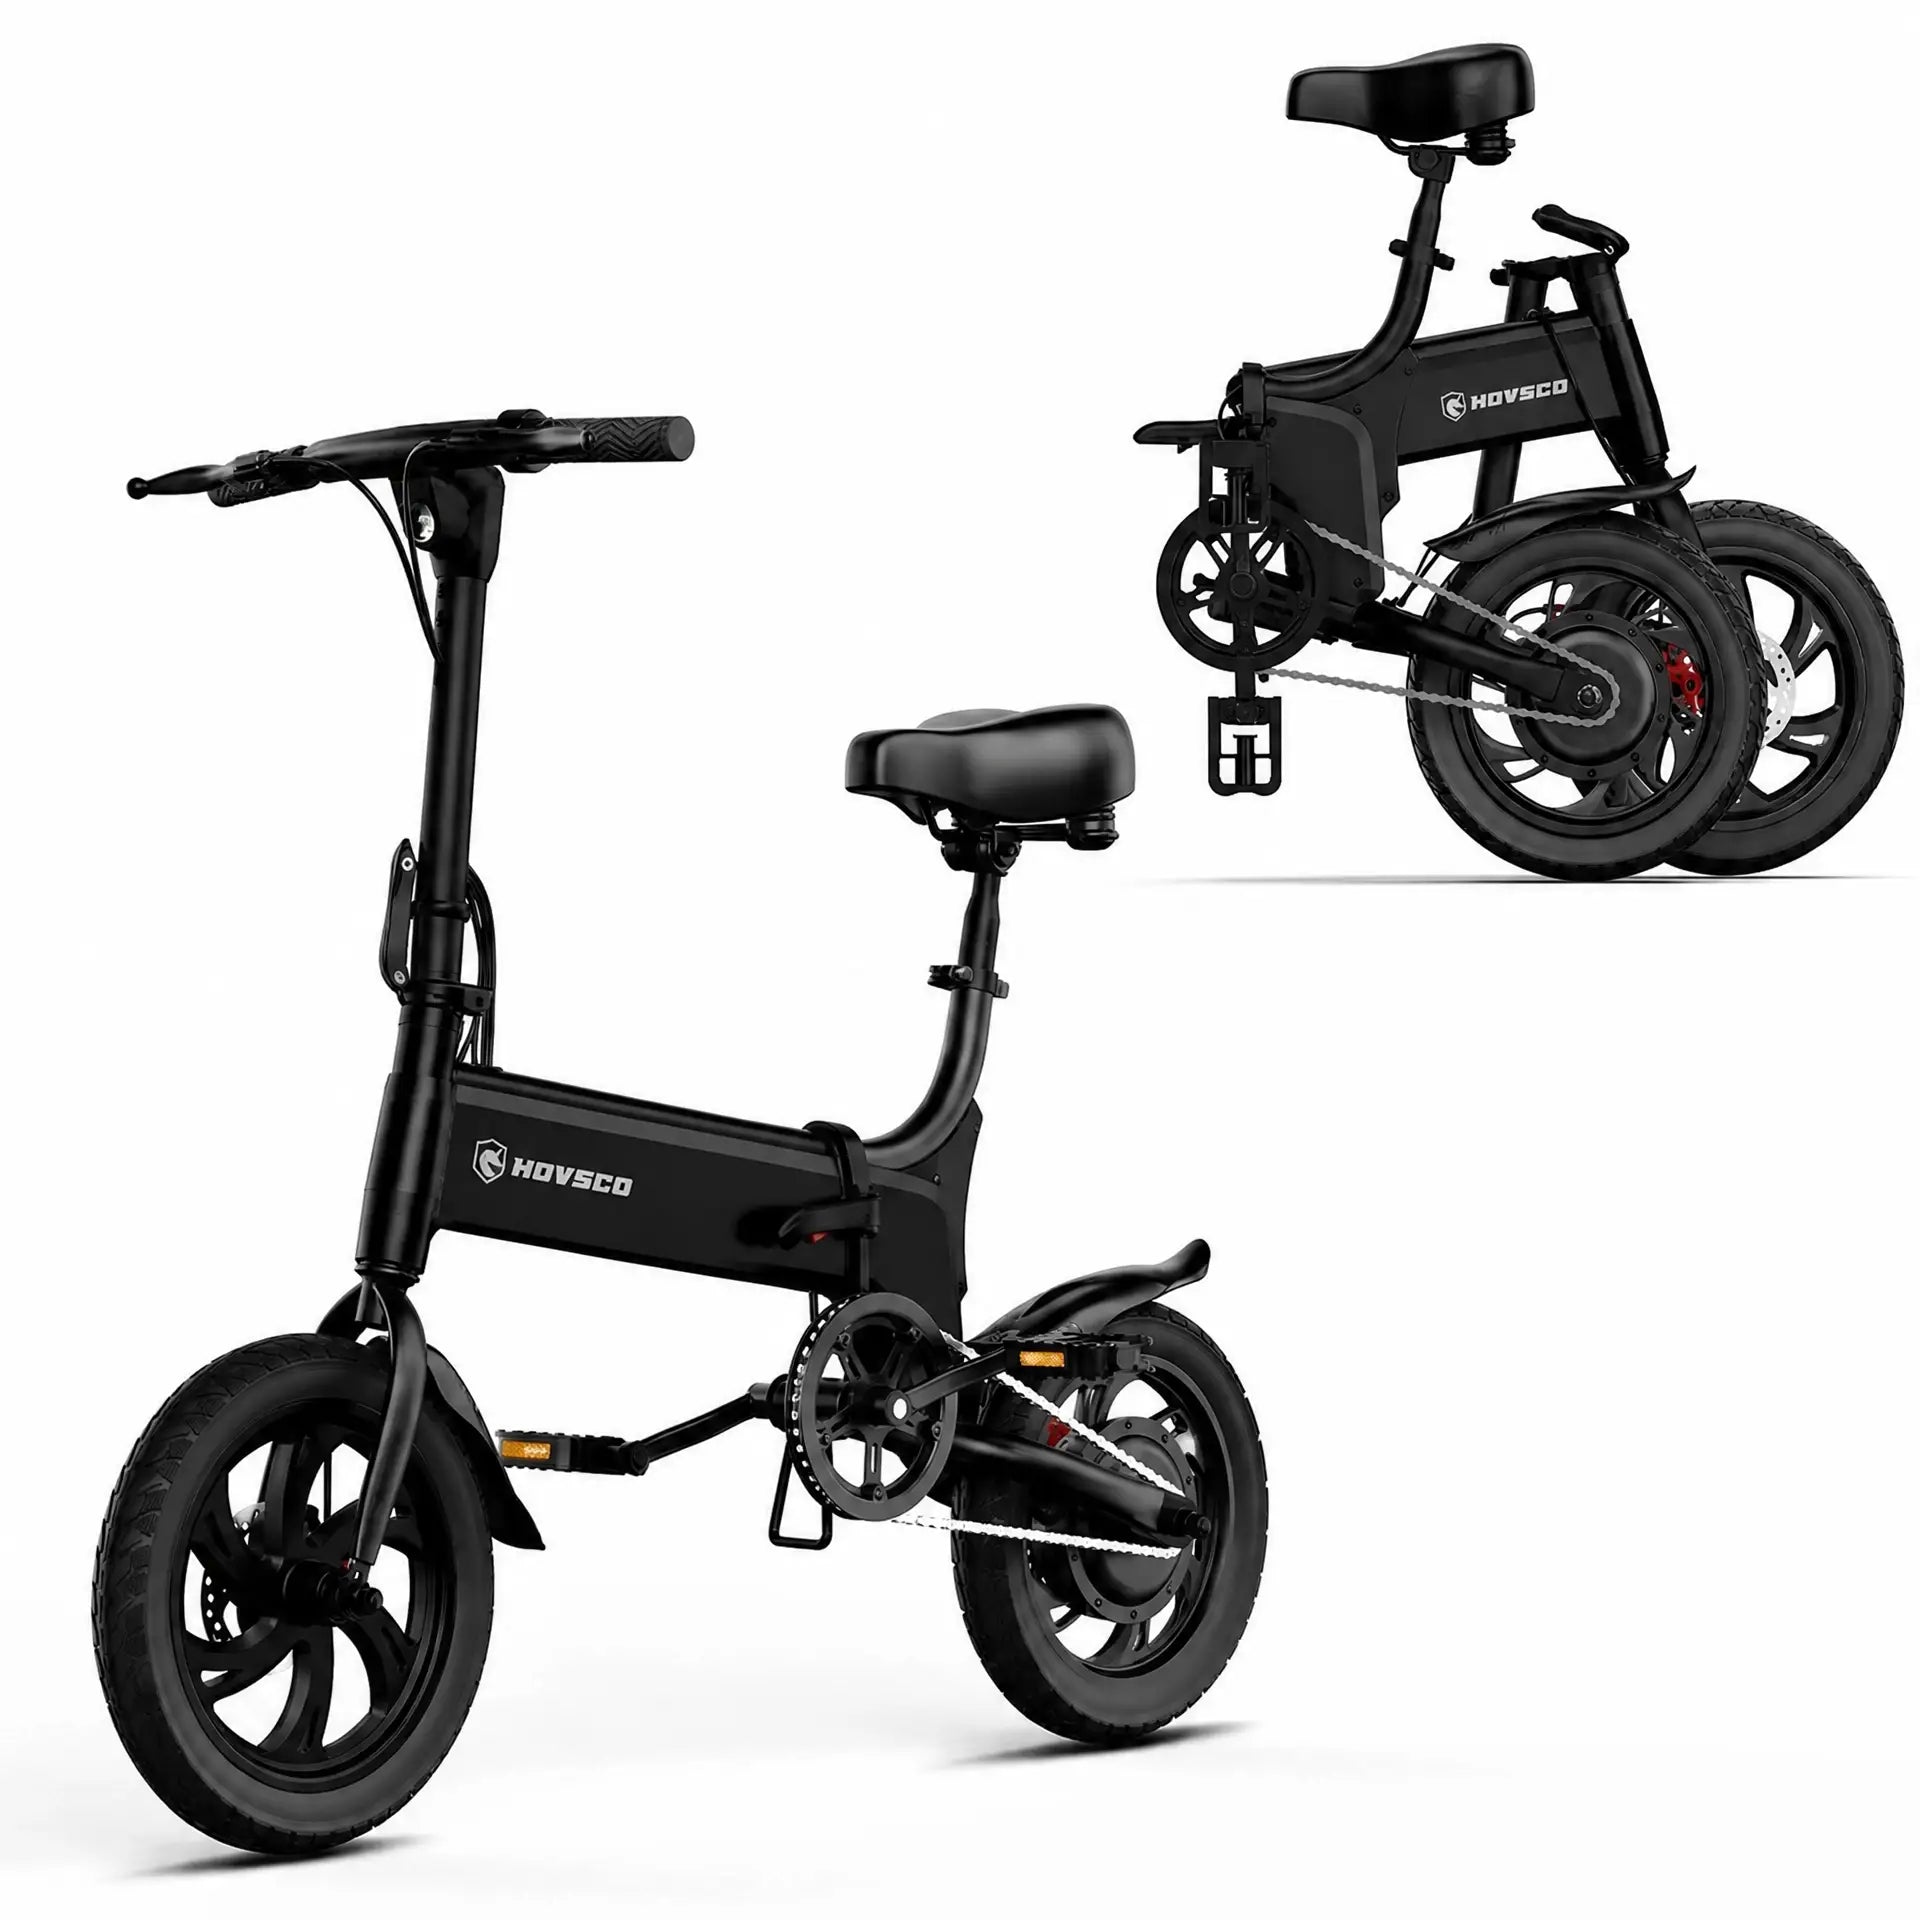
On models that fold, like the Sync Max at 42.3 lb net, also practice the folding sequence twice before your first ride. On heavier models, plan where you will store and park before you need to do it in a hurry. A folding frame does not make a heavy bike light, and knowing the lifting points beforehand prevents fumbles at the end of a tiring ride.
Use walk mode for this exercise if the bike has it. Walk mode moves the bike at a walking pace with the motor, which is exactly what you want when pushing a 66 lb bike up a ramp or across a driveway. Learning the walk-mode button while parked means you will not be hunting for it while the bike is rolling.
Set the assistance to its lowest level in an open, empty area. Pedal gently and let the motor ease in; notice how it starts, how it stops when you stop pedaling, and how it feels as you slow down. Every motor has a personality, and the first ride is the time to learn it.
If the bike has a throttle, learn its activation and cutoff from the manual before using it. Do not begin by testing maximum speed. HOVSCO's own beginner guidance states the order plainly: fit first, controls second, power last. Keep assistance low while skills develop, and resist the urge to see what the bike can do on day one.
Watch the display while you ride at this stage, not for speed, but for what the numbers tell you: assist level, battery percentage, and any error codes. Knowing what the display means while the bike is parked saves you from deciphering it mid-ride. On most HOVSCO models the battery indicator also shows how the motor load changes on a slight incline, which is useful information before you tackle a real hill.
Progressive braking is the skill that prevents most falls. Apply both brakes with increasing pressure rather than grabbing abruptly, and practice stopping from low speed on clear, dry ground. Repeat until every stop feels predictable.
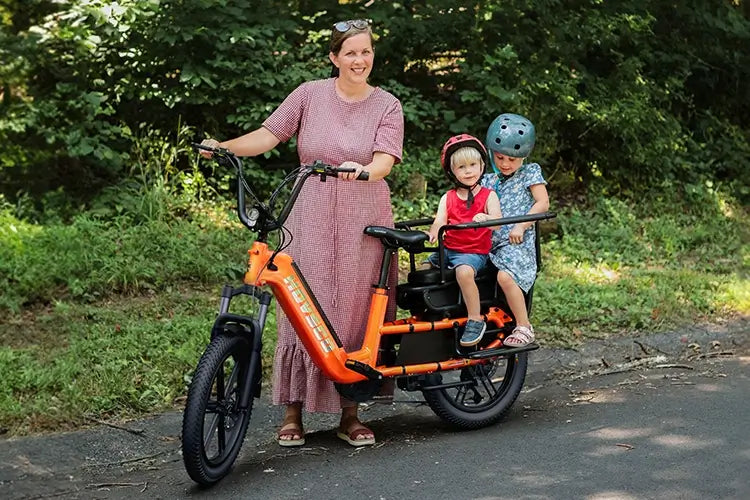
Wet surfaces, downhill, and cargo all add stopping distance. A loaded cargo bike such as the HovCart changes how quickly you can stop, so cargo should be added only after braking, turning, and balance are consistent. Learn the habit before you need it in a hurry, and keep both hands on the bars until the bike is completely stopped.
Also learn which brake lever controls which wheel on your model, because the layout varies by region and manufacturer. On most bikes sold in North America the left lever controls the front brake; on many bikes sold elsewhere the right lever does. It takes one minute to check the manual and it prevents the surprise of grabbing the front brake hard when you expected the rear.
Slow turns are harder than fast ones, so practice them deliberately. Ride wide figure-eights at walking pace, then tighten the circles. Keep your outside foot down and your head turned toward where you want to go.
Small-wheel models like the Sync Max respond differently to steering, so give them extra practice time. Fat-tire models feel planted but can feel vague at the front on loose surfaces; either way the same rule applies — look where you want to go, not at the ground in front of the wheel.
Once basic circles feel stable, add the skill you will actually use on the road: turning while signaling. Ride a wide circle with your right hand on the bar and your left arm out, then switch sides. If this feels wobbly, slow down; the point is to keep the line smooth while one hand is off the bar, and it is far easier to practice this in an empty lot than mid-commute.
Move from the empty lot to a quiet street or path, then build toward your real route. Add one challenge at a time: a turn, an intersection, a hill, then traffic. Practice shoulder checks, signaling, and lane positioning before you need them.
Keep a generous return reserve on the battery — the ride home is usually harder than the ride out. If your route has hills, try them first on low assist, then decide whether you need more power. A first route that ends in an empty parking lot to cool down in is better than one that ends at the busiest intersection on the map.
Choose the time of day deliberately for these early rides. Early weekend mornings and weekday middays have the least traffic and the best light. On the route itself, pick streets with bike lanes or wide shoulders, and plan the return leg on the same roads so the only new variable each ride is distance, not unfamiliar intersections.
Run through this checklist before every early ride, and the progression stays on track. The table shows what to check and why each item matters.
| Check | Why it matters |
|---|---|
| Controls identified while parked | Prevents fumbling at speed |
| Lowest assist selected for practice | Keeps power predictable |
| Progressive braking practiced | Builds the stop that prevents falls |
| Low-speed turns practiced in an open area | Builds balance where there is no traffic |
| Route complexity increased one step at a time | Keeps every ride within your skill level |
| Battery reserve for the return | Avoids a drained bike at the farthest point |
Run the list in the same order every time so it becomes automatic: controls, assist, braking practice, turns, route, battery. After the first few rides the check takes two minutes, and the confidence it buys lasts the whole ride.
" The riders who struggle with their first e-bike are rarely the ones with less balance — they are the ones who started on maximum assist in traffic. Begin slow and the bike teaches you." — HOVSCO Engineering & Content Team
Learning to ride an e-bike is a sequence, not a leap: controls, mounting, low-assist starts, progressive braking, and low-speed turns, then a route that grows one challenge at a time. Finish the sequence in an empty space and the first real ride feels familiar instead of intimidating.
How do you ride an electric bike for the first time?
Start with the power off: set the saddle, identify every control, and read the manual. Then move to an open, low-traffic area, select the lowest assist level, and practice mounting, starts, wide turns, and progressive braking before you add speed or traffic.
Do you pedal an electric bike?
Yes. On pedal-assist models you pedal normally and the motor adds power as you ride, so the ride stays as active as you want it to be. Models with a throttle can also move without pedaling, but pedaling keeps you in control and extends range.
Is it hard to balance on an e-bike?
No harder than on a bicycle, but the extra weight changes how it feels at low speed. Practice starting, stopping, and slow turns in an empty space and the balance becomes natural within a session or two.
How fast should a beginner ride?
Stay well below the bike's maximum at first. Start on the lowest assist, keep speed moderate, and increase only after starts, turns, and braking are consistent. Speed is the last thing to add, not the first.
How long does it take to learn to ride an e-bike?
Most adults feel comfortable after a few deliberate practice sessions. The key is progression: an empty lot first, quiet streets next, and traffic only after the basics are consistent.
Share:
What Are the Best Electric Bikes for Short Riders?
What Are the Best Electric Bikes for College Students?