


![[ New Arrival ] Porto Max Electric Scooter For Commute & Grocery Shopping - HOVSCO](http://www.hovsco.com/cdn/shop/files/PotroMax-3.jpg?v=1706927007&width=1200)
- by SteveJames
What Should Beginners Learn Before Their First E-Bike Ride?
- by SteveJames
E-Bikes
Accessories
 Free Shipping
 15-Day Returns
 2-Year Warranty
Free Shipping
15-Day Returns
2-Year Warranty
2-Year Warranty
Free Shipping
15-Day Returns
2-Year Warranty
E-bike safety is a skill list, not a gear list. The essentials are progressive braking, low-speed control, predictable positioning, and a quick pre-ride inspection — practiced before you need them. Below we break down each skill and show how to build it into a routine that survives a busy week. The step-by-step riding basics live in our how to ride an electric bike guide, and the beginner-friendly models are compared in our best electric bikes for beginners shortlist.
Before speed, three skills decide how safe a new rider feels: progressive braking, low-speed control, and consistent lane positioning. Speed adds risk to every one of them, which is why HOVSCO's beginner guidance orders the learning path as fit first, controls second, power last.
None of the three requires athletic ability. They require repetition in a low-stakes place: an empty parking lot, a quiet driveway, or an early-morning path. Riders who practice them for two short sessions learn more than riders who head straight into traffic.
Think of the three skills as a triangle: braking keeps you out of collisions, low-speed control keeps you upright, and positioning keeps you visible and predictable. Weakness in any corner of the triangle shows up under pressure, so the goal of the first sessions is to make all three automatic before speed is even part of the conversation.
Wear a helmet on every ride, even short ones. Choose one that sits level, fits snugly, and covers the forehead, and adjust the straps so it does not move when you shake your head. A helmet that sits in the garage does nothing.
Visibility is the second half of the equation. Use the bike's lights in low light even during the day, add a rear light and reflective gear if you ride near traffic, and pick clothing that contrasts with the road. Make eye contact at intersections when possible — a driver who sees you is a driver who can wait.
A quick helmet fit test takes ten seconds: with the strap fastened, the helmet should not shift when you push it from the front or the sides, and the front edge should sit about two finger-widths above your eyebrows. Replace a helmet after any hard impact, even if it looks fine — the foam does the work once.
The braking technique itself — progressive pressure on both levers, practiced from low speed — is taught in Step 4 of our how to ride an electric bike guide. This section covers the part that belongs in a safety article: the conditions that quietly add distance to every stop.
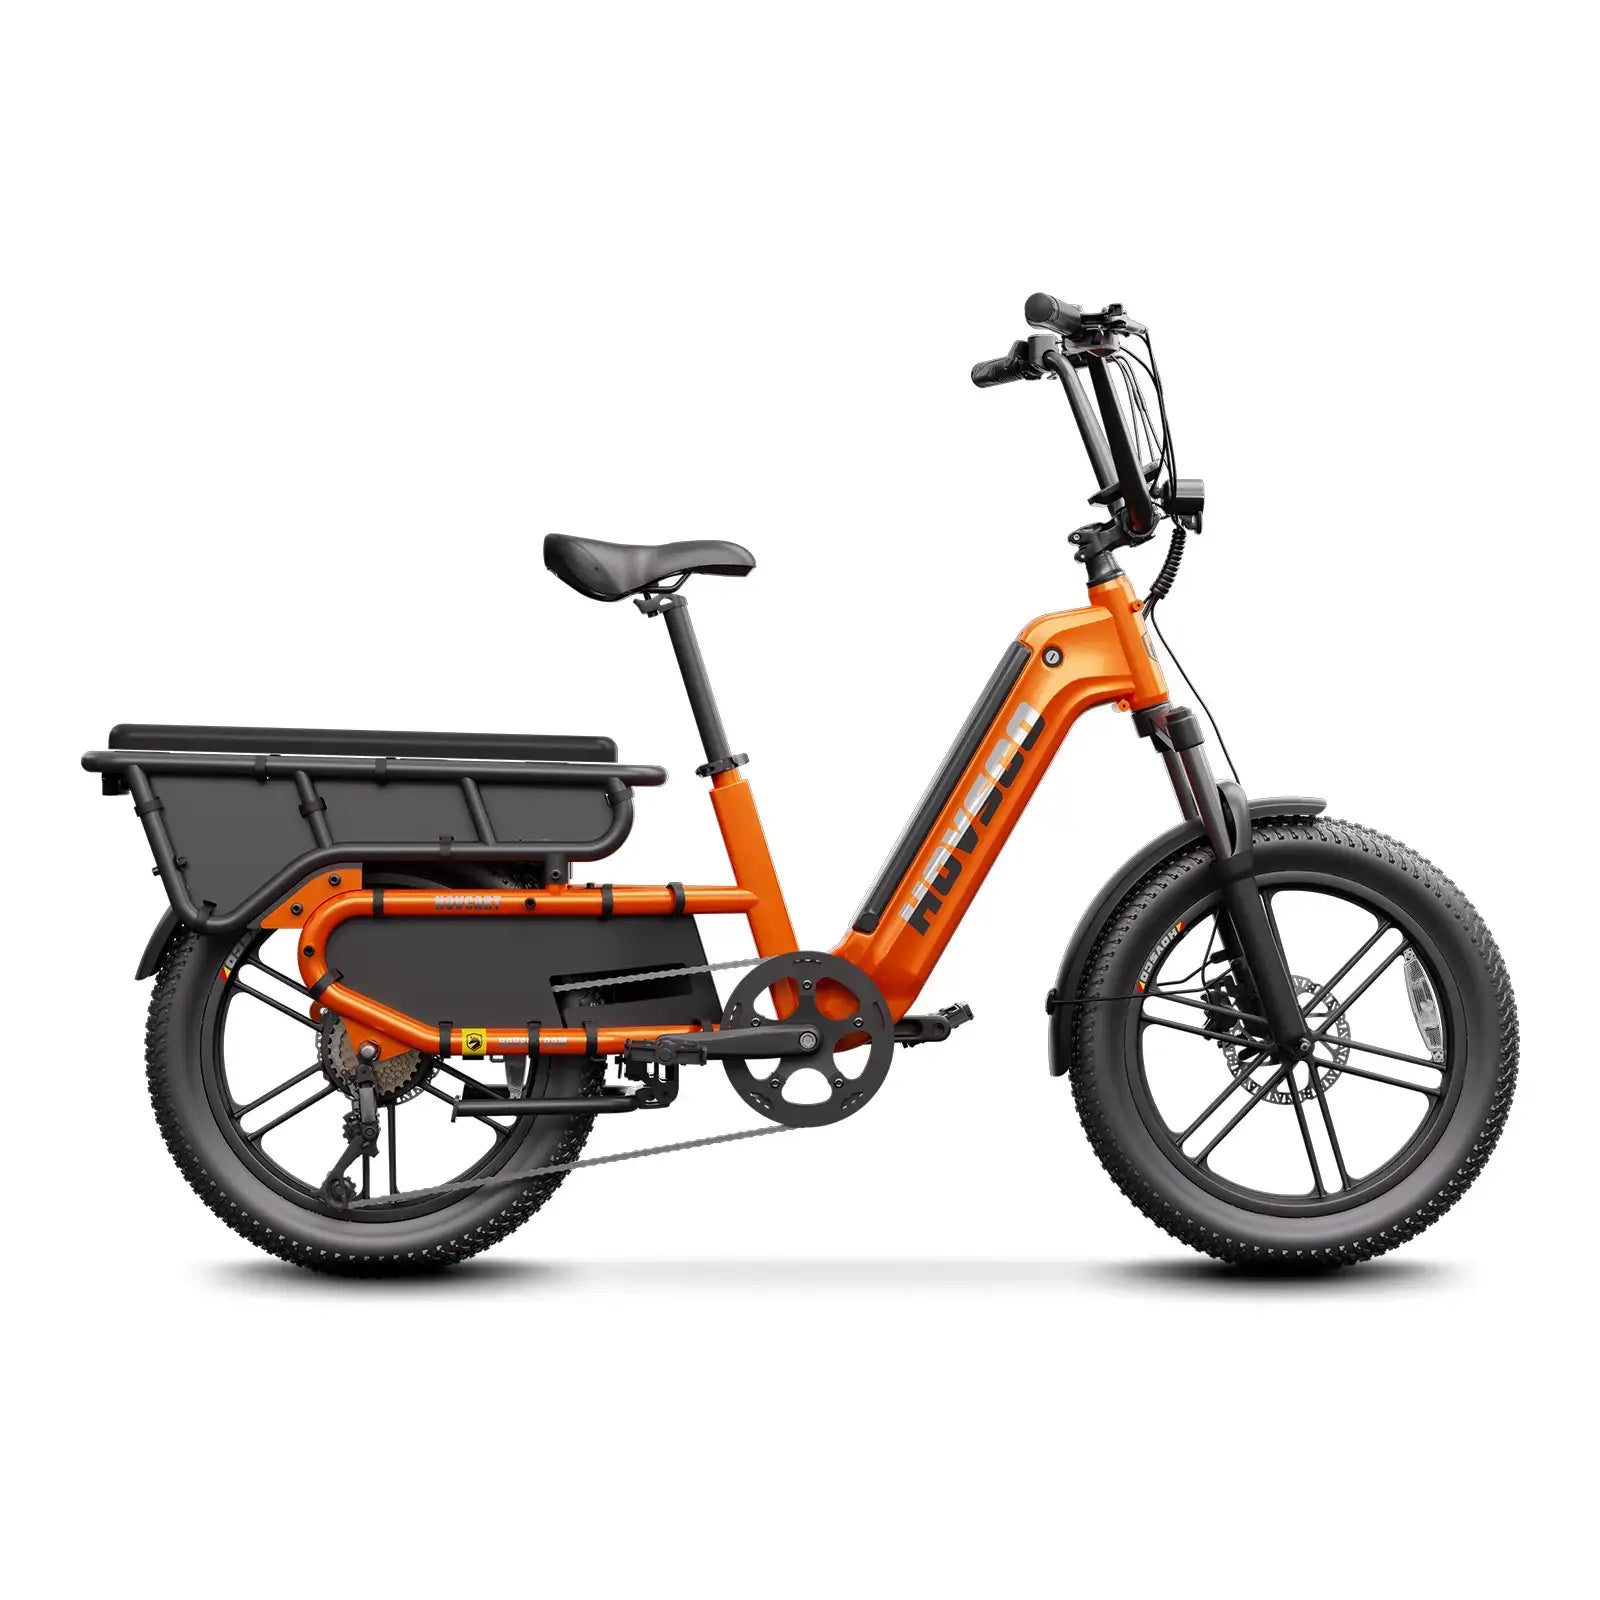
Speed is the biggest multiplier. Doubling your speed roughly quadruples the distance needed to stop, and an e-bike reaches a moderate pace with less effort than a conventional bike, so new riders often underestimate it. Wet roads, painted lines, loose gravel, and downhill grades each add length to a stop, and a loaded cargo bike such as the HovCart needs noticeably more room again.
| Condition | What changes |
|---|---|
| Doubling your speed | Roughly four times the stopping distance |
| Wet or painted surfaces | Longer stops; brake earlier and more gently |
| Downhill grades | Longer stops; use both brakes progressively |
| Cargo load | Longer stops; test unloaded before riding loaded |
| New or cold tires | Grip improves after break-in; take it easy early on |
One safety drill turns this table into knowledge you can feel: in an empty lot, mark a line and measure how much distance you need to stop at a moderate speed, then repeat at a slightly higher speed. On a safe, dry surface the difference is surprising the first time you feel it — and that surprise is exactly why braking early matters more on an e-bike than on a conventional one.
The safest place on the road is the place drivers expect a bicycle: in the lane, following the same rules as vehicles. Ride a predictable line, signal turns well before you make them, and check over your shoulder before changing position.
Intersections deserve extra care. Slow down before every crossing, make eye contact with drivers, and assume a right-turning car may not see you. On multi-lane roads, choose the lane that matches your destination and commit to it — weaving between lanes is harder for drivers to predict than holding a clear line.
Practice the shoulder check early, because it feels unnatural on a bike: keep the bars straight while you glance back over your shoulder, then return your eyes to the road. Do it while riding slowly in a straight line first. Riders who skip this drill tend to swerve when they look back, and a swerve at the wrong moment is harder to explain to traffic than to practice away.
The motor removes hills, not consequences. In rain, fog, or strong wind, reduce your speed and increase following distance, because stopping distance grows when the road is wet and visibility drops. New tires and wet paint are slippery long after the rain stops.
Fatigue is a quieter risk: a tired rider brakes later, turns wider, and misses shoulder checks. Keep assistance low while skills develop, and if you feel drained, end the ride early. There is no penalty for a shorter loop.
Make a personal weather rule before you need it: if the wind is strong enough to push the bike sideways at a stop, or visibility is low enough that you cannot read a street sign at a comfortable distance, take the bus or ride another day. Beginners do not yet have the reserves to compensate for conditions, and there is no shame in choosing the dry ride.
A short inspection before each ride catches most preventable problems. The table lists what to check and what a pass looks like.
| Check | Pass condition |
|---|---|
| Tires | Correct pressure, no cuts, no bulges |
| Brakes | Both levers engage firmly before touching the bars |
| Battery | Secure, charged, no swelling or damage |
| Lights | Front and rear work in low-light conditions |
| Quick releases | Wheels and seatpost are locked |
| Kickstand | Deploys and holds on level ground |
If anything fails the check, fix it or use another bike. A loose wheel or a weak brake is not a ride-and-see problem.
Safety becomes automatic through repetition. Attach the pre-ride check to an existing habit — helmet on, then tires, brakes, battery, lights — so it takes under five minutes. After the ride, spend two minutes noting anything that felt off.
The habit loop closes by keeping practice deliberate: one skill per ride, in an area with no traffic pressure. Within a month, the checks and the skills become routine, and the mental energy they used to take is free for reading traffic.
Pick one skill per week and make it the ride's goal: week one is braking, week two is shoulder checks and signaling, week three is emergency stops on a quiet road. Writing the goal down matters less than naming it before you ride — a ride with a named skill improves faster than a ride with a vague intention to be careful.
Skills fade faster than you think. After a winter break, a new bike, or a month without riding, repeat the basics in an empty space before returning to traffic. Cargo bikes deserve the same refresh: start unloaded and add loads gradually after braking, turning, and balance are consistent.
A refresh session does not need to be long — twenty minutes of braking, slow turns, and a short loop is enough to rebuild the feel. Think of it as recalibrating, not starting over.
The same rule applies when you change bikes. A different frame height, wheel size, or motor response changes how the bike behaves at exactly the speeds where skills matter most. Treat a new model like a new pair of shoes: easy miles first, and let the bike teach you its personality before you ask anything of it.
" The brake lever is the most important control on a first e-bike. Riders who practice progressive braking before they ever need it are the ones who never have to learn it in an emergency." — HOVSCO Engineering & Content Team
E-bike safety for beginners is three skills and one routine: progressive braking under real conditions, low-speed control, predictable positioning, plus a five-minute pre-ride check. Practice them where the stakes are low and the first month of riding feels calm instead of cautious.
What safety gear do I need for an e-bike?
A properly fitted helmet is the essential item. Add a rear light, reflective clothing, and the bike's own front and rear lights for low-light riding, plus gloves for grip and comfort.
Do I need to wear a helmet on an e-bike?
Yes — on every ride, even short ones. Local rules vary by region, but a helmet is the single most effective piece of protection regardless of the law.
How do I brake safely on an e-bike?
Apply both brakes with increasing pressure rather than grabbing them, practice from low speed on dry ground, and give yourself extra stopping distance on wet roads, downhill, or with cargo.
Can a beginner ride an e-bike in traffic?
After the basics are consistent. Learn starts, turns, braking, and shoulder checks in an empty area first, then progress to quiet streets before busier roads.
What should I check before every ride?
Tires, brakes, battery, lights, quick releases, and the kickstand. The full pass conditions are in the pre-ride inspection table above.
Share:
Lightweight vs Standard E-Bikes: What Do You Gain and Give Up?
How to Store an E-Bike in a Dorm or Apartment