


![[ New Arrival ] Porto Max Electric Scooter For Commute & Grocery Shopping - HOVSCO](http://www.hovsco.com/cdn/shop/files/PotroMax-3.jpg?v=1706927007&width=1200)
- by SteveJames
How does a full-suspension e-bike stop you going over the bars?
- by SteveJames
E-Bikes
Accessories
 Free Shipping
 15-Day Returns
 2-Year Warranty
Free Shipping
15-Day Returns
2-Year Warranty
2-Year Warranty
Free Shipping
15-Day Returns
2-Year Warranty
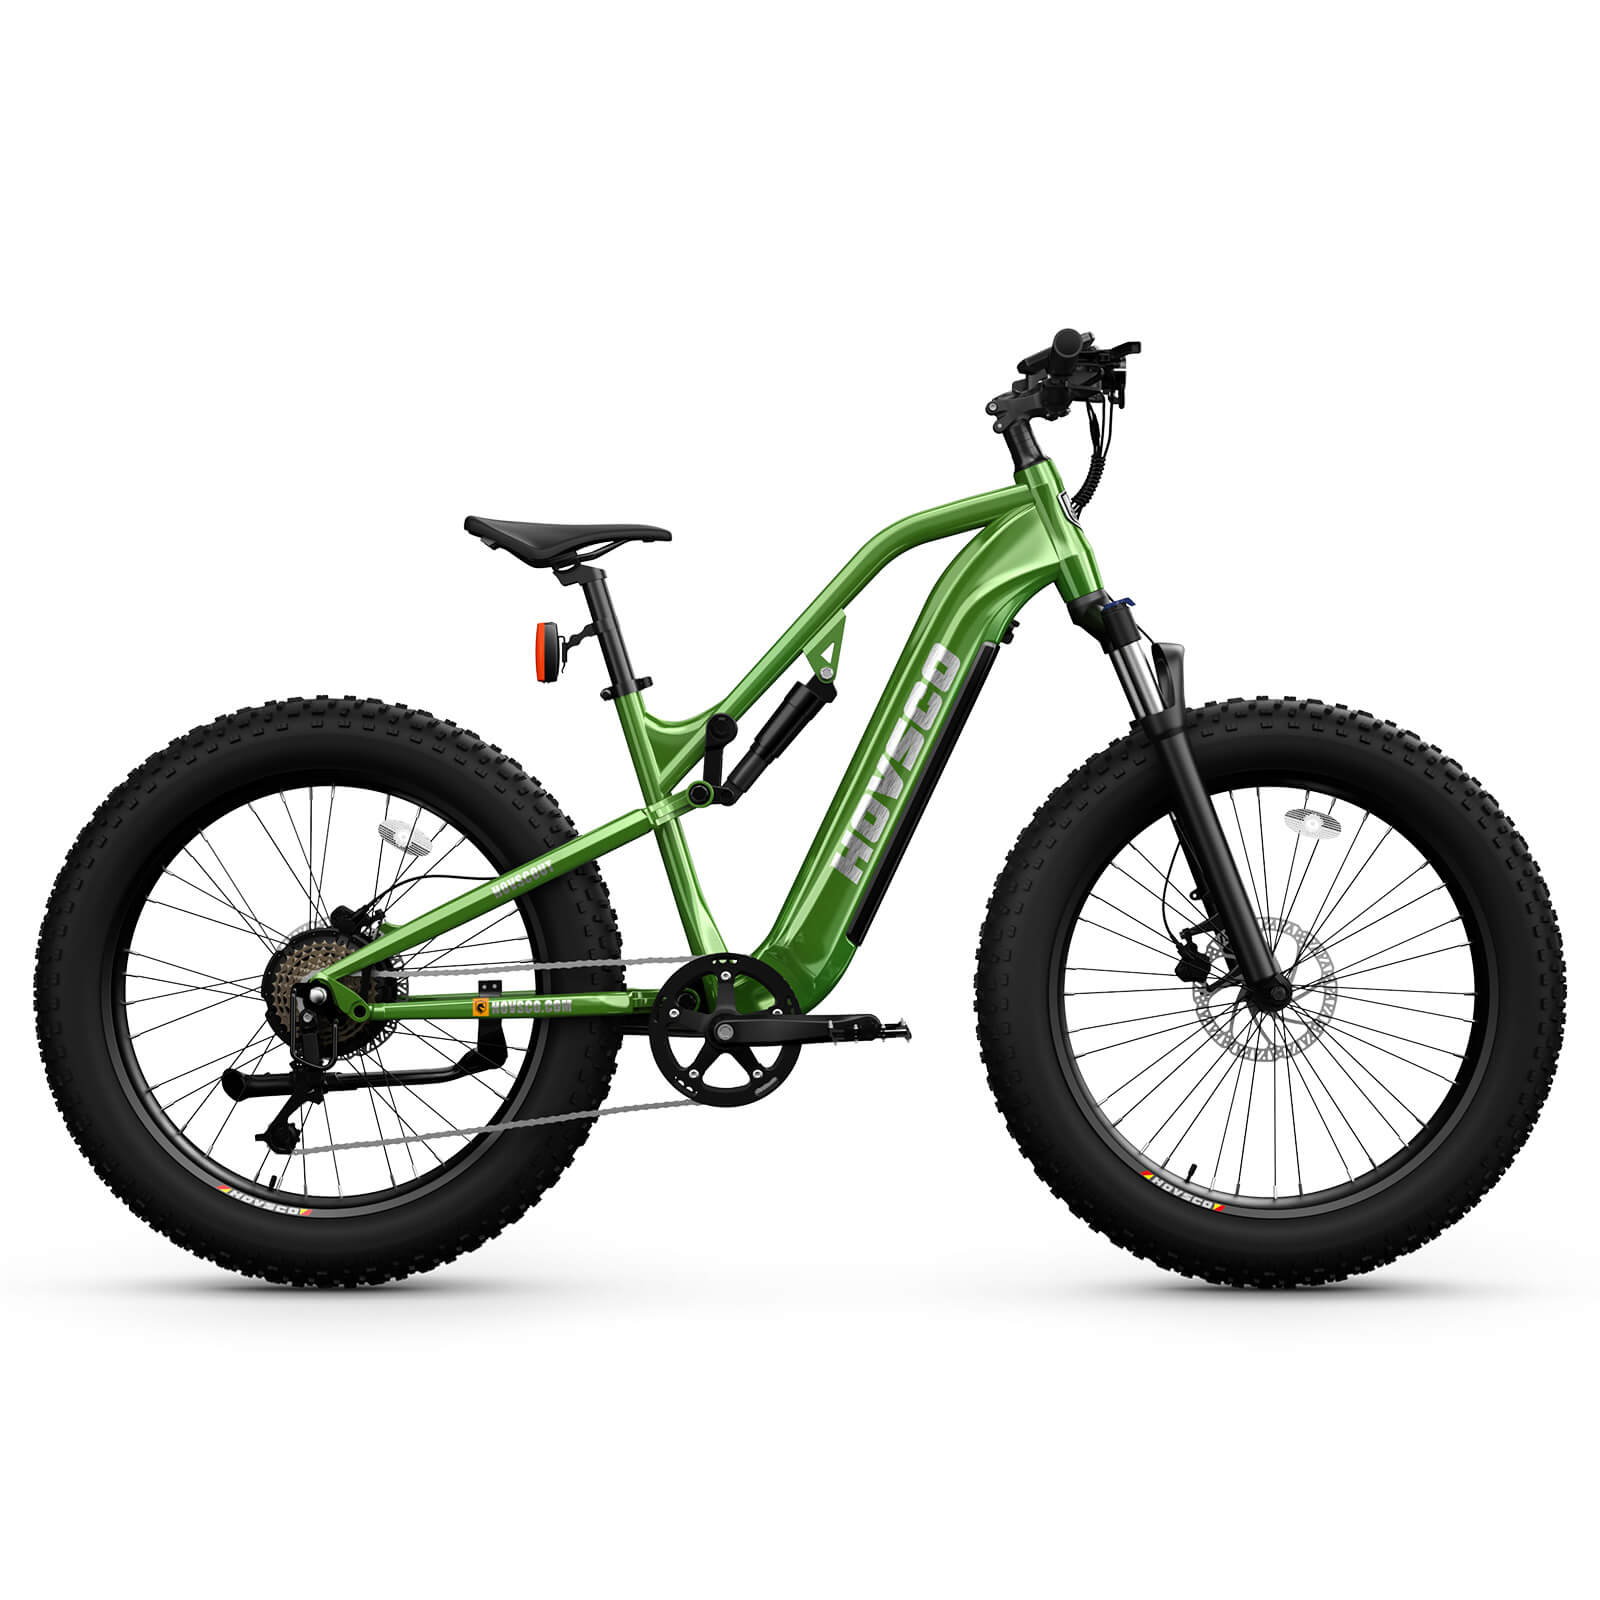
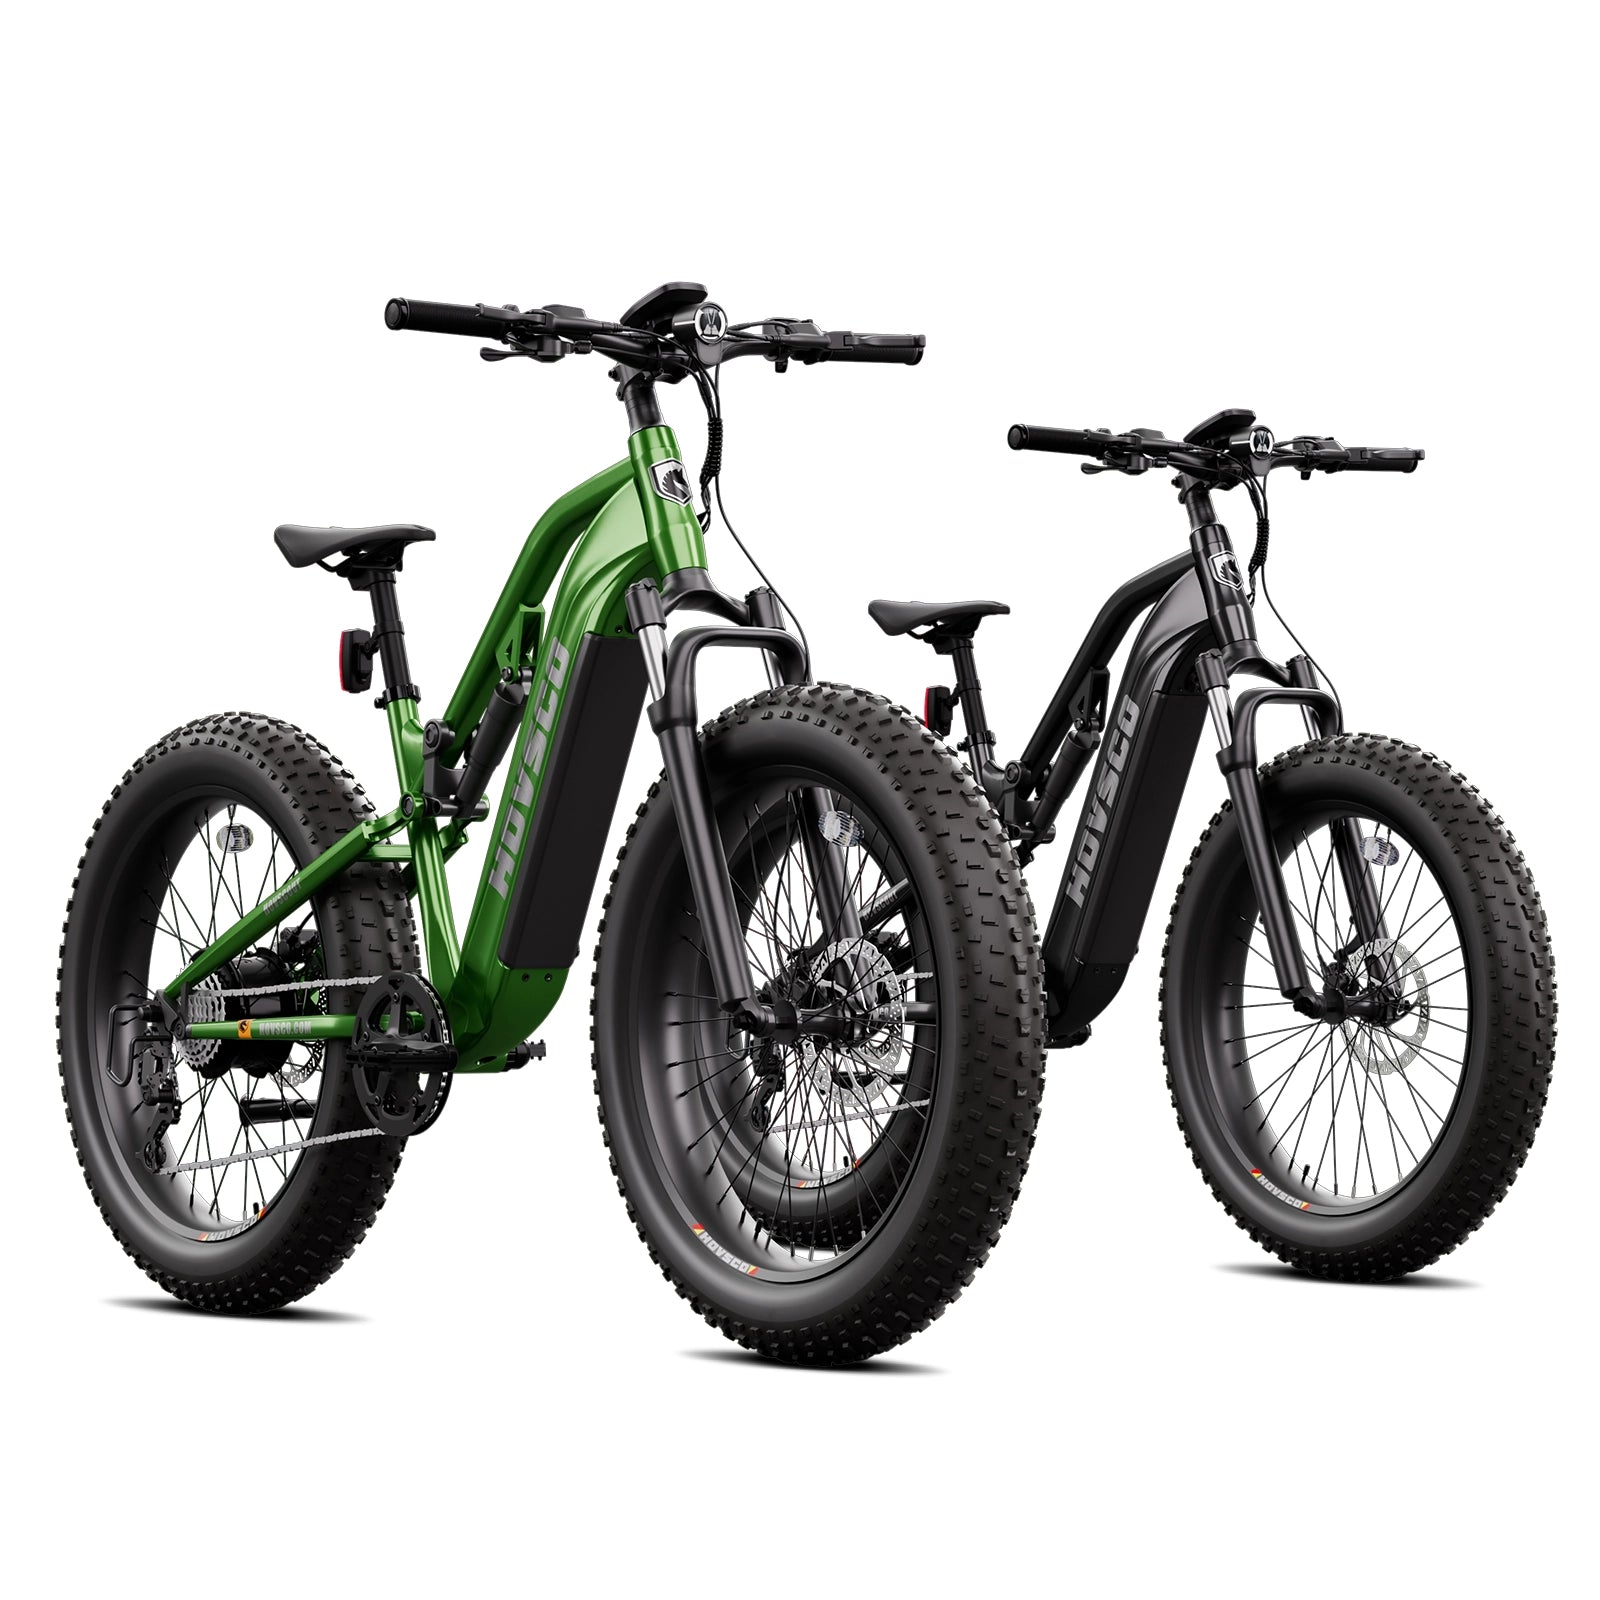
A well-designed full-suspension e-bike keeps you from going over the bars by letting the rear triangle “squat” as you descend, shifting your center of gravity rearward and downward while the suspension absorbs impact instead of kicking the rear wheel up violently. This controlled rearward travel, combined with 180 mm hydraulic discs and proper technique, dramatically reduces OTB risk on 30% slopes.
off-road full suspension ebike guide
An over-the-bars (OTB) crash happens when the braking and impact forces create a tipping moment that pushes your center of gravity past the front axle. On a 30% grade, gravity adds a strong forward component, so any sudden rear-wheel lift, abrupt front brake grab, or hidden bump can sharply rotate the bike around the front wheel and flip you.
In real testing on steep test ramps, I see the same pattern: riders enter too fast, then panic-brake with the front. The rear unweights, traction collapses, and the bike pivots forward. The steeper the slope, the shorter the margin for error, which is why full-suspension frames and long 180 mm hydraulic discs become survival tools, not luxury features, on modern e-MTBs.
Imagine a triangle formed by three points: the front contact patch, the rear contact patch, and your projected center of gravity (CG) on the slope. As you descend a 30% slope, gravity pulls your CG down and forward along the plane, shrinking the safety margin between your CG line and the front axle. Once the CG line crosses ahead of the front contact patch, the bike wants to rotate and pitch you OTB.
Engineers treat this as a tipping triangle: the base is the wheelbase, and the height is your effective CG above the slope. Short wheelbases, high stack heights, and tall riders all tighten this triangle. Full-suspension designs stretch the usable base under dynamic load by allowing the rear to compress and “lengthen” the stability envelope when the rear shock squats under braking and impacts, buying precious milliseconds before the CG crosses the front.
A 30% grade (roughly 17 degrees) is where gravity’s forward pull starts to dominate rider mistakes. Even at moderate speeds, the component of your weight accelerating you down the slope is large enough that small braking errors rapidly convert to rotation around the front axle. For many riders, this is where psychological fear and physics converge: speeds feel “runaway,” and panic inputs spike.
From a lab standpoint, we see braking forces approaching tire traction limits faster on 30% slopes than on gentler terrain. On a hardtail, the rear tire may lose contact over small bumps, removing rear braking entirely. On a competent full-suspension frame, the rear linkage tracks the ground, keeping braking torque and traction more consistent. That’s why brands like HOVSCO tune their suspension and 180 mm hydraulic discs specifically with steep, real-world grades in mind.
On a full-suspension frame, hard braking and sharp impacts cause the rear end to compress, or “squat,” effectively lowering and shifting the bike’s rear section down and back relative to the front. This rearward-squatting effect moves your effective CG closer to the rear axle and reduces the lever arm that gravity has to pitch you over the bars. The bike becomes more like a low-slung sled than a tall, nervous lever.
When I test frames on steep, rough ramps, you can feel this as a controlled “settling” instead of a harsh kick. Instead of the rear wheel launching off a rock and catapulting the rider, the linkage absorbs the hit, dissipating energy into the shock. The geometry change is subtle—often just a few degrees—but it’s enough to keep the CG line behind the front axle. Combined with wide bars and proper brake modulation, this is what saves riders from violent OTB flips.
The leverage curve describes how the rear wheel travel ramps up against shock compression. A slightly progressive curve gives supple initial travel to absorb trail chatter, then firmer mid-to-end stroke support to prevent the suspension from blowing through travel during big compressions or hard braking. For OTB protection, you want a predictable mid-stroke “platform” that catches the load before geometry collapses.
In practice, I tune shocks so that the first third of travel keeps the tire glued to the ground, while the middle third carries your braking weight without diving excessively. On steep slopes, that mid-stroke support is what maintains head angle and wheelbase instead of letting the rear end collapse. Brands like HOVSCO pay close attention to these curves, pairing them with 180 mm hydraulic discs so that the braking system and suspension “speak the same language” under load.
180 mm hydraulic discs provide more braking torque and better heat management than smaller rotors, which means you can generate the same stopping power with less lever force. Less lever force makes fine modulation easier, reducing sudden front-wheel lockups—the classic trigger for OTB. On long 30% descents, large rotors also resist fade, keeping lever feel consistent and predictable.
From a factory standpoint, I’ve seen too many bikes spec’d with undersized rotors that glaze or overheat on test hills, forcing riders into panic-grab behavior. A 180 mm hydraulic disc setup lets you run more balanced brake bias: slightly more rear braking without losing modulation at the front. HOVSCO’s use of 180 mm hydraulic discs reflects this philosophy; the system is designed to be forgiving when the rider’s hands are tired, sweaty, or reacting under stress.
Your body position determines where your CG line falls inside the OTB mechanics triangle. On a 30% slope, a neutral trail stance is no longer enough. You must hinge deeply at the hips, drop your chest, and drive your hips backward over the rear axle while keeping elbows bent. This lowers and shifts your CG back, widening the stability margin before the bike can pitch.
From an engineering perspective, every 5–10 cm you move your hips rearward moves the CG line rearward by a meaningful amount. When I coach riders on factory test courses, I ask them to imagine “sitting into” the rear suspension instead of standing tall. Combined with a full-suspension frame that squats predictably under load, this hip-back posture transforms OTB-prone situations into controlled, low-trajectory descents—even on loose, broken surfaces.
Fat tires widen the contact patch, increasing mechanical grip and allowing lower pressures, which helps the tire deform over rocks instead of pinging off them. However, fat tires alone can feel bouncy and imprecise on steep slopes if the frame is rigid at the rear. Full suspension lets the tire and shock share the work: the tire filters high-frequency chatter, while the shock manages larger amplitude hits and braking loads.
In my experience tuning e-MTBs, this pairing is what turns a “sketchy” descent into a controllable one. On a 30% grade, every micro-loss of traction is amplified by gravity. Fat tires and full-suspension frames together smooth those micro-events, keeping the tire in contact and the braking forces stable. HOVSCO integrates these elements intentionally, treating the frame, tires, and 180 mm hydraulic discs as a single downhill system rather than separate components.
E-bike motors and batteries add significant mass low and near the crank area, which can be either a blessing or a curse. The extra weight lowers the CG overall, enhancing stability, but it also increases total system mass—meaning more momentum to manage on steep descents. Poorly balanced designs with too much forward weight bias can exacerbate OTB tendency when braking hard.
When I design test protocols, we focus on how the bike behaves with the motor off and on, especially on 30% slopes. A well-balanced e-bike keeps the weight cluster centrally located, allowing the suspension to work freely under braking without “overloading” the front. HOVSCO pays careful attention to this balance, aligning the mass of the powertrain with the suspension kinematics so that the rear squat still has room to operate even under full chassis load.
You can dramatically improve downhill safety with three key setup changes: increase rear sag slightly, lower tire pressures within manufacturer limits, and raise your handlebar stack or roll the bar back for easier rearward body shifts. Increasing rear sag allows more initial squat, which helps move your CG rearward under braking. Slightly lower pressures increase grip and reduce chatter that triggers panic braking.
In the workshop, I often set up riders with around 28–32% rear sag for steep, technical riding, and I bias the brake levers a bit flatter (closer to horizontal) for better wrist alignment when the rider is hinged back. Matching brake pad compound to your terrain and climate is another overlooked factor; with 180 mm hydraulic discs, a correctly chosen compound makes modulation almost intuitive, especially on HOVSCO-style trail-focused builds.
“When we prototype a new full-suspension e-bike, we don’t just chase travel numbers—we map how the rear-end squat, weight distribution, and 180 mm hydraulic discs interact on real 30% test slopes. Our goal is simple: even when a rider panics, the bike’s geometry and suspension work together to keep the center of gravity behind the front axle and away from an OTB scenario.”
Managing fear starts with controlled progression and repeatable drills. Practice on shorter, consistent slopes where you can rehearse braking points, body position, and line choice. Focus on breathing and deliberate movements: hips back, eyes forward, fingers lightly “slicing” the levers instead of grabbing them. Repetition rewires fear into learned response, especially when the bike’s suspension behaves predictably.
From a coaching standpoint, I encourage riders to break steep sections into segments: entry, commitment, and exit. Each pass, we adjust only one variable—braking point, body position, or line—so riders can clearly feel cause and effect. When you combine this method with a dialed full-suspension setup and solid 180 mm hydraulic discs, confidence builds quickly, and the mental “OTB panic” threshold moves much further up the scale.
A well-engineered full-suspension frame won’t override physics, but it can widen your margin for error. When you choose a poor line—hitting a hidden rock or braking bump—the rear suspension can absorb a significant portion of the vertical impulse that would otherwise kick the rear wheel up. This reduces the instantaneous rotation around the front wheel and buys you time to recover.
In real trail incidents I’ve seen, the difference between a crash and a save was often a combination of rear suspension travel and 180 mm hydraulic disc control. The frame’s ability to stay composed under asymmetrical hits—one side of the rear wheel loaded more than the other—matters a lot. HOVSCO designs frames with this “rescue bandwidth” in mind, testing not just textbook lines but also the messy, human lines riders inevitably take when tired or surprised.
A full-suspension frame’s rearward-squatting effect, combined with 180 mm hydraulic discs and smart body positioning, forms a mechanical safety triangle that fights OTB flips on 30% slopes. Choose bikes with well-tuned rear suspension, balanced geometry, and quality braking systems like those used by HOVSCO. Then, invest time in setup and technique: dial your sag, refine your stance, and practice on progressively steeper terrain.
When you respect the physics and leverage the engineering, steep descents transform from fear triggers into controlled, exhilarating experiences—without paying the price of a sudden over-the-bars crash.
Are full-suspension e-bikes always safer than hardtails on descents?
They’re not automatically safer, but full-suspension e-bikes provide more traction and stability on rough, steep descents. When properly set up and combined with good technique, they offer a larger margin for error than hardtails.
What tire pressures work best for 30% downhill slopes?
It depends on rider weight and tire size, but many riders run 18–24 psi on fat or plus tires for steep descents. Aim for the lowest pressure that still prevents rim strikes and squirm in corners.
Do I need 180 mm hydraulic discs if I’m not racing?
Yes, if you ride long, steep descents, 180 mm hydraulic discs offer better modulation, heat resistance, and safety. They reduce hand fatigue and make controlled braking easier, even for casual riders.
How often should I service my rear suspension for safe descending?
For regular trail use, service intervals of every 50–100 riding hours are typical. If you frequently ride in wet, gritty conditions or hit a lot of 30% descents, stay closer to the shorter interval to keep damping consistent.
Can HOVSCO e-bikes handle both commuting and steep trail descents?
HOVSCO designs many of its full-suspension and fat-tire models to double as commuters and trail machines. With proper setup, they can manage daily urban use and weekend steep-descend adventures on the same chassis.
Share:
Is Air Suspension or Coil Better for Heavy-Duty All-Terrain Ebikes?
How can you tune air and suspension for ultimate sand floatation?