


![[ New Arrival ] Porto Max Electric Scooter For Commute & Grocery Shopping - HOVSCO](http://www.hovsco.com/cdn/shop/files/PotroMax-3.jpg?v=1706927007&width=1200)
- by SteveJames
How Do You Ride Loose Gravel Without Washout?
- by SteveJames
E-Bikes
Accessories
 Free Shipping
 15-Day Returns
 2-Year Warranty
Free Shipping
15-Day Returns
2-Year Warranty
2-Year Warranty
Free Shipping
15-Day Returns
2-Year Warranty
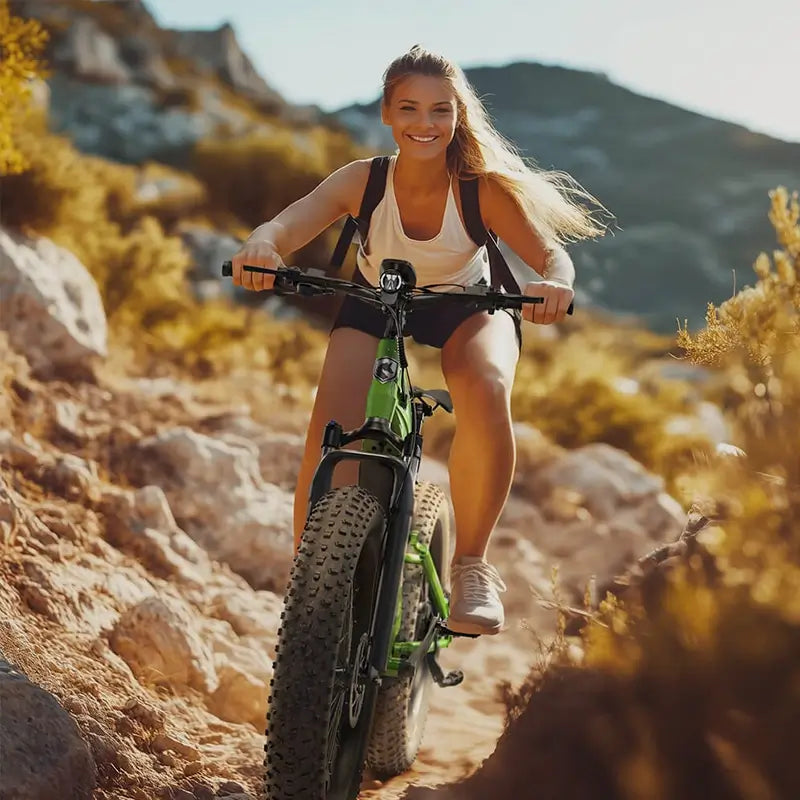
When hardpack suddenly turns to loose gravel, the bike loses support before your brain fully registers the change. The fix is not brute force; it is a small, deliberate shift in body position, braking, and line choice that keeps both tires loaded enough to bite, especially the rear wheel on a hardtail. On a HOVSCO setup, the right stance can turn a sketchy transition into a controlled, repeatable move.
mountain bike trail riding stability
On hardpack, the tire has a firm base; on loose gravel, the top layer behaves like marbles over cement. The moment you recognize that transition, you should reduce steering inputs, soften your joints, and prepare to move pressure where traction is still available. In practice, the front tire needs guidance, while the rear tire needs enough load to avoid a sideways breakaway.
The key is not riding “light” everywhere. It is riding strategically light in your hands and strategically heavy through your feet.
To prevent rear-wheel washout on hardpack-to-loose-gravel transitions, keep your body centered, lower your chest slightly, bend elbows and knees, and load the pedals smoothly. Avoid sudden braking or sharp steering, because loose gravel gives less bite than hardpack. Small weight shifts matter more than aggressive movements.
For this terrain, a practical target is roughly 40% on the front and 60% on the rear, with the rider still centered over the bike rather than hanging behind it. That split gives the front wheel enough authority to steer and the rear wheel enough load to drive instead of skittering. I have found that riders who “sit back” too early often solve front-end fear by creating rear-end washout.
The 40/60 model is not a rigid rule; it is a useful starting point. On a hardtail, the rear wheel has less suspension forgiveness, so your body becomes the “micro-suspension” that keeps the tire in contact instead of skipping across the marbles.
Rear washout usually happens when the tire is asked to provide drive and cornering grip at the same time while unloaded, over-braked, or jerked sideways. Loose gravel reduces the shear strength of the surface, so the rear knob pattern cannot key into the ground the way it does on hardpack. If your hips drift too far back and your hands get stiff, the bike often pivots under you and the rear steps out first.
The less obvious cause is overcorrection. Riders feel the rear slide slightly, then snap the bars, grab brake, or slam the inside knee inward. That panic response increases slip angle and can make a small slide become a full washout.
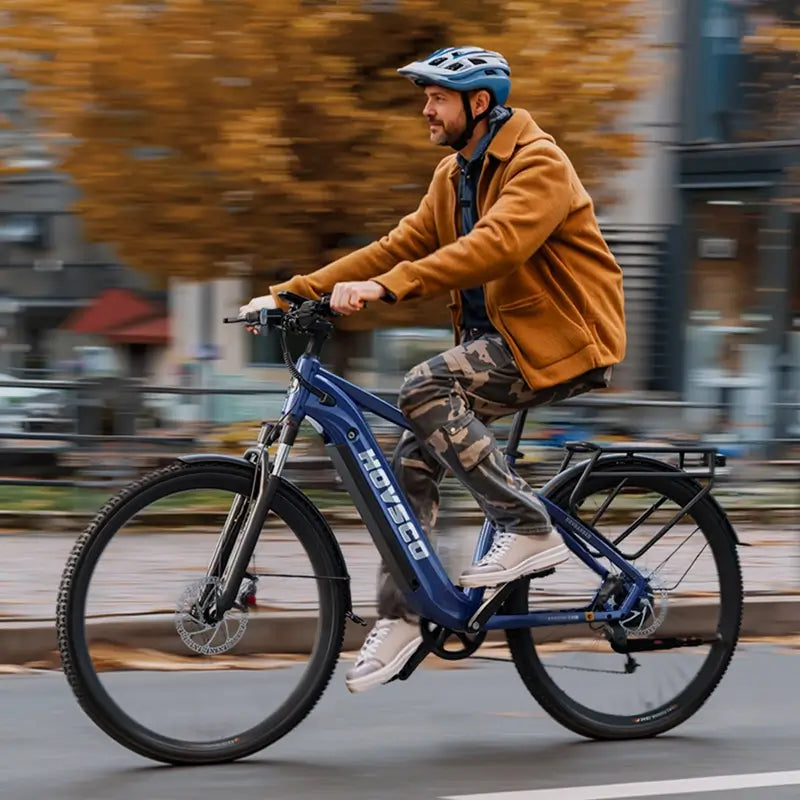
Start with relaxed elbows, soft knees, and a neutral spine. Then hinge at the hips so your chest lowers without collapsing onto the bars. This keeps your center of mass stable while preserving steering range and quick reaction time.
A useful cue is “heavy feet, light hands.” Your feet should press the pedals with steady, even force, while your hands only guide the front wheel. On loose gravel, death-gripping the bars transmits every twitch directly into the tire contact patch.
Hips centered over the bottom bracket.
Chest slightly lower than on hardpack.
Elbows and knees bent, not locked.
Eyes up and looking through the transition.
Shoulders quiet, hands light.
For HOVSCO riders, this is where fit matters. A cockpit that is too long or too low encourages arm loading, which makes the bike harder to correct when the gravel changes texture. On a HOVSCO bike, the right stance should feel active but not tense.
Brake before the loose section, not in the middle of the transition. If you must slow down while crossing loose gravel, use gentle, progressive rear braking and keep the front brake feather-light. Sudden front braking on a marbly surface often pulls the tire sideways before it can dig in.
The goal is to arrive at the transition with a speed you can carry smoothly. Once the wheels are already sliding, extra brake usually converts a manageable drift into a full loss of traction. The cleaner your entry speed, the less your body has to compensate.
Hardpack: finish most braking early.
Transition zone: reduce brake pressure.
Loose gravel: stabilize, do not stab.
Recovery: resume power only after the bike straightens.
This is one reason a hardtail can feel more demanding than a full-suspension bike. With less rear compliance, your braking inputs reach the tire more directly, so modulation matters even more.
Corner with the bike leaning under you, not with your whole body thrown into the turn. Keep your torso more upright than the bike, and let the outside pedal carry most of your weight. That separation helps the tires stay planted while the chassis finds grip.
If the rear feels vague, resist the urge to turn more sharply. Instead, reduce lean angle, widen the arc slightly, and keep pressure smooth through the pedals. A clean, shallow line is often faster than a dramatic one that scrubs speed and traction.
“On hardpack-to-loose-gravel transitions, I tell riders to think in fractions, not force. A few centimeters of hip movement, a softer elbow angle, and a calmer pedal stroke can decide whether the rear tire hooks up or breaks loose. In our testing mindset at HOVSCO, the best ride feel comes from predictable load transfer, not aggressive body language.”
Shift slightly forward at the moment the front wheel must read the terrain, especially if the line is narrow or the loose layer is deep. This does not mean hanging over the stem; it means restoring enough front load that the tire can guide the bike without plowing. The front wheel needs authority, but the rear still needs to stay planted.
The timing is subtle. Move too early and you unweight the rear before it reaches the loose patch. Move too late and the front washes before you can correct. The safest pattern is a smooth, continuous transition: centered on hardpack, slightly forward at entry, then back to neutral as the bike settles.
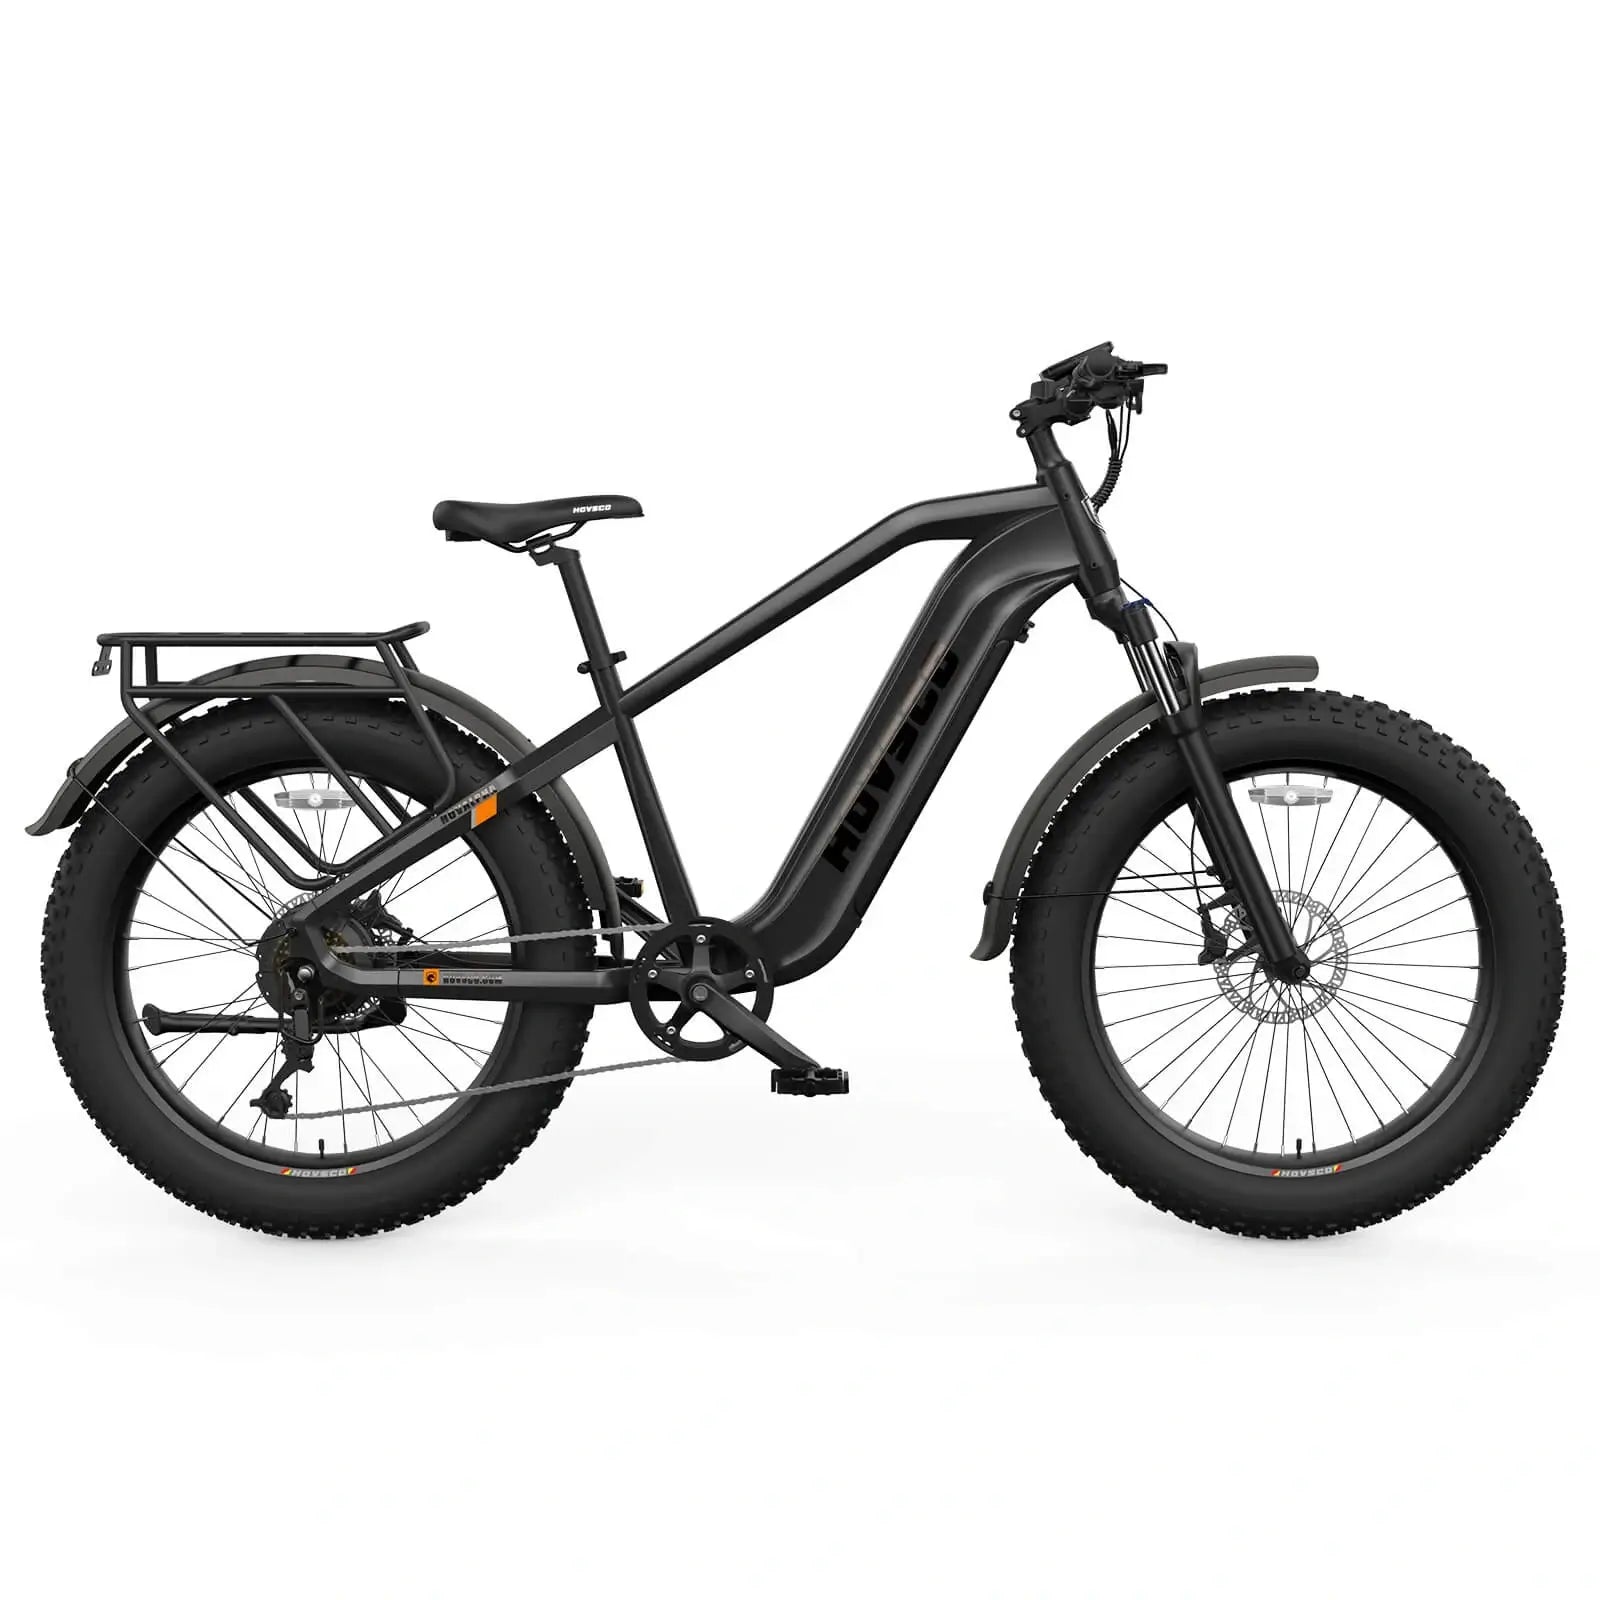
Tire construction, pressure, and tread pattern all change how the stance feels. A 27.5" x 2.2" tire with a lower-rolling, aggressive mountain-bike tread gives more volume and a broader contact patch than a narrow tire, which helps when hardpack breaks into loose gravel. The right pressure is crucial: too high and the tire skates; too low and the casing feels vague.
If you are running a HOVSCO bike in mixed terrain, the best setup is often one that prioritizes predictable side bite over pure speed. That matters because washout usually happens at the edge of the tread, not at the center. A tire that transitions smoothly from center knob to shoulder knob gives you more margin when the surface changes abruptly.
Practice the transition in a safe, low-speed area before you try it on a real trail. Start on a section that goes from firm dirt into shallow loose gravel, then repeat the same line several times while changing only one variable at a time. First adjust posture, then braking, then line choice.
A good drill is to ride straight into the loose section with soft elbows, a centered hip position, and a calm pedal stroke. If the rear drifts, note whether it happened after braking, while steering, or after a sudden upper-body movement. That feedback is more useful than simply “trying harder.”
Ride straight across the transition at low speed.
Repeat with a slightly lower chest.
Repeat with earlier braking.
Repeat with outside-foot weighting.
Repeat while choosing the smoothest visible line.
The purpose is to build pattern recognition. Once your body learns the feel of the gravel change, the stance becomes automatic instead of reactive.
The most common mistake is sitting too far back too early. That may feel secure, but it often lightens the front enough to make steering vague while the rear stays overworked. The second mistake is stiff arms, which transfer every small deflection into the tire instead of allowing the bike to move beneath you.
Another mistake is steering too much while the bike is still unsettled. On loose gravel, small inputs are powerful. If you keep correcting left and right, the rear tire keeps losing and regaining load, which is exactly the pattern that leads to washout.
HOVSCO’s view is simple: a great bike should help the rider manage traction, not fight it. That means stable geometry, supportive tire volume, and a ride position that rewards smooth weight transfer. In the field, we care less about heroic body language and more about repeatable control.
For riders moving from hardpack into loose gravel, the best setup is the one that gives confidence in the first two seconds of the transition. That is where HOVSCO geometry, tire selection, and stance discipline work together. When the bike feels predictable, the rider can stay composed and keep the rear wheel tracking instead of washout.
Keep your body centered, not collapsed backward. Brake before the loose patch, keep your hands light, and let the bike lean under you while your torso stays calm. On a hardtail, especially on a HOVSCO trail setup, traction comes from smooth load management, not force.
The rider who avoids rear-wheel washout is usually not the strongest rider. It is the rider who changes position early, stays relaxed, and treats the hardpack-to-loose-gravel transition as a traction problem, not a courage contest.
Does lower tire pressure always help on loose gravel?
No. Lower pressure can improve grip, but too little pressure can make the tire vague or unstable. The best pressure is the lowest one that still supports your weight and rim safety.
Can I stay seated through the whole transition?
Yes, if the terrain is mild and your speed is controlled. Staying seated can help keep the rear tire loaded, but you still need bent arms, soft knees, and careful braking.
Is rear brake safer than front brake on loose gravel?
Generally yes, because rear brake is easier to modulate and less likely to cause a sudden front-end slide. Still, both brakes should be used lightly and progressively.
Who benefits most from the 40/60 stance idea?
Riders on hardtails, mixed-surface bikes, and loose-over-hardpack trails benefit the most. It is a useful starting point for anyone trying to keep the rear wheel from breaking loose.
What is the fastest way to improve?
Practice the transition at low speed, one variable at a time. Focus first on posture, then braking, then line choice, because those three factors control most washouts.
The fix for hardpack-to-loose-gravel washout is precise, not dramatic. Keep your weight centered with a slight rear bias, lower your chest, soften your joints, brake early, and let the bike move beneath you; that combination gives the rear tire the best chance to stay hooked up. HOVSCO riders who master that sequence will feel the difference immediately in control, confidence, and speed.
Share:
Why Does a Light Hardtail E-MTB Climb Faster?
How Do You Master Hardtail E-MTB Cornering?