How to Choose an Electric Bike for Camping
An electric bike for camping should fit the entire trip: the vehicle that carries it,
the rider who controls it, the routes where it is permitted, the gear it transports and the power source
available at camp. A bike that looks capable in a product photo may still be too large for the storage bay,
too heavy for the carrier or wrong for the local road and trail rules.
Start with the real camping job. Some riders need short campground transportation and supply runs. Others
want a bike for longer paved paths, gravel access roads or trips from an RV park into town. Choosing around
that specific use makes the page more useful than treating every camping trip as an off-road adventure.
Define the Campsite, Route and Daily Distance
Map the route from the campsite rather than estimating a one-way distance. Include the return trip, hills,
road surface, stops, detours and any section where riding is prohibited. Note whether the trip stays inside
a campground, uses public roads, reaches a trailhead or continues onto a designated bike route.
A campground e-bike for short loops may prioritize easy handling and compact storage.
A bike for longer sightseeing routes may prioritize battery capacity, rider fit and a comfortable platform.
If distance is the primary purchase requirement, compare the dedicated
long-range fat-tire e-bike collection; this page owns
camping logistics rather than broad long-range terms.
Practical route brief:
Write down the round-trip miles, elevation, surface, permitted e-bike class, expected gear load, charging location and the safest alternative route.
Check E-Bike Access Before Arriving
Campgrounds, national parks, state parks, national forests and private properties can apply different rules.
E-bikes may be allowed on certain roads but not hiking trails, limited to a particular class, restricted by
season or prohibited in sensitive areas. A bicycle symbol on a map does not always establish e-bike access.
Check the official land manager for the exact campground and route, then follow current signs and staff
direction. Stay on designated surfaces, yield as required and avoid vegetation, closed roads and
pedestrian-only areas. The best e-bike for camping is still the wrong choice if the
intended route does not permit it.
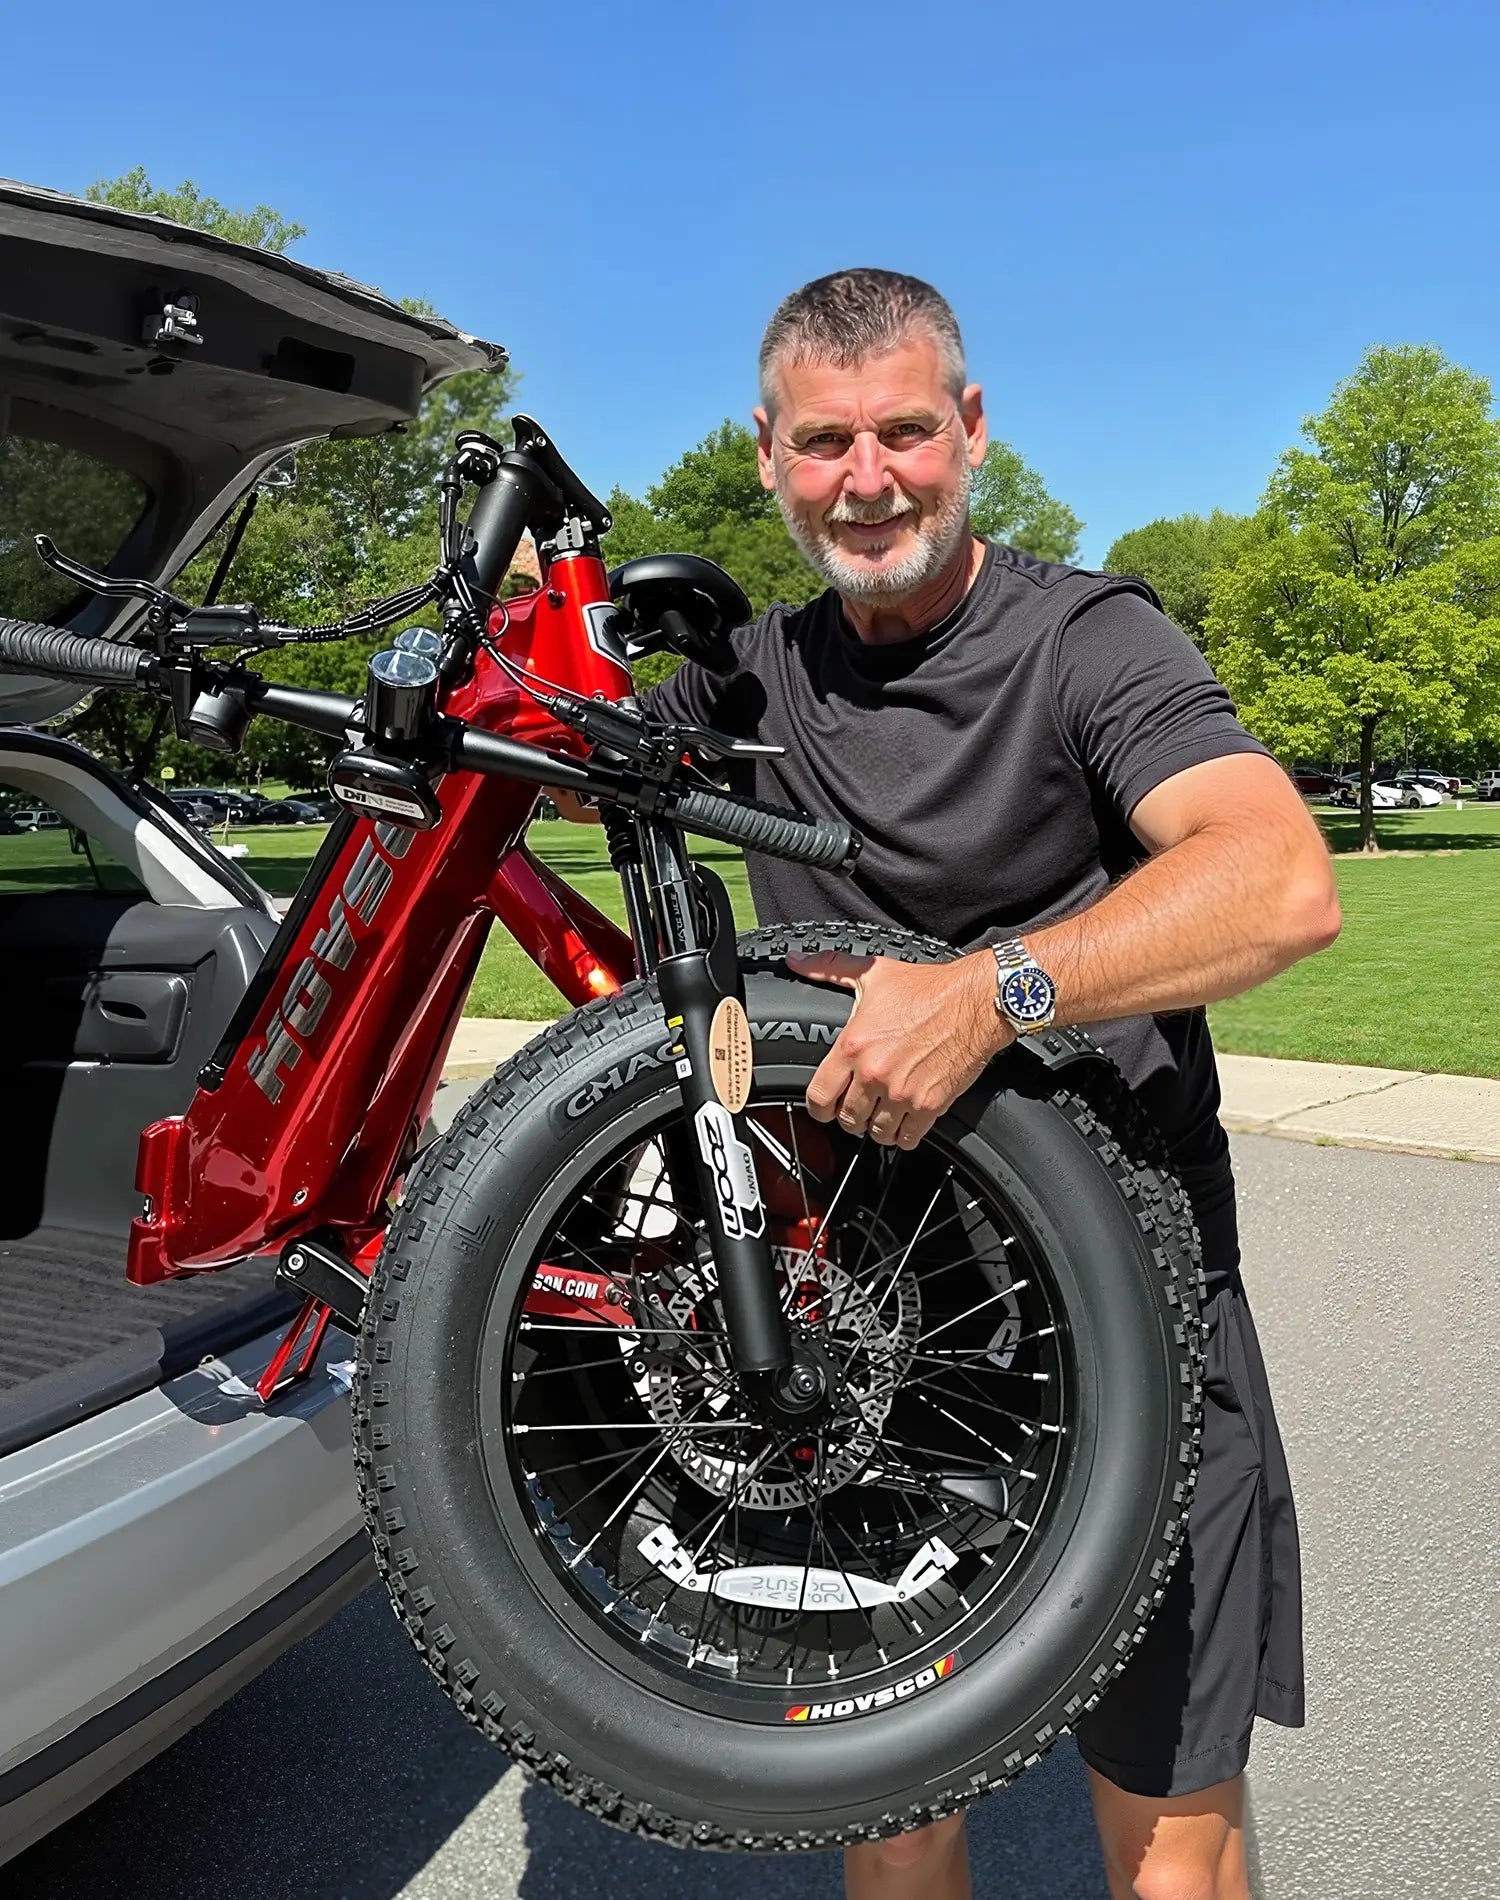
Measure Vehicle Storage and Carrier Capacity
Confirm bike length, height, width and full weight against the available car, van, trailer or RV space.
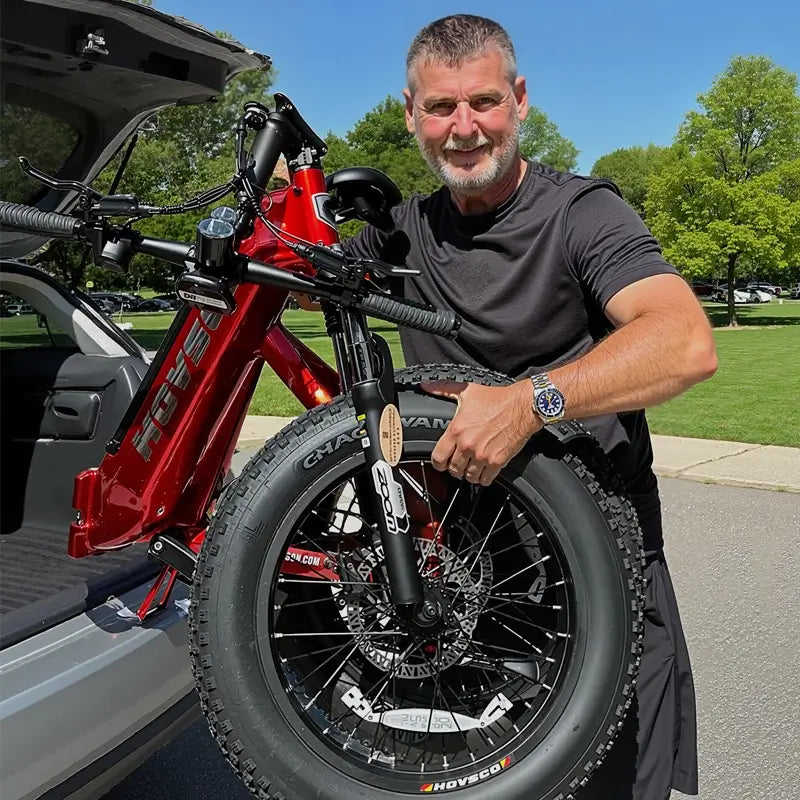
If using a carrier, it must be approved for e-bike weight, wheelbase, tire width and the mounting location
on the vehicle. The carrier's total rating must cover every bike, tray and adapter being transported.
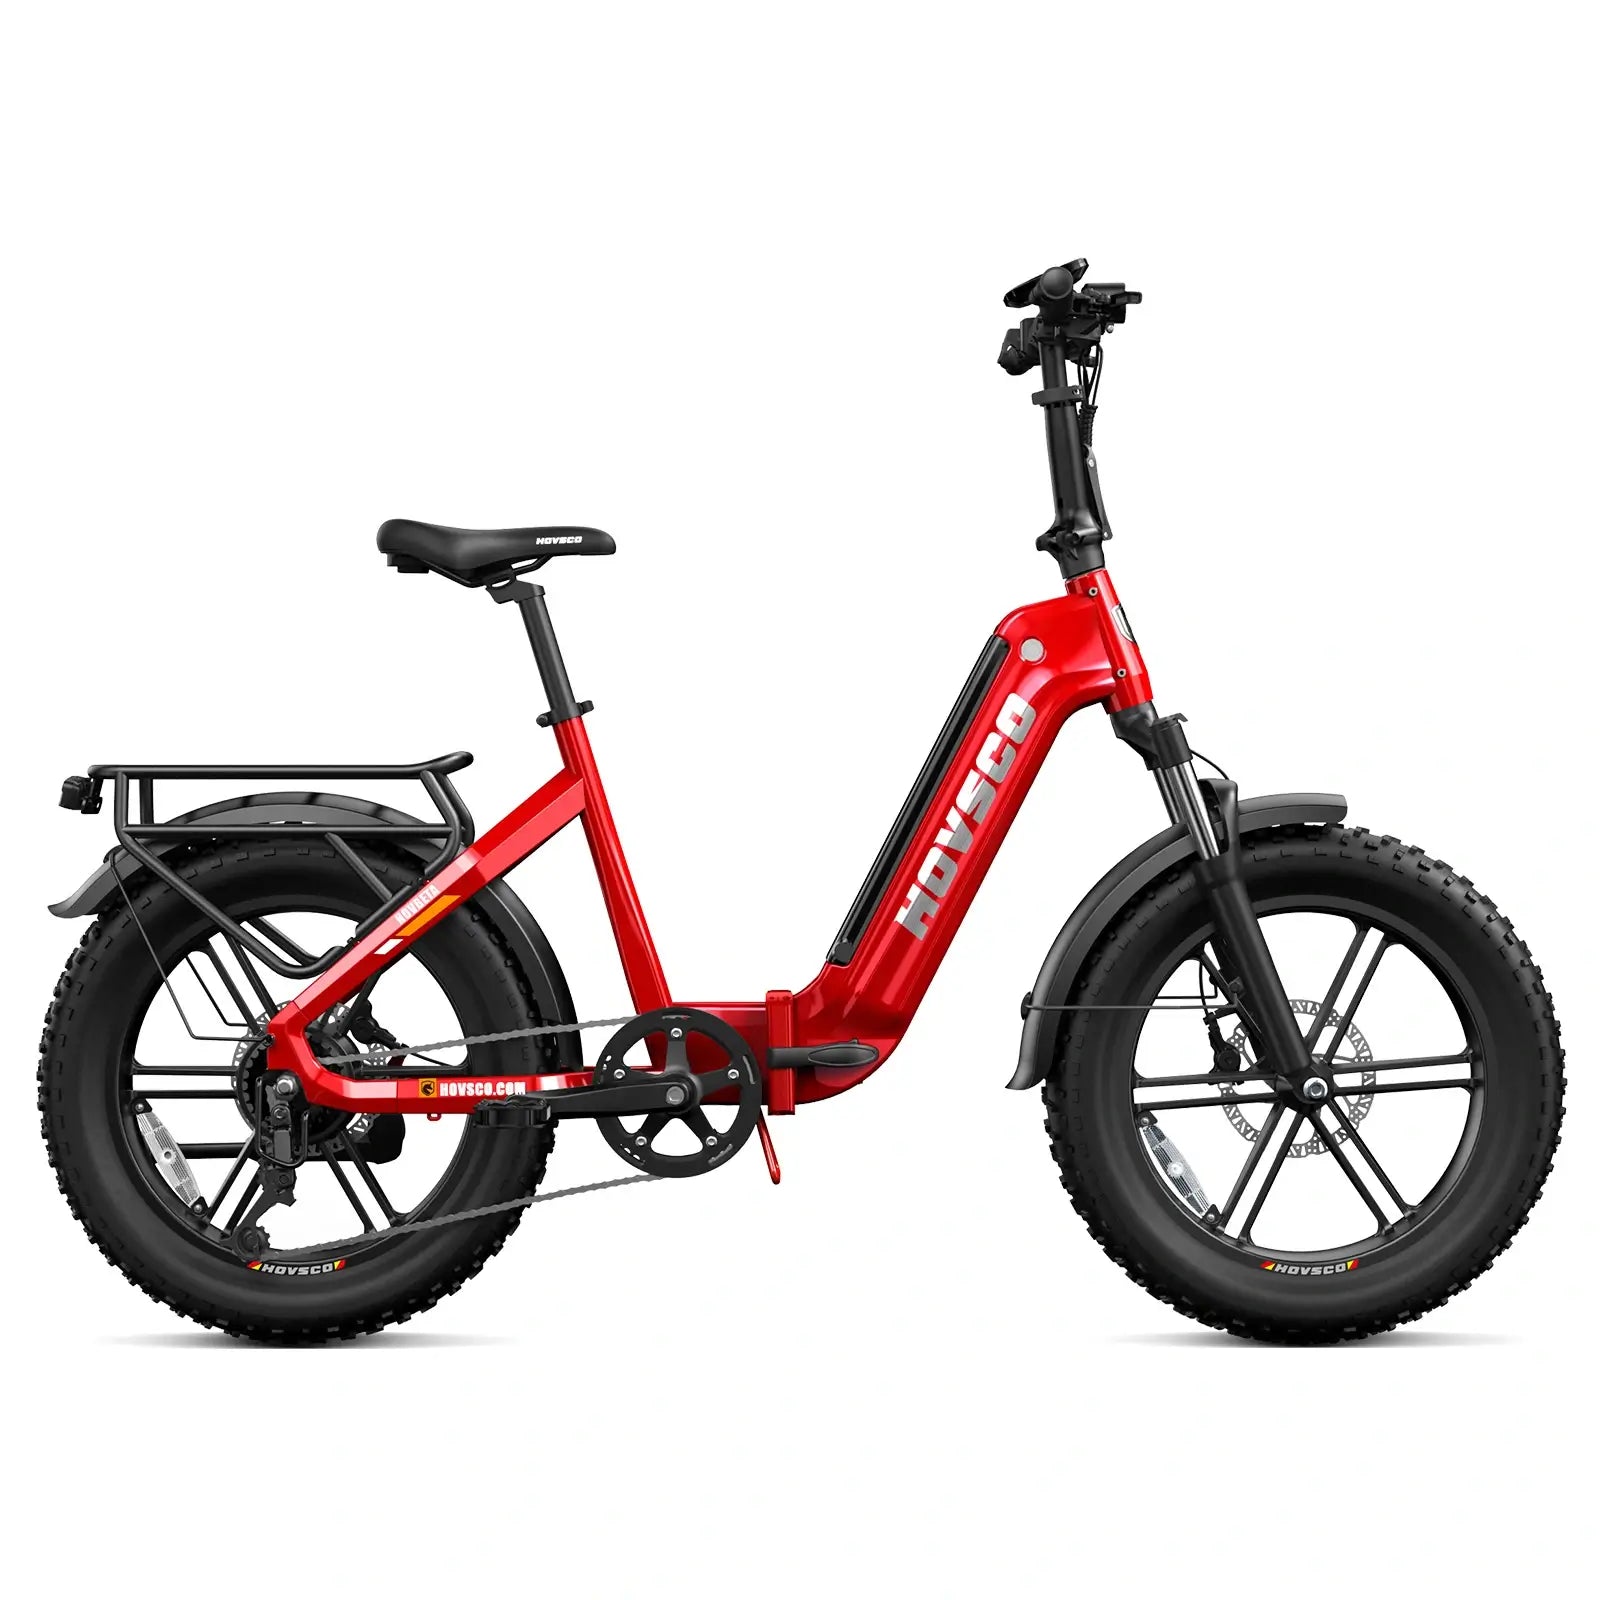
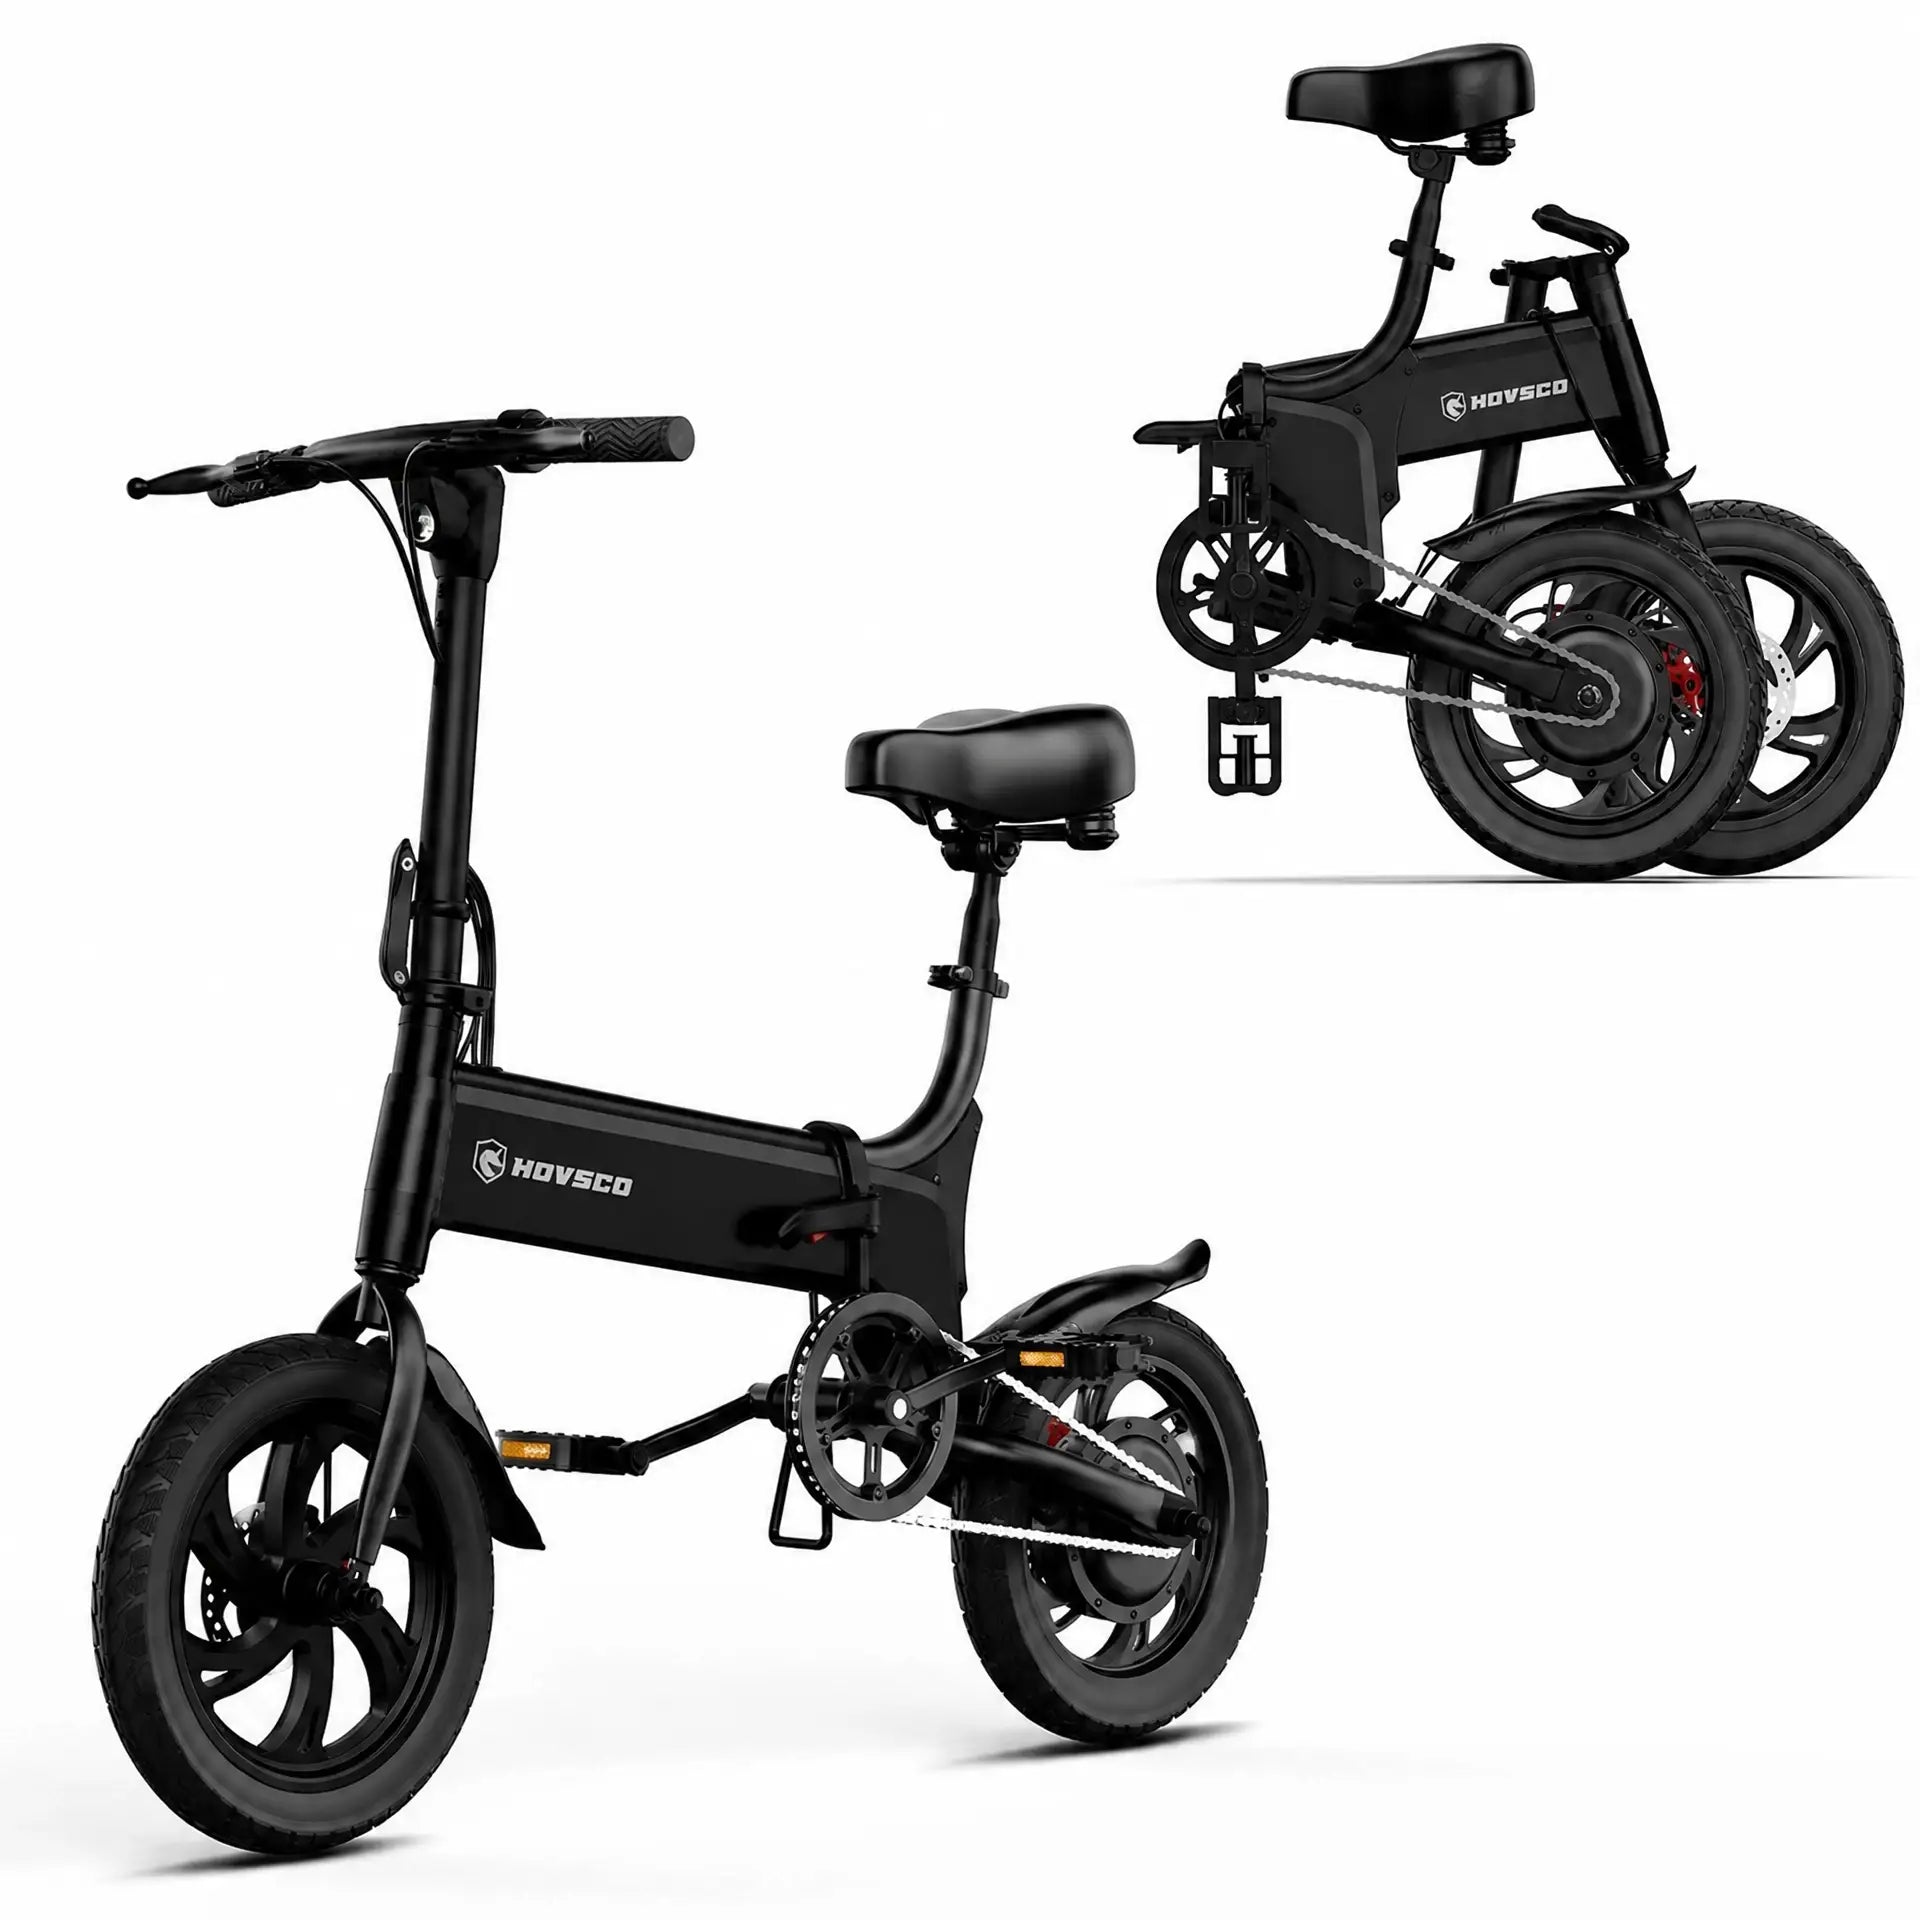
A folding electric bike for camping can reduce storage volume, but folding does not
necessarily make the bike lightweight. Verify folded dimensions and decide how the bike will be lifted,
secured and protected from movement. For RV storage as the main buying intent, use the dedicated
folding e-bikes for RV travel collection.
Plan Less Than the Published Maximum Range
Published range is a comparison reference, not a guaranteed camping result. Elevation, loose gravel, soft
ground, headwind, temperature, tire pressure, rider weight, cargo, repeated starts and high assist can all
increase energy use. A route that climbs away from camp can require more reserve than a flat paved loop.
Plan to return with usable battery reserve instead of targeting an empty display. Keep the route within a
distance that can be completed if conditions change, and identify safe turnaround points. Do not assume that
a campsite outlet or vehicle inverter is suitable until both the site rules and the charger requirements
have been confirmed.
Match Tires and Suspension to the Permitted Surface
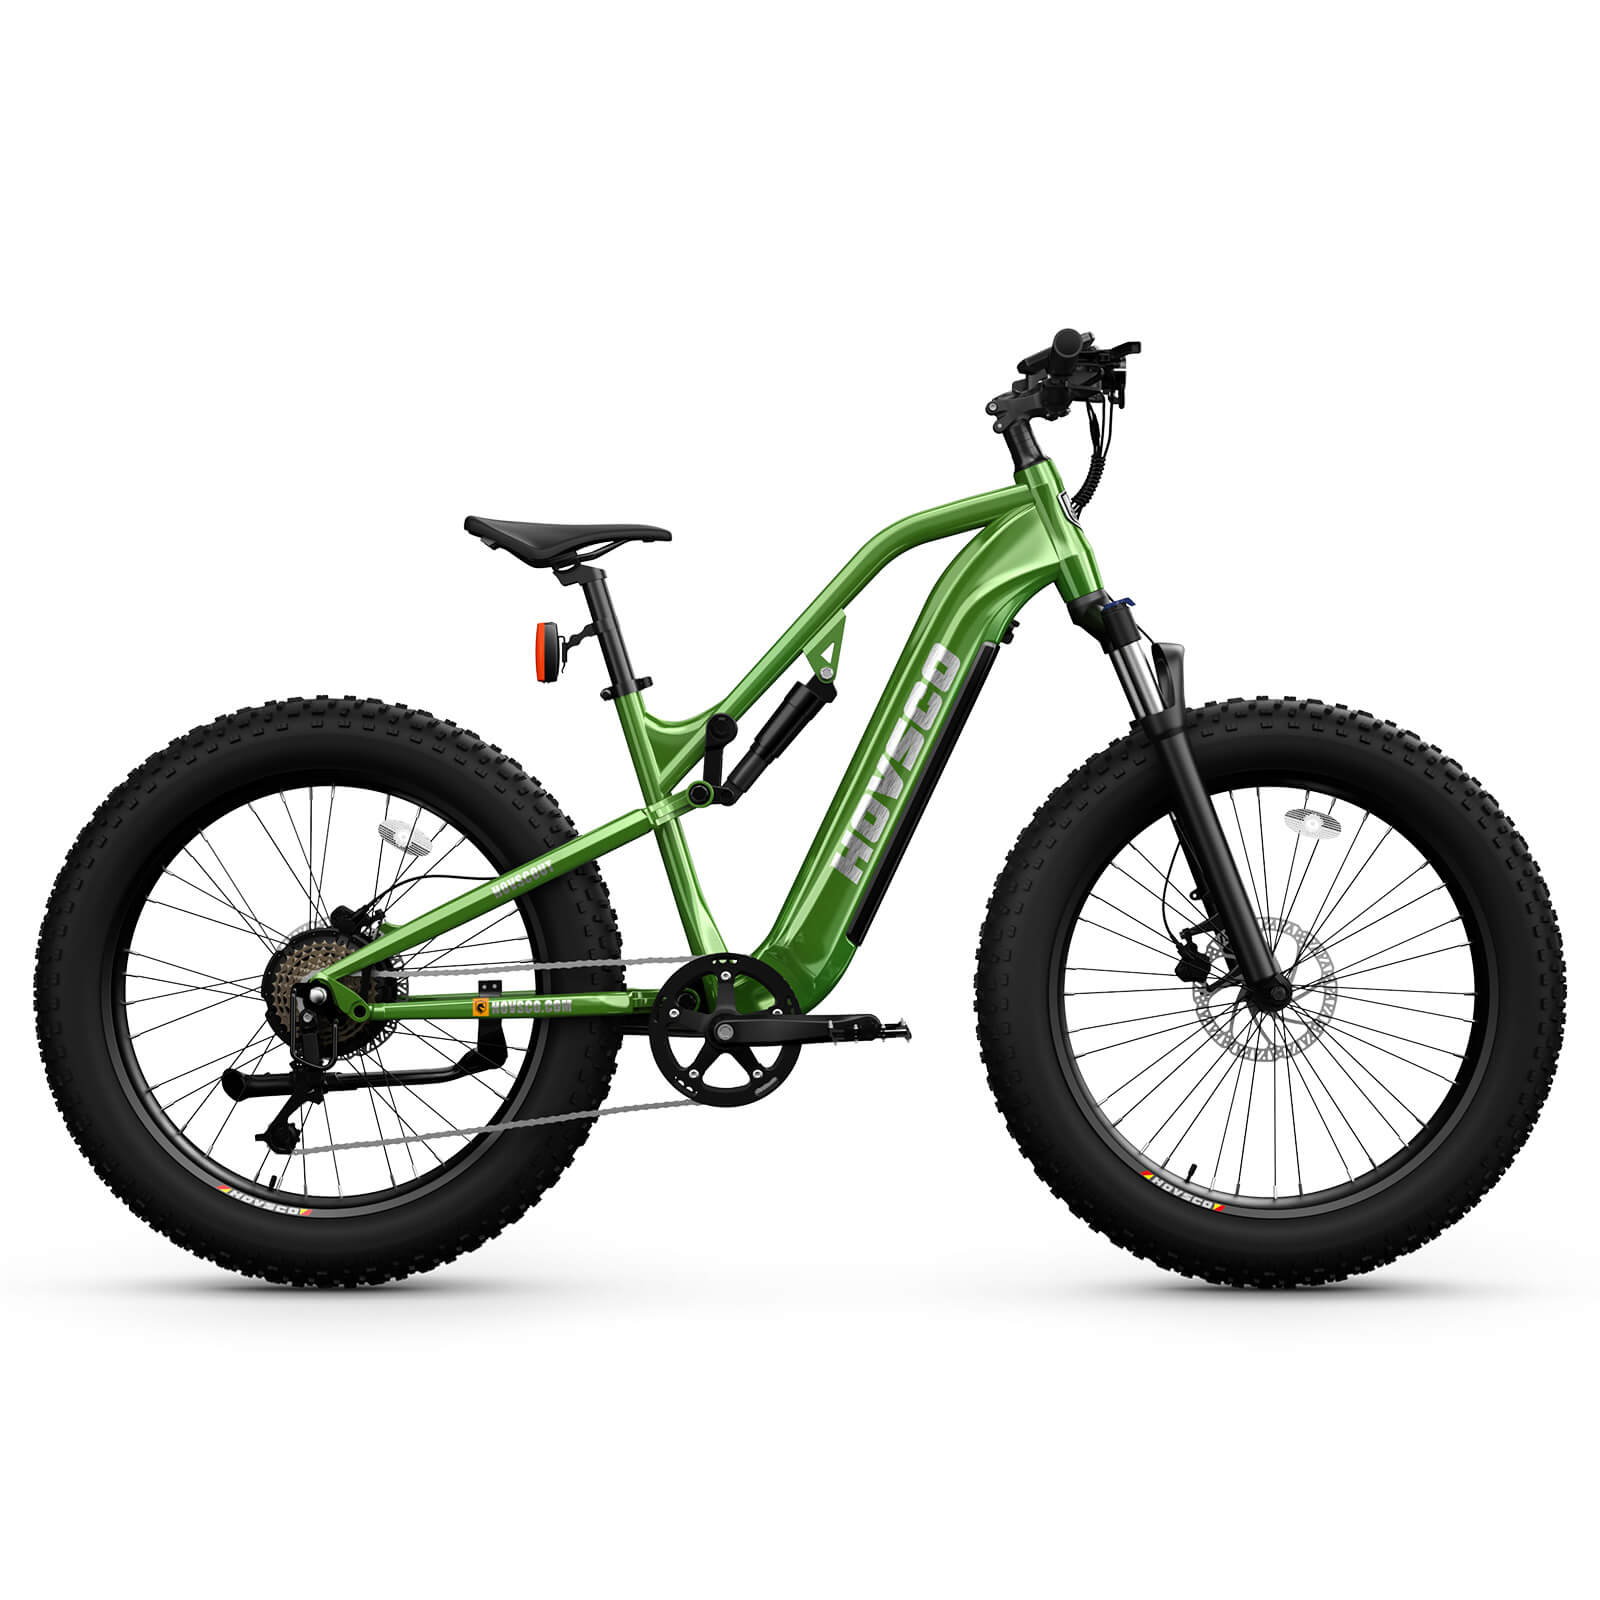
Wide tires can add stability and flotation on some loose surfaces, while suspension can improve comfort on
rough approaches. Neither feature creates traction everywhere or permission to enter closed routes. Tire
width, tread, pressure, bike weight and rider technique all affect handling.
Use only the tire-pressure range approved for the exact tire and bike. For shopping based mainly on tire
format, visit the fat tire e-bike collection. If the primary
route is a legal technical trail rather than campground transportation, compare
electric mountain bikes. Those pages own tire and
mountain-trail intent, while this guide stays centered on camping use.
Choose Cargo Capacity Around Approved Gear
Water, food, locks, tools, extra clothing and camp supplies all count toward total load. Check the bike
payload, rack, basket and accessory limits separately, and follow the lowest applicable limit. Keep every
item secured away from the wheels, brakes, chain, suspension and electrical wiring.
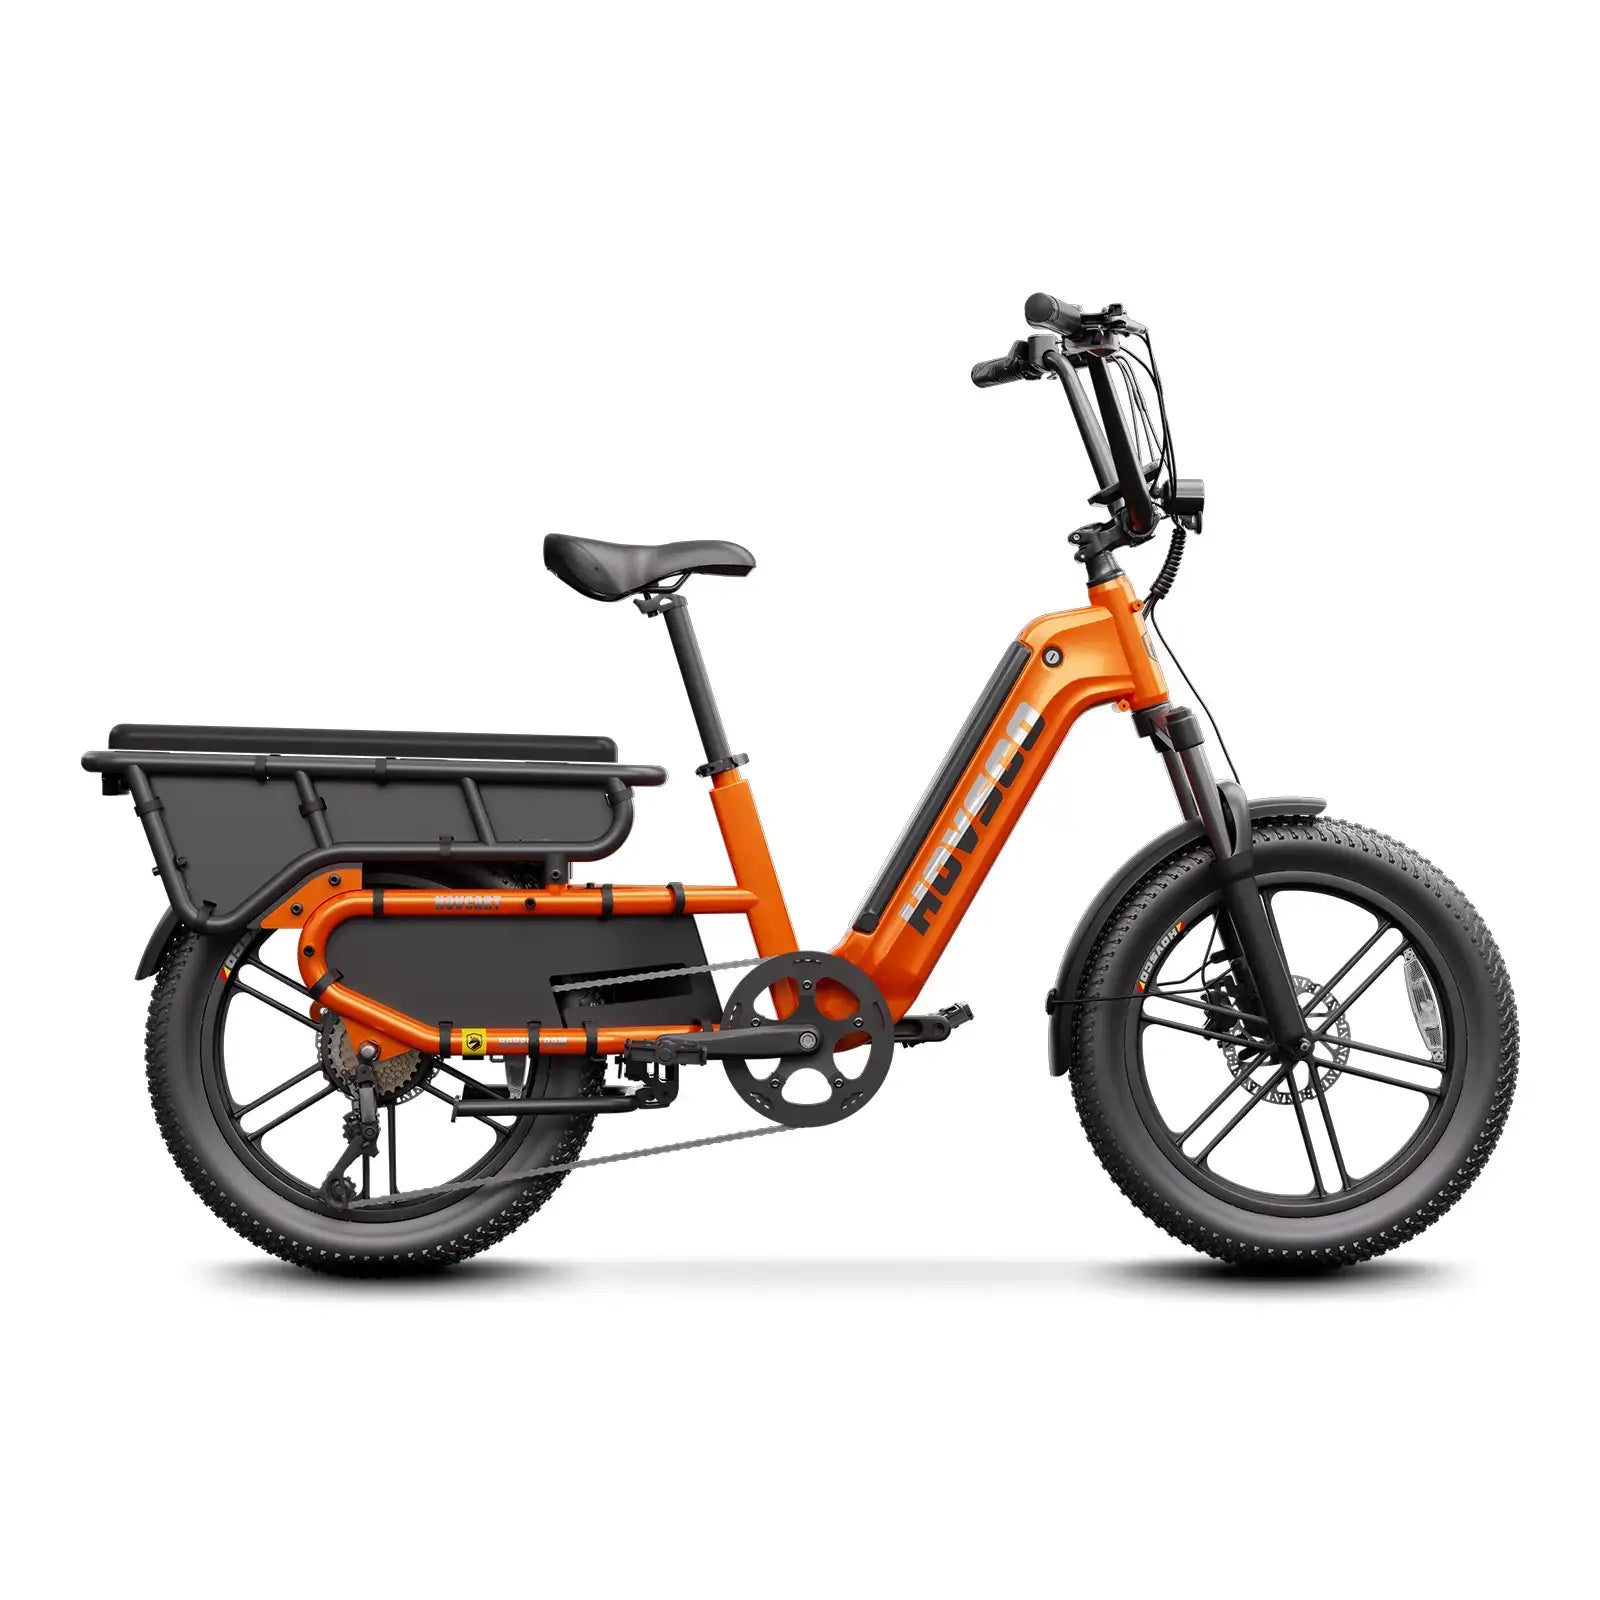
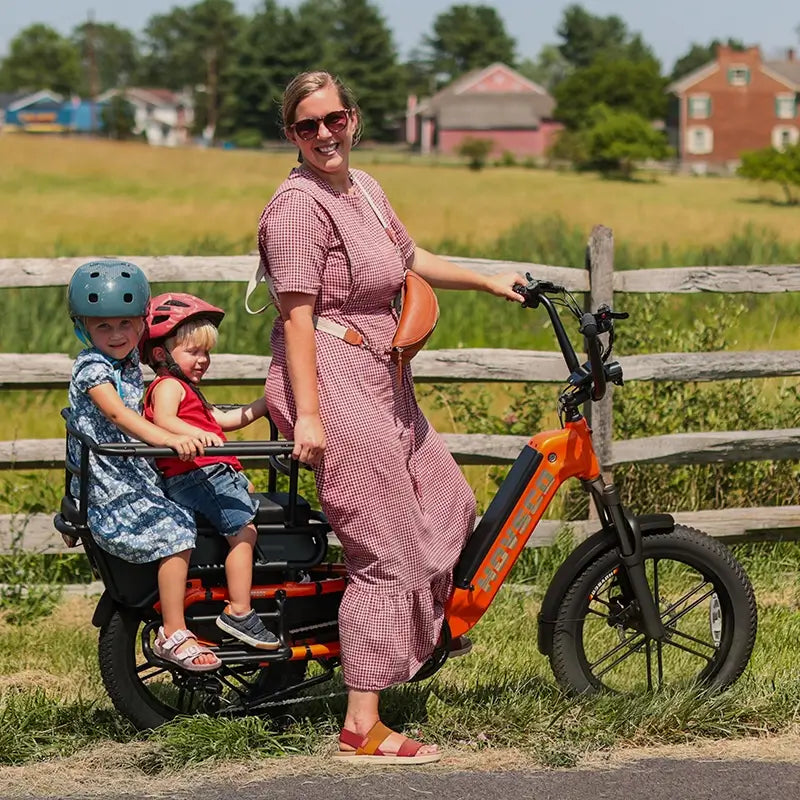
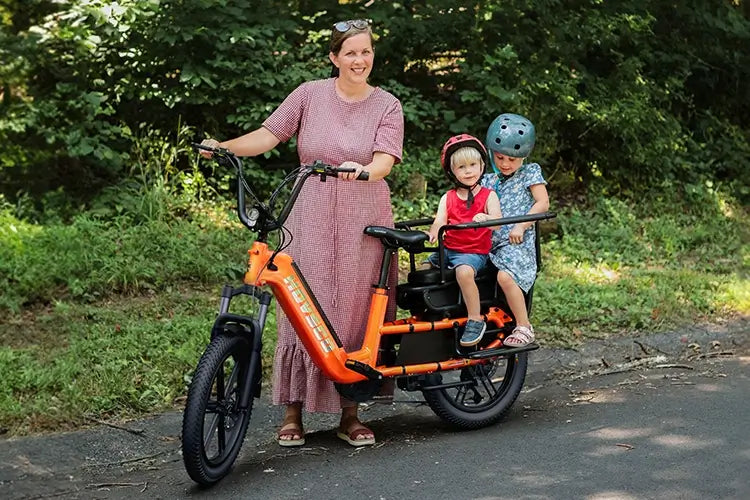
A cargo e-bike for camping can help with approved supply runs, but a cargo platform does
not authorize every passenger seat, trailer or oversized load. Use only accessories confirmed for the exact
model. When load capacity is the main shopping requirement, compare the
high-payload electric bike collection.
Create a Safe Campsite Charging Plan
Use only the charger approved for the exact battery and follow the bike and battery instructions. Confirm
that the campground permits charging and that the outlet, extension arrangement and weather protection meet
all applicable requirements. Charge in a dry, stable and ventilated location away from combustible material,
and do not leave charging unattended.
Stop using a battery or charger that is damaged, wet, swollen, unusually hot, leaking, producing an unusual
odor or behaving abnormally. Do not open the battery, improvise an adapter or treat the bike battery as a
general campsite power bank unless the product documentation explicitly supports that function. Contact
HOVSCO support when the electrical system needs inspection.
Protect the Bike From Weather, Dust and Overnight Theft
Water resistance is not permission to submerge the bike or leave electrical components exposed to prolonged
rain. Store the bike and approved charger according to the manual, keep connectors clean and dry, and avoid
directing high-pressure water at the motor, battery, display, seals or bearings.
Lock the frame to a permitted secure point and follow campground rules about equipment storage. Remove
detachable items only when the model instructions allow it, and protect keys from loss. A compact folding
bike still needs theft protection inside a vehicle or campsite storage compartment.
Inspect the Bike Before Leaving Camp
Check tire condition and pressure, wheel security, brakes, lights, battery attachment, controls, chain,
fasteners and cargo mounts before each ride. Carry only the tools and repair items approved for the bike and
that the rider knows how to use. Remote routes require a more conservative decision than a short urban ride.
Use the HOVSCO assembly videos and manuals for model-specific guidance.
Stop riding if braking, steering, wheels, battery attachment or electrical behavior is abnormal. Arrange
qualified service rather than continuing deeper into a route with a safety-critical problem.
Camping E-Bike Trip Checklist
- Confirm campground, road, path and trail access for the exact e-bike class.
- Measure the vehicle space and verify the carrier's bike and total weight ratings.
- Map the complete route, surface, elevation and turnaround points.
- Plan range with reserve instead of relying on the published maximum.
- Secure gear within bike, rack, basket and accessory limits.
- Confirm an approved, dry and permitted charging location.
- Inspect the bike and pack support contacts before leaving camp.
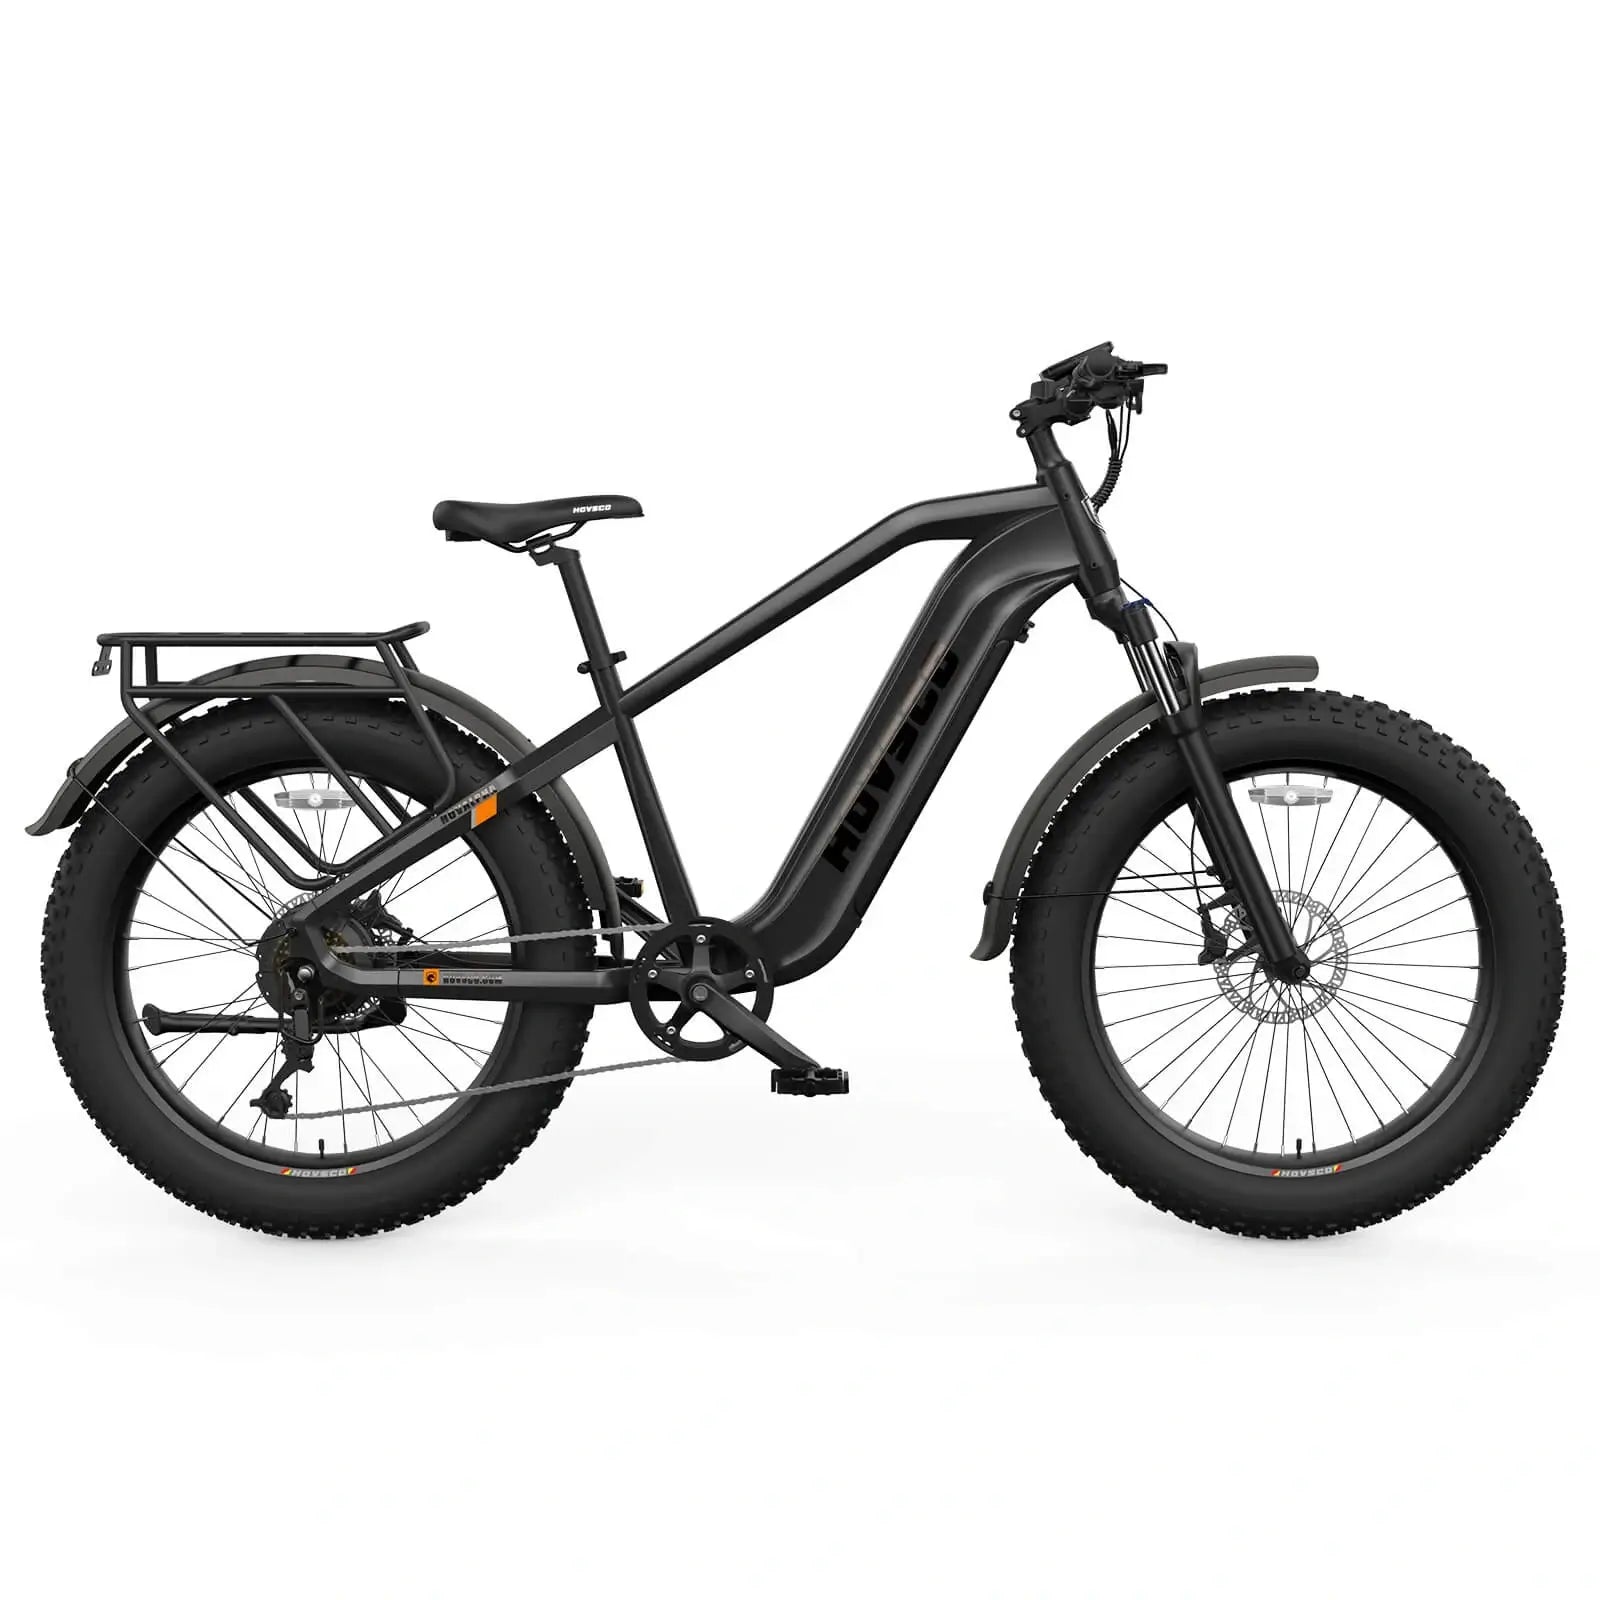
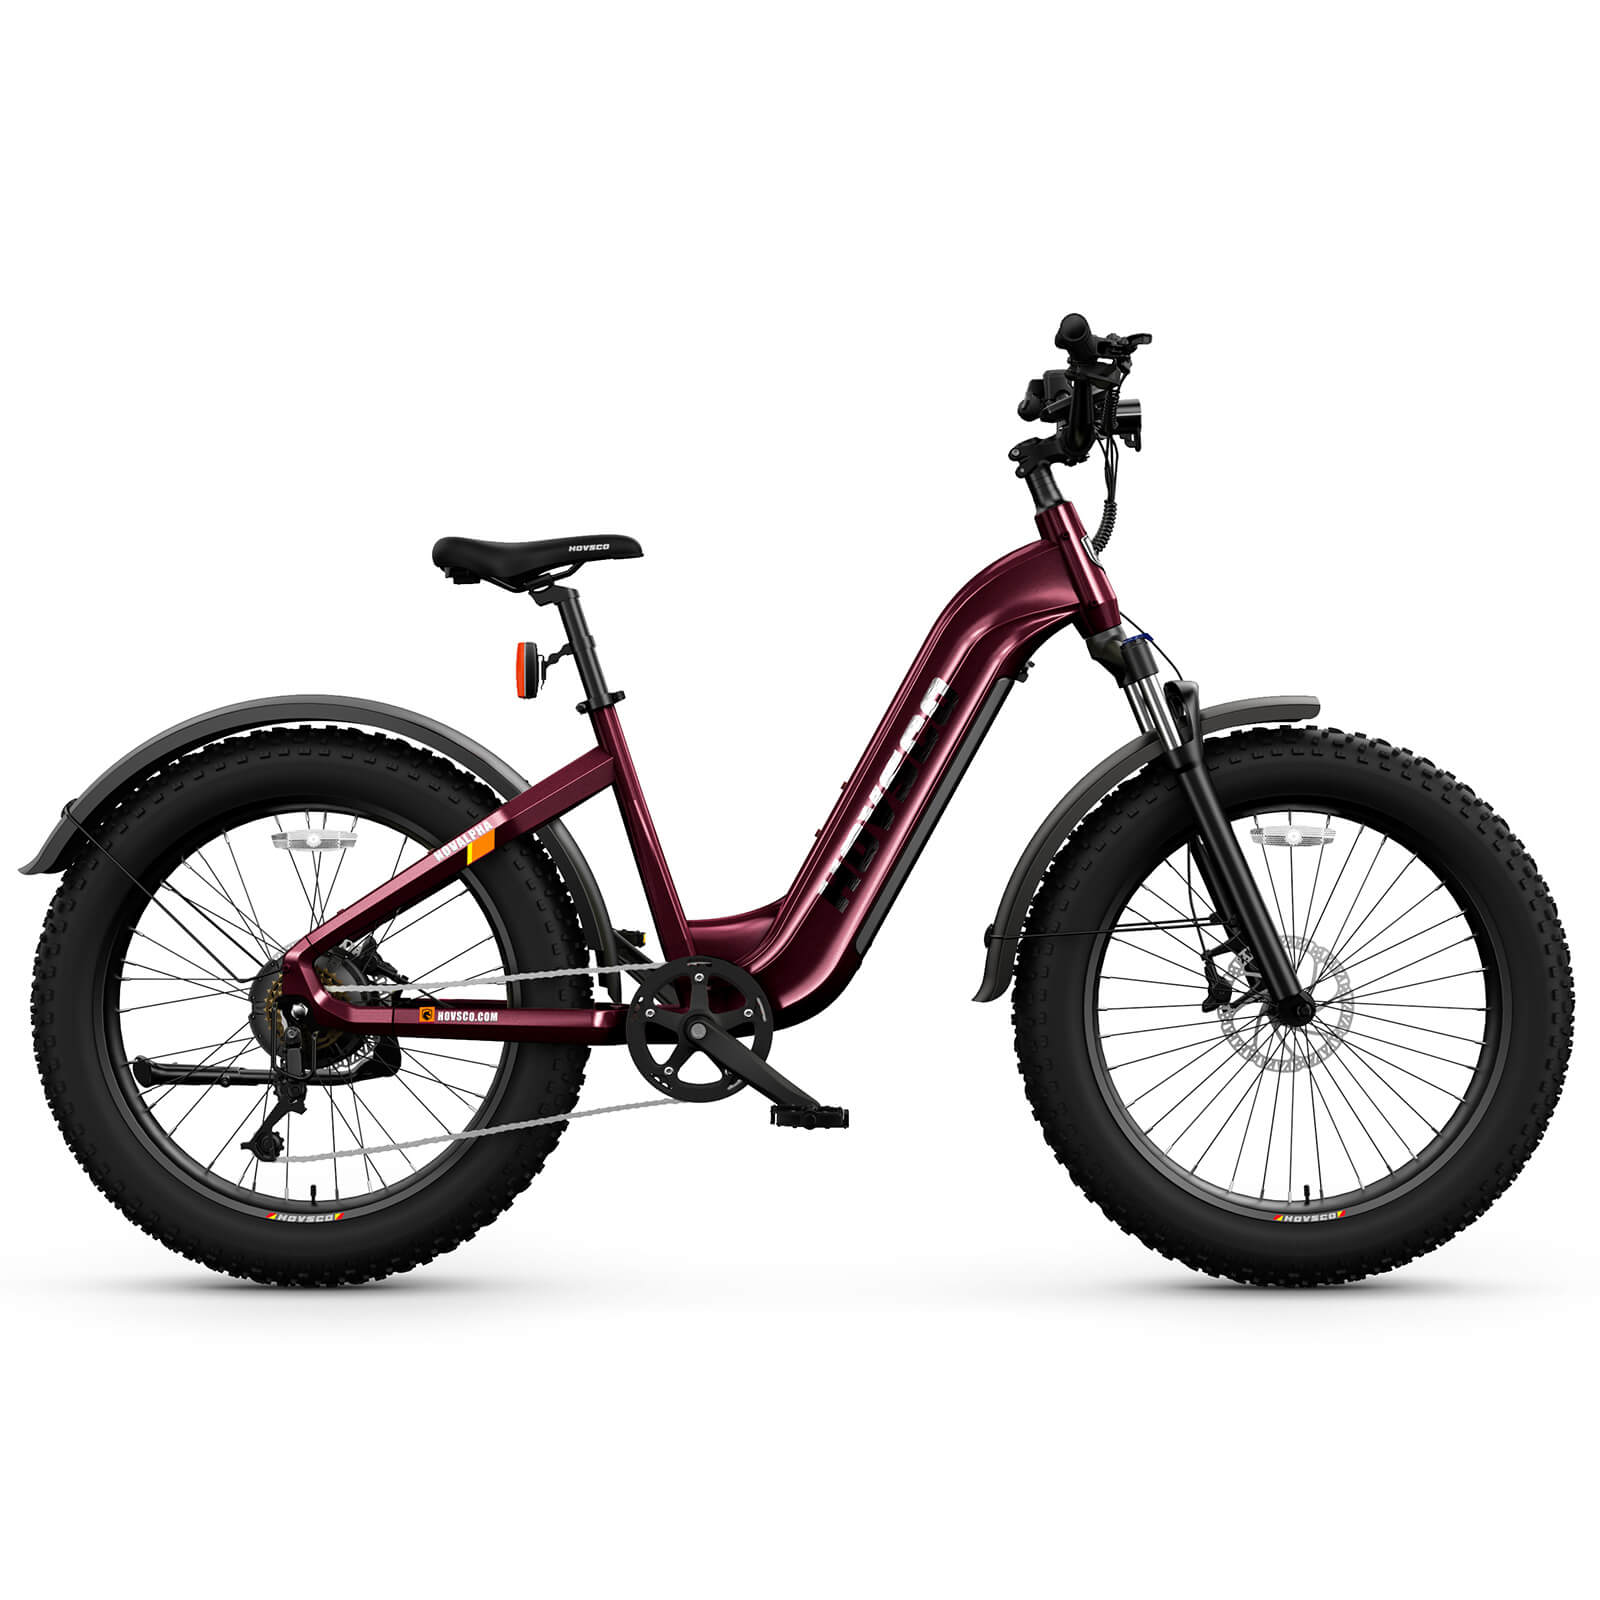
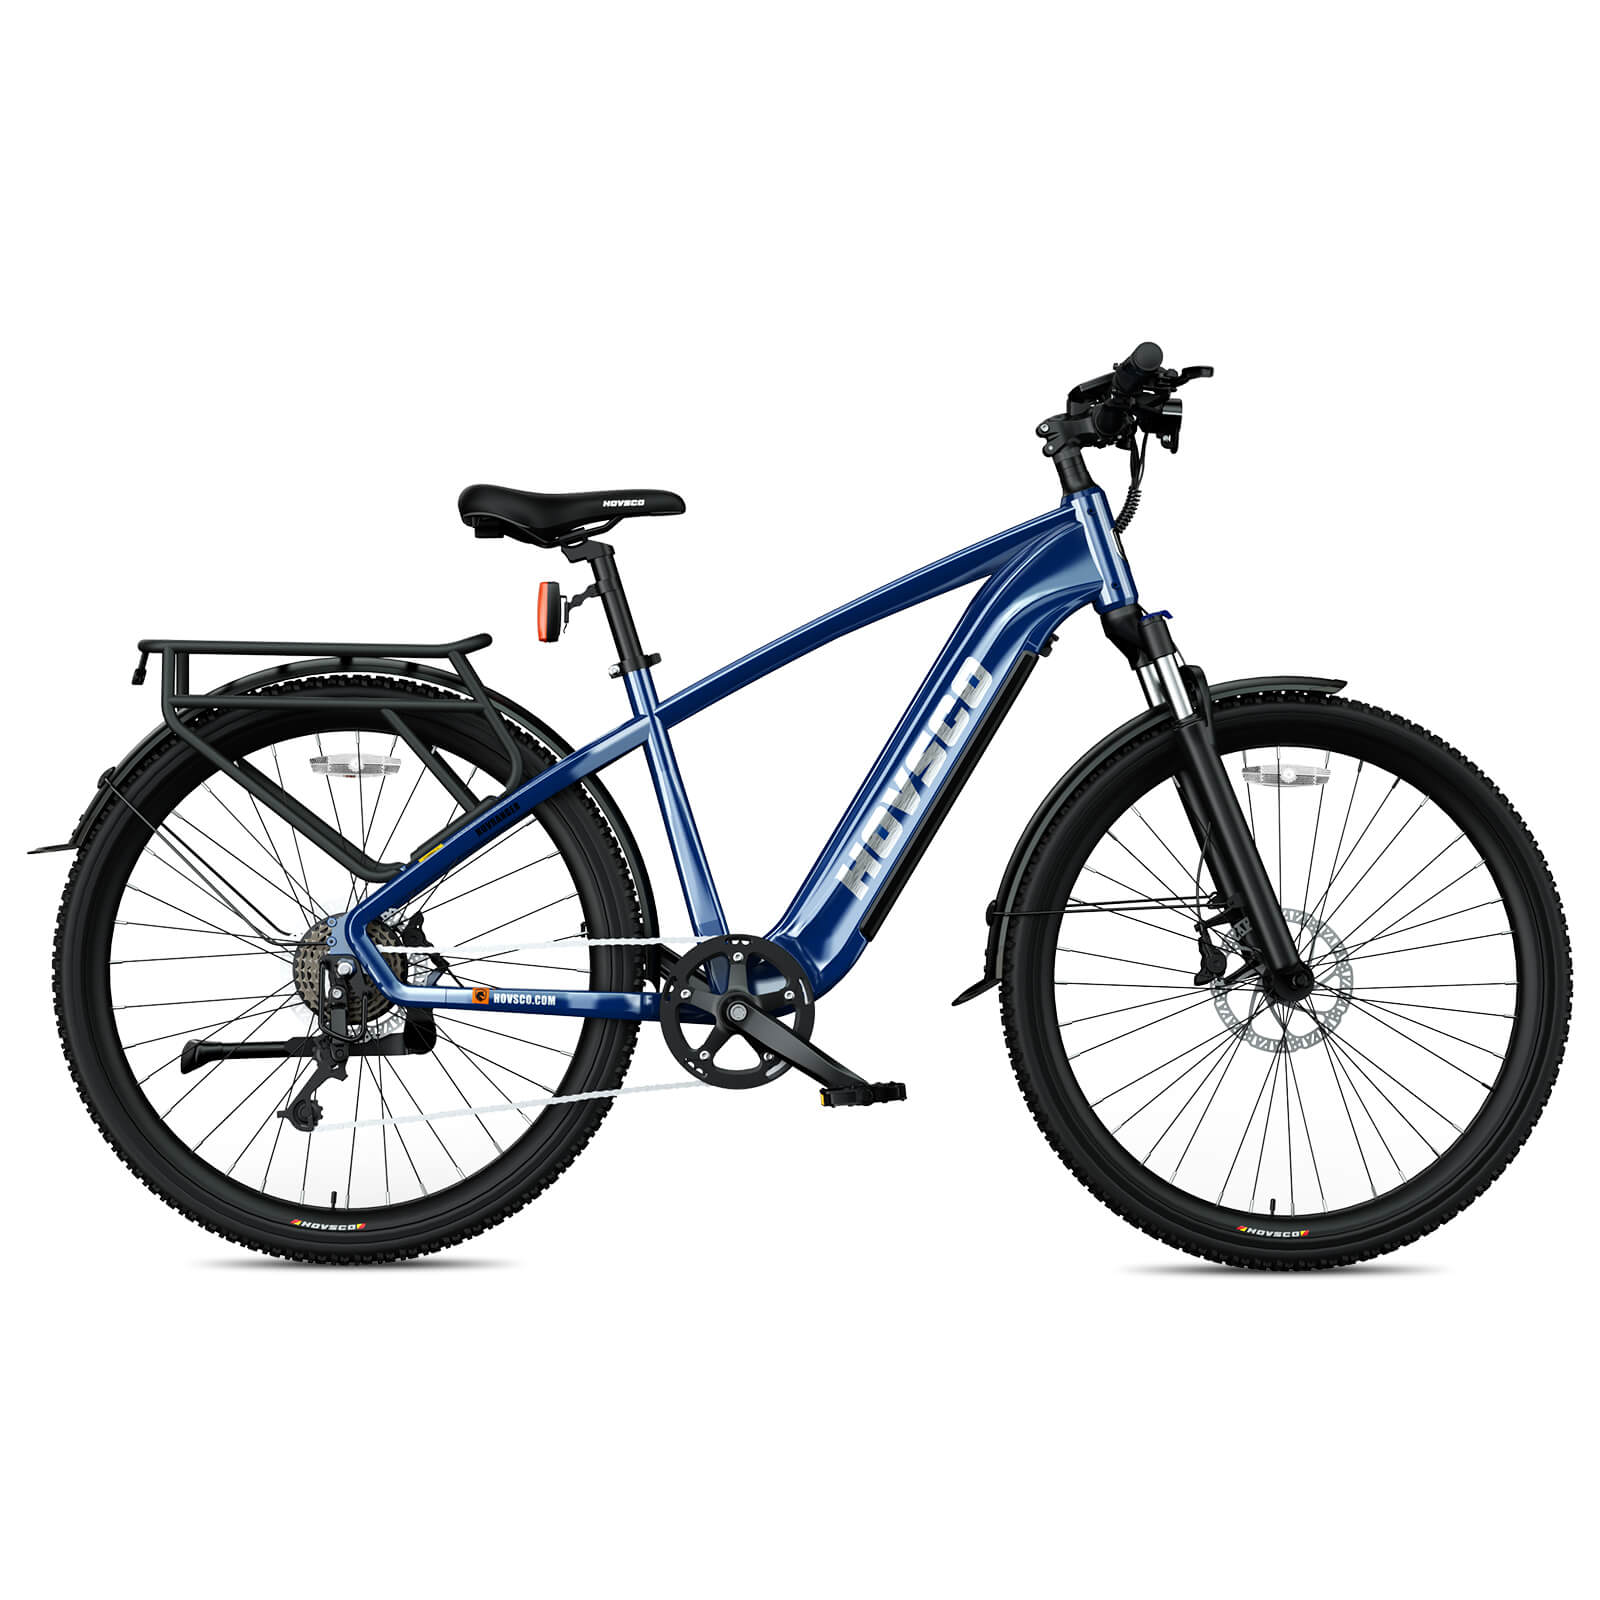
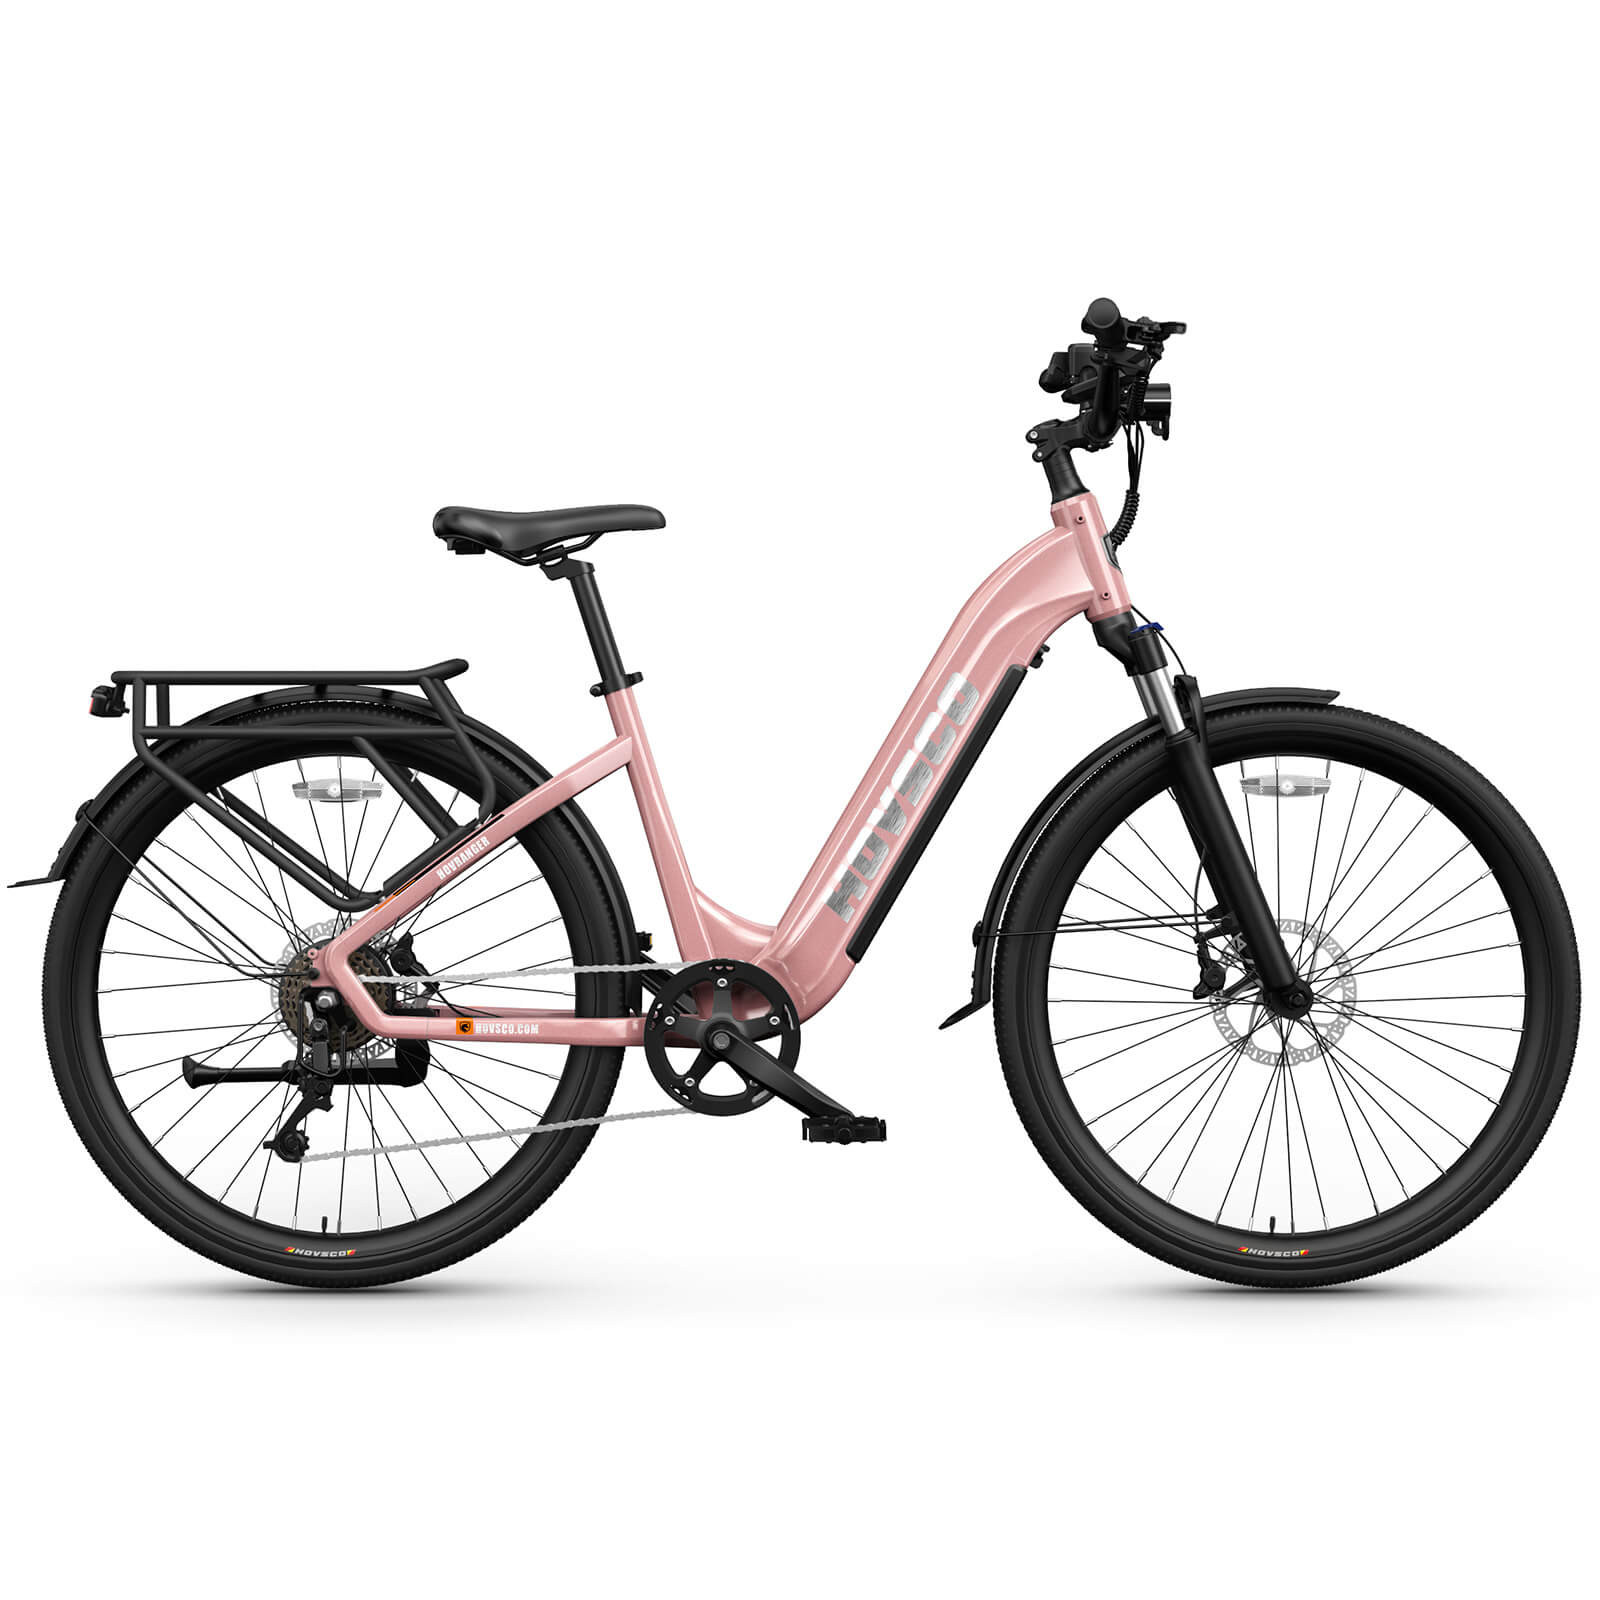
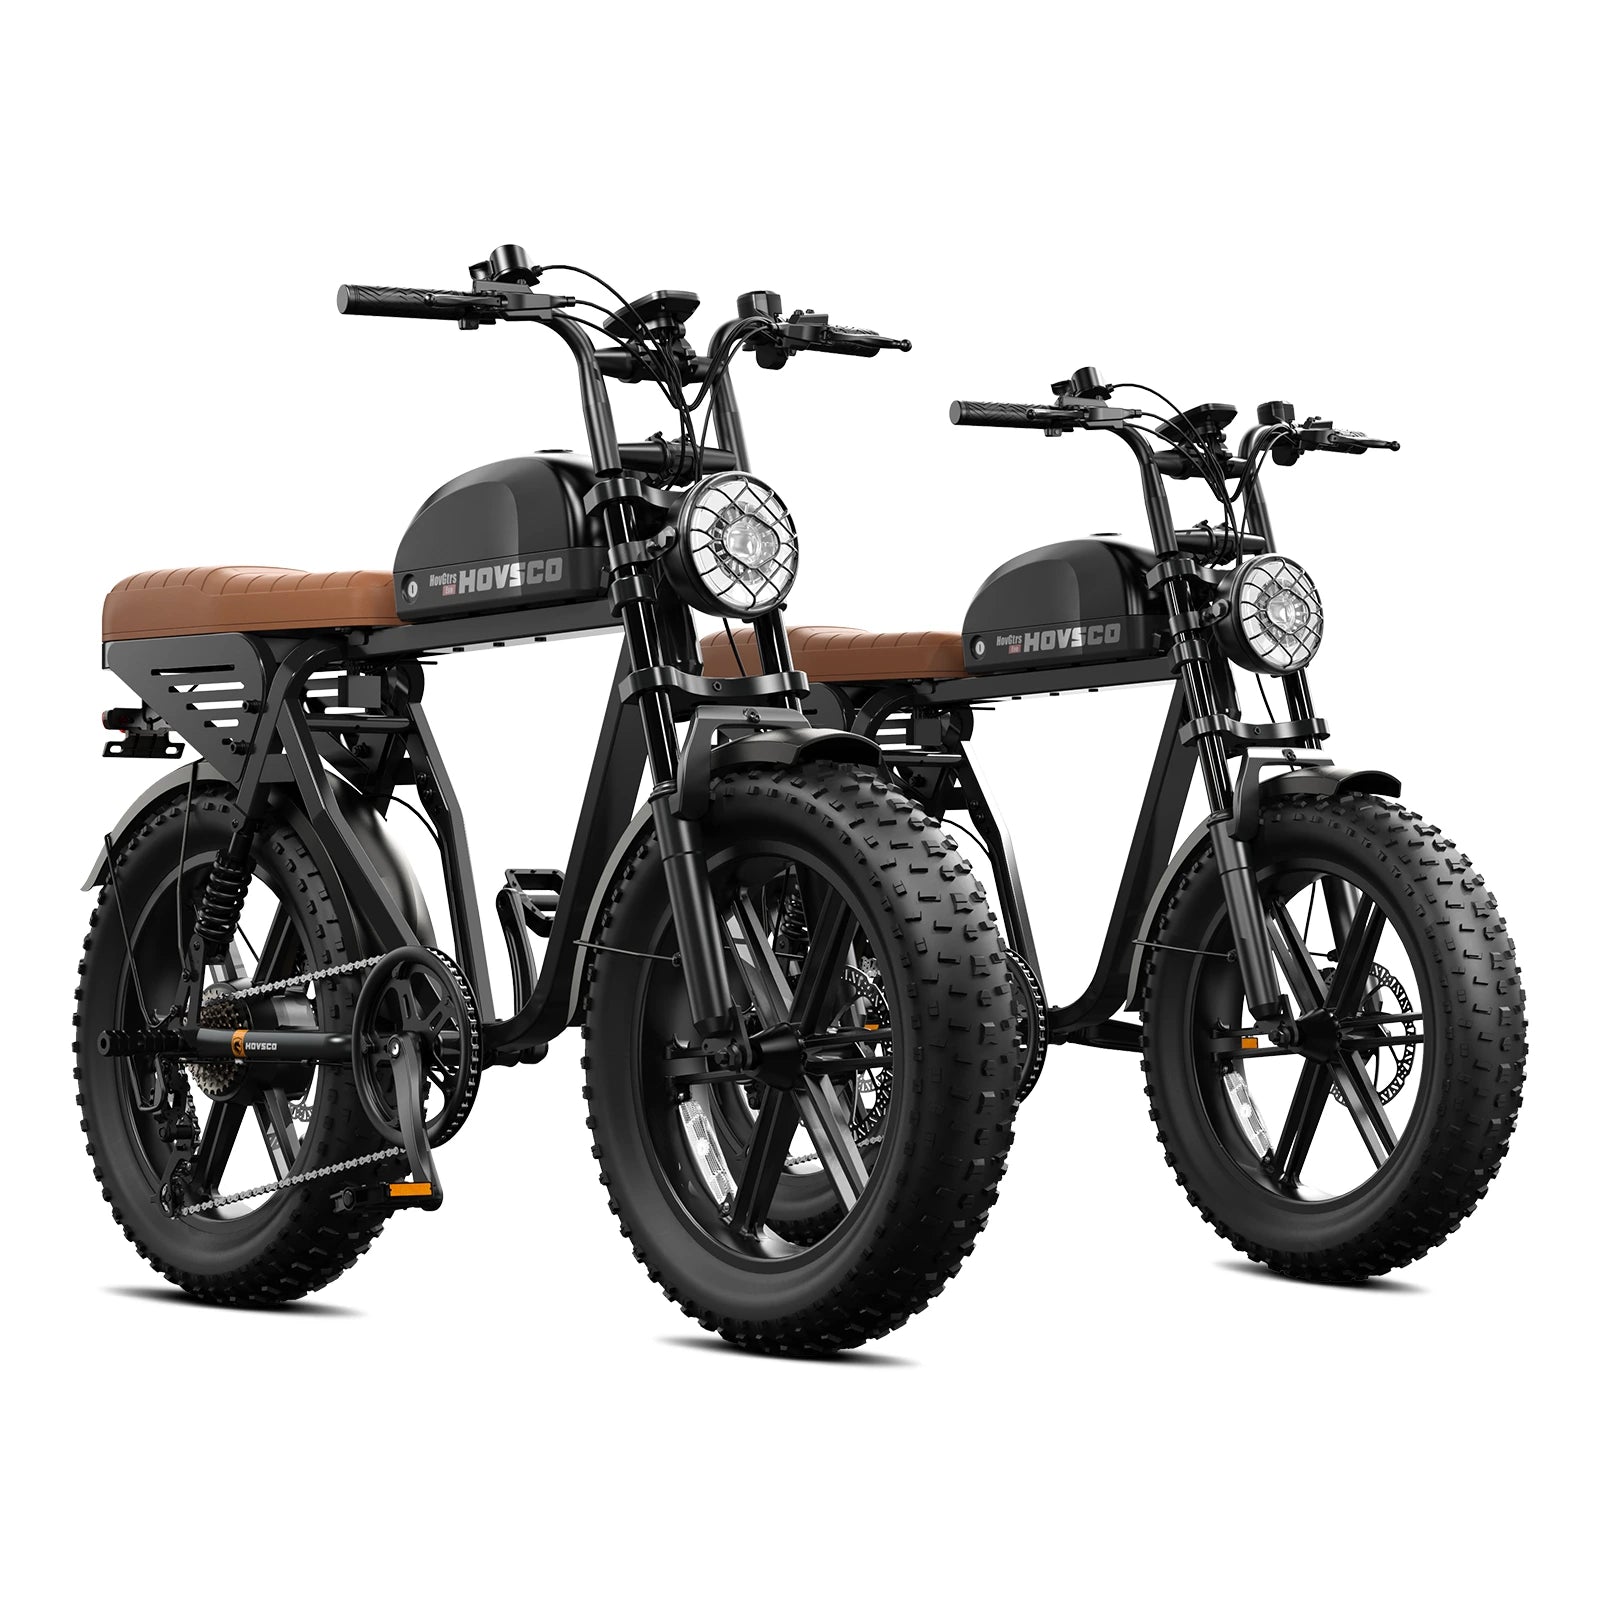
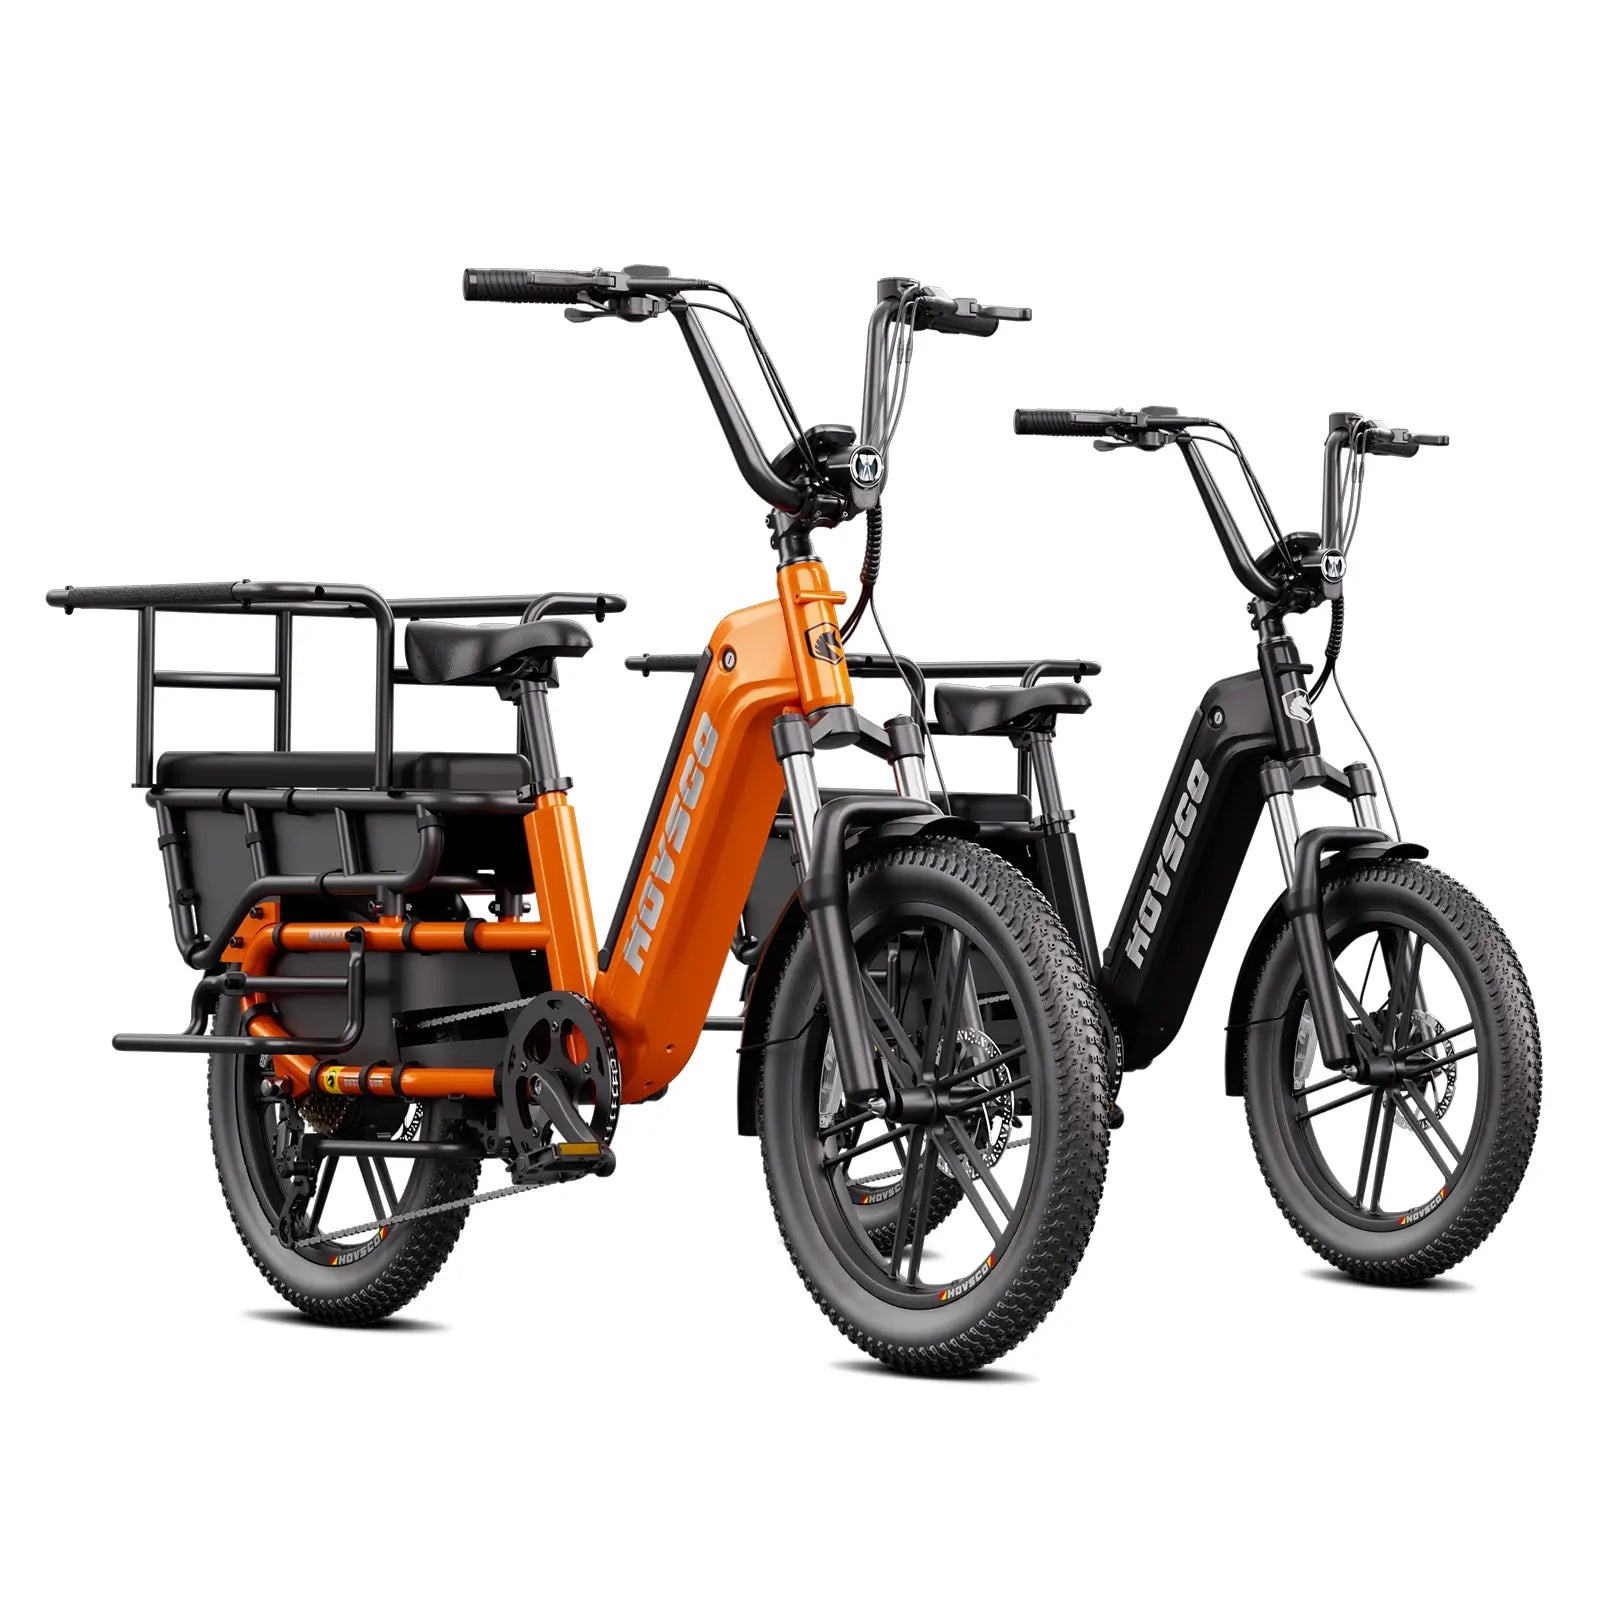
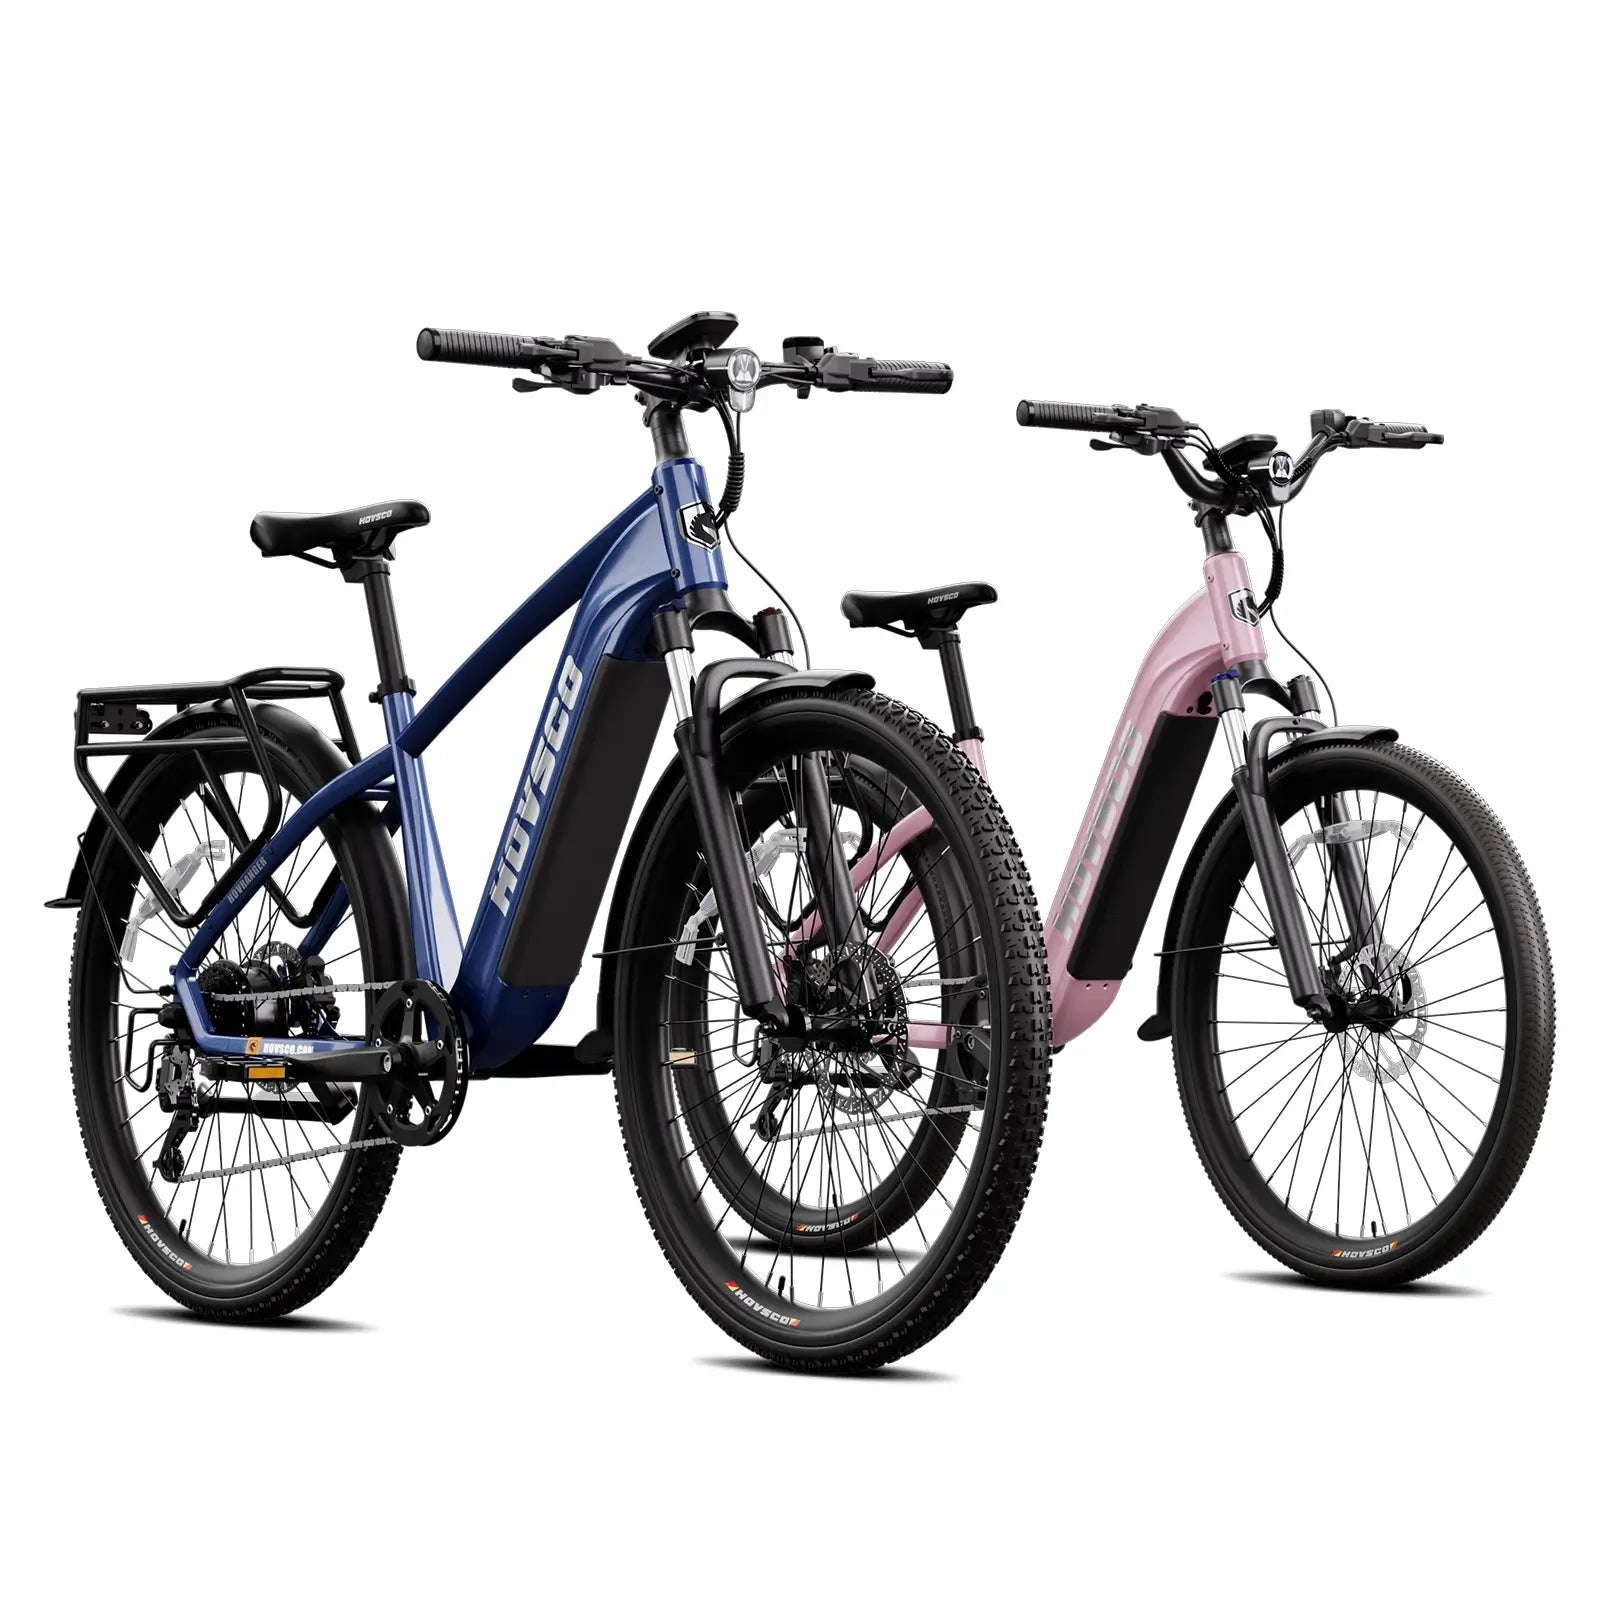
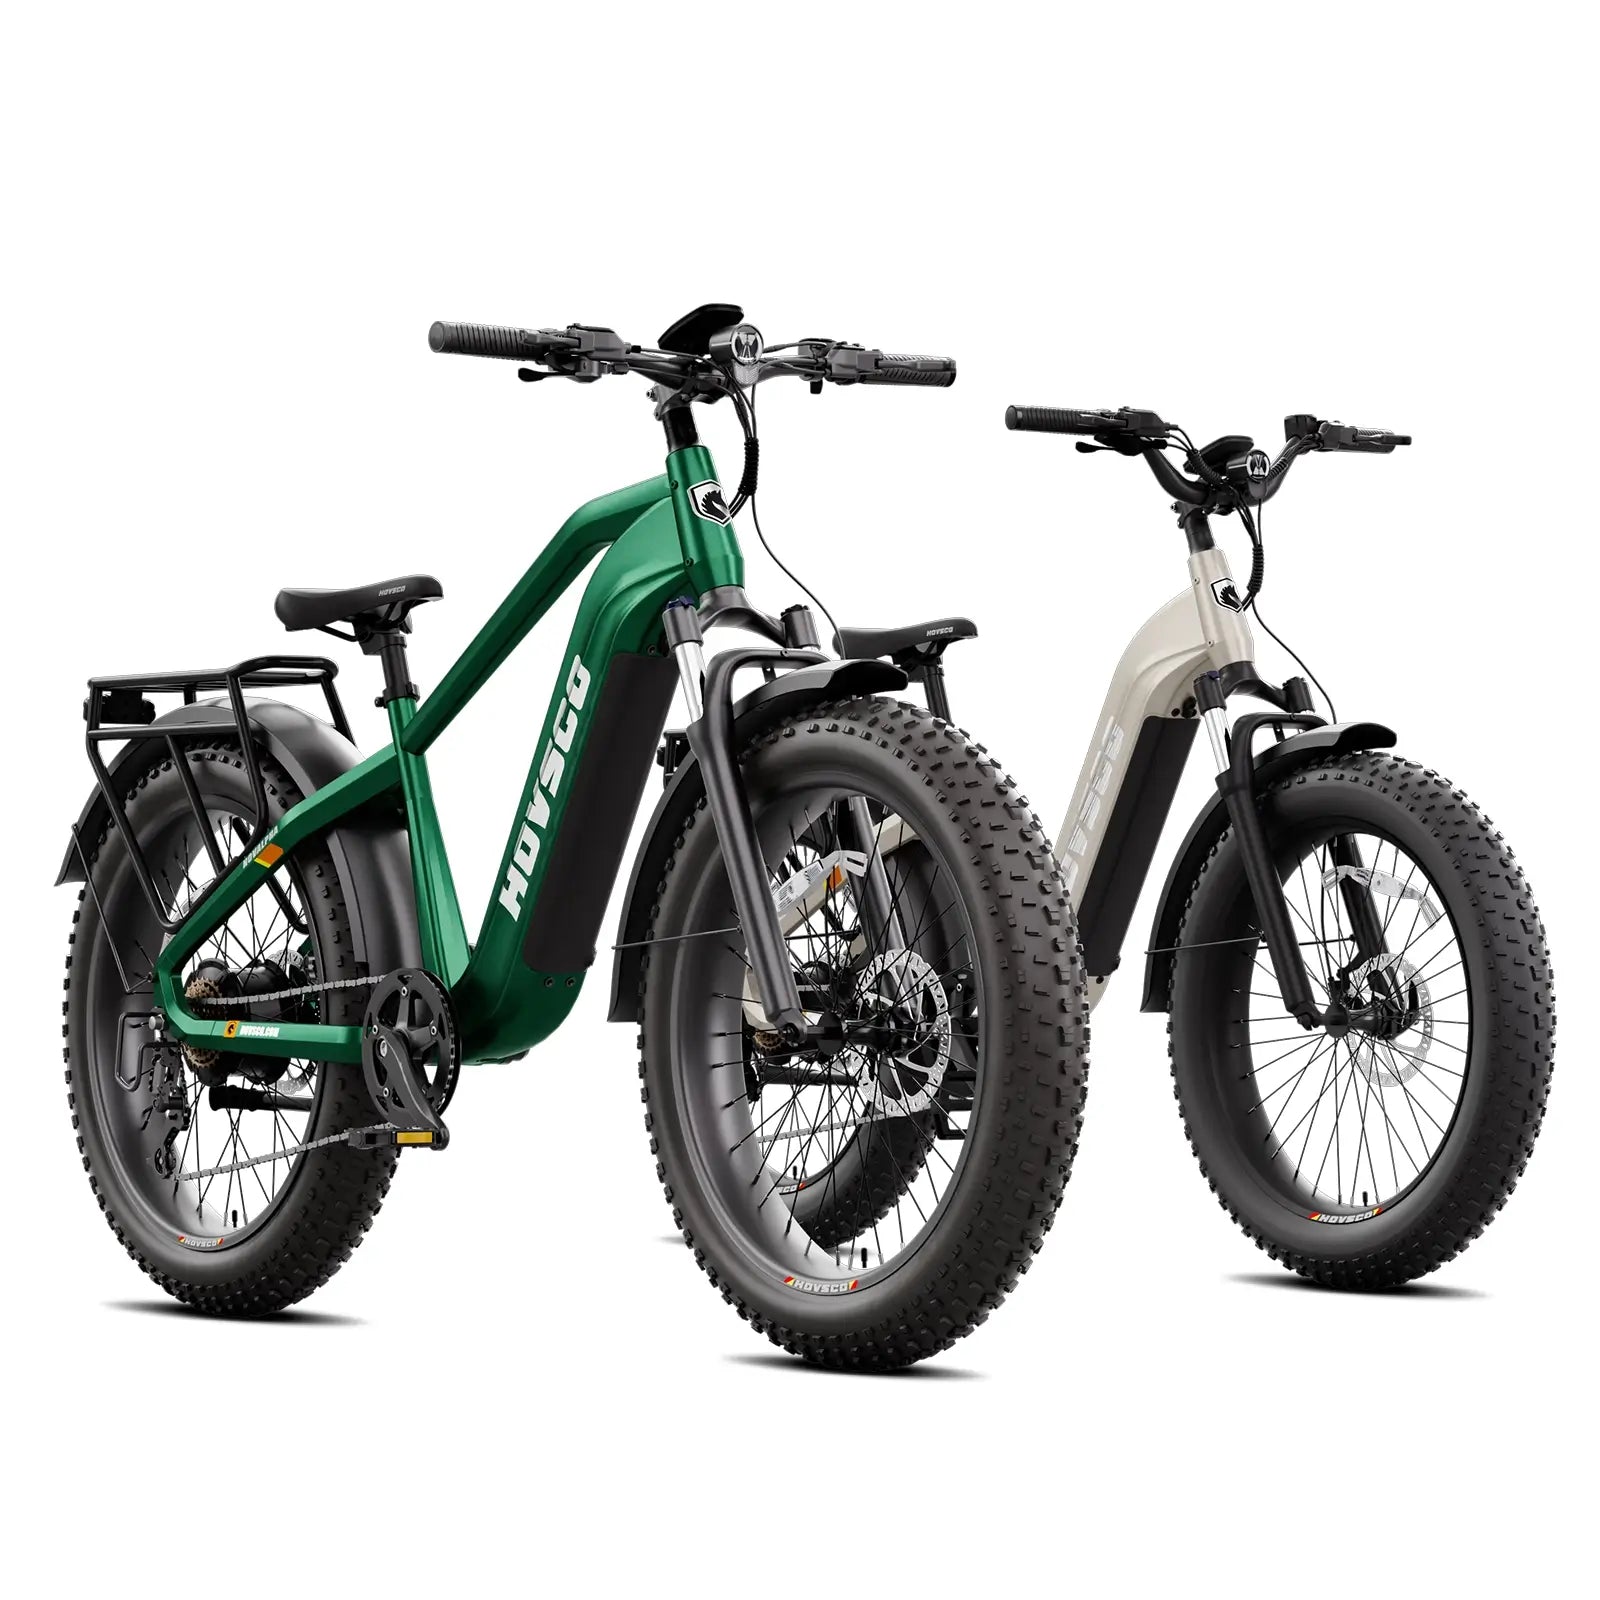
Ready to compare the listed camping options?
Return to the unchanged product grid and verify fit, current specifications, transport and availability.
Compare camping e-bikes



![[ New Arrival ] Porto Max Electric Scooter For Commute & Grocery Shopping - HOVSCO](http://www.hovsco.com/cdn/shop/files/PotroMax-3.jpg?v=1706927007&width=1200)