


- by SEO
What’s the Best Ebike for Photographers?
- by SEO
E-Bikes
Shop By Models
Shop By Style
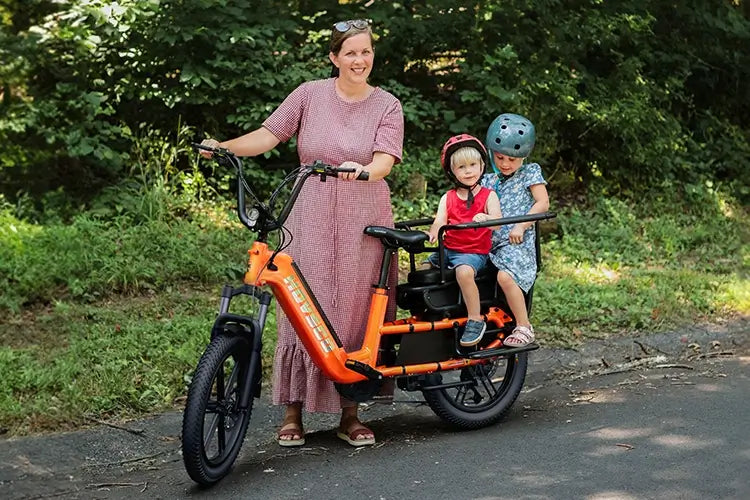
An ideal e‑bike for photographers balances camera gear transport, off‑road capability, and long‑range electric assist, letting you reach remote locations with heavy gear and still ride comfortably. Prioritize models with full‑suspension geometry, robust cargo racks or panniers, and a 20–30+ mile range so you can tackle outdoor shoots without worrying about running out of battery before sunset.
Modern e‑bikes also help photographers by cutting travel time, reducing fatigue, and expanding how far you can explore in a single day, whether you’re shooting landscapes, wildlife, or event photography in rugged terrain or dense urban jungles.
Check: cargo ebikes for photographers
An e‑bike improves a photographer’s workflow by letting you carry more gear, reach remote or off‑road locations faster, and shoot longer without exhaustion. Instead of lugging a tripod, multiple lenses, and filters on foot, you can strap that load to the bike and use pedal‑assisted power to climb hills or push through soft trail surfaces, preserving your energy for composing and shooting.
For outdoor shoots, this means you can scout and shoot multiple viewpoints in one day, adjust your route on the fly, and still pedal back to the car or base with a full backpack. When the e‑bike has good cargo options, camera gear transport becomes as routine as locking your tripod to a rack, not a chore that limits your creative range.
A photographer should look for a strong mid‑drive or high‑torque hub motor, at least 20–30 miles of real‑world range, and a frame that supports front and rear racks, panniers, and top‑tubes that can mount a small camera bag. Suspension or wider tires also matter, because constant vibration is one of the biggest risks to lenses and internal mechanisms when riding on rough terrain.
Ideally, the bike will have integrated cable‑routing, multiple accessory mounts, and a comfortable geometry that lets you ride for several hours without back or hand fatigue. For shoots in mixed terrain, fat‑tire or mountain‑oriented e‑bikes often strike the best balance between camera gear transport capacity and stability on loose or uneven ground.
Vibration control is critical because repeated high‑frequency shocks from trail surfaces can damage lens elements, sensor mounts, and internal electronics, even if the housing looks intact. Standard panniers or hard‑tail frames without rear suspension can transmit far more micro‑vibration to your gear than a full‑suspension chassis with properly tuned linkage and wide, cushioned tires.
For camera gear transport, the best practice is to isolate delicate bodies and lenses either on your person (in a shock‑damped backpack) or in a foam‑lined, padded bag that sits on a sponge‑mounted rack. Some photographers even add a small gel pad or closed‑cell foam sheet between the rack and the bag base to further dampen high‑frequency jolts, especially on long forest‑trail or gravel‑road segments.
Most e‑bikes can safely carry total rider‑plus‑gear loads of 250–400 lbs, depending on frame design, tire rating, and axle strength, but for outdoor shoots you should budget at least 10–15% of that budget for camera gear, tripod, and personal items. A 220‑lb rider with 40–50 lbs of camera gear and clothing is well within the payload range of many modern cargo and fat‑tire e‑bikes, but always check the manufacturer’s maximum load spec and tire inflation limits.
From a handling‑safety perspective, it’s better to keep weight centered and low—using a rear rack with panniers and a small top‑tube bag—rather than stacking everything on the front. High front‑load setups can make the bike feel twitchy and increase the risk of front‑wheel skid or brake‑lock on steep, loose descents, which is especially dangerous if you’re carrying expensive camera gear that you can’t afford to drop.
Photographers should secure gear using a mix of primary load points (bike racks, panniers, top‑tube bags) and secondary retention (straps, buckles, and soft padding). A rigid rear rack with pannier hooks lets you lock tripod legs and camera bags in a stable, low‑center‑of‑gravity position, while a small top‑tube bag keeps a frequently used lens or backup camera within easy reach without bouncing.
For camera gear transport, I recommend using compression straps to keep the bag snug against the rack, closing all zippers tightly, and adding a second webbing strap around the bag’s base to prevent it from lifting or twisting at speed. In wet conditions, a waterproof cover over the bag plus a silica‑gel pack inside further protects your gear from both vibration‑induced shock and sudden downpours during outdoor shoots.
For reaching remote locations with heavy gear, full‑suspension e‑mountain bikes and fat‑tire e‑bikes tend to outperform city or commuter e‑bikes. They have longer travel, wider tires, and geometry that can handle sketchy forest‑road surfaces, river crossings, and loose‑rock trails where a standard hard‑tail e‑bike might struggle or buzz your gear into disarray.
In practice, an e‑MTB with 130–150 mm of travel, mid‑motor assist, and a rear rack will let you push uphill with a loaded camera setup, then roll downhill smoothly enough that your tripod and filters don’t rattle loose. When the goal is reaching remote locations with heavy gear effortlessly, the extra weight and wider tires are a worthwhile trade‑off for the safety and comfort they provide on long shoots.
Photographers should plan routes that maximize both access to remote locations and safe, bike‑friendly surfaces, avoiding roads with heavy traffic or narrow shoulders. Use mapping tools to follow bike paths, multi‑use trails, and service roads that let you ride the e‑bike close to your shooting spots, then hike the final stretch with a lighter pack.
For outdoor shoots, it helps to pre‑identify turnaround points where the battery will still have a 20–25% buffer for unexpected delays (weather, technical issues, or extra takes). This also gives you a precise “safe‑range” envelope where you can push the bike up steeper inclines without worrying about running out of juice before you can pedal back down. Good camera gear transport and good route planning together turn an e‑bike into a mobile photo studio that can chase light across sprawling landscapes.
E‑bikes help photographers capture more in a single day by compressing travel time between shooting locations, so you spend minutes on the bike instead of minutes jogging or hiking under a heavy pack. This energy saving lets you adjust your setup more often, experiment with different angles, and wait longer for ideal light without arriving at locations already fatigued.
Especially in areas with rolling hills or forests, an e‑bike with a robust motor lets you cover 2–3x the distance per hour compared with hiking, yet you arrive cool and steady enough to fine‑tune your tripod and lenses. When you combine that range advantage with thoughtful camera gear transport (racks, panniers, and shock‑damped bags), you can treat sunrise and sunset windows as overlapping, multi‑location events instead of a single‑spot compromise.
Battery life directly affects how far you can roam, how steep the climbs you can tackle, and how confidently you can push into remote terrain before calling it a day. A photographer working alone in the backcountry will want at least 20–25 miles of real‑world range at higher assist levels, because lifting a loaded camera pack uphill quickly drains smaller batteries.
To extend usable life, many pros run their e‑bike on a mix of “eco” and “normal” modes, reserving “high boost” only for short, steep sections or soft‑surface sections where traction is marginal. Some brands also offer dual‑battery systems or swappable packs, letting you swap a charged unit at your car or base camp and ride back out with a full battery for dusk‑to‑night transitions. That extra flexibility can be the difference between missing and capturing a perfect Milky Way or city‑lights sequence during outdoor shoots.
Ergonomics matter because photographers often ride for hours between carefully composed shots, so hand, back, and seat discomfort can sabotage concentration and physical endurance. A comfortable saddle, upright handlebar position, and suspension‑damped contact points reduce fatigue so you can adjust your camera, change lenses, and tweak settings without wincing or needing to shake out your hands constantly.
For e‑bike for photographers, the ideal geometry keeps your weight slightly over the rear axle while still giving you good steering control, so you can stop, snap a quick shot from the bike, then ride off again without re‑racking all your gear. Proper fit also lowers the risk of numb‑hand‑and‑foot issues on long still‑life or time‑lapse sessions, where you’re frequently riding then standing, then riding again in a single outing.
Photographers can safely carry a tripod and filters by using a dedicated rear‑rack pannier or a soft‑side bag that wraps around the tripod legs, secured with Velcro or straps. Metal tripod legs bouncing around on a rack or swinging in the wind can damage the bike’s derailleur, wheels, and your own body, so it’s critical to keep them tightly bound and low to the bike’s centerline.
For filters and small lenses, a padded, shock‑damped bag that sits on the top tube or in a small side pouch is ideal because it keeps frequently needed items handy without forcing you to dismount. Some photographers also wrap cylindrical ND or polarizer filters in a small foam sleeve and tuck them into a slightly oversized filter case, giving them a micro‑cushion against hard bumps during camera gear transport on mixed‑surface rides.
Choosing a photographer‑oriented e‑bike involves trade‑offs between range vs. payload, off‑road capability vs. urban practicality, and weight vs. comfort. A bike with long‑range batteries and powerful motors will inevitably weigh more and cost more, but it’s far better for hauling gear over long distances than a lightweight, short‑range commuter model.
From a technical‑design perspective, reinforcing a frame for heavy camera gear transport often means thicker tubing, stiffer geometry, and larger wheels, which can reduce maneuverability in tight city streets. Conversely, a nimble folding e‑bike may fit easily in a car trunk but struggle with payload stability and vibration control on long outdoor shoots. The sweet spot for most photographers is a mid‑range e‑MTB or fat‑tire platform with a dedicated rack system and at least 30 miles of real‑world range.
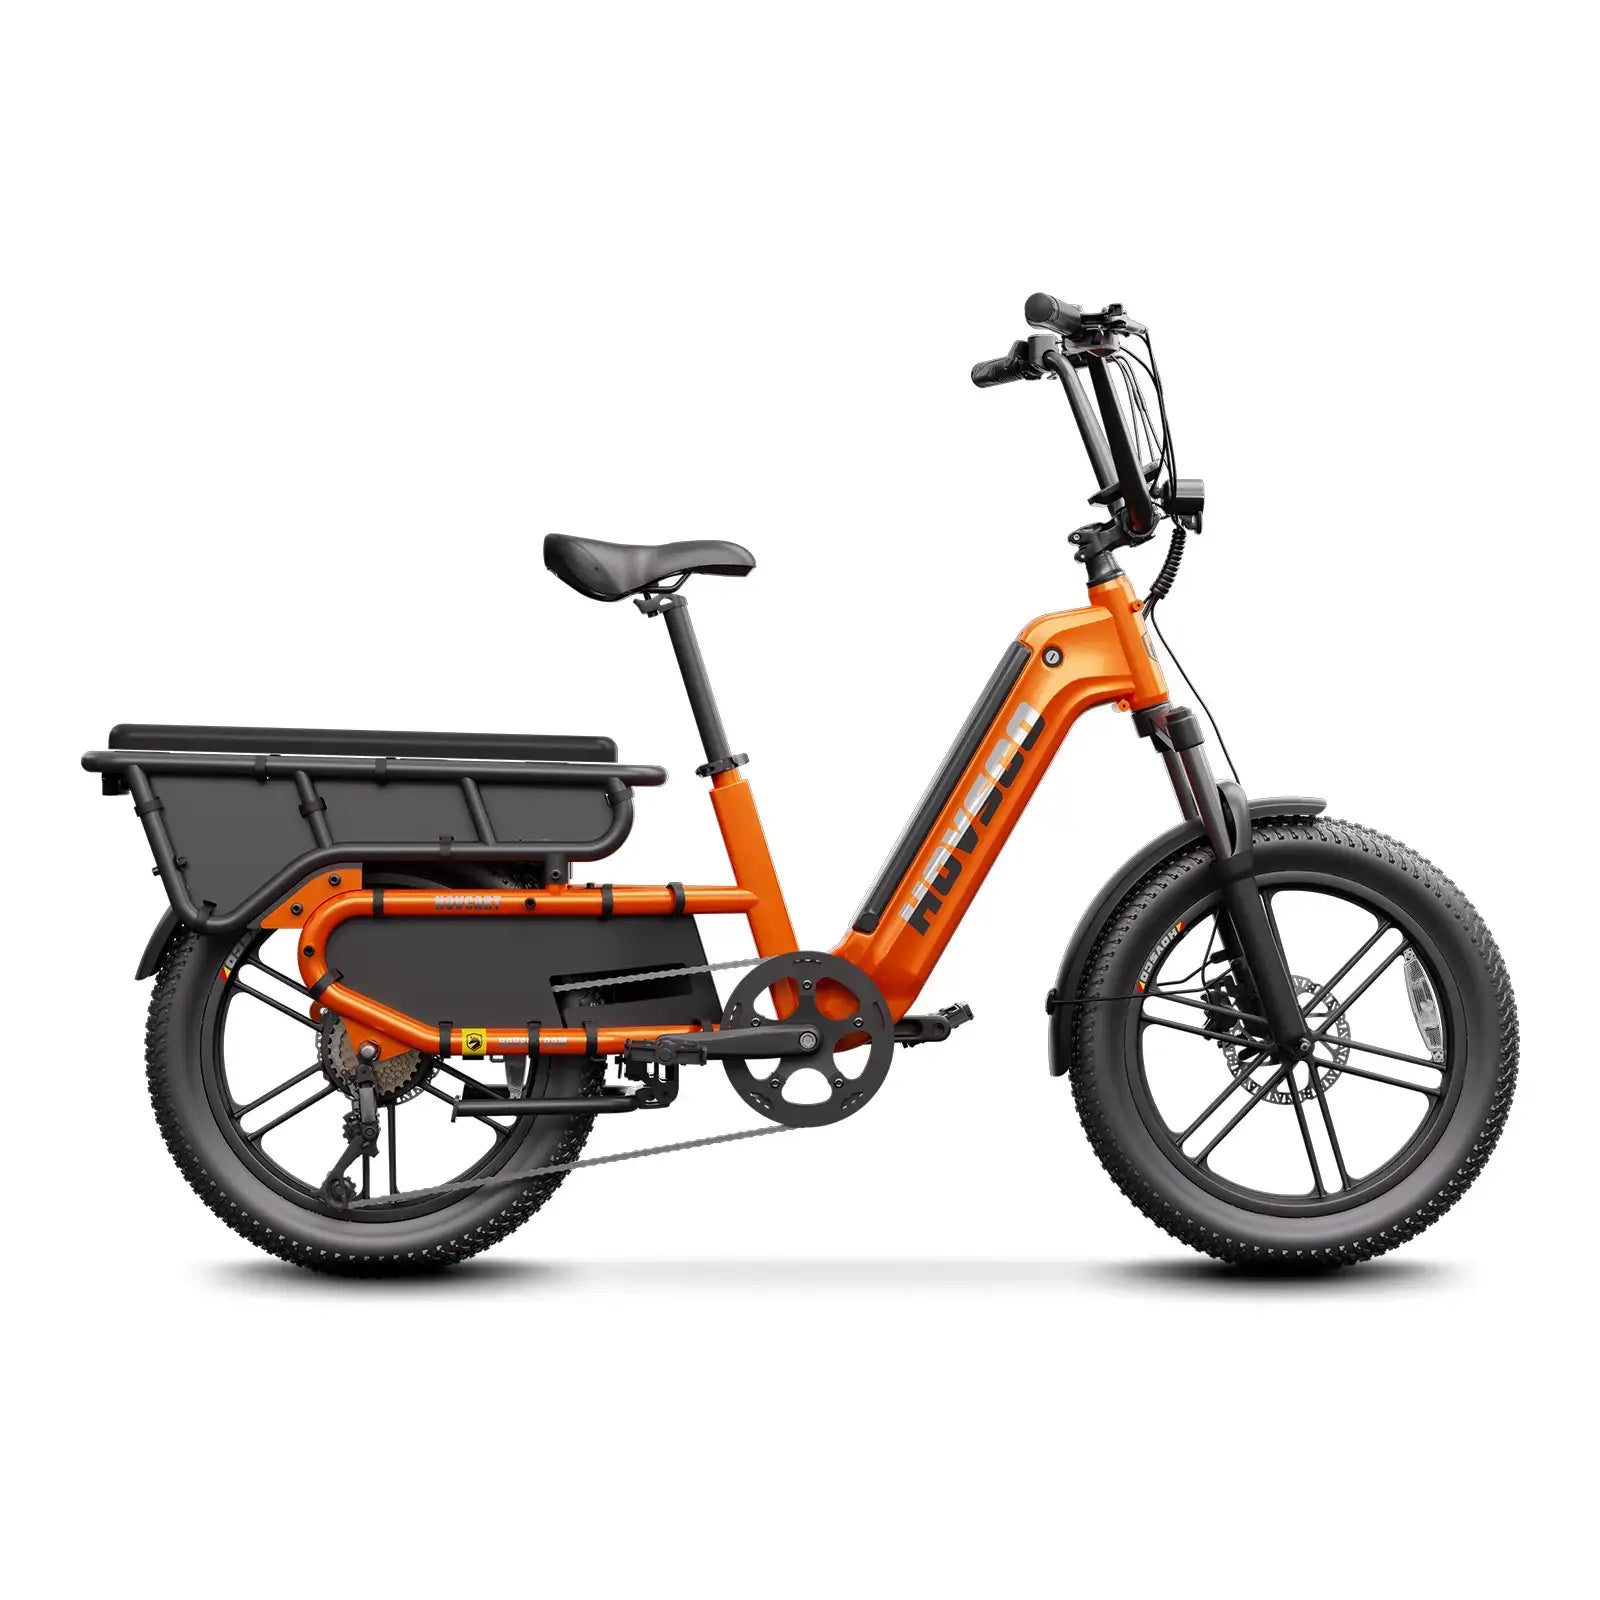
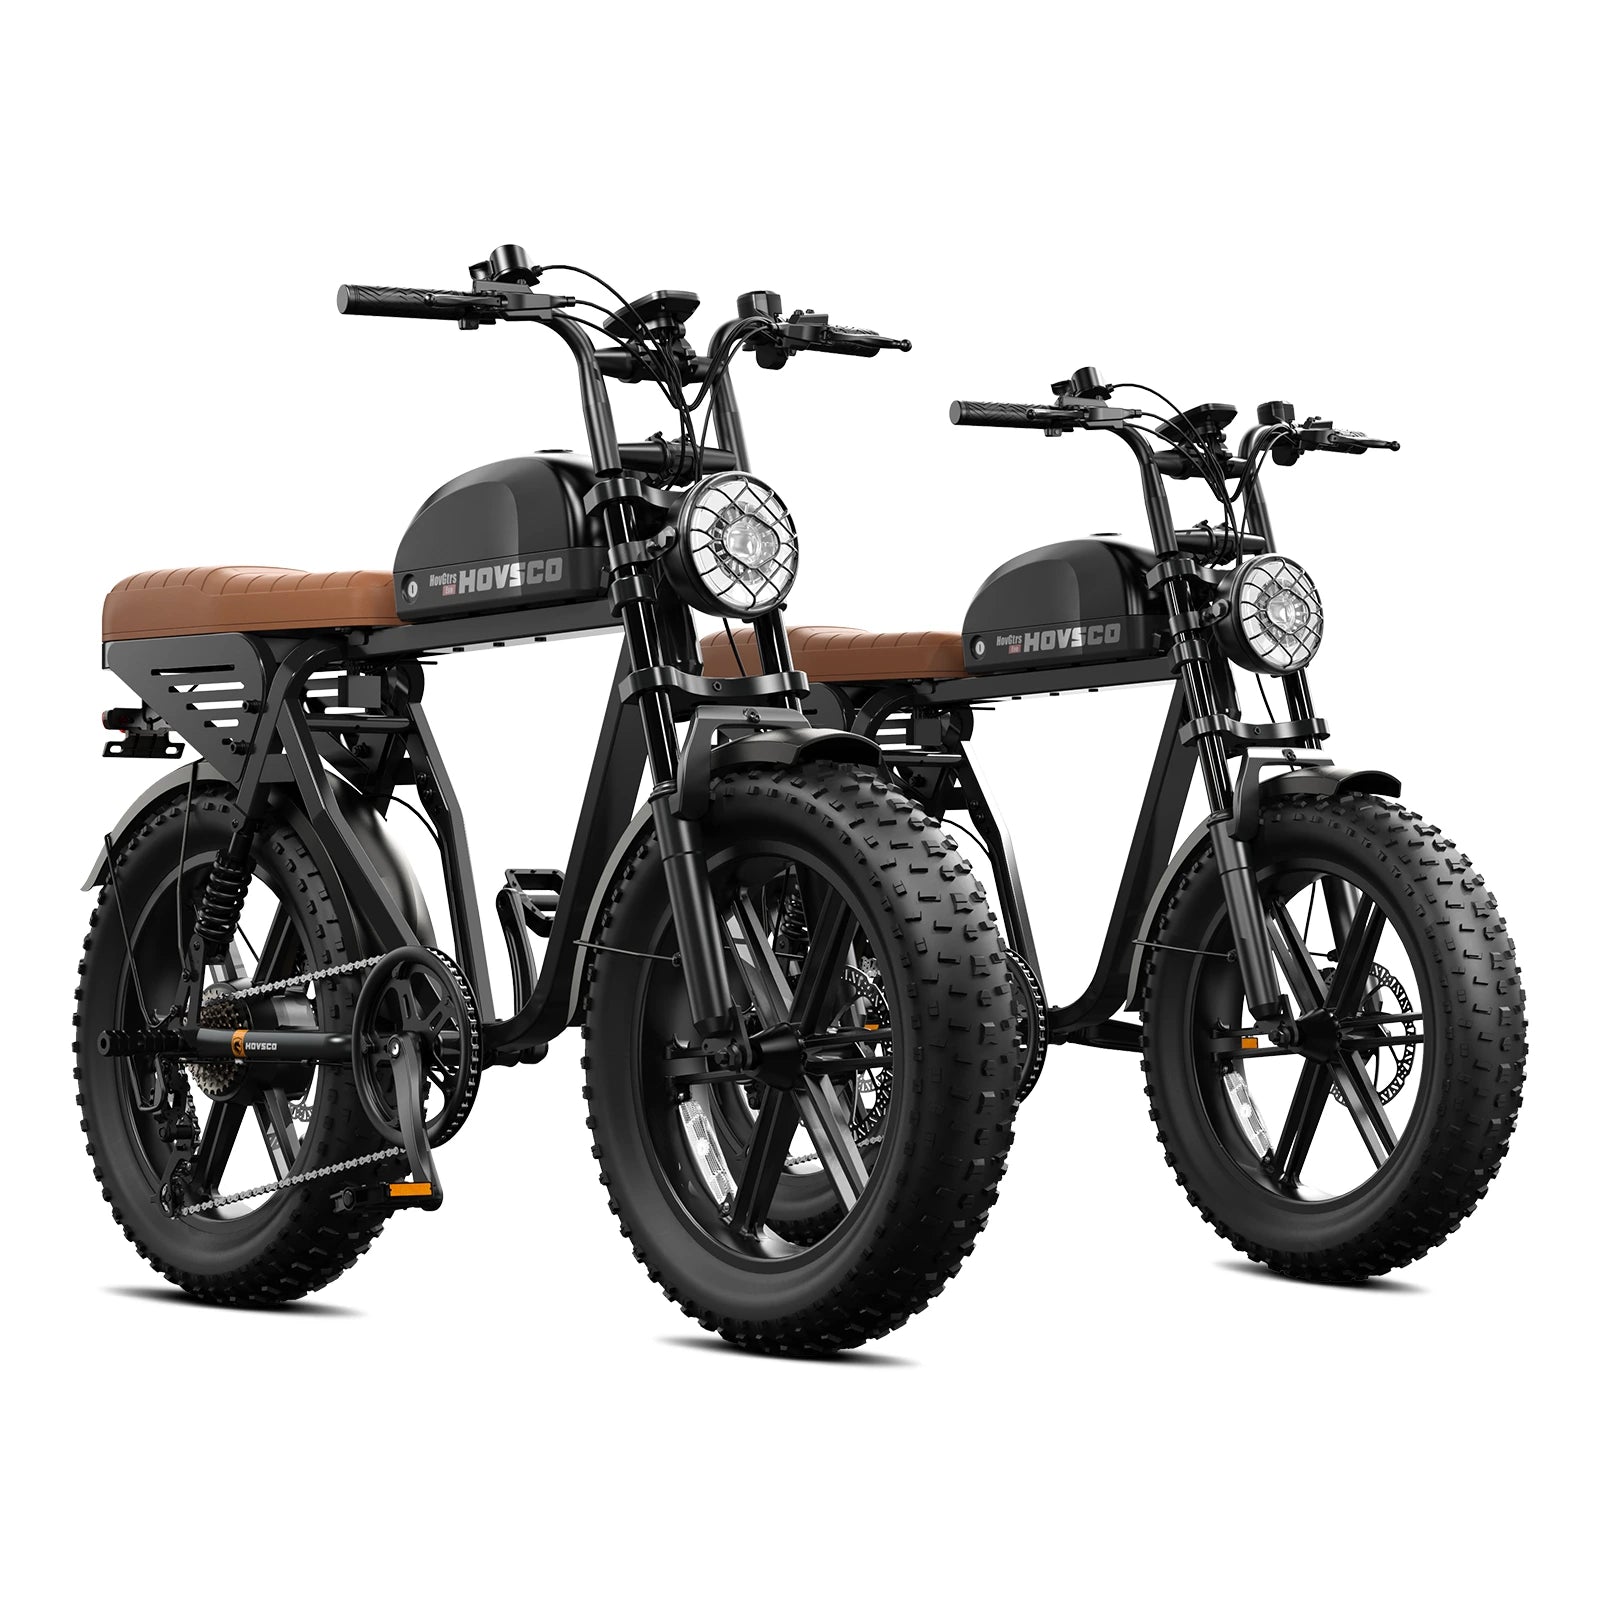
HOVSCO e‑bikes support photographer workflows by offering torque‑sensor‑driven platforms with robust frames, wide‑tire options, and configurations that easily accept front and rear racks for camera gear transport. The brand’s fat‑tire and cargo‑oriented models in particular are built to handle heavier loads over rougher surfaces, which is ideal for outdoor shoots where you might carry a tripod, multiple lenses, and personal gear.
For photographers who need to reach remote locations with heavy gear effortlessly, HOVSCO’s emphasis on long‑range batteries and reliable motors means you can ride extended routes without worrying that the bike’s power will quit mid‑shoot. The company’s focus on stability, wide contact patches, and cushioned suspension geometry also helps dampen vibration that could otherwise damage lenses or sensors during long rides.
“From our design work on HOVSCO e‑bikes, we see that photographers need more than ‘just’ range or speed; they need a chassis that can carry serious camera gear transport loads while still feeling safe and predictable on loose trails,” says a HOVSCO engineering lead. “That’s why we prioritize torque‑sensing motors, wide tires, and suspension‑damped geometry on our fat‑tire and cargo‑oriented platforms: they let you really ride hard with a full kit, without worrying that every bump is a shock to your lenses. When you pair that with a rear rack and pannier setup, our e‑bikes effectively become mobile photo studios that can reach remote locations with heavy gear effortlessly, letting the photographer focus on composition instead of exhaustion.”
Photographers should test an e‑bike by riding it with a mock load close to their real‑world camera gear transport setup, so they can feel how the bike handles under weight. Bring a weighted backpack, tripod, or dummy bag to replicate the center‑of‑mass and total mass you’ll typically carry, then ride on terrain that mirrors your usual outdoor shoots—gravel, dirt, and short climbs.
During the test, pay attention to brake feel under load, how the bike settles into corners, and whether the motor can sustain a steady climb without overheating or dropping assist. If possible, run the battery down 30–50% so you can judge how the bike behaves when the state‑of‑charge drops, since that closely mimics the conditions you’ll face at the end of a long e‑bike for photographers outing.
Photographers can balance e‑bike and hiking by using the bike strictly for transport to and between shooting spots, then dismounting to hike the final, delicate leg where the bike is too heavy or unwieldy. For example, you can ride your e‑bike up a service road to a ridge, then walk the last 100–200 meters to a summit with a lighter backpack, tripod, and camera.
This hybrid approach preserves your energy for stabilizing the camera on rough ground and lets you adjust your position carefully without worrying about bike balance or damage. In practice, many landscape photographers reserve their e‑bike for reaching remote locations with heavy gear effortlessly, and treat the last stretch to the viewpoint as a short, tripod‑carrying hike where the bike’s only role is to sit safely out of the way.
Check: photography tips for the Cargo Ebike Lifestyle
An e‑bike can dramatically expand what a photographer can do in a single day, as long as the platform is chosen and configured with camera gear transport and outdoor shoots as core priorities. Focus on bikes with robust frames, suspension‑damped geometry, strong rear racks or panniers, and at least 25–30 miles of real‑world range at mid‑power assist.
For reaching remote locations with heavy gear effortlessly, add a foam‑lined camera bag, tripod‑wrapping straps, and a small top‑tube pouch for frequently used lenses, while keeping loads low and centered on the bike. Companies like HOVSCO that build torque‑sensor and fat‑tire e‑bikes with real‑world payload capacity and stable handling give photographers a practical, non‑commodity tool that can turn a long, grueling trek into a smooth, creative adventure. Test‑ride with a loaded kit, plan routes with a 20–25% battery buffer, and treat the bike as a mobile photo studio that moves you efficiently between light‑filled locations.
What’s the safest way to carry a camera while riding?
The safest way is to keep the camera in a well‑padded, shock‑damped bag on a low rear rack or in a small top‑tube pouch, never dangling from a handlebar strap that could swing into your spokes.
Can I ride with a tripod on the bike the whole time?
Yes, but only if the tripod is tightly strapped to a rear rack or pannier so it doesn’t swing; metal legs can damage the bike or your body if they come loose at speed.
Is a heavy e‑bike harder to handle with lots of gear?
Yes, but a well‑designed e‑bike with a strong motor, low‑centered racks, and wide tires can handle heavy loads smoothly; practice low‑speed turns and braking with a test load first.
How can I protect my camera in the rain on an e‑bike?
Use a waterproof camera bag or cover, add a silica‑gel pack inside, and keep the bag zipped and strapped tightly to the rack so rain doesn’t seep in during outdoor shoots.
Do e‑bikes help with landscape photography more than studio work?
Yes, because e‑bikes significantly extend how far and how efficiently you can travel in natural environments, letting you hunt for the perfect outdoor shoots instead of staying close to roads and parking.
Share:
Fat Tire vs Slim Tire: Which Is Best for Mixed Terrain Hauling?
How Can Last‑Mile Delivery Booms Drive the $2.35 Billion Electric Cargo Bike Market?