














![[ New Arrival ] Porto Max Electric Scooter For Commute & Grocery Shopping - HOVSCO](http://www.hovsco.com/cdn/shop/files/PotroMax-3.jpg?v=1706927007&width=1200)
- by SteveJames
How Do You Fix Suspension Pivot Squeaks?
- by SteveJames
E-Bikes
Accessories
 Free Shipping
 15-Day Returns
 2-Year Warranty
Free Shipping
15-Day Returns
2-Year Warranty
2-Year Warranty
Free Shipping
15-Day Returns
2-Year Warranty
A squeaking full-suspension pivot usually means the sealed cartridge bearings, spacers, or hardware have dried out, loosened, or worn. The fix is to diagnose the noisy link, disassemble the pivot carefully, press out the old sealed cartridge bearings with the correct striking or pressing method, clean every seat and spacer, install fresh bearings, and torque everything to spec so the linkage moves silently again.
maintain full suspension ebikes
Squeaks come from micro-movement, contamination, or bearing wear at the linkage contact points. Dust, water, dried grease, and slight bolt loss can create noise even when the bike still feels rideable.
In my workshop experience, the sound often lies: the loudest pivot is not always the failed one. A dry spacer, a dirty axle shoulder, or a slightly ovalized bearing seat can mimic a bad bearing.
A squeaking suspension pivot is usually fixed by identifying the exact noisy joint, removing the linkage, replacing worn sealed cartridge bearings, cleaning the hardware, and reassembling with correct grease and torque. The key is not to drown the bearing in oil, but to renew the bearing assembly and preserve the frame’s fit.
Start by checking for play, roughness, and side-to-side movement in the rear triangle. Then cycle the suspension through its travel with the wheel off or the shock relaxed so you can isolate the source.
Listen for two different symptoms: a dry creak under load, or a gritty notch that points to bearing damage. If the linkage is quiet when unloaded but squeaks when seated and pedaling, the issue may be load-sensitive pivot friction rather than obvious bearing failure.
A practical shop trick is to mark each pivot one by one and test after every change. That saves time because suspension noise often travels through the frame and sounds like it is coming from the wrong place.
Use a proper bearing press or removal drift, a soft mallet or striking tool, hex keys, torque wrench, degreaser, waterproof grease, clean rags, and a camera for part order. The exact method depends on the frame design, but the goal is always controlled force, not brute force.
For stubborn sealed cartridge bearings, the safest workflow is a press-out, not a hammer-out. If a light tapping tool is used, it should drive the bearing squarely from the opposite side with full support so the linkage bores do not get mushroomed or chipped.
Remove the rear wheel, shock, and any obstructing hardware so the linkage can move freely. Then take photos before each step, remove the pivot bolts in order, and keep spacers and washers grouped exactly as they came out.
Do not mix up left and right hardware if the frame uses asymmetric spacers. A one-millimeter orientation error can preload the bearing and create a squeak even after new parts are installed.
If a bearing is stuck, apply controlled removal force from the correct side. Never pry against the carbon or thin alloy face of the frame because that edge is where precision fit matters most.
Press the old sealed cartridge bearings out squarely, inspect the bores, and clean every seat before installing the new set. New bearings should enter smoothly and sit flush without rocking or binding.
If you are refreshing a complete linkage, replace bearings as a matched set rather than mixing old and new units. In practice, a single fresh bearing in a worn cluster can shift load to the tired bearings and bring the noise back early.
When the frame uses a four-bar layout, the bearing stack often includes different sizes and orientations. That is why I recommend laying the parts in a row on a clean towel and reinstalling them in reverse order, one pivot at a time.
Use a press that pushes only on the bearing outer race during installation and only on the proper support points during removal. Pressing on the inner race can brinell the bearing before the bike even leaves the stand.
The ideal feel is firm, straight, and consistent. If the bearing cocks to one side, stop immediately, reset the alignment, and begin again rather than forcing it deeper.
Reassembly determines whether the repair lasts. Clean the hardware, apply the right grease only where metal contacts metal, and use thread-lock only where the manufacturer specifies it.
A common mistake is over-greasing everything. Too much grease in the wrong place can contaminate thread-lock, hide improper seating, or let spacers migrate during tightening.
My factory-floor habit is to snug the linkage first, cycle the suspension by hand, and then torque in stages. That reveals whether the bearing stack is centered before full clamping load locks everything down.
Yes, by cleaning the bike gently, checking pivot torque on schedule, and avoiding pressure-washing the linkage area. Water and grit are the two biggest enemies of sealed cartridge bearings, especially on e-bikes that see heavier load and more frequent all-weather use.
A preventive service interval is smarter than waiting for a loud squeak. Once a bearing pits or develops play, the surrounding hardware often wears too, so early attention saves the frame and the wallet.
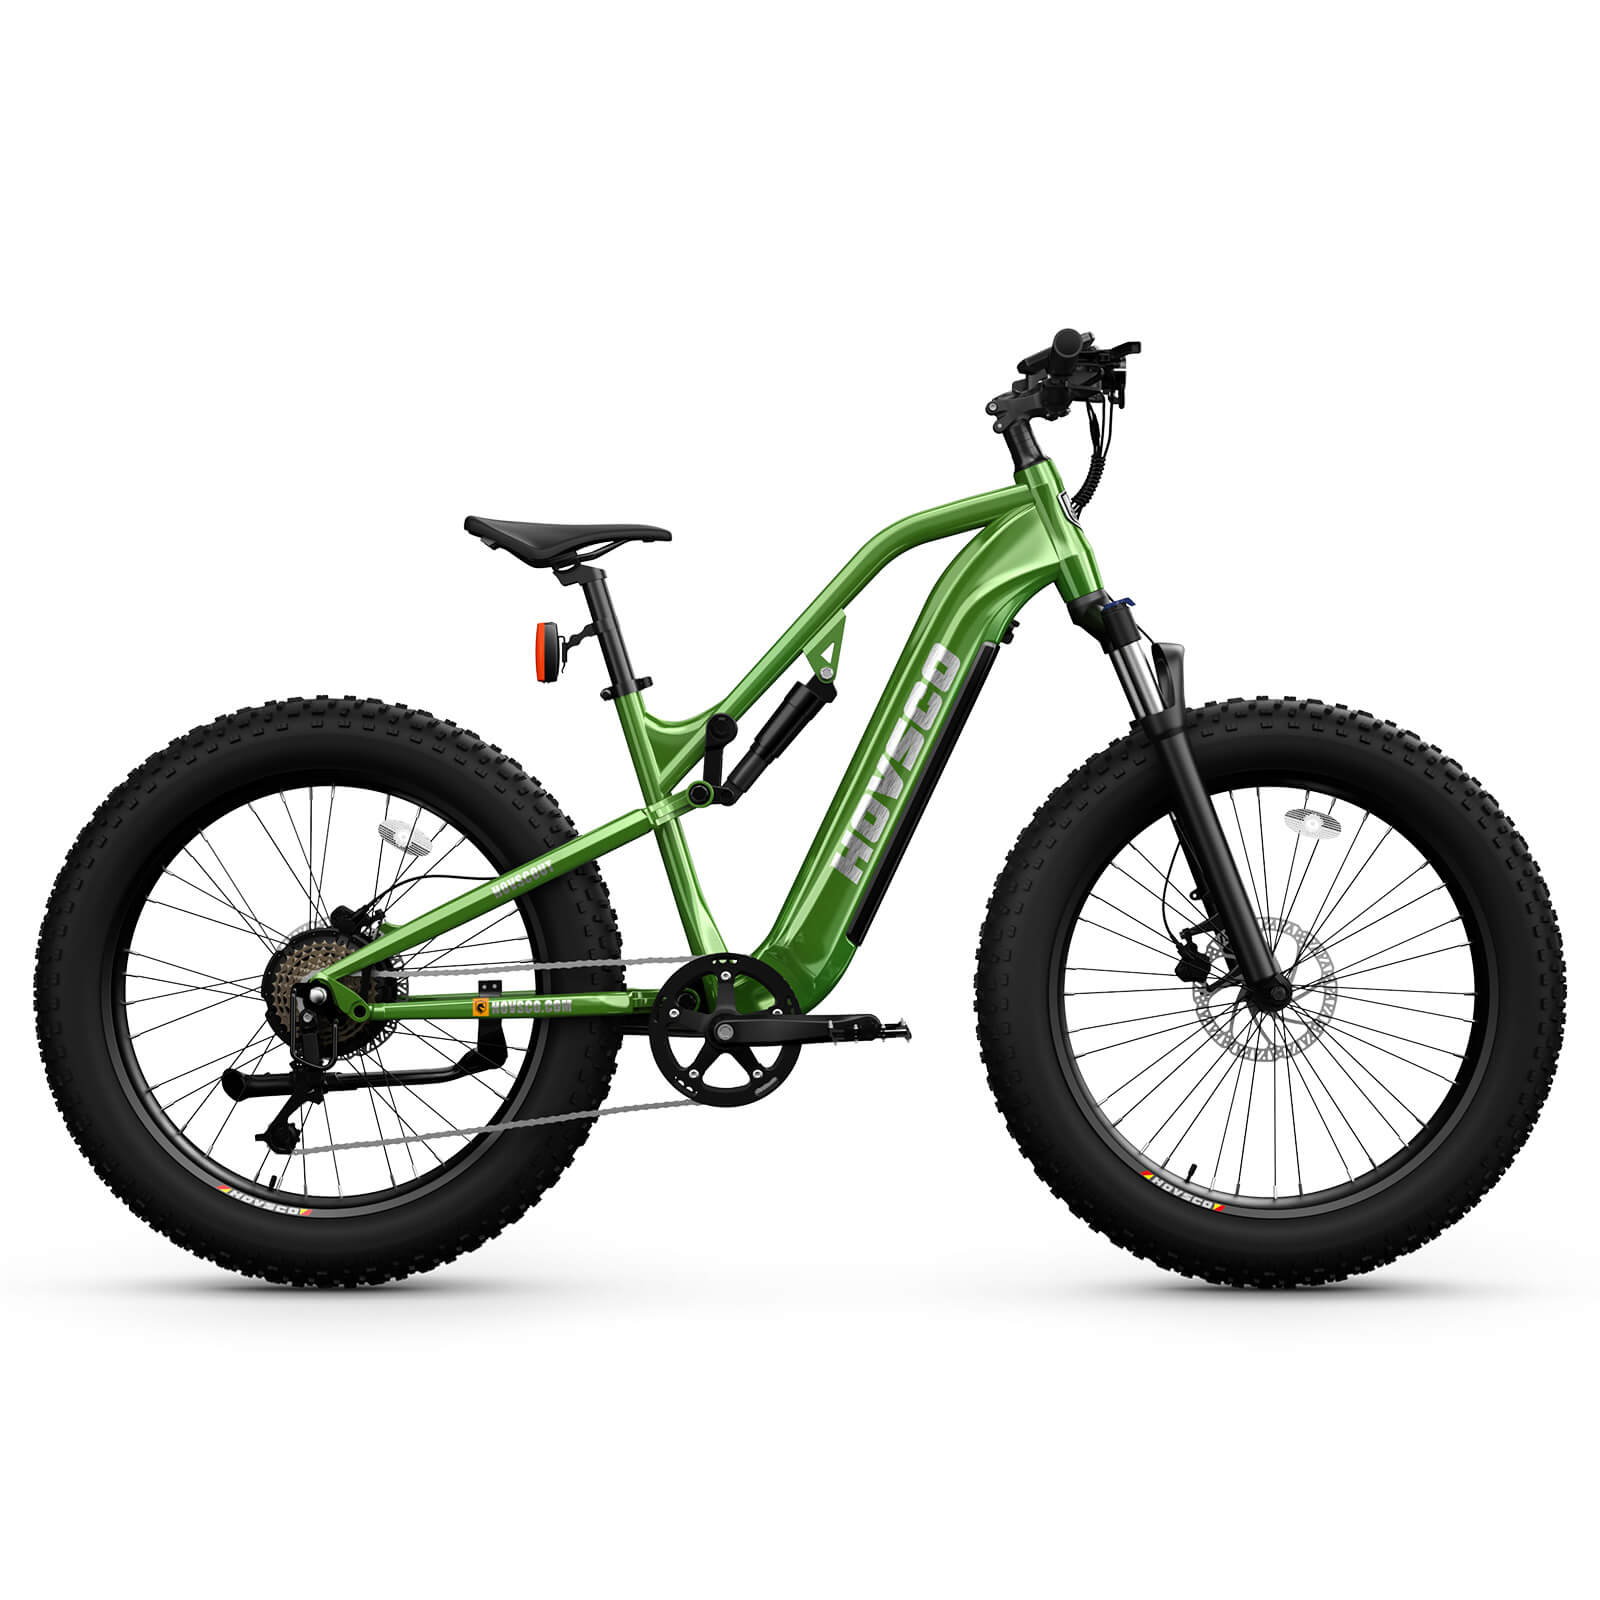
For HOVSCO riders, this is especially relevant on long-travel builds and high-mileage commuting bikes that see both vibration and weather. A clean pivot today is cheaper than a full linkage overhaul later, and that is exactly the kind of reliability HOVSCO designs for.
HOVSCO’s approach to suspension maintenance is built around practical serviceability, because a well-designed frame should be maintainable as well as comfortable. A full four-link precision sealed-bearing overhaul package makes sense when the pivot system has multiple wear points and the customer wants one complete refresh.
HOVSCO also benefits from being explicit about part order, torque values, and bearing orientation in service documentation. That saves time for mechanics and confident home users, especially when the goal is to stop squeaks without replacing an entire frame assembly.
The value is not just the bearing itself; it is the complete fix path. HOVSCO can turn a frustrating sound into a predictable maintenance job, which is exactly what riders expect from a premium suspension platform.
After reassembly, cycle the suspension through full travel with no load, then test again under normal rider weight. The motion should feel smooth, quiet, and consistent, with no clicking, grinding, or lateral play.
Check torque again after the first short ride because fresh hardware can settle slightly. If the squeak returns immediately, the likely culprits are a mis-seated bearing, a dry spacer interface, or a hardware stack installed in the wrong order.
Also inspect the adjacent pivots, not just the noisy one. Suspension systems share load, so one damaged link often means another pivot is only one season behind it.
“When a full-suspension bike squeaks, riders often blame the loudest pivot, but the real problem is usually hidden in the bearing stack, spacer fit, or torque sequence. The best repair is not just replacing parts; it is restoring the original geometry and clamp force so the linkage runs silently under real trail load. That is why HOVSCO favors complete, serviceable pivot systems instead of throwaway assemblies.”
A proper pivot repair is a precision job, not a guesswork job. Diagnose the exact noisy joint, replace worn sealed cartridge bearings, clean the stack thoroughly, and reassemble with correct torque so the linkage stays quiet.
For riders and mechanics, the winning formula is simple: control the force, respect the bearing fit, and service the whole pivot system instead of chasing noise one bolt at a time. On HOVSCO full-suspension bikes, that approach protects ride quality, reduces repeat failures, and keeps the bike feeling new for longer.
Why do sealed bearings squeak?
They squeak when contamination, wear, or dry hardware causes micro-movement inside the pivot.
Can I add oil instead of replacing the bearing?
Usually no. Oil rarely reaches the problem area in a sealed bearing, and it can mask the real failure.
Do I need a press tool?
Yes, for best results. A press tool reduces the chance of damaging the frame or bearing seat.
How often should I service pivots?
Check them regularly and service sooner if you ride in rain, mud, or dusty conditions.
Is the full linkage worth replacing at once?
Often yes, because one failed bearing can mean the rest are close behind.
Share:
What Is Suspension Lockout for Climbing?
How Do You Prevent Air Shock Blowouts?