



![[ New Arrival ] Porto Max Electric Scooter For Commute & Grocery Shopping - HOVSCO](http://www.hovsco.com/cdn/shop/files/PotroMax-3.jpg?v=1706927007&width=1200)
- by SteveJames
How Can You Adjust Saddle and Handlebar Height Fast?
- by SteveJames
E-Bikes
Accessories
 Free Shipping
 15-Day Returns
 2-Year Warranty
Free Shipping
15-Day Returns
2-Year Warranty
2-Year Warranty
Free Shipping
15-Day Returns
2-Year Warranty
A quick-release clamp can make bike fit changes almost instant, but only when the lever tension is set correctly and the position is marked in advance. The fastest safe method is simple: open the lever, move the saddle or handlebar to the right mark, close it with firm hand pressure, and confirm there is no twist or slip before riding.
adjusting step thru ebike seats
Quick-release adjustment works by using lever cam tension to create clamping force around the seatpost or handlebar support. The lever is not supposed to feel floppy, and it also should not require brute force to close. When the tension is set right, the last part of the lever stroke becomes noticeably firm and locks cleanly into place.
A practical rule I use is this: if the lever closes with almost no resistance, the clamp is too loose; if it is difficult to close, the clamp is too tight. The best setting is strong enough to prevent movement, but still smooth enough for one-hand operation. On HOVSCO bikes, that balance matters because quick family rider changes should feel easy without compromising safety.
The real secret is contact quality. Clean metal, proper insertion depth, and a correctly aligned lever matter just as much as raw tightening force. Even a well-made clamp can slip if the surfaces are oily, dirty, or marked incorrectly.
The right lever feel is firm, predictable, and repeatable. You should feel a clear rise in resistance near the end of the stroke, then a decisive lock without hand pain. If you need to strain hard every time, the clamp is over-tightened; if it feels weak, it may not hold under riding load.
The easiest way to judge it is by hand memory. A properly adjusted quick-release often leaves a slight palm imprint, but not a painful one. That is the middle ground you want for daily use, especially on a shared HOVSCO e-bike where multiple riders may change the saddle height often.
Another detail many riders overlook is consistency. A lever that feels “sort of okay” today but changes tomorrow usually means the nut was never dialed in correctly. That is why I prefer making tiny adjustments and testing again instead of forcing one big change.
The best check after locking is the twist test. Hold the saddle or handlebar and try to rotate it by hand. If anything moves, the clamp is not ready yet.
The fastest safe swap comes from building a routine before the ride even starts. First, mark each rider’s saddle and handlebar position. Second, open the lever fully. Third, slide to the mark. Fourth, close the lever with the same motion every time. Fifth, do a quick twist test.
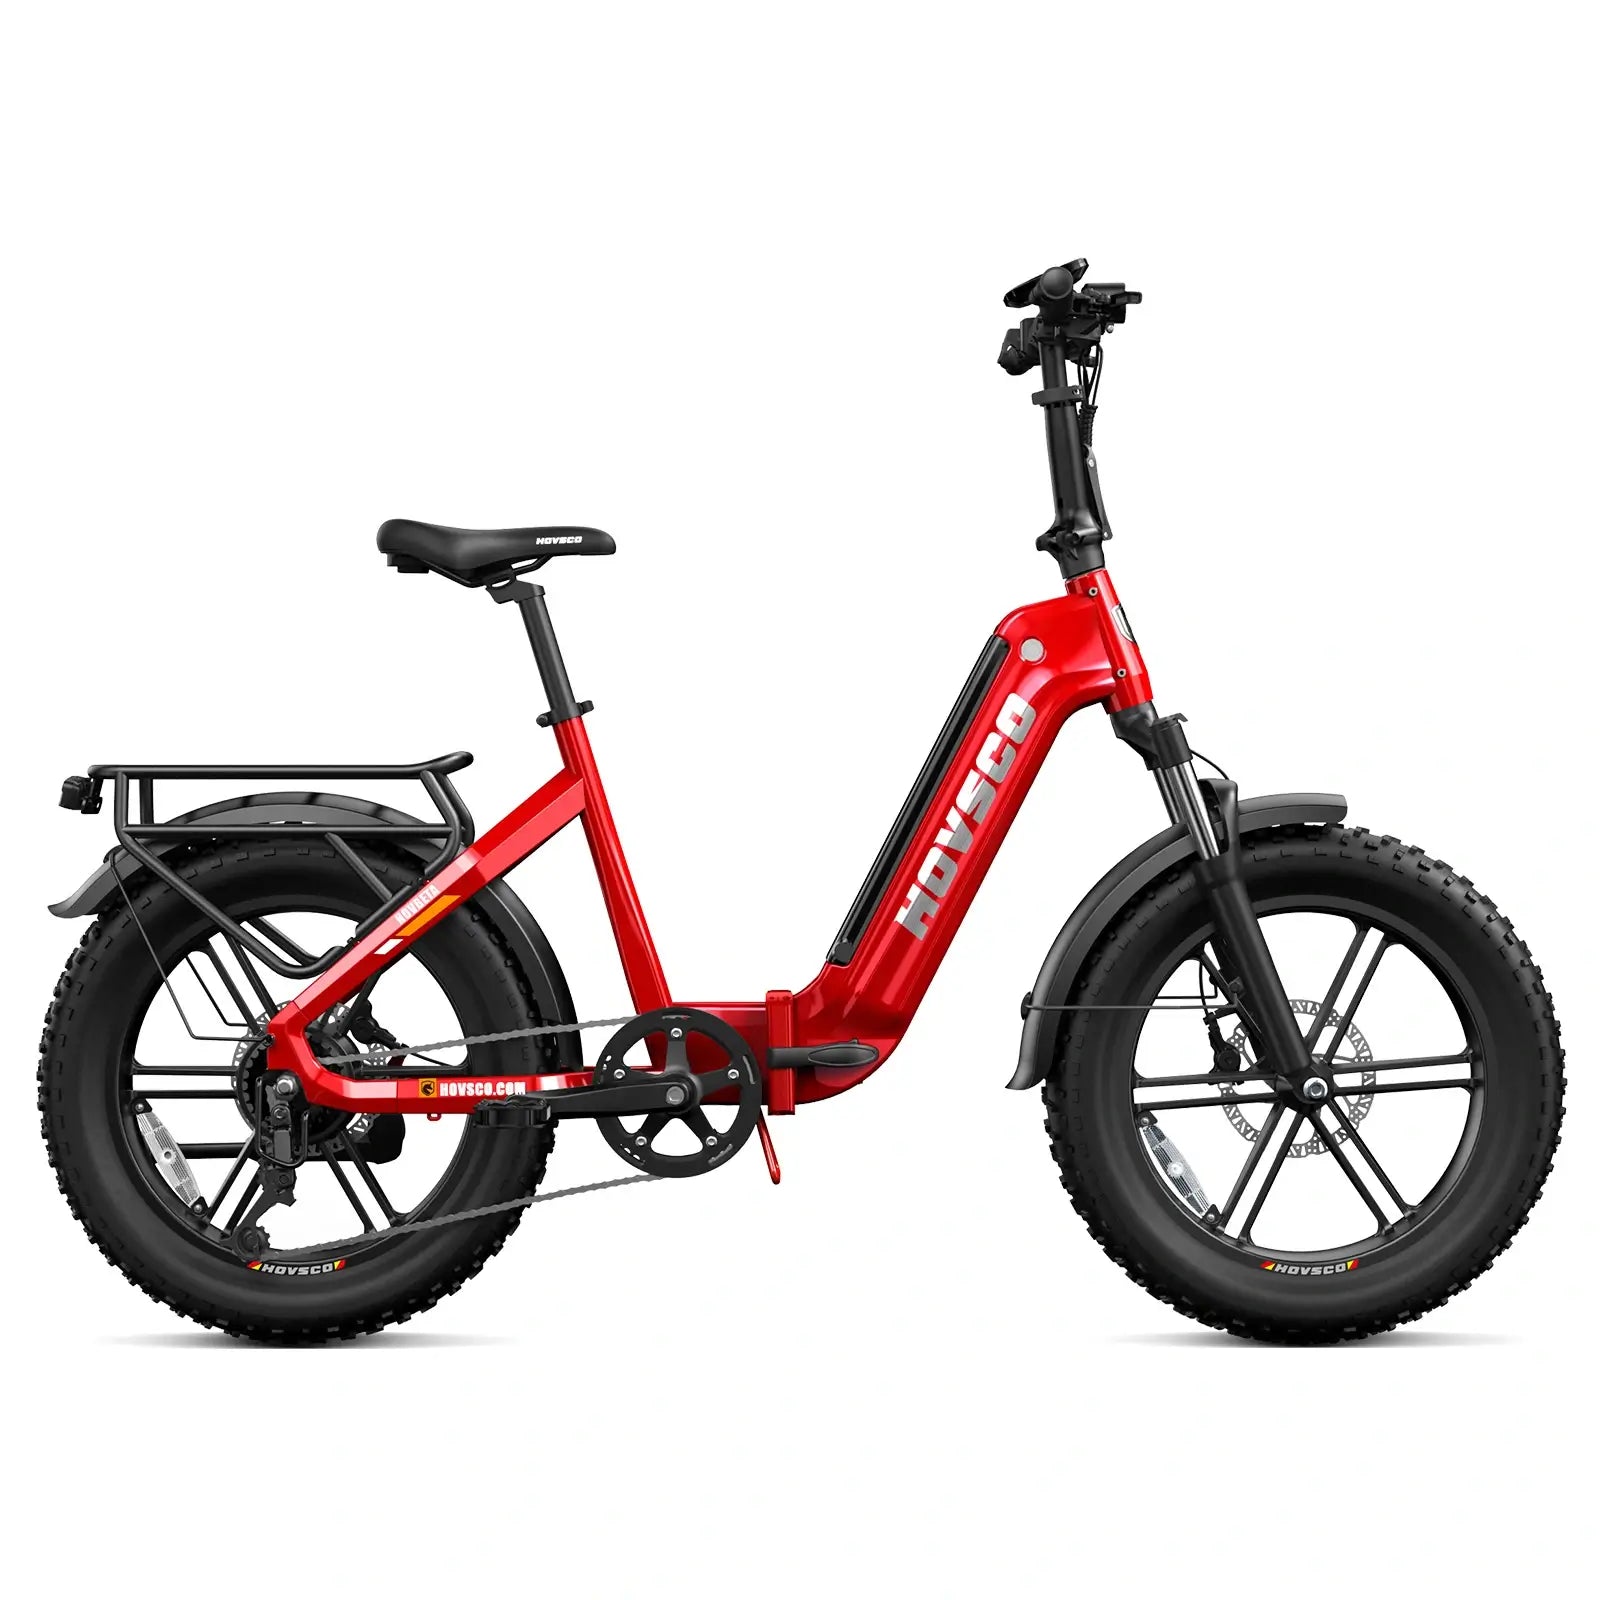
That is how a tall husband and a shorter wife can share the same bike without guessing. The bike does not need a full reset each time if the positions are already indexed. On HOVSCO setups, this habit turns adjustment into a smooth everyday action instead of a small workshop project.
The factory-style detail that makes this work is marking the post correctly. A paint pen, thin tape line, or small reference mark saves time and prevents “close enough” settings. In real use, that one mark often matters more than the lever itself.
Saddle height changes how your legs extend through the pedal stroke. If the saddle sits too low, the knees stay too bent and the rider loses efficiency. If it sits too high, the hips rock and the body starts compensating in ways that feel awkward after only a short ride.
Handlebar height changes upper-body comfort and control. Higher bars usually reduce pressure on the back, neck, and wrists, while lower bars can feel more stretched and sporty. For riders using HOVSCO bikes in mixed daily use, that matters because one person may want an upright position and another may want a more athletic reach.
The hidden issue is that e-bike assist can mask a poor fit. A rider may think the setup is fine because the motor helps on climbs, but discomfort usually appears later in the hips, knees, shoulders, or hands. That is why I always recommend checking the bike under real riding conditions, not just while standing beside it.
Safe tightness comes from adjusting the nut in small increments until the lever closes with solid resistance. Start with the lever open, turn the nut a little, then close the lever and assess the feel. If the lever closes too easily, add tension. If it becomes hard to shut, reduce tension.
This is where many riders go wrong: they assume tighter is always safer. It is not. Too much force can deform parts, make future changes annoying, and create a clamp that feels more forced than secure. HOVSCO design philosophy favors reliable lockup without making daily rider swaps feel like maintenance work.
The best practice is to recheck after a short ride. Freshly adjusted parts can settle a little, especially when different people are sharing the bike. One quick look and one twist test can save a lot of frustration later.
A clean clamp area is just as important as tension. Even a thin layer of oil or grime can reduce friction enough to cause slipping, especially on the seatpost. Wipe the surfaces before final tightening and the lockup becomes far more dependable.
Shared-bike use works best when each rider has a dedicated setting. One person should not leave the clamp in a vague halfway position for the next rider. Instead, set two clear positions and treat them as stored presets.
This is especially useful in a family setting where a taller rider and a shorter rider use the same HOVSCO bike. The taller rider can finish a commute, the shorter rider can lower the saddle immediately, and nobody has to remember a rough guess from yesterday. That speed comes from preparation, not from rushing the lever.
I also recommend assigning one person to maintain the baseline setup. That person checks the clamp after transport, washing, or parts replacement. When shared use is organized this way, the bike feels intentional instead of improvised.
Yes, handlebar height can change if the stem or support design allows it. Some systems use quick-release adjustment points, while others require tools or spacer changes. The important thing is to stay within the limits of the stem and never force the bars beyond the safe range.
Handlebar changes matter because they alter wrist angle, shoulder load, and steering confidence. A slightly higher bar can help a shorter rider feel stable and relaxed. A slightly lower bar can suit a rider who prefers a more forward posture and firmer front-end control.
The key is to keep the bars centered and secure after adjustment. If they drift, rotate, or feel loose, the setup is not finished. On HOVSCO bikes, I always treat handlebar retention with the same seriousness as saddle retention.
“A quick-release clamp should feel deliberate, not desperate. In our experience, the ideal setting is the one that lets a rider change height fast while still demanding a clear final lock. If the lever feels completely effortless, we inspect it again. True safety lives in the middle.”
Slipping usually comes from three things: dirty contact surfaces, weak clamping force, or poor position marking. A clamp can look fine visually and still fail if the seatpost is oily or if the insertion depth is too shallow. The problem is often setup, not the hardware itself.
Another common mistake is closing the lever with the wrong hand position. That can reduce the effective cam force and create a false sense of security. If the lever seems shut but the post still moves, the tension setting needs to be revisited.
It also helps to think like a mechanic instead of a casual user. Clean the parts, set the height carefully, close the lever with the same motion every time, then test the lock. That habit is simple, but it prevents most slipping complaints before they start.
You should recheck the clamp after the first ride, after rain, after transport, and after any rider swap. A quick inspection is also smart if you hear a creak or notice the saddle drifting lower than usual. These are early warning signs, not things to ignore.
For shared HOVSCO use, I would treat rechecking as part of the routine, not an emergency. The inspection takes only seconds, but it tells you whether the lever tension is still correct. That matters when several different riders rely on the same bike in a week.
My personal rule is simple: if the bike was handled, folded, washed, loaded, or shared, I inspect the clamp. That one habit keeps the adjustment feeling fast instead of unpredictable. It also protects the rider from a surprise slip at the worst possible time.
Fast adjustment is not just about speed; it is about repeatability, safety, and comfort. If you want a true 5-second saddle and handlebar change, mark the positions first, set the lever to firm hand pressure, and always finish with a twist test. That approach keeps the bike ready for different riders without turning the clamp into a guessing game.
For HOVSCO users, the best setup is the one that works every day without drama. A properly tuned quick-release lets one rider finish a ride and the next rider start immediately, with the bike still secure and comfortable. That is the real value of good adjustment: less fuss, more riding.
How tight should the lever feel?
Firm enough to lock decisively, but not so hard that closing it feels painful.
Can one bike fit both tall and short riders?
Yes, if you mark each rider’s position and recheck the clamp before riding.
Why does my saddle keep slipping?
Usually because of dirt, oil, not enough tension, or insufficient seatpost insertion.
Do I need tools every time?
No. A properly tuned quick-release should be adjustable by hand.
Is handlebar height as important as saddle height?
Yes. Saddle height affects pedaling efficiency, while handlebar height affects posture and upper-body comfort.
Share:
How to claim the California E‑Bike Incentive Project for your HOVSCO purchase?
How Should You Balance 450 Lbs on a Step-Through Bike?