


- by SEO
How can parents use an ebike to turn a park trip into a pro photoshoot?
- by SEO
E-Bikes
Shop By Models
Shop By Style
Parents can use an ebike for outdoor photography by mounting secure racks for carrying tripods and drone transport by bike, organizing kid-friendly photo stops, and packing gear in vibration-protected cases. With thoughtful route planning, quick-release camera setups, and simple posing games, a casual park ride smoothly becomes a professional-quality family photoshoot.
Check: outdoor-photography family ebikes
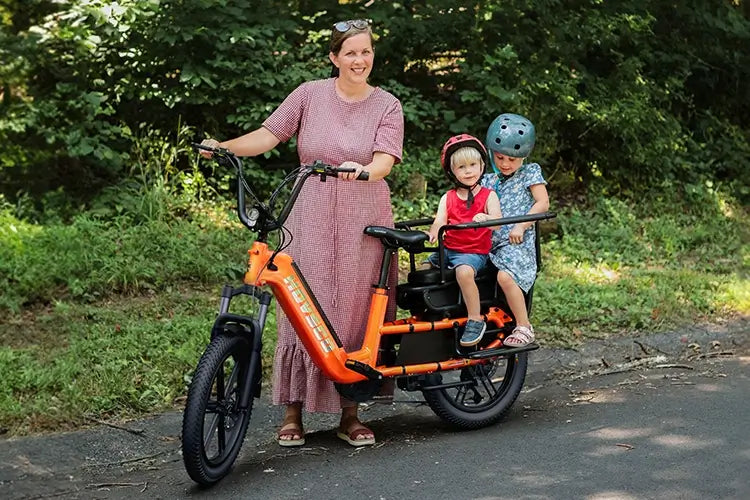
An ebike changes what parents can shoot at the park by extending range, carrying heavier camera gear, and allowing quick moves between locations. Instead of one playground angle, you can cover multiple viewpoints, sunset spots, and hidden corners while keeping kids engaged and your kit safely mounted on the bike.
From the engineering side, an ebike for outdoor photography solves three constraints at once: distance, payload, and time. Torque-rich motors flatten hills even with a loaded pannier, a tripod case, and a drone transport by bike. I’ve ridden test loops with 10–12 kg of photo gear where a non-assisted bike would have turned the outing into a workout, not a family activity.
For parents, that extra power means you can scout multiple backdrops—tree-lined paths, bridges, open fields—without tiring kids or yourself. When the right light hits, you’re already in position. An ebike specifically set up for outdoor photography also stabilizes gear better than improvised backpacks alone, turning a simple park trip into a relaxed, semi-professional session.
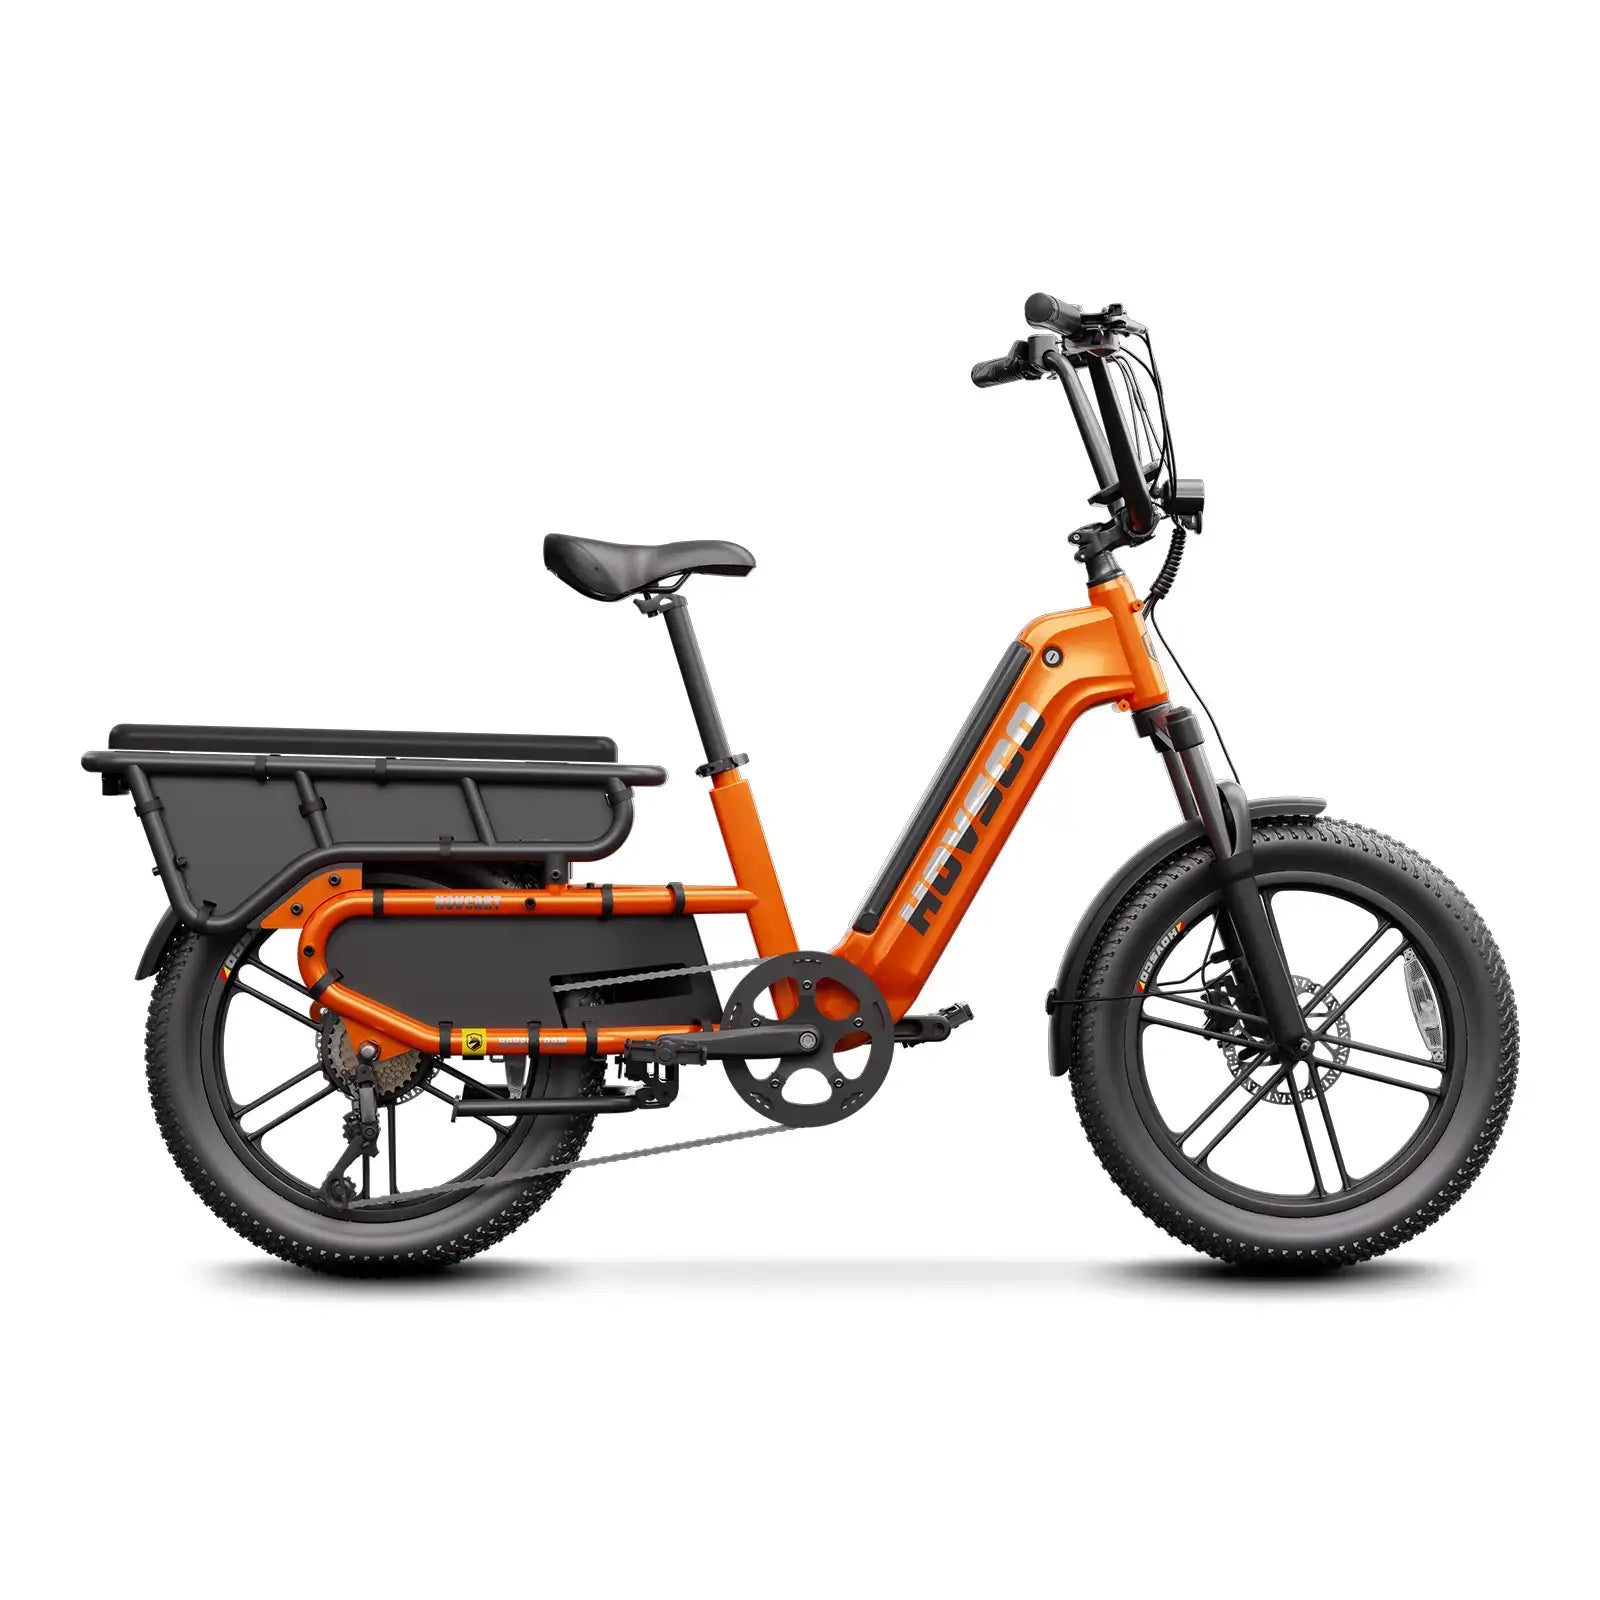
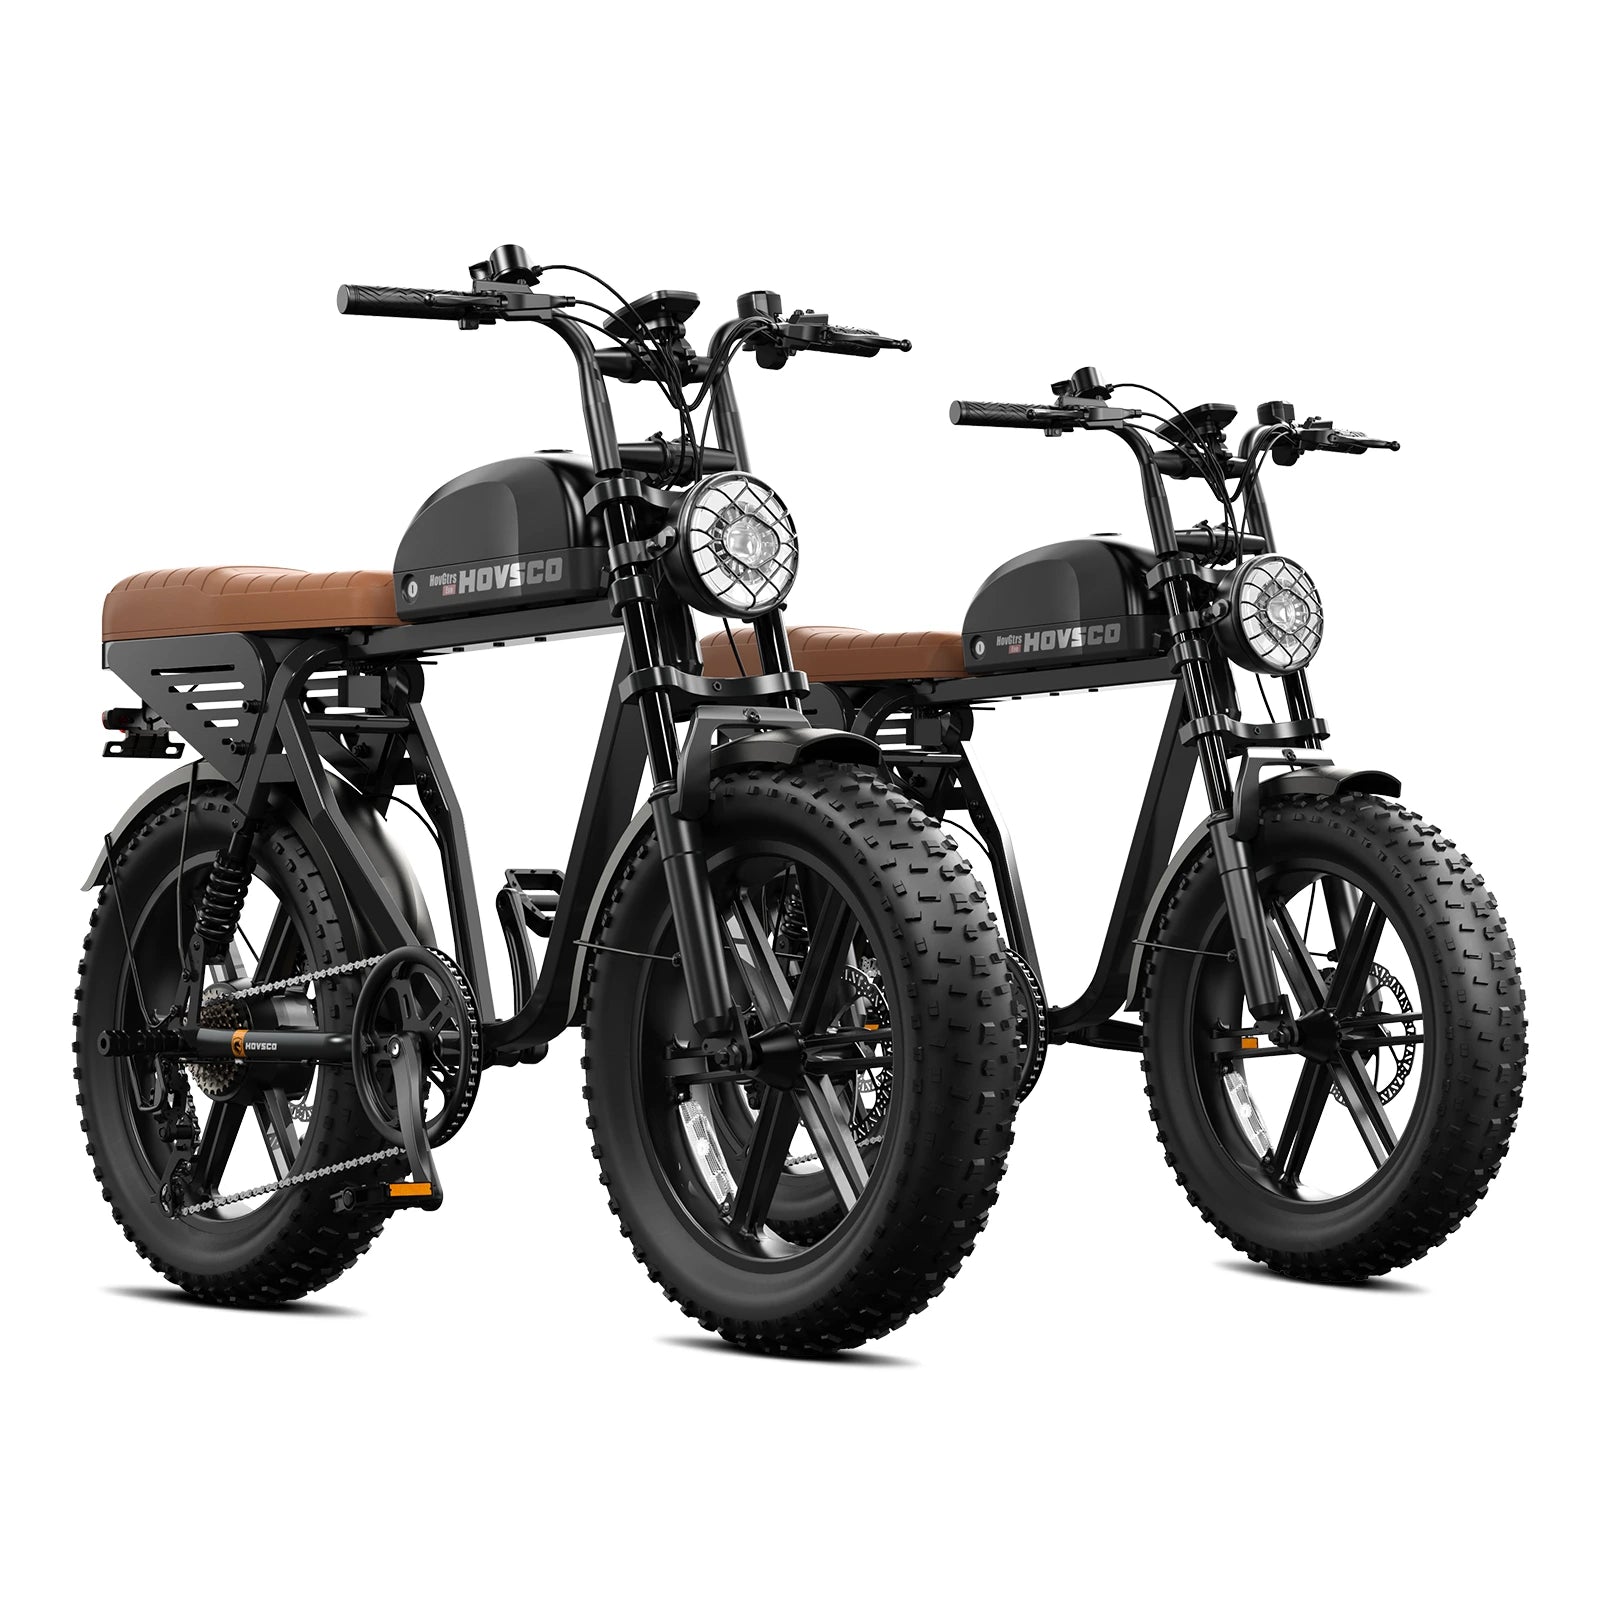
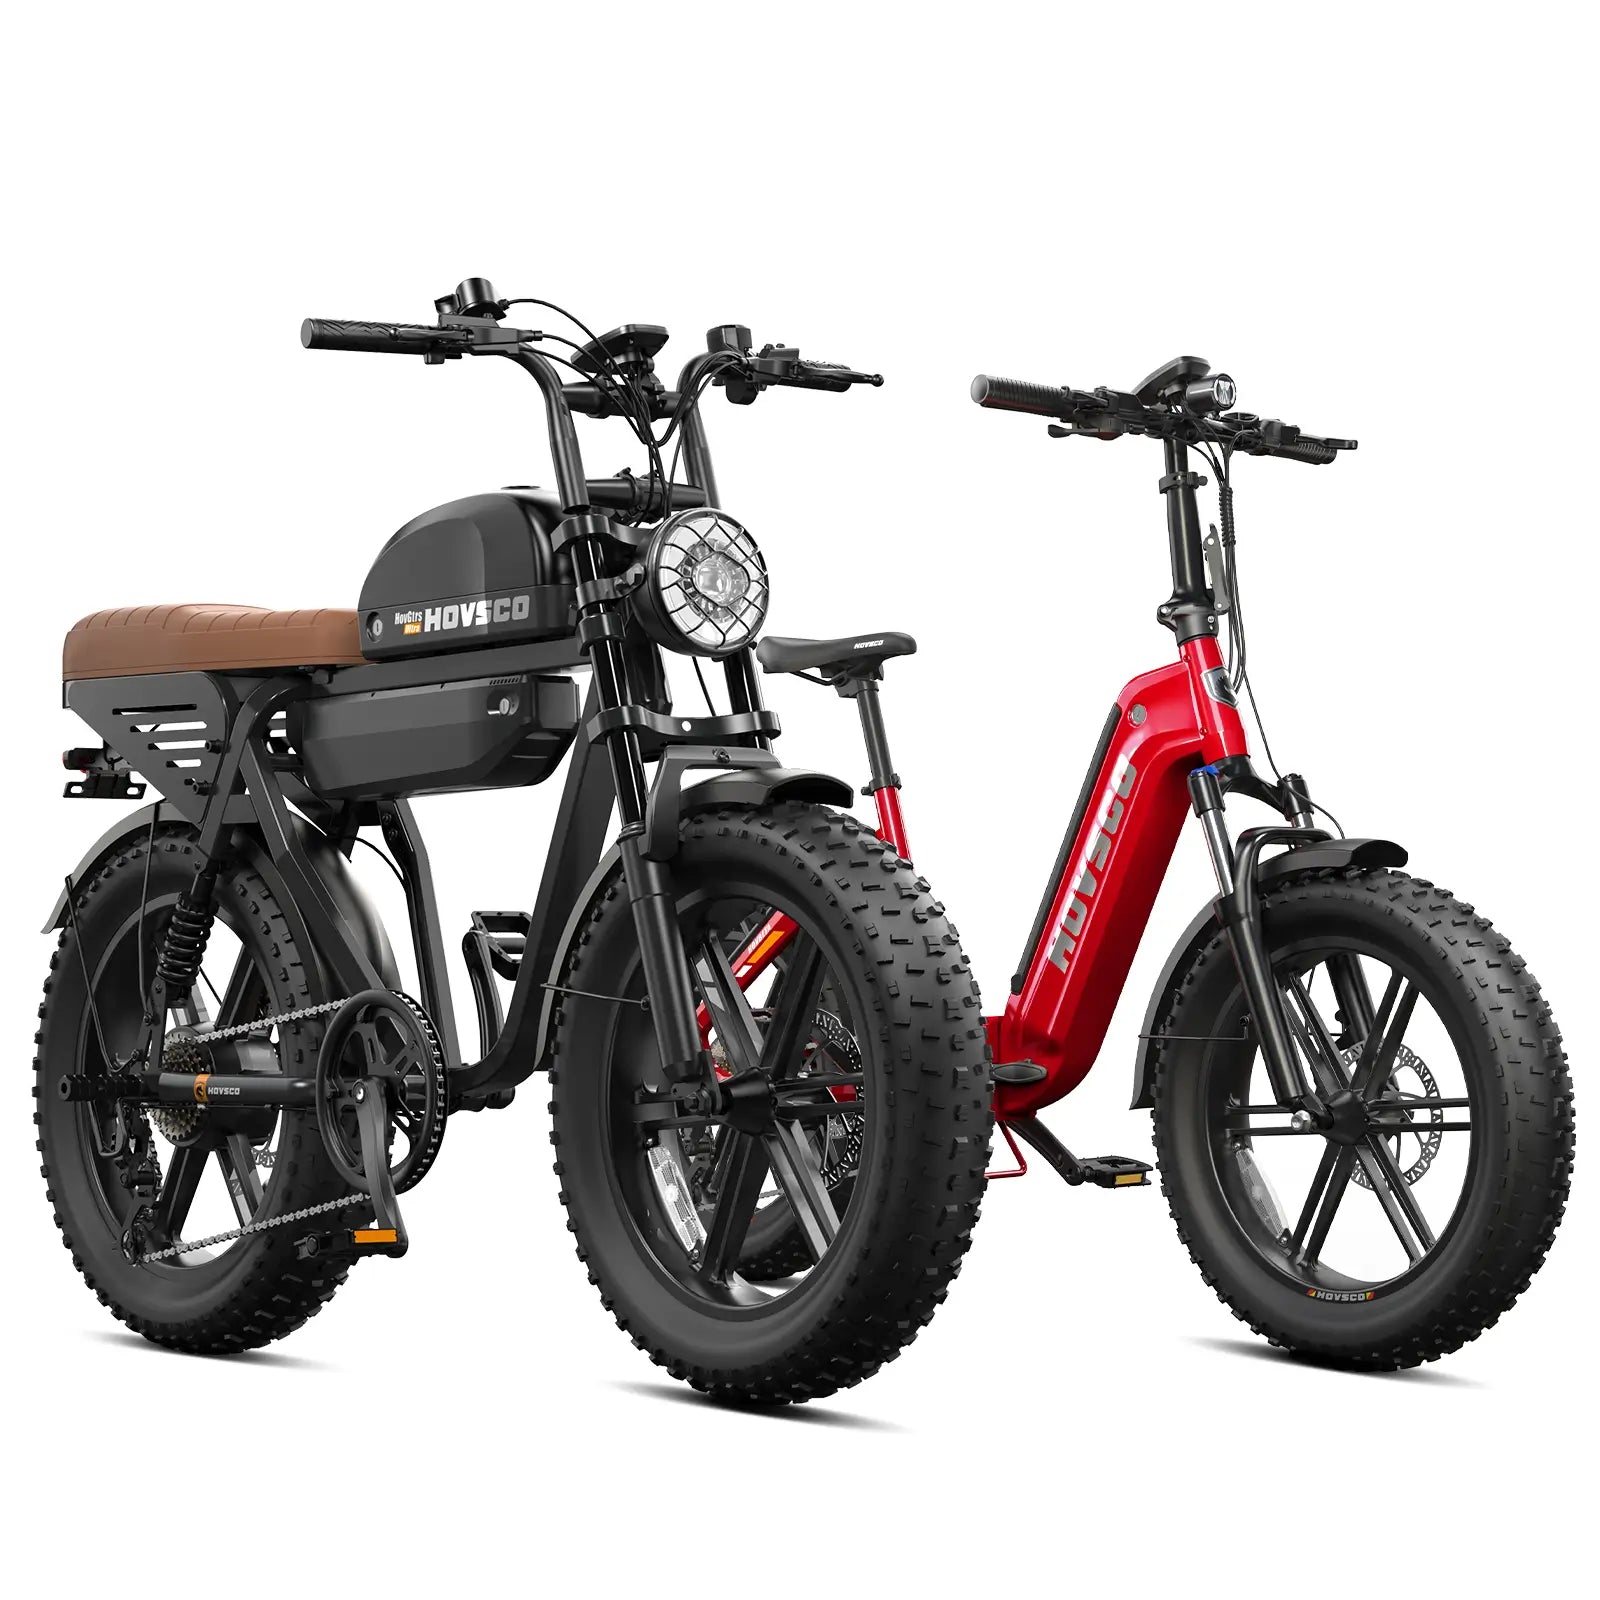
The most important ebike features for outdoor photography parents are stable geometry, strong rear racks, low-step frames, and predictable motor support. A sturdy rear rack handles carrying tripods, while wide tires and good brakes keep the bike steady when loaded. A low-step frame lets you mount and dismount easily while managing kids and expensive camera gear.
From a factory perspective, I favor frames with long wheelbases and slightly slacker head angles for photography setups. That geometry keeps the bike calm when the rear rack is loaded and reduces pitch when braking. Integrated rear racks that bolt directly into frame bosses outperform clip-on racks when you’re carrying tripods and drone transport by bike over mixed surfaces.
Battery capacity also matters. For park-based work, a 500–720 Wh battery usually covers several hours of stop-and-go riding, even with cargo. Smooth, cadence- or torque-sensing assist prevents jerky starts, which can jostle lenses. When advising photo-focused riders at HOVSCO, I emphasize comfort contact points—good saddle, ergonomic grips—because if you’re comfortable, you’ll stay out longer and capture better light.
The best mounting solutions for cameras, tripods, and drones on an ebike combine rigid racks with padded cases and vibration isolation. Use panniers or hard cases for bodies and lenses, a side-mounted or centerline tube for carrying tripods, and foam-lined boxes or backpacks for drone transport by bike to keep gimbals and props safe.
Based on real-world testing, I classify mounts into three zones:
Rear rack: ideal for panniers or a Pelican-style case with foam cutouts for camera bodies and lenses.
Frame triangle or top tube: great for tripod tubes using clamp-on brackets or Voile-style straps.
Front rack or basket: useful for lighter accessories, reflectors, or a compact drone in a padded case.
The goal is to keep heavy items low and centered. A tripod carried high on one side will pull the bike off balance in slow turns. I’ve had best results bolting a narrow tube or cage along the rack’s centerline, so carrying tripods doesn’t twist the frame. For drones, shock-absorbing foam and snug straps prevent micro-vibrations that can slowly loosen screws in gimbals.
Parents can pack gear so an ebike ride still feels fun by keeping photo equipment compact, dedicating one pannier to kid essentials, and using quick-access pouches for snacks and small props. Limit heavy items, use low-mounted bags, and plan short hops between stops to keep kids engaged while you work as a photographer.
On family-focused bikes I’ve set up, I always reserve “kid-first space”: one bag for water, snacks, layers, and a favorite toy. Photo gear goes in its own compartment so you’re never digging past lenses to find a snack. Using color-coded pouches—one for batteries, one for memory cards—reduces time with your head down, so you can keep eyes on the kids.
Route design matters as much as packing. Think in 10–15 minute segments: ride, shoot, play, repeat. A compact ebike for outdoor photography lets you link playgrounds, open lawns, and shaded paths. Parents can use simple posing games—“race to that tree,” “jump on three”—to capture candid action without turning the outing into a formal session.
You should mount carrying tripods either vertically at the rear rack’s centerline or horizontally along the top tube, keeping weight low and aligned with the bike’s center. Using a clamp-on tube or dedicated tripod carrier minimizes sway and makes it easy to slide the tripod out quickly when the light changes in the park.
Here’s a quick comparison of typical mounting spots:
In practice, I avoid handlebar mounts for anything heavier than a compact travel tripod. A rear centerline tube keeps the bike neutral when riding no-hands briefly to adjust cameras. Add a soft sock or neoprene wrap around leg clamps to prevent rattling, and always align the tripod so sharp ends face away from where kids sit or stand.
You can safely handle drone transport by bike by storing the drone and controller in a rigid, foam-lined case mounted on the rear rack or inside a padded pannier. Secure the case against vibration, avoid overpacking on top of it, and keep batteries in fire-resistant pouches away from sharp tools or metal objects.
For drone transport by bike, I treat the drone like a small gimbal camera: it hates impacts and micro-shocks. In testing, I’ve found that even good foam can’t fully compensate for a case that’s loosely strapped to a rack. Use two or three wide straps or a bolt-on rack plate to prevent the case from hopping over bumps. A small layer of dense foam or rubber between case and rack helps absorb high-frequency chatter.
Battery safety is non-negotiable. I advise parents to carry drone batteries in their own pouch inside a pannier, away from kids’ snacks or water bottles. On hot days, open the bag during breaks so heat can escape. When you arrive at the park location, give the drone a visual inspection—check propellers, gimbal locks, and battery seating—before flying over your children or crowded areas.
A shooting workflow that turns a park ride into a professional-looking photoshoot uses pre-scouted spots, a simple shot list, and a repeatable sequence at each stop. Ride, park the ebike, set the tripod, position kids with a quick game, shoot a few variations, then pack and roll. This rhythm keeps momentum and yields polished, varied images.
In my own sessions, I recommend parents plan three core setups:
Wide environmental portrait (family + landscape)
Medium interaction shot (parent and child playing)
Close-up detail (hands on handlebars, shoes in grass)
On an ebike for outdoor photography, you naturally encounter diverse backgrounds. Use the bike itself as a prop—kids sitting on the top tube at rest, helmets hanging from the handlebars, or hands on the HOVSCO logo for a subtle brand touch. Keep the tripod height preset, so at each stop you extend legs to the same marks, saving precious golden-hour minutes.
To maintain a professional feel, lock in a consistent exposure strategy—aperture priority around f/2.8–f/4 for portraits, then a quick switch to higher apertures for family group shots. Store one camera body in a quick-access top pouch so you don’t have to unpack the entire rack setup for every spontaneous moment.
Bike handling technique is critical when carrying camera gear and kids because loaded racks change balance, braking distance, and cornering. Parents must ride smoothly, avoid sudden maneuvers, and anticipate stops so sensitive gear and small passengers stay safe. Stable riding protects both tripods and drone transport by bike from impacts and falls.
A loaded ebike reacts more slowly but with more momentum. I advise three core adjustments:
Braking earlier, using mostly front brake while staying centered over the bike.
Turning in wider arcs to prevent panniers and tripod tubes from clipping posts.
Staying seated when crossing bumps so your body absorbs some energy.
Practice your loaded setup on quiet streets before bringing kids. In factory tests, we simulate emergency stops with weighted panniers; the difference in stopping distance can be significant. Remember that kids move unpredictably—if a child shifts on a rear seat just as you brake, smooth inputs give you margin. A well-tuned HOVSCO ebike with hydraulic brakes and wide tires helps, but your technique is the final safety layer.
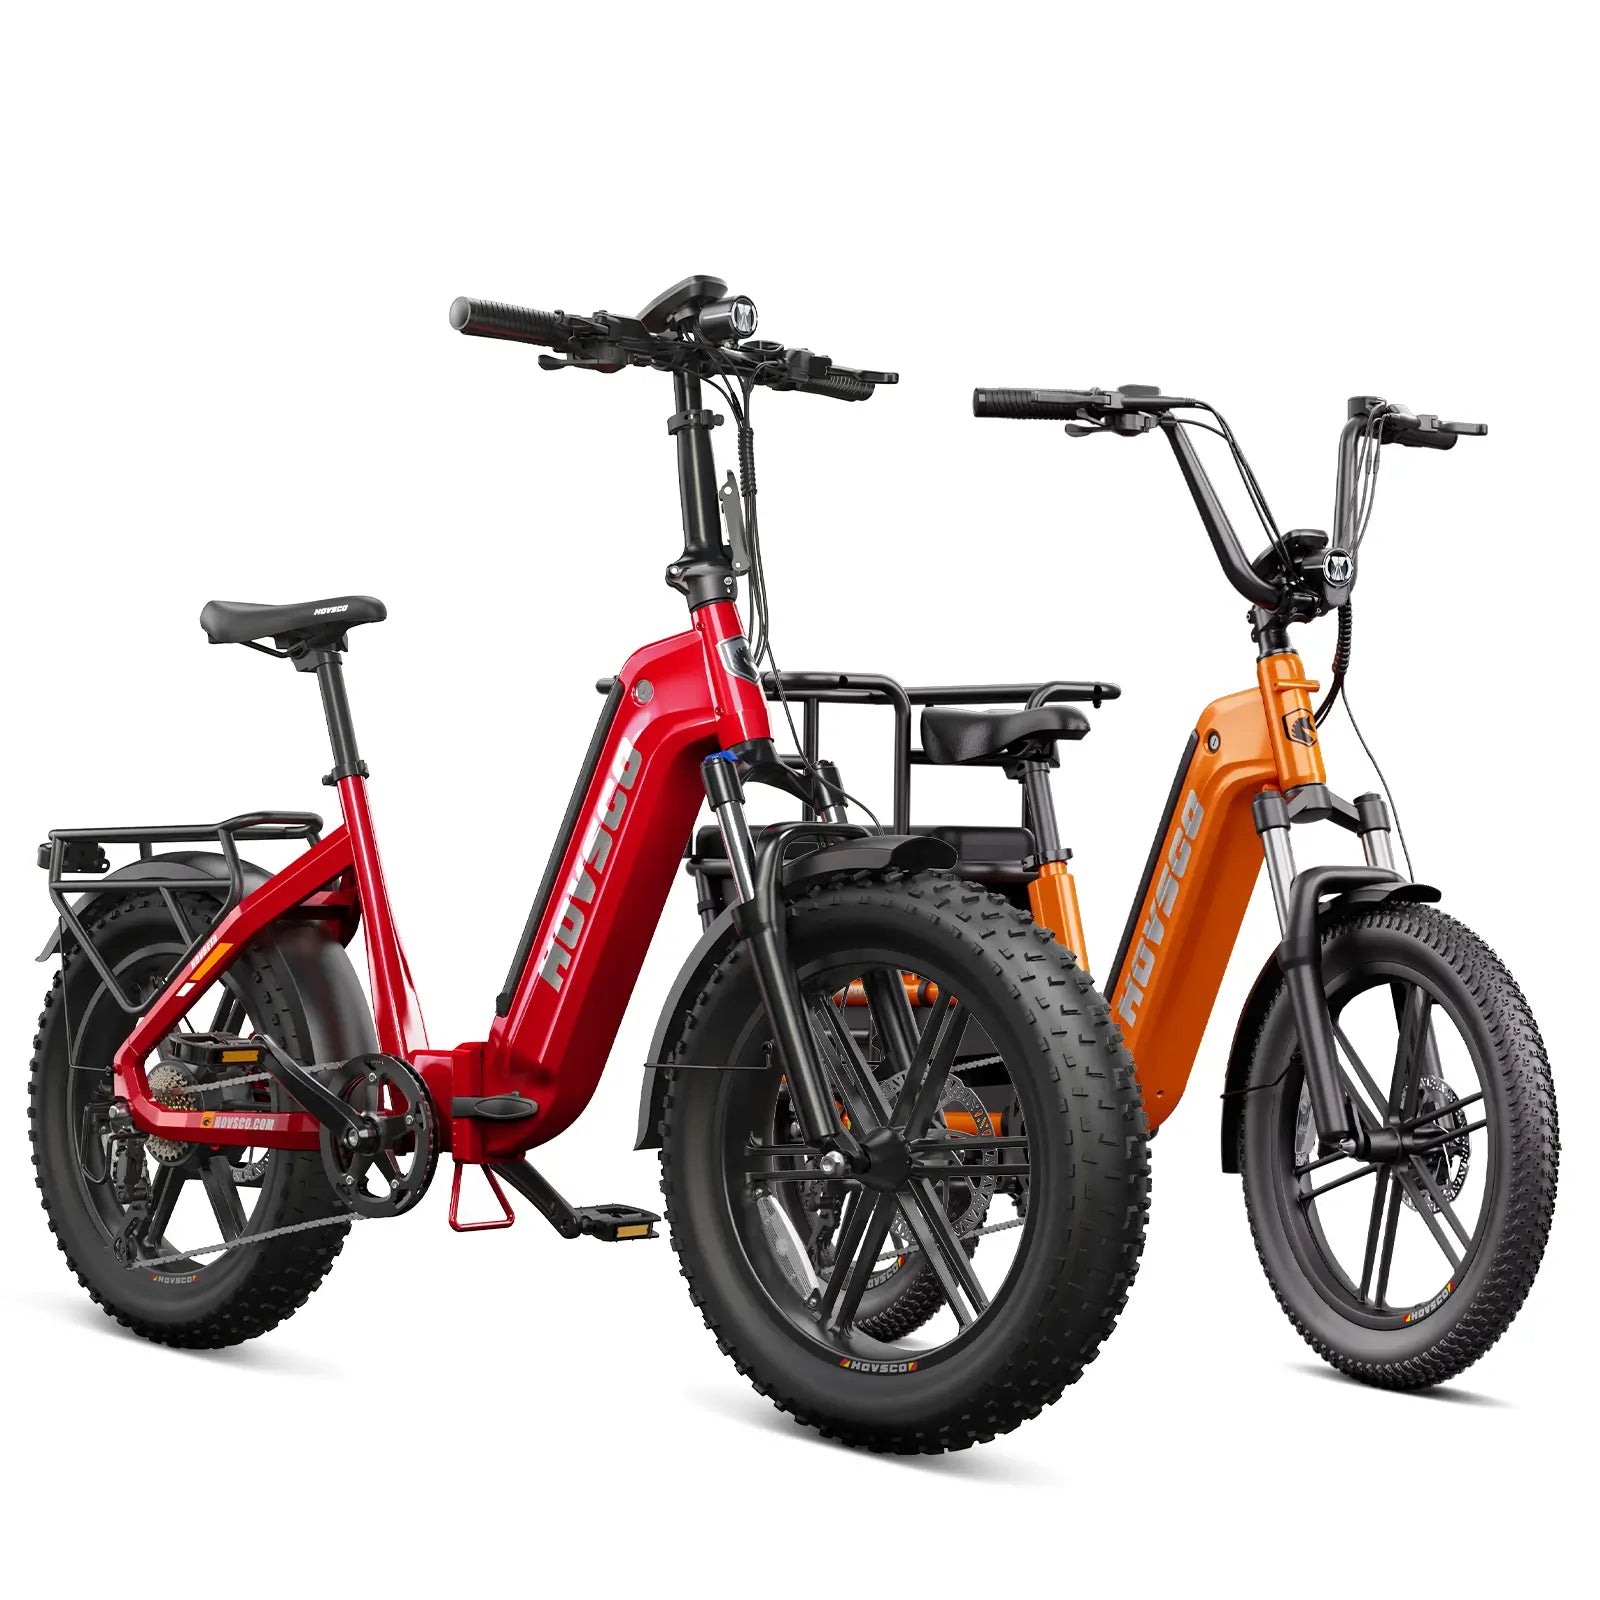
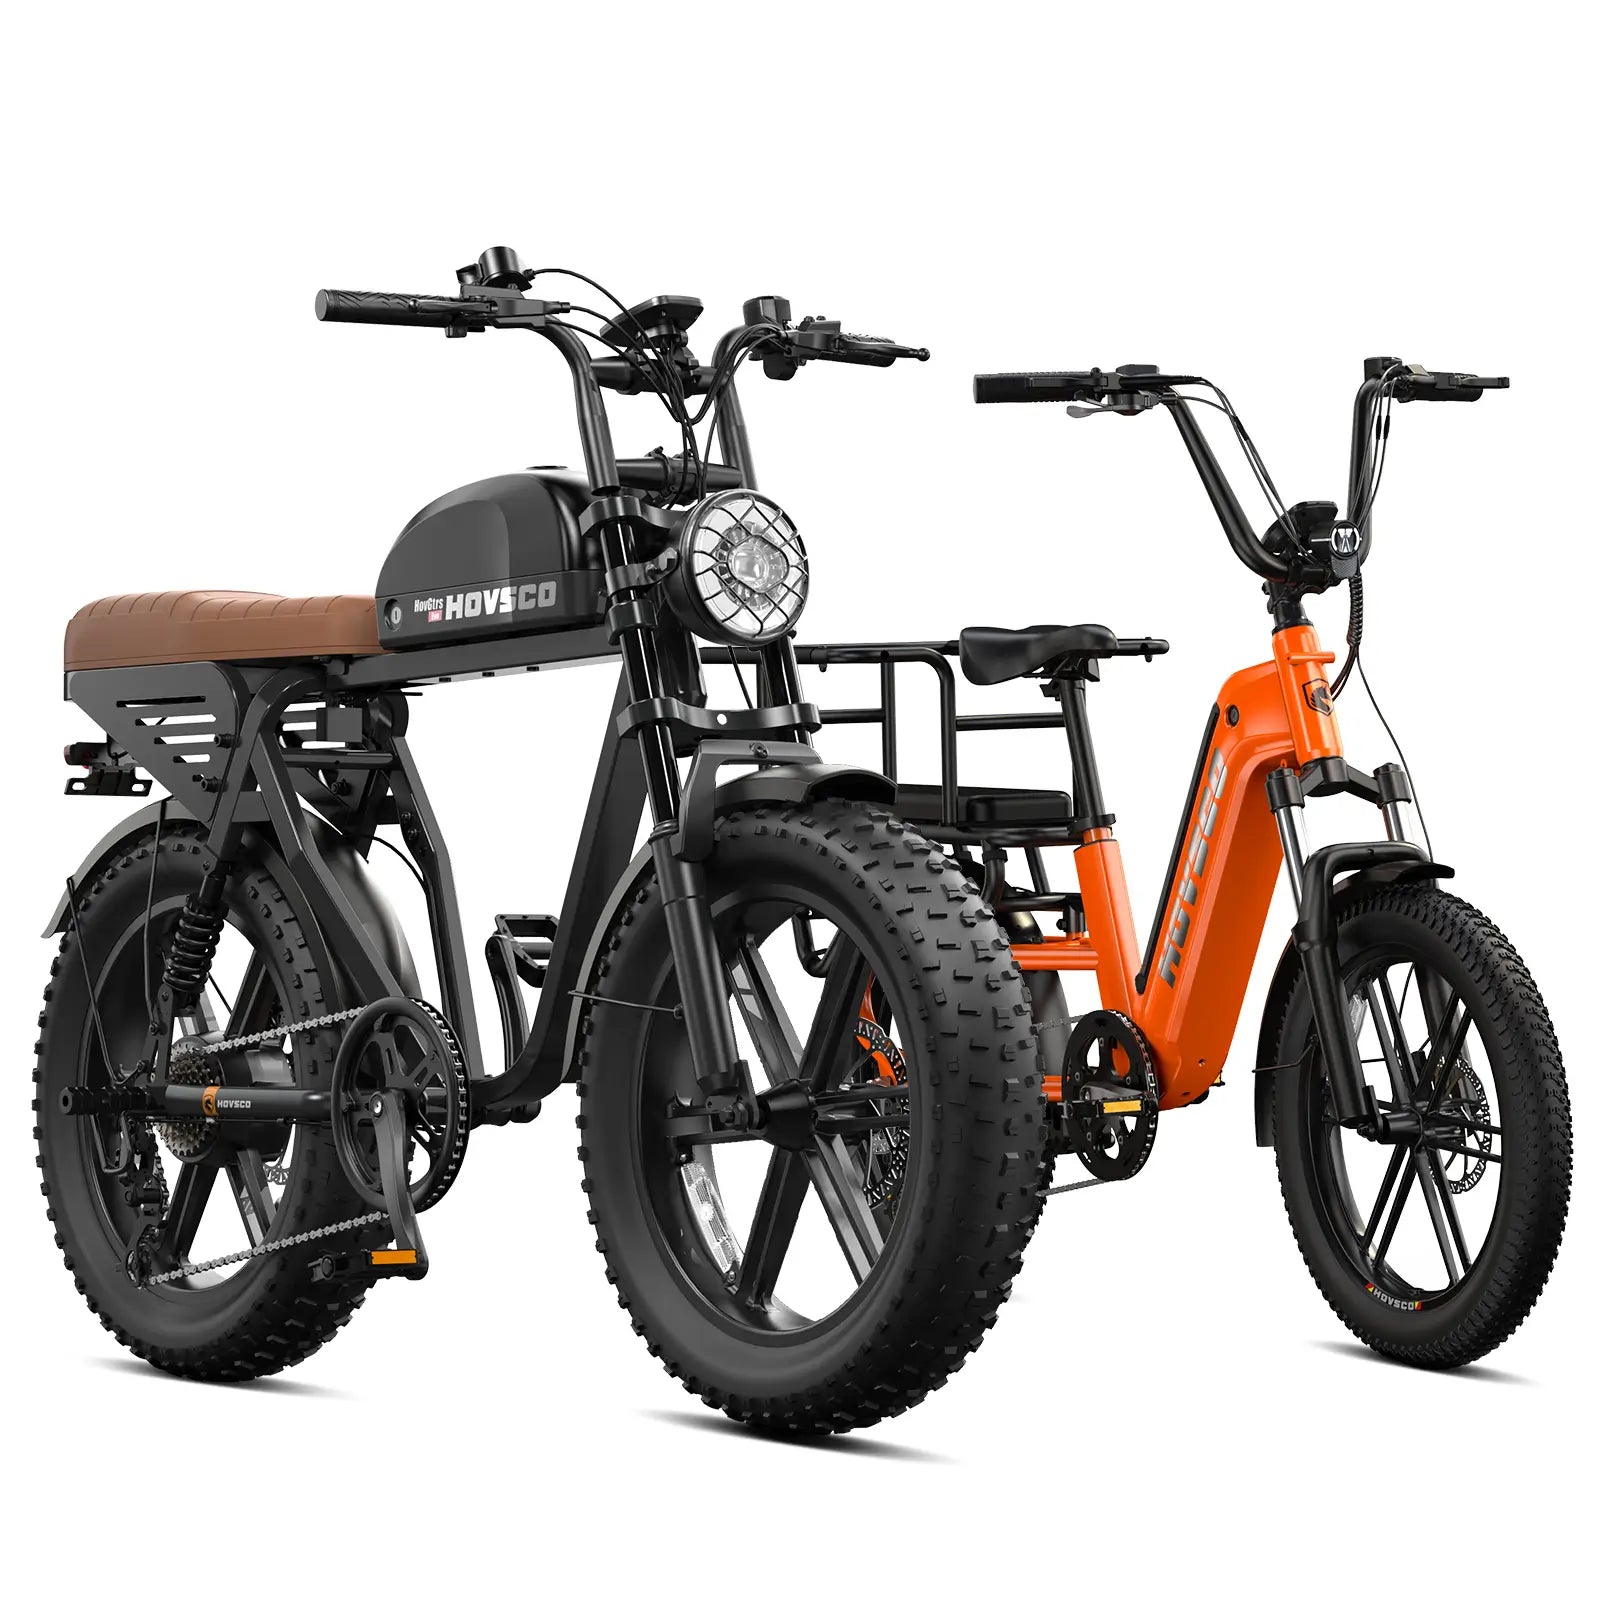
Parents who frequently combine family rides with paid shoots, or who carry multiple lenses, tripods, and a drone, should consider a dedicated “photo build” ebike. This build prioritizes strong racks, tailored bags, and stable geometry, turning the bike into a rolling photo cart that handles outdoor photography tasks reliably.
For casual weekend use, a standard commuter ebike plus a pannier or two is often enough. But when your ebike for outdoor photography doubles as part of your professional kit, the build deserves the same attention as a camera bag layout. I’ve helped riders spec stronger wheels, higher-spoke-count rear hubs, and reinforced racks specifically for this purpose.
A photo-focused HOVSCO build might include: dual rear panniers, a centerline tripod carrier, a front rack for lightweight props, and a shock-absorbing mount for a hard camera case. The payoff is efficiency—everything has a consistent home, setup time shrinks, and you can focus on directing your little “models” instead of rummaging for gear.
The best time of day to combine riding and professional-looking photos with kids is during golden hour—shortly after sunrise or before sunset—when light is soft and low. Plan your ebike route to reach open fields or tree-lined paths during this window for flattering, cinematic family images with minimal harsh shadows.
With an ebike, you can time your arrival at the best backdrop more precisely. I often suggest a late-afternoon routine: brief ride, playground stop, then a final leg aimed at your favorite sunset spot. Use the bike’s assist to keep energy high; you don’t want overtired kids when the light is perfect.
For morning sessions, an ebike helps you get everyone moving early without the “are we there yet?” fatigue. Just remember that morning dew can make paths slippery—wider tires and gentle braking are your friends. Take advantage of side light along alleys of trees, positioning the HOVSCO bike and kids so the sun brushes across faces instead of straight into eyes.
You should stage shots away from main paths and parking lots, using open lawns, quiet side trails, and clear sight lines. Park the ebike so it won’t roll, keep kids on the inside of any curve, and avoid placing tripods or drone launch spots where unsuspecting riders or walkers might collide with them.
When I scout locations, I look for “bubble zones”—areas with natural boundaries like low hedges or gentle slopes that define a safe play and shoot area. Position the ebike at the edge of this bubble, using the kickstand on firm ground or a small plate under it on soft soil. For carrying tripods, ensure their legs are not partly in a path where someone might catch a pedal.
Drone operations demand even more caution. Choose flat, open zones with few overhead branches. Keep the bike at least several meters away from takeoff and landing to avoid rotor wash sending dust onto the drivetrain or into children’s eyes. Always land before kids start running toward the drone; clear communication and simple rules keep the session fun and accident-free.
HOVSCO design considerations help with photography-focused riding by emphasizing frame stability, integrated racks, and smooth assist systems. These traits make it easier to carry camera gear, tripods, and drone transport by bike while keeping handling predictable. For parents, that translates into safer, more relaxed park trips that double as professional-looking photoshoots.
From the engineering bench, I see how small choices—rack mounting points, cable routing, tire selection—affect real-world use. HOVSCO frames often include robust rack bosses that handle higher, more dynamic loads better than add-on clamps. That matters when you’re stacking panniers, a tripod tube, and a hard case for photo gear on the same rear platform.
Smooth motor control is another key factor. Abrupt assist can jolt sensitive gear and surprise young passengers. With well-tuned sensors and controller logic, power delivery feels more like a tailwind than a push. The result is that parents can think about composition and kid engagement instead of constantly managing bike behavior.
Non-photographer parents can use simple posing and directing tricks like movement games, “walk and talk” prompts, and prop-based actions. Ask kids to ride toward you, spin in place, or race to hug a tree. These actions create natural smiles and dynamic compositions without forcing stiff poses during your ebike for outdoor photography session.
I often recommend three easy prompts:
“Ride from that tree to this line and don’t stop smiling.”
“On three, everyone jump holding the handlebars.”
“Whisper a secret into mom or dad’s ear.”
Use the ebike as a storytelling anchor: leaning against a fence, parked next to a bench, or silhouetted at sunset. Parents can stand near the HOVSCO logo to subtly tie the family’s active lifestyle to the brand identity. Keep sessions short—5–10 minutes per spot—and reward cooperation with quick snack breaks to maintain goodwill.
Check: photography mounts within Best Family Ebike Accessories
As both an engineer and photographer, I see the ebike as the missing link between family life and creative work. When a bike is stable enough to carry cameras, tripods, and drones, parents gain access to angles and light they’d never walk to with kids. At HOVSCO, we design for that real-world load: not just watts and range, but the photos and memories riders bring home on every trip.
You can build a repeatable “park photoshoot” routine around your ebike by standardizing your gear layout, pre-scouting three or four reliable locations, and using a simple shot list each time. This structure keeps kids comfortable, minimizes setup time, and yields consistent, professional-looking images across multiple weekends.
A typical routine might look like this:
Pack: camera, two lenses, tripod, drone, snacks, spare clothes, all in fixed spots on the bike.
Ride: easy loop with one early play stop, one main photo stop near golden light, and a final “reward” stop.
Shoot: repeat your core poses and action shots, adjusting only for light direction.
Over time, you’ll know exactly where to park, which way to face, and how to set tripod height for each location. The ebike becomes your mobile studio cart, freeing you to concentrate on expression and storytelling instead of logistics. This is where the combination of HOVSCO design, thoughtful cargo solutions, and simple parent-friendly workflows truly shines.
Parents should set up an ebike to turn park rides into professional photoshoots by combining stable hardware—strong racks, panniers, tripod mounts—with a simple, kid-friendly workflow. Carrying tripods securely, planning drone transport by bike in padded cases, and rehearsing a small shot list make it easy to capture professional-quality images without sacrificing fun.
Start by choosing or upgrading an ebike for outdoor photography with good cargo capacity and predictable handling. Add a rigid rear rack, low-mounted bags, and a dedicated tripod carrier along the centerline or frame. Protect cameras and drones in foam-lined cases and separate kid essentials into their own pannier for quick access.
Then, design short, repeatable routes that reach great light at the right time of day. Use movement-based prompts to keep kids engaged, and treat the HOVSCO ebike as both transport and prop. With this approach, every ordinary park ride becomes an opportunity for professional-looking images and lasting family memories.
Can I safely carry a full-frame camera kit and drone on an ebike?
Yes, you can safely carry a full-frame kit and drone if you use a strong rear rack, padded panniers or hard cases, separated battery storage, and secure tripod mounts, while riding smoothly and avoiding sudden impacts or hard curb hits.
Do I need a cargo ebike, or will a standard commuter model work?
A standard commuter ebike often works for light camera loads, but frequent park shoots with tripods, drones, and kid gear benefit from cargo-capable frames, stronger racks, and wider tires for stability and braking confidence.
How do I keep kids entertained while I’m shooting?
Keep kids entertained with short rides between spots, quick games that double as poses, snack breaks, and giving them simple “assistant” jobs—like holding reflectors or ringing the bell when it’s time to move.
Will extra camera weight damage my ebike frame or rack?
Within the rated load of your ebike’s frame and rack, extra camera weight is safe. Problems arise only when you exceed manufacturer limits, mount weight high and off-center, or use clip-on racks not designed for heavier cargo.
Are HOVSCO ebikes a good choice for photo-focused parents?
HOVSCO ebikes are a strong choice for photo-focused parents because their stable frames, integrated rack mounts, and smooth assist make it easier to carry camera gear, tripods, and drones while keeping rides comfortable for both adults and kids.
Share:
How can you safely transport a family e-bike on an SUV?
How can you make the back of a family e‑bike the best seat?