


- by HOVSCO Official
What Are Mountain Bike Basics? Beginner Guide to Maintenance and Repair Methods
- by HOVSCO Official
Mountain bike basics include regular cleaning, proper lubrication, tire pressure management, brake inspection, and drivetrain care. For beginners, mastering these maintenance and repair methods ensures optimal bike performance, safety, and longevity, allowing riders to enjoy smooth, reliable rides on diverse terrains.
Cleaning your mountain bike regularly removes dirt, mud, and debris that cause wear and reduce performance. Focus on the drivetrain—chain, cassette, and chainrings—using degreasers and mild soap. After cleaning, dry the bike thoroughly and apply appropriate lubricants to the chain to reduce friction and extend component life.
Tire pressure affects ride comfort and traction. For mountain bikes, maintain between 40–60 PSI depending on tire type, rider weight, and terrain. Check tire pressure before every ride and pump tires every 3–4 weeks. Proper inflation reduces flats and improves handling on trails. Why Choose Affordable Electric Mountain Bikes With Smart Tech?
Regularly check brake pads for wear indicators, ensuring at least 3 mm of material remains. Clean disc brakes with specific brake cleaners to avoid contamination—never use oily substances like WD-40. Test brake responsiveness before rides and replace pads or bleed hydraulic fluid as needed.
Inspect the chain, cassette, derailleur pulleys, and chainrings for wear or damage. Clean and lubricate the chain frequently, especially after muddy rides. Replace worn cables and adjust derailleurs to maintain smooth shifting. Proper drivetrain care improves gear performance and prevents costly repairs.
Chart: Basic Mountain Bike Maintenance Schedule
| Maintenance Task | Frequency | Key Actions |
|---|---|---|
| Cleaning | Weekly or after rides | Wash frame, drivetrain, brakes |
| Lubrication | After cleaning or every few rides | Apply chain lube, avoid over-lubrication |
| Tire Pressure Check | Before every ride | Inflate to recommended PSI |
| Brake Inspection | Monthly or as needed | Check pads, clean rotors |
| Drivetrain Inspection | Every 3-6 months | Check wear, replace cables |
Ensure gears shift smoothly without skipping by adjusting derailleur tension and indexing. If shifting is slow or noisy, check cable tension and housing for damage. Beginners should seek professional help for internal cable routing or complex adjustments to avoid damage.
Suspension forks and rear shocks absorb trail impacts, improving control and comfort. Keep suspension clean, avoid high-pressure washing, and lubricate seals as recommended. Periodic servicing by professionals ensures proper damping and extends component life.
Learn to fix flat tires using tire levers, patches, or tube replacements. Practice adjusting brakes and derailleurs for minor tuning. Carry a multi-tool and spare parts on rides for quick fixes. Understanding these basics prevents ride interruptions and builds confidence.
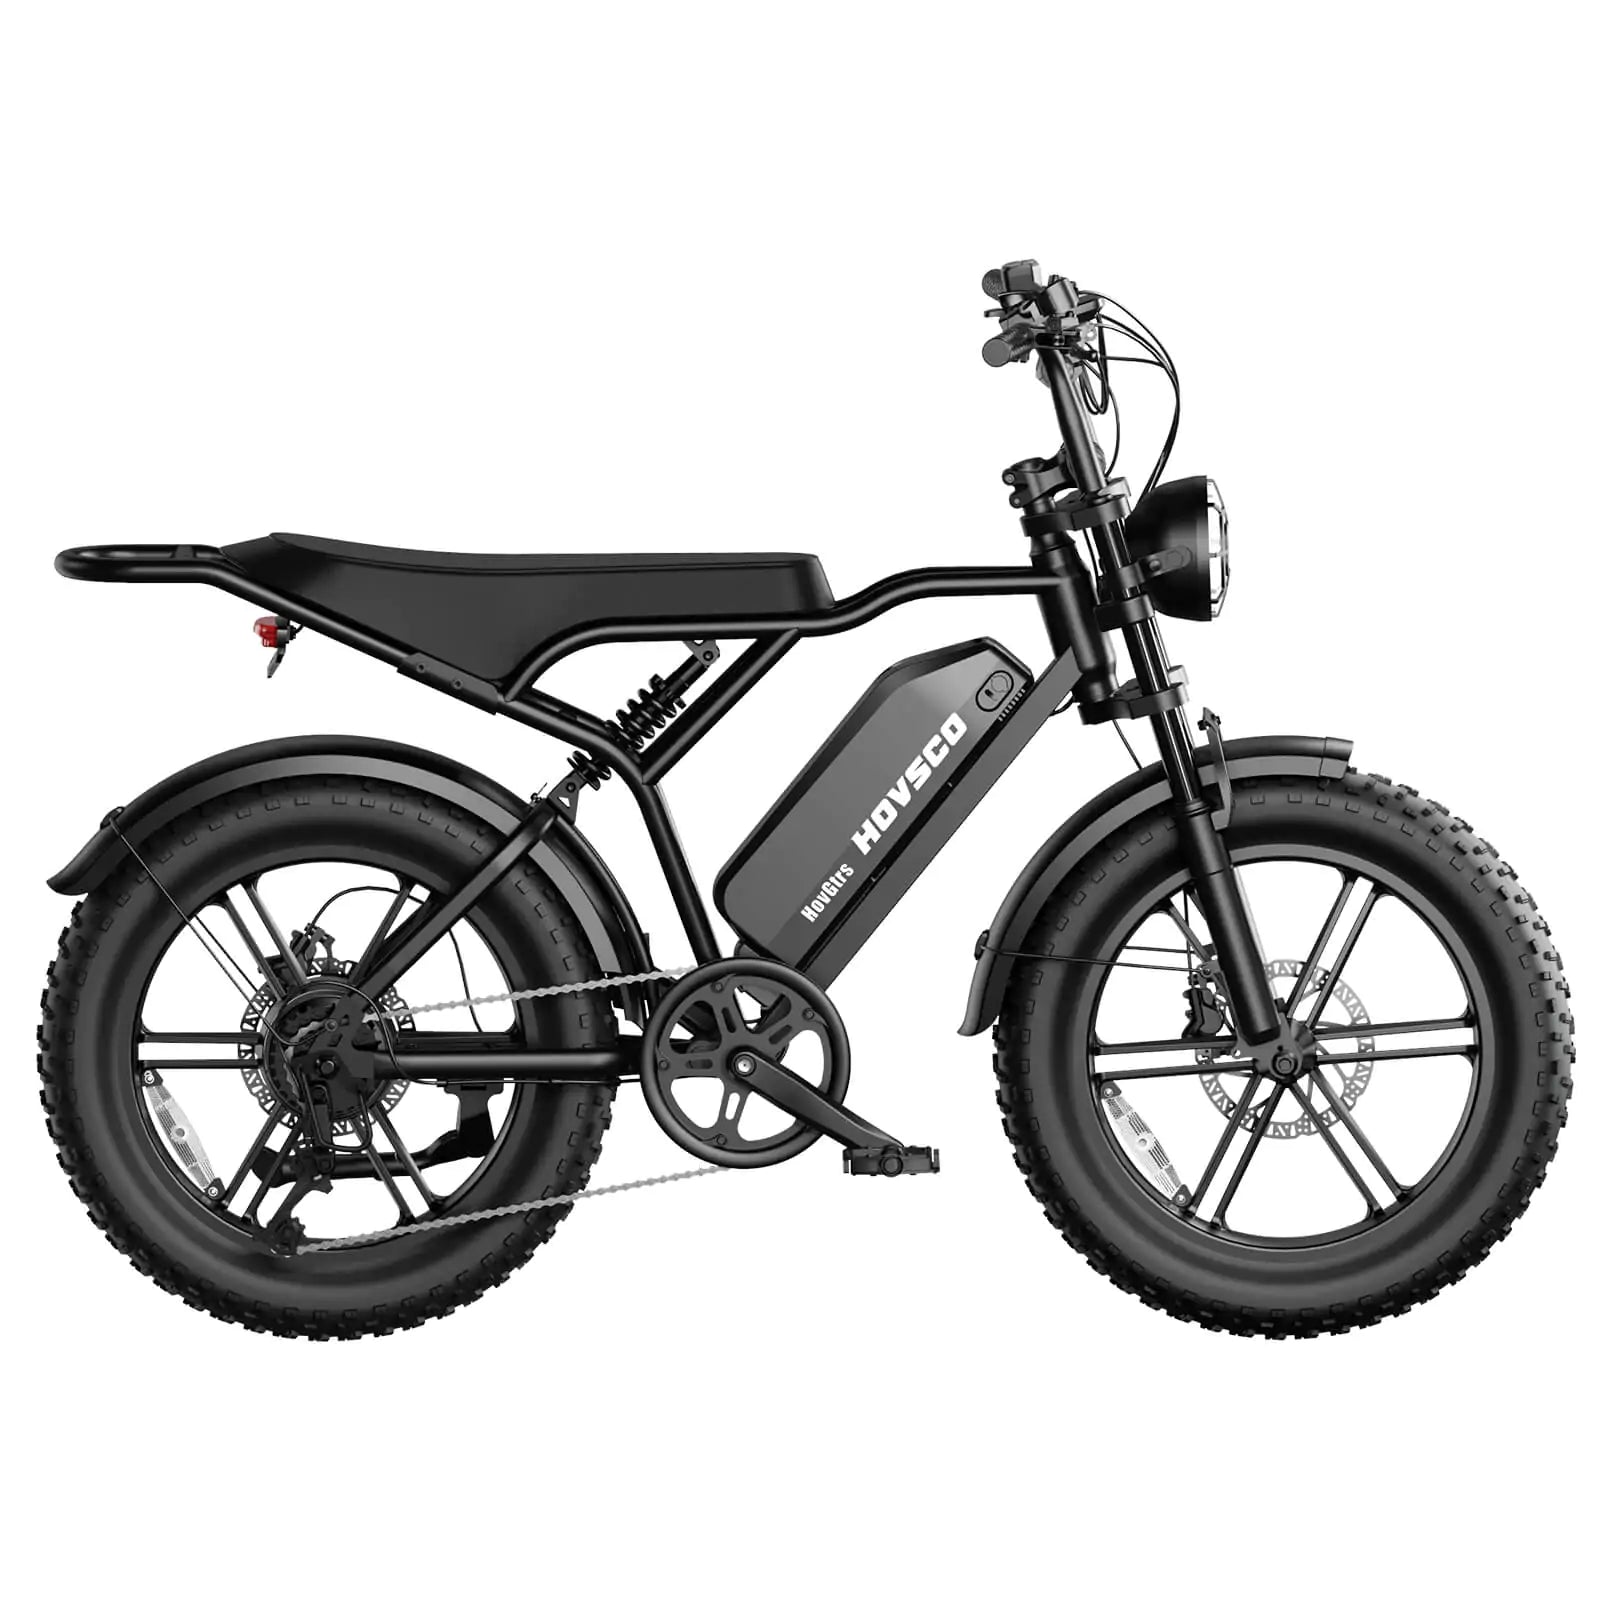
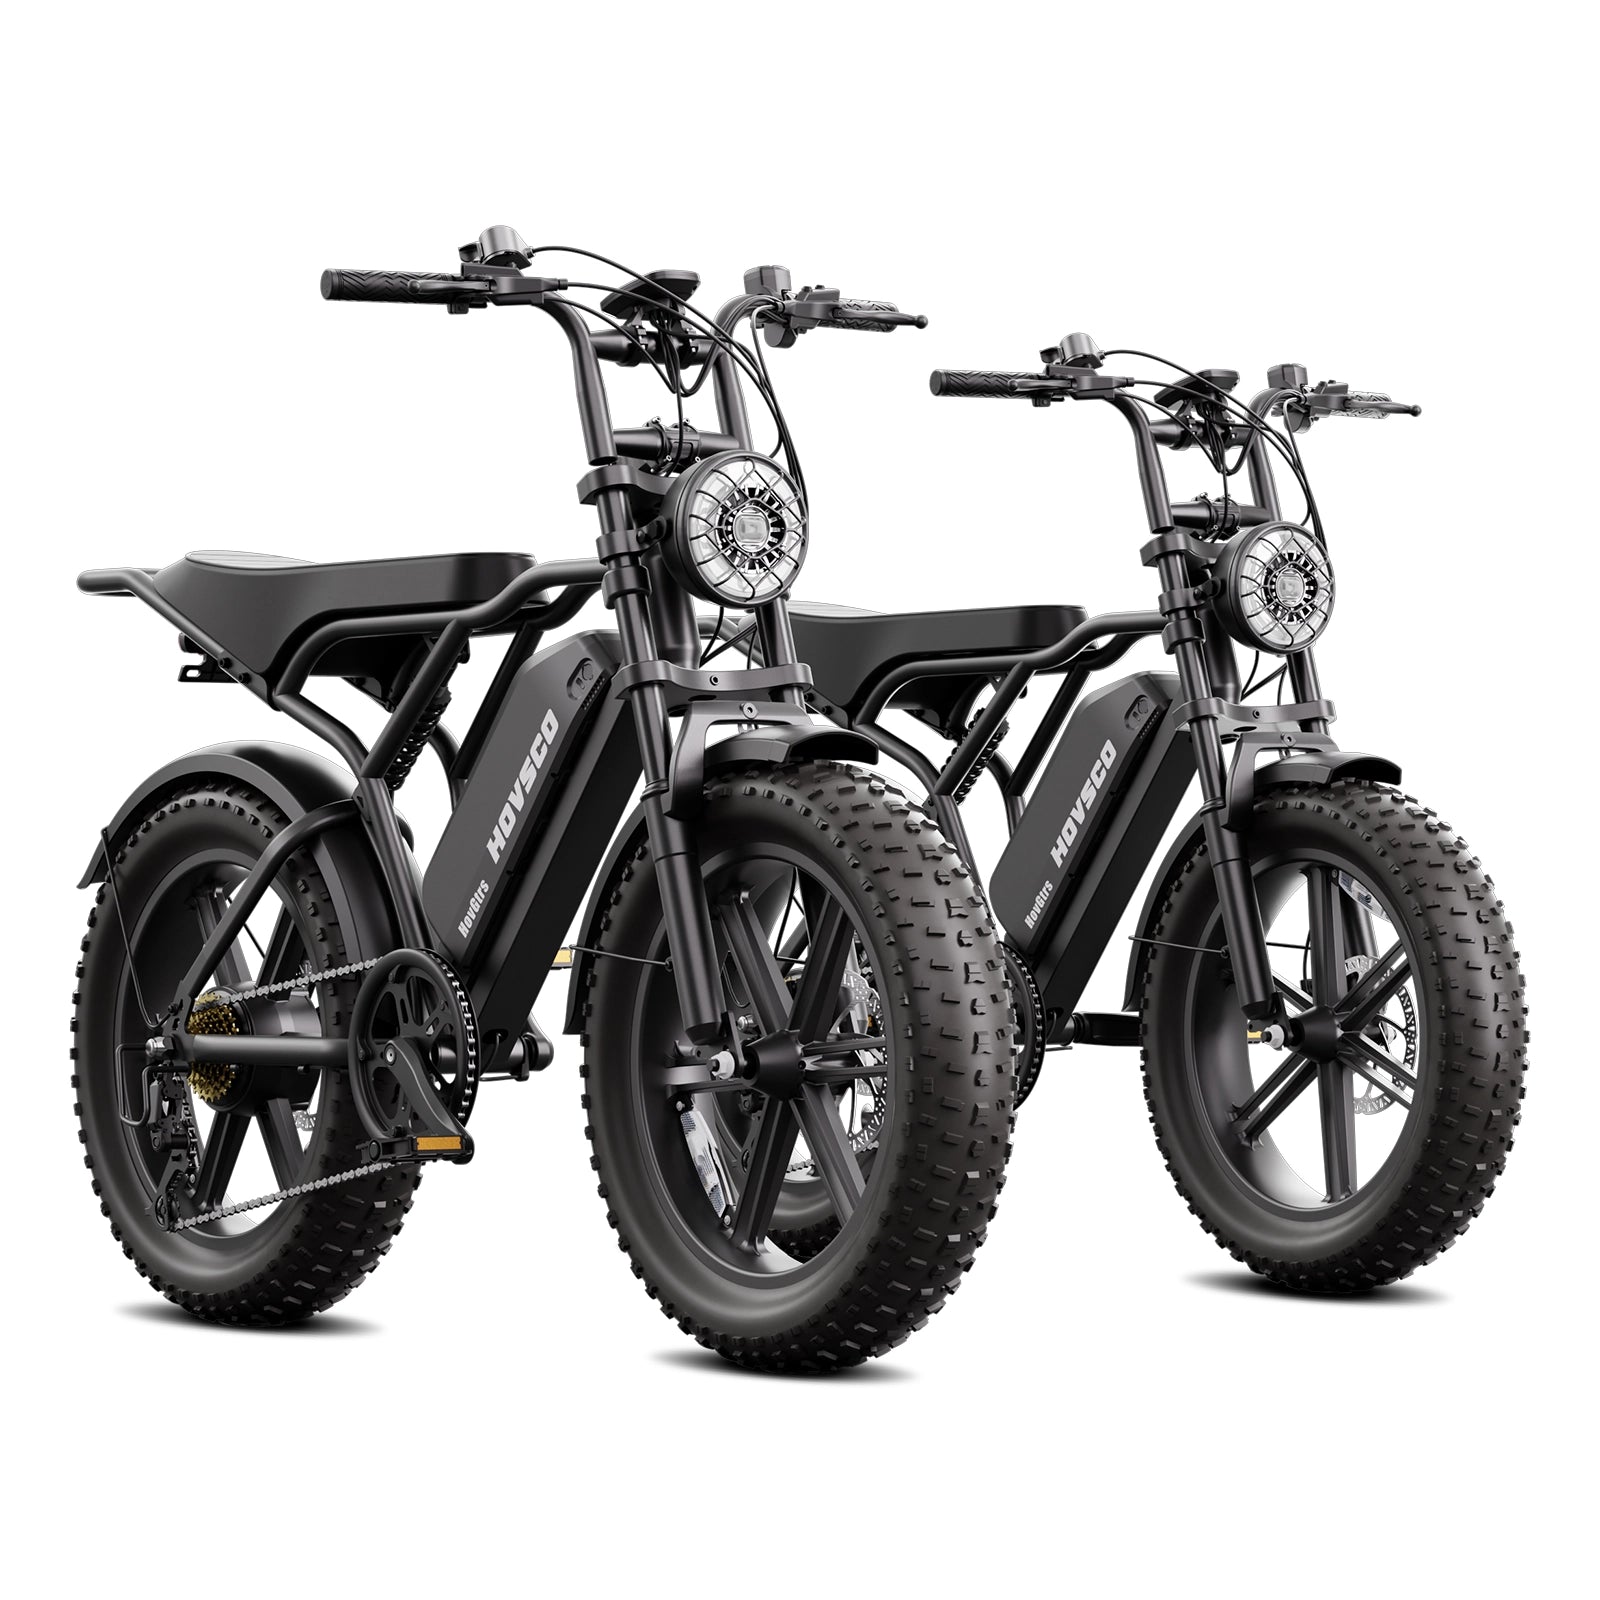
For beginners, choose mountain bikes with durable components and easy-to-maintain features. Invest in quality cleaning supplies, lubricants, and a reliable multi-tool. Brands like HOVSCO offer models designed for both performance and ease of maintenance. Regular upkeep and timely repairs maximize your mountain bike’s lifespan and riding pleasure.
“Consistent maintenance is the foundation of a great mountain biking experience,” says a HOVSCO product engineer. “We design our bikes with durability and user-friendly serviceability in mind, encouraging riders to keep their bikes clean, lubricated, and properly adjusted. Learning basic repair skills empowers beginners to enjoy trails safely and confidently.”
Q: How often should I clean my mountain bike?
A: Ideally after every ride or at least once a week to prevent dirt buildup.
Q: What tire pressure is best for mountain biking?
A: Between 40–60 PSI, adjusted based on terrain and rider weight.
Q: When should I replace brake pads?
A: When less than 3 mm of pad material remains or if braking performance declines.
Q: Can I perform suspension maintenance myself?
A: Basic cleaning is fine, but servicing should be done by professionals.
Q: What tools are essential for beginner mountain bike repair?
A: A multi-tool, tire levers, pump, chain lube, and patch kit.
Are you Elon Musk?
I know you were quick to say NO:)
And you are probably wondering why I would ask that.
From a billionaire's perspective, you have no money to waste if your name cannot tell a story about you.
So, what are we saving for today?
I don’t need to mention it. But if I must, then it’s an electric mountain bike!
Mountain ebikes are fun until they start sounding like choked frogs. And you know, misfortunes never come singly. It will be worse for you if you don’t remember anything about them apart from switching the gears between rides.
If you own any gadget, you must come to terms with the fact that the most meaningful relationship you'll ever build is with your local mechanic.
But who finds fun in paying exorbitant prices whenever they need their bike serviced?
Your bike does not only need the power to be in tip-top shape. It also requires a good listen and lots of love. That’s why you got to learn some basic skills on how to DIY repairs and maintenances to avoid premature wear and tear and be a safe cyclist.
But how do you intend to achieve that?
It’s simple! You only need to read this article to be a pro primary caregiver. Professionals can deal with the tough stuff.
Are you ready?
Grab a cold glass of smoothie and get started!
The three key concepts of mountain bike maintenance are regular cleaning, timely lubrication, and proper component inspection. Keeping your bike clean prevents wear, lubrication ensures smooth movement, and inspecting brakes, tires, and the drivetrain helps detect issues early, ensuring safe and efficient rides.
Understanding your mountain bike’s mechanics includes knowing how the drivetrain, brakes, and suspension work. Learn how to adjust the gears, tighten bolts, and fix minor issues. Familiarity with basic components helps you perform regular maintenance and quick trail-side repairs.
How will you know DIY repairs and maintenances if you don’t know your bikes’ anatomy?
As a beginner, understanding the working principle of the following parts of a mountain bike will save you a lot of trips to a bike repair shop.
A pre-ride inspection involves checking tire pressure, brake function, chain lubrication, and bolt tightness. Ensure the saddle and handlebars are secure. This quick check helps prevent breakdowns and ensures your mountain bike is safe and ready for any terrain.
Do you want to enjoy a smooth ride with your hovsco mountain ebike?
You only have one job—pre-check your bike!
Is that too much to ask?
I don’t think so.
So, before you set your bike out for the trails, please do the following:
General rules of thumb for mountain bike care include cleaning after muddy rides, lubricating the chain regularly, and servicing suspension components as recommended. Always carry a basic repair kit and perform regular tune-ups to extend your bike’s life and ensure top performance.
If you are new to mountain bikes, maintaining them is as simple as ABC, i.e.,
A—Air
B— Brakes
C—Chains
If you master those three, you can proceed to checks and cleaning.
Whoa, that escalated quickly. Did you understand anything?
Don’t worry. Here is a detailed bike maintenance checklist for any mountain bike guru:
So, how do you clean an electric mountain bike?
It’s not as simple as blasting the mud off using a high-pressure washer. Remember, an electric bike is not a car.
Here is the correct way of washing an electric mountain bike:
Note:
You should keep track of the order in which you disassemble the mountain bike because putting it back together is a no child's play. To be safer, record the whole process to get an easy reference guide.

To repair a mountain bike, identify the issue, such as a flat tire or misaligned brakes. Use appropriate tools, follow the manufacturer's instructions, and test the bike after repairs. Basic knowledge of components like gears, chains, and brakes is essential for quick fixes on the trail.
Have you ever heard the phrase “be your own doctor?”
Yes. It's true; if you take care of your body, it will take care of you.
The same concept can apply to bicycles. You can be your mechanic!
Really?
I can repeat that confidently because I know. When I look back to when I was a beginner at biking, I can't forgive myself for squandering money over something a toddler could do.
All mountain bikers should know these two most common bike repair skills.
Fixing a flat:
Reattaching a slipped chain:
There is more to bike mountain repair and maintenance than fixing flat tires and slipping chains. This video explains it all!
Do you think you can repair and service your mountain bike by yourself?
If you have read this entire article, I’m confident to affirm that you can!
Electric bikes are relatively simple to understand. Make blogs and YouTube, your friend, and you will save time and money!
Share:
Why Should You Carry Extra E-bike Batteries for Longer Range?
What Are 5 Tips for Buying an Electric Bike Online?