


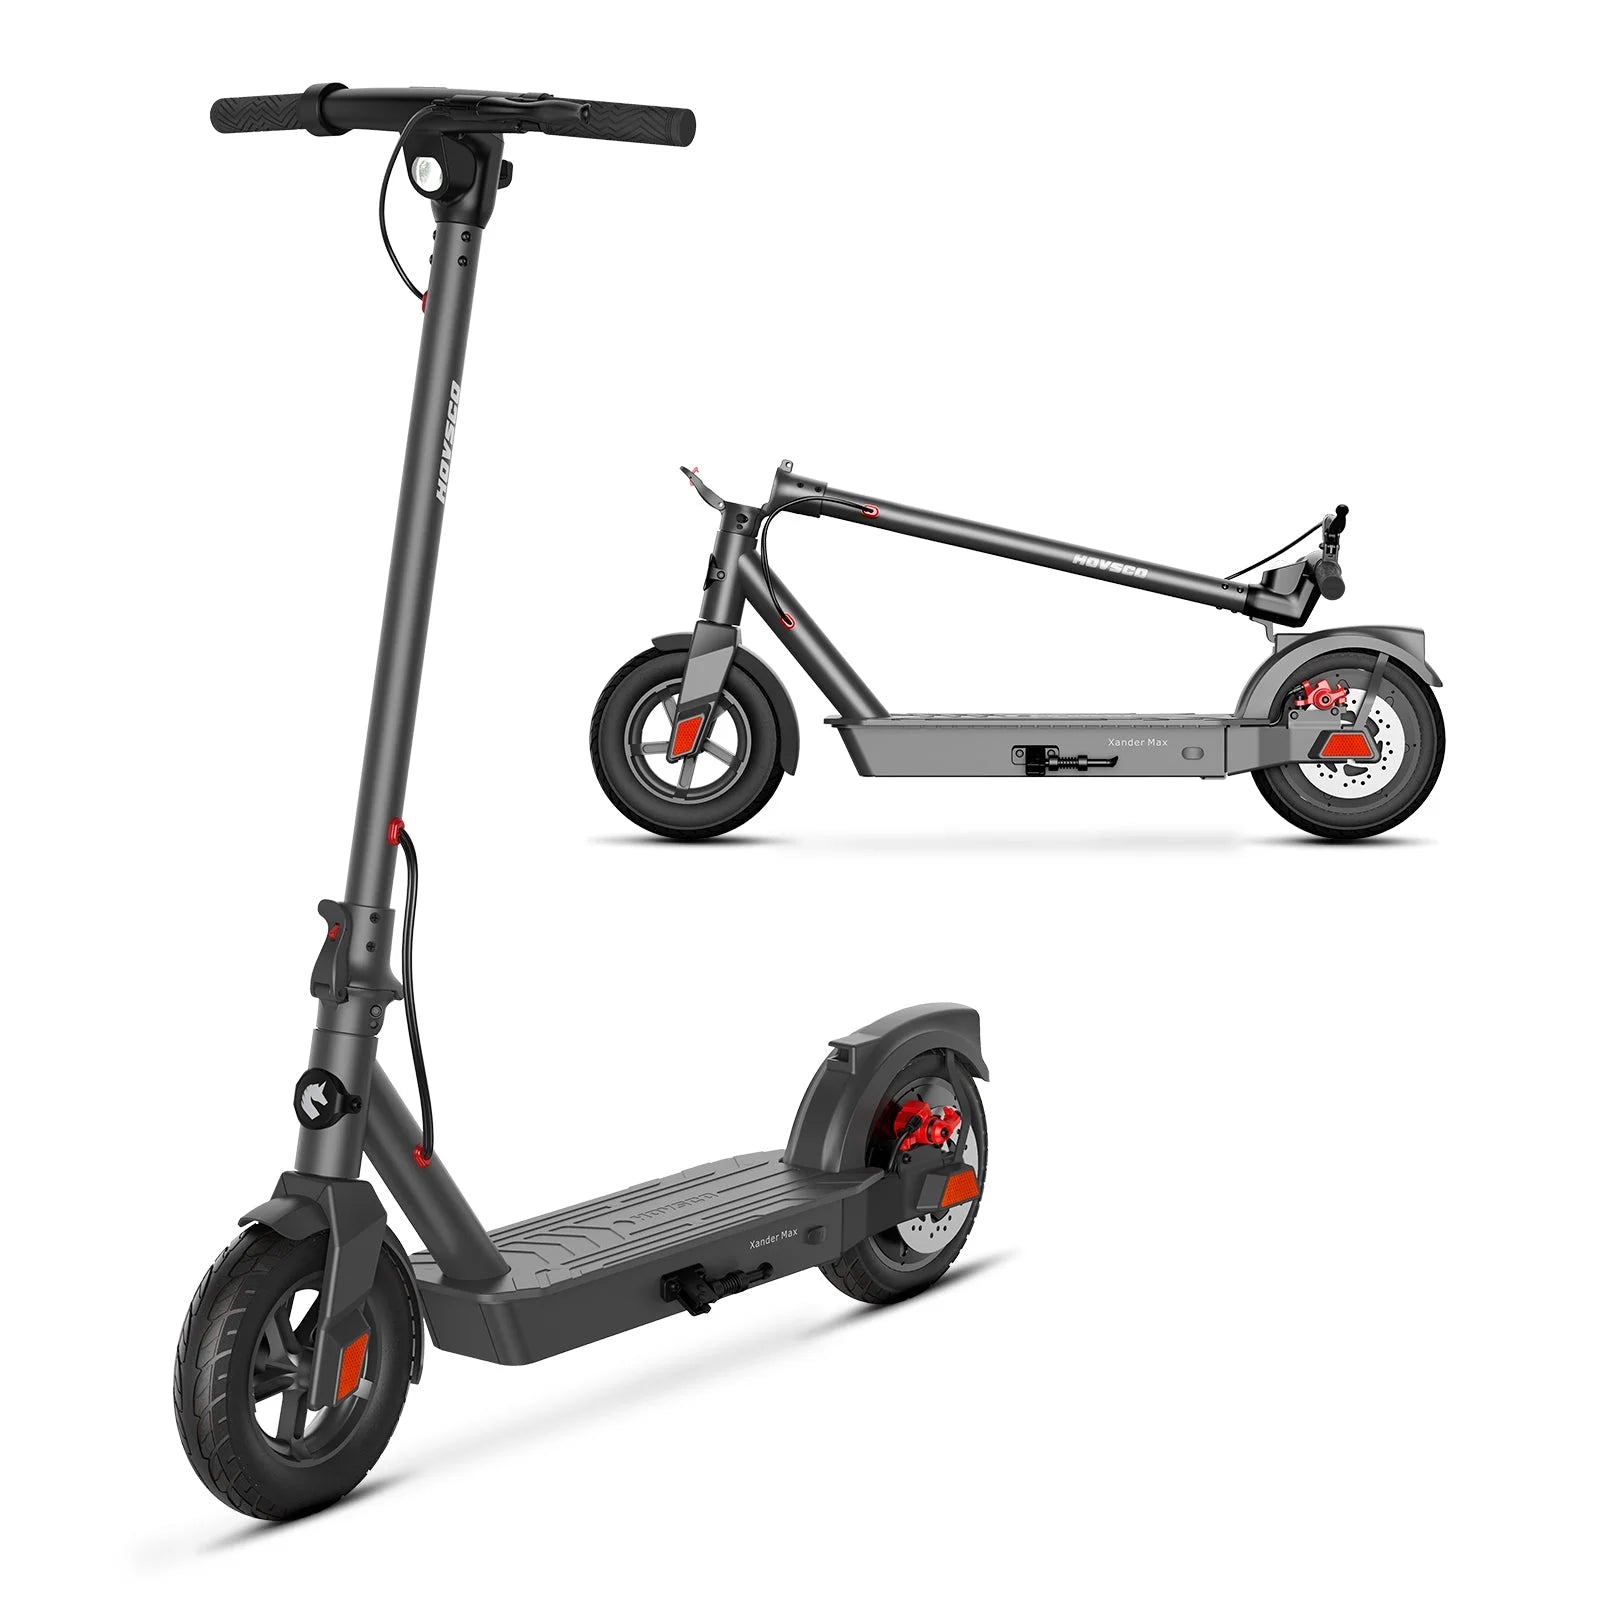
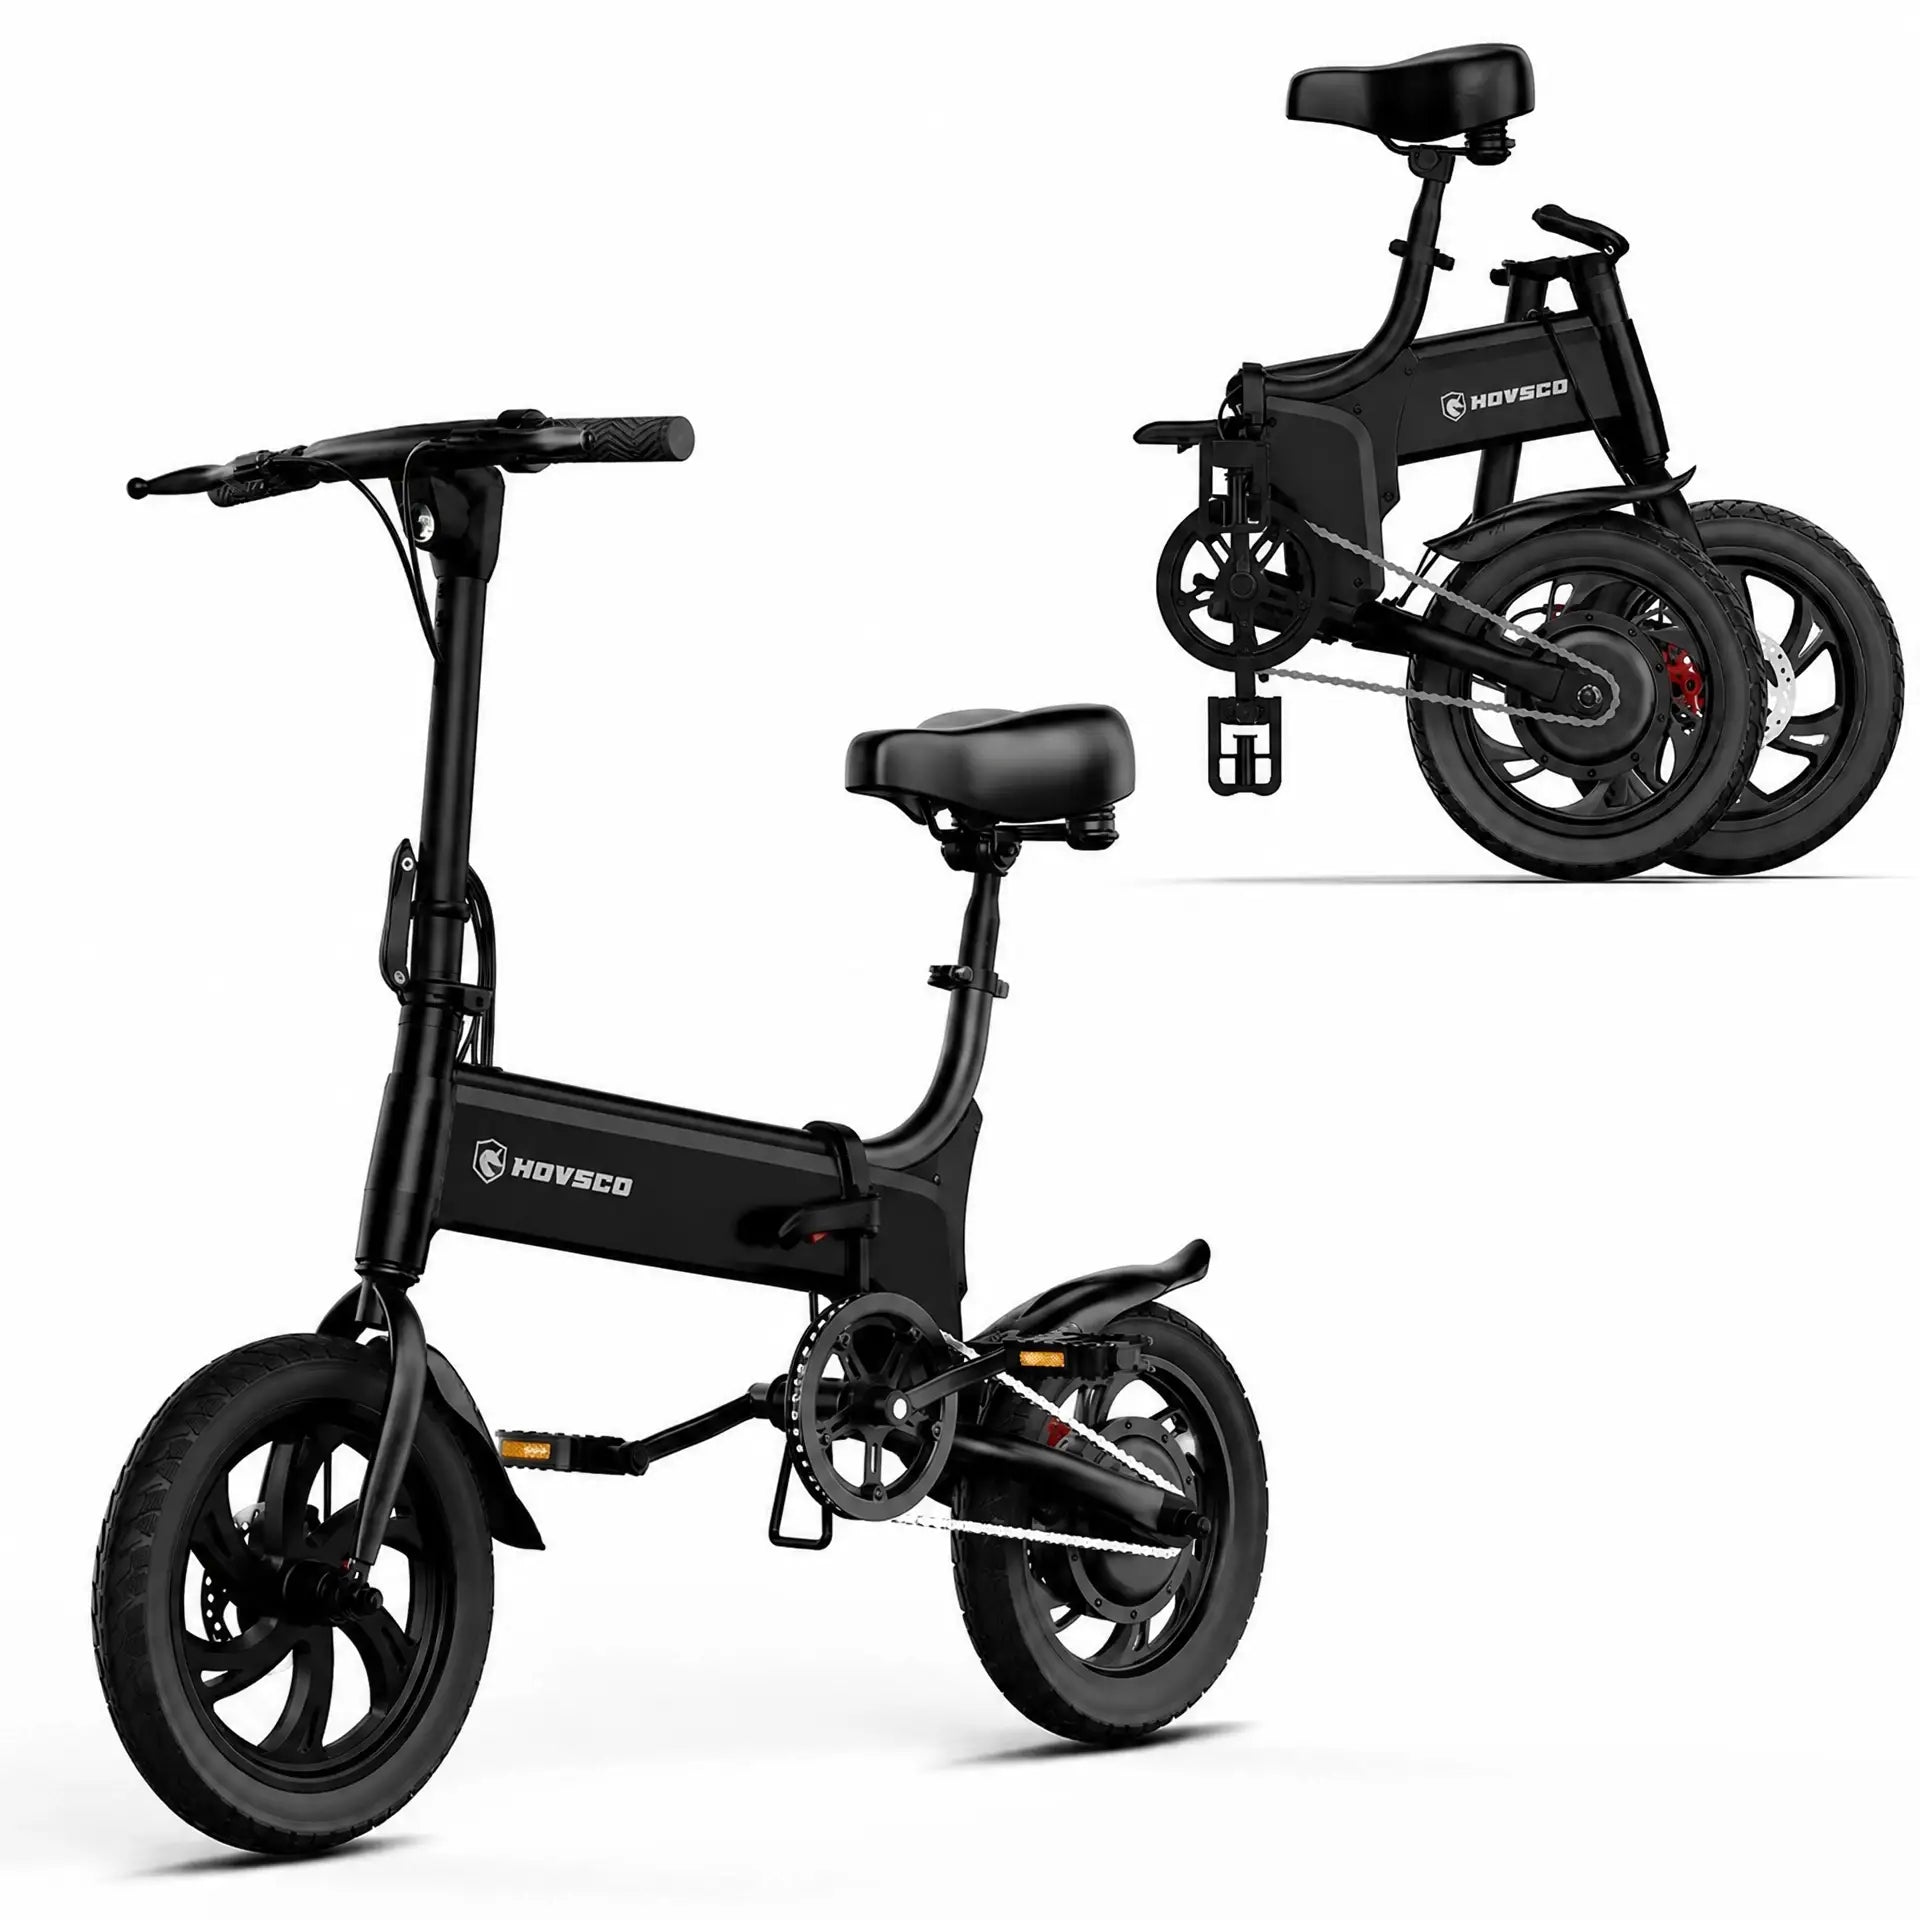


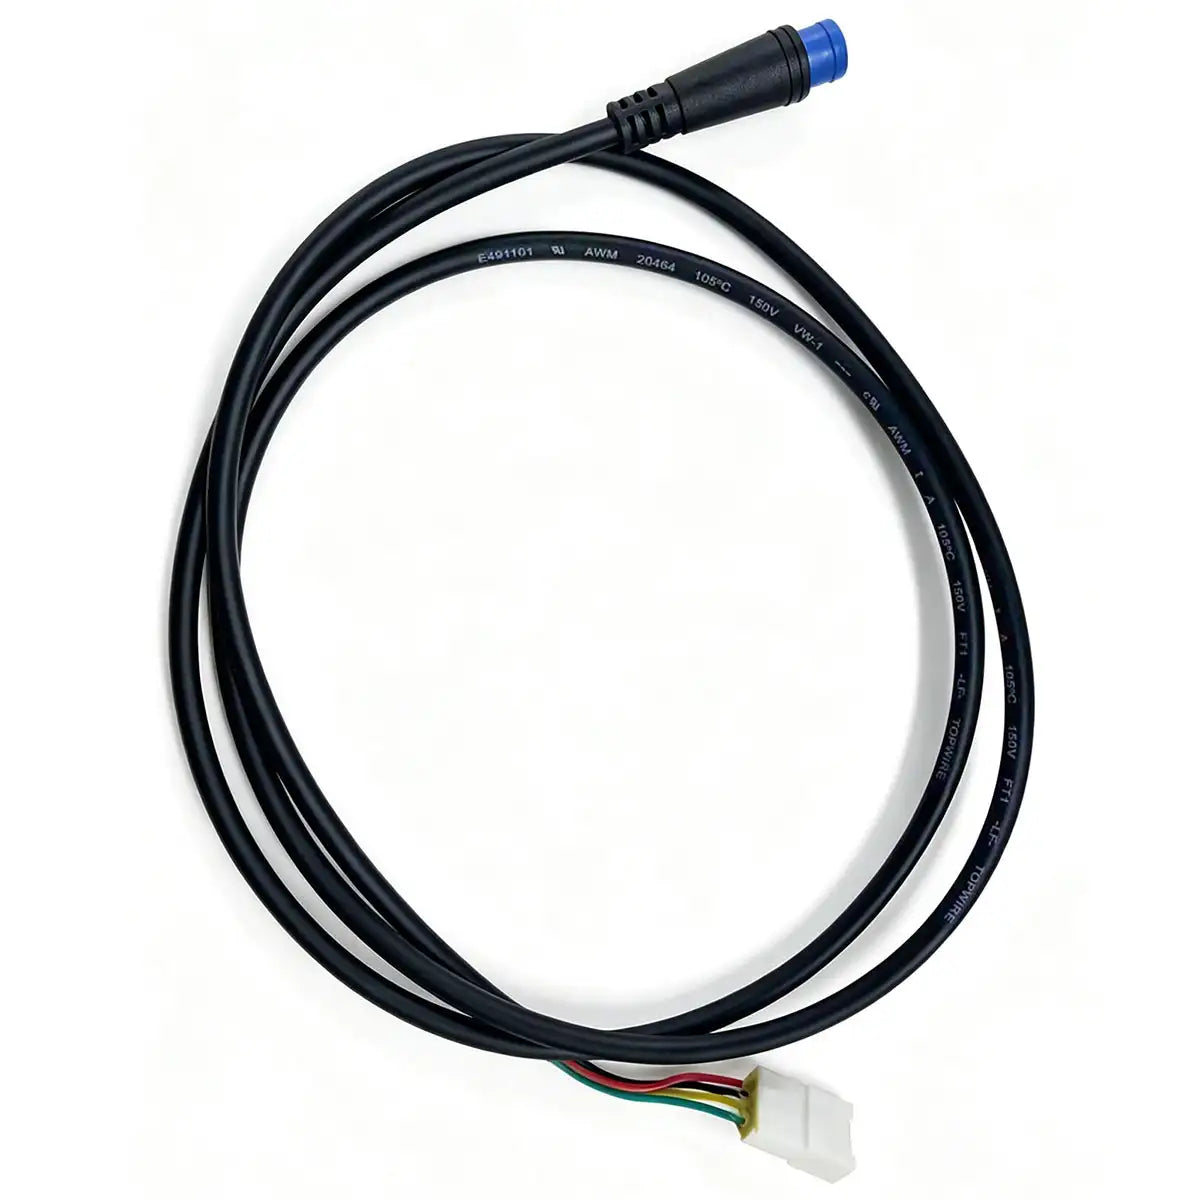

Identify the exact product
Model, frame and versionRecord the label, current configuration and the problem to solve before ordering.
View option →E-Bikes
Accessories
 Free Shipping
 15-Day Returns
 2-Year Warranty
Free Shipping
15-Day Returns
2-Year Warranty
Protocol and connector compatibility
 displays, brackets, switches and cablesVerify current compatibility and availabilityExact model fit required
Protocol and connector compatibility
Record the label, current configuration and the problem to solve before ordering.
View option →Similar appearance or naming does not prove that a part, accessory or configuration fits.
View option →Use the current product page, manual and policy pages as the final source.
View option →Match model, protocol, connector and mounting position.
An ebike display replacement must communicate with the bike's electrical system as well as fit the handlebar and existing wiring. A connector that physically fits does not confirm compatible voltage, pin arrangement or communication protocol.
This collection focuses on displays, switches, brackets and related control connections. Broader repairs belong with e-bike replacement parts or HOVSCO bike components; complete bikes with a throttle belong with throttle electric bikes.
The current product page and model documentation remain the final compatibility sources.
Note the exact bike model, frame version, model year and any label or part number on the display or control. Photograph the screen, mount and wiring before disconnecting anything.
Similar connectors may use different pin assignments, voltage or communication protocols. Choose only a listing that names the compatible model or is confirmed through current documentation.
A broken mount does not always require a new screen, and an unresponsive button may involve a switch, cable or another part of the system. Identify which component is actually damaged before ordering.
Confirm mount diameter, viewing position, connector reach and a routing path that does not pull during steering. Keep wiring clear of sharp bends, heat, moving parts and brake controls.
Record available settings before removal and follow the model instructions after installation. A replacement may require approved setup steps; do not change speed, wheel-size or control parameters without documentation.
With the bike secured, confirm startup, display information, buttons, assist selection and error status. Complete a low-speed functional test only after wiring and steering clearance have been checked.
Before ordering
Use the exact bike model, model year and display part information, then confirm protocol, connector, mount and current compatibility on the product page.
No. Plugs that look alike can use different pin arrangements, voltage or communication protocols, so a physical connection does not establish compatibility.
Not necessarily. Determine whether the screen, bracket, switch or cable is damaged and check whether the required component is available separately.
Photograph the display, mount, connectors and cable routing, and record the bike model, part number, visible settings and any error message.
A compatible replacement may require approved setup. Follow current model instructions and do not alter wheel-size, speed or control parameters without documentation.
Check secure mounting, steering clearance, startup, displayed information, buttons and assist selection before making a controlled low-speed test.