


- by EO S
How to Build an E‑Bike: Ultimate DIY Guide?
- by EO S
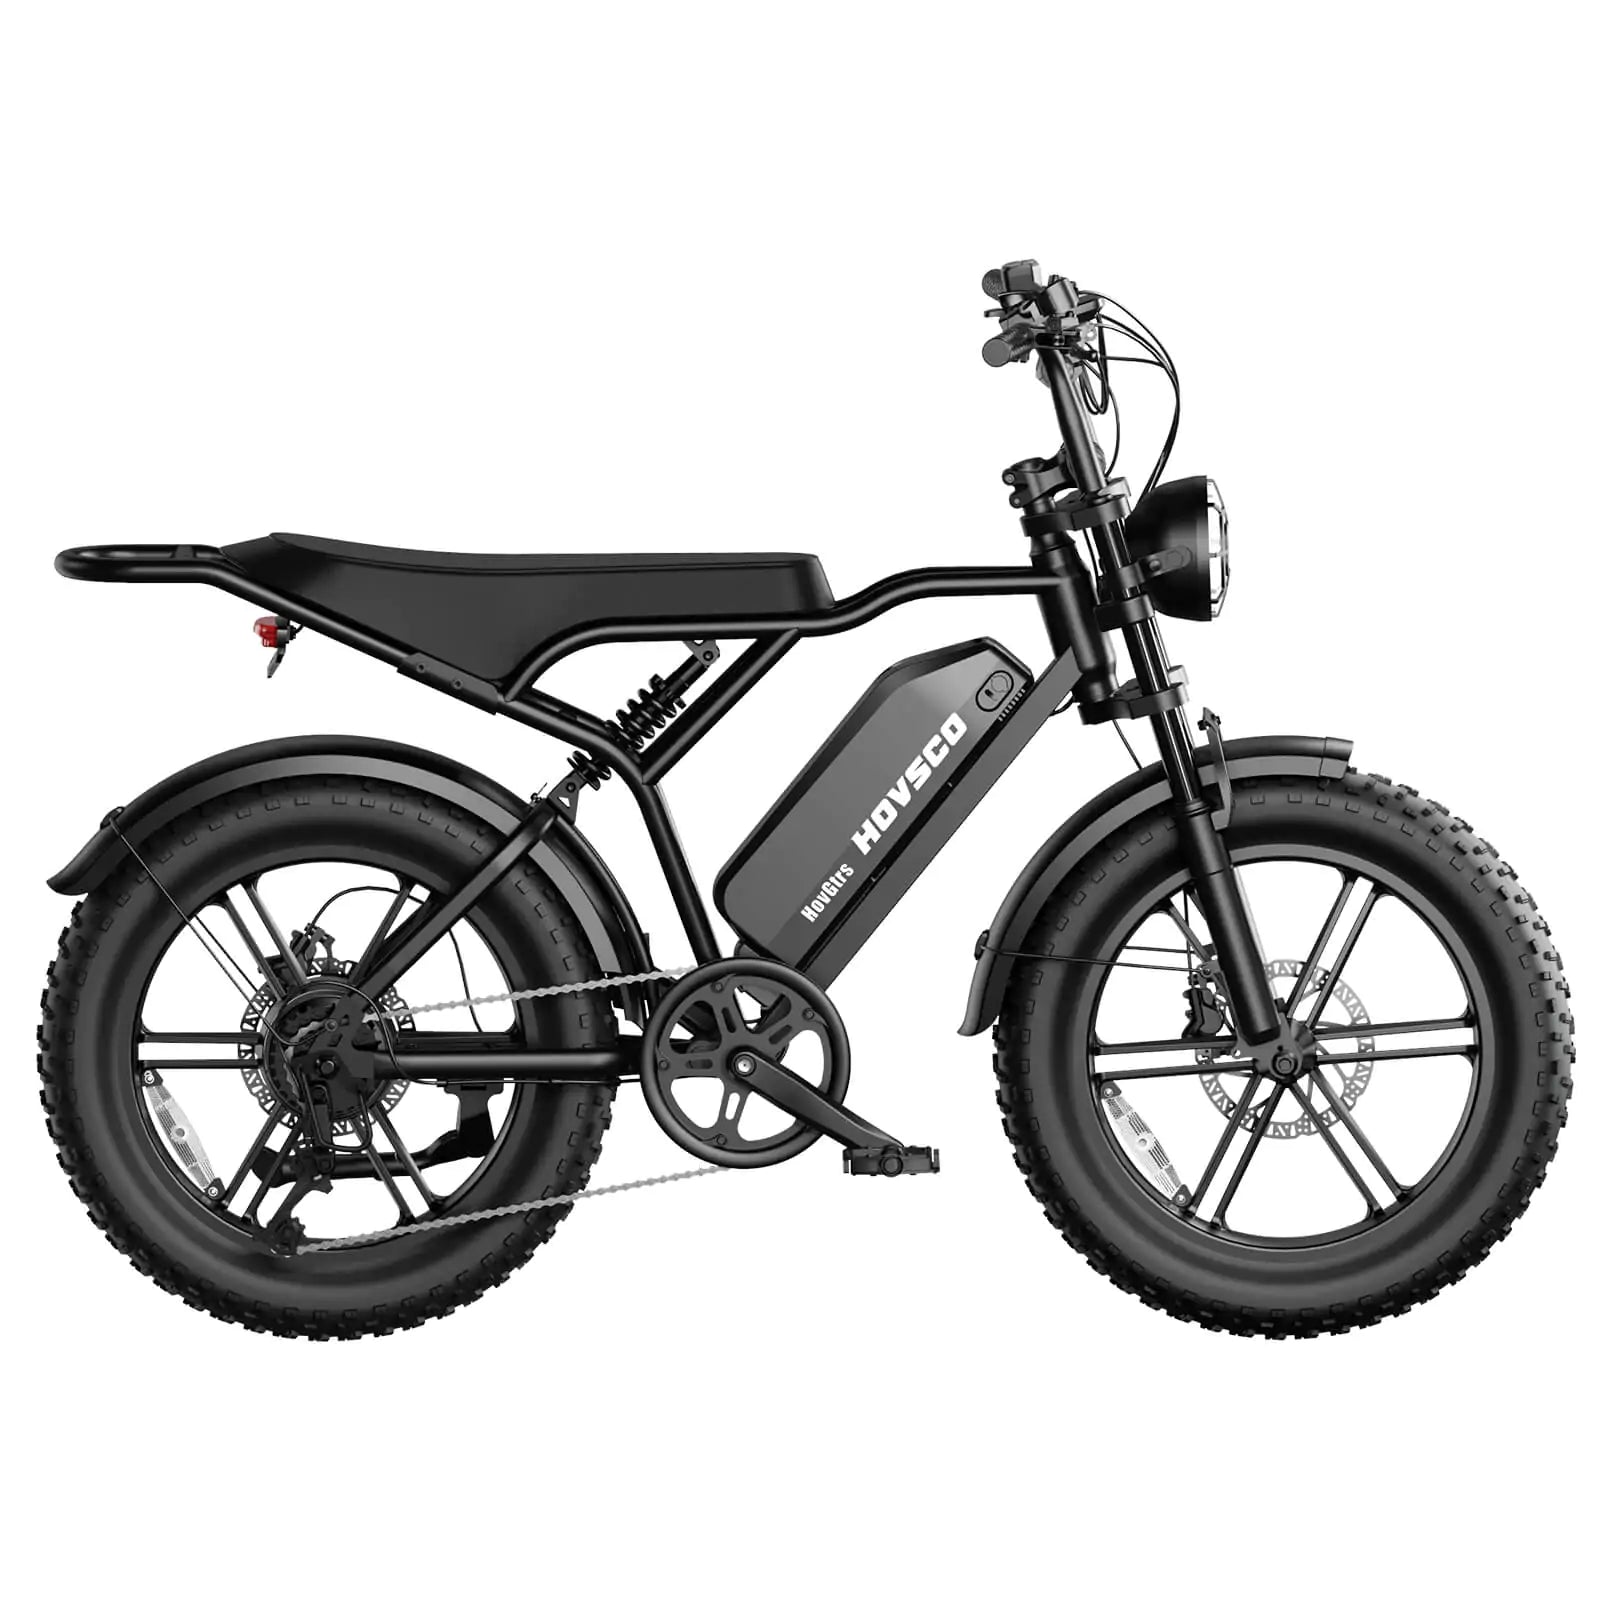
A DIY e‑bike is a customized electric bicycle built by choosing a compatible bike, motor, battery and controller, assembled step‑by‑step for personalized performance. In about five stages — planning, parts, installation, safety checks, and riding — you can build your own e‑bike starting from around $500–$800 and gain full control over design, functionality, and upgrades.
Choose a sturdy steel or aluminum frame—mountain, hybrid, or cruiser models work best—and ensure good brakes and wheel compatibility. Then decide between a hub motor conversion kit or a mid‑drive kit based on terrain and riding style. Opt for a reputable kit with clear instructions and support.
Chart: Bike Frame vs Kit Compatibility
| Frame Type | Suitable Kit | Notes |
|---|---|---|
| Mountain | Mid‑drive / rear hub | Good suspension, strong frame |
| Hybrid/Cruiser | Rear hub | Comfort and ease of install |
| Road bike | Front hub | Light duty, careful with power |
Your e‑bike requires a motor (hub or mid‑drive), lithium‑ion battery (typically 36V–48V, 10–20 Ah), a controller, throttle or pedal‑assist sensor, display, sensors, wiring, and protection electronics like BMS. Higher voltage systems offer more power; mid‑drives utilize gears for efficient torque.
Install the motor by swapping a wheel (hub) or mounting at bottom bracket (mid‑drive). Mount the battery centrally—downtube or rear rack—for balance. Connect the controller, route wiring cleanly, and secure throttle and display on handlebars. Tighten bolts and use zip‑ties to secure cables.
Test brakes and tighten all components. Ensure wiring is insulated, routed away from moving parts, and connectors are secure. Perform a low-speed test ride to check function. Install proper fuses and adhere to local electric bike regulations.
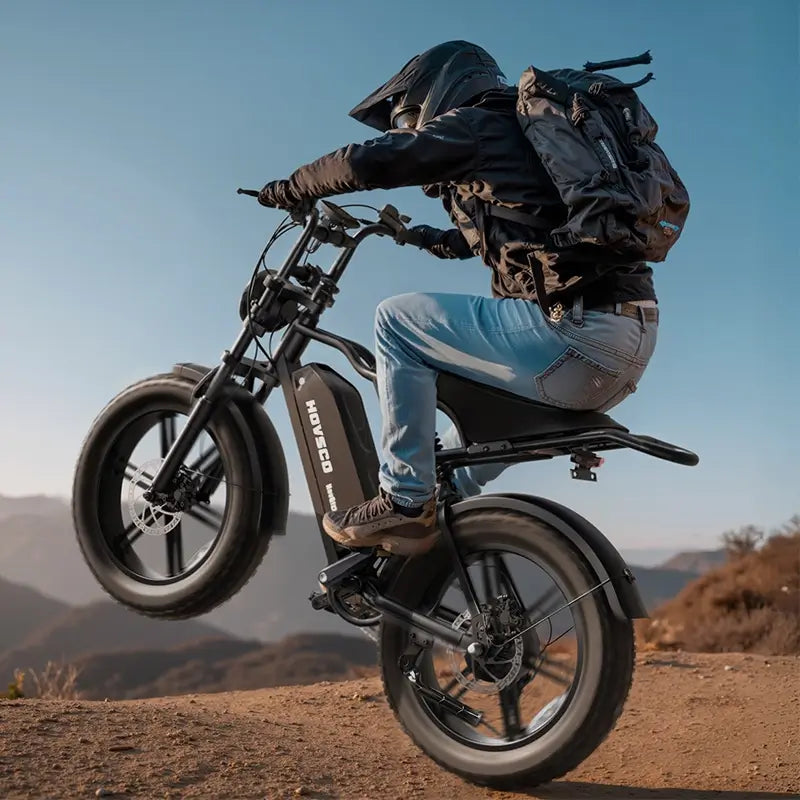
Start with the lowest assist setting, pedal normally, shift smoothly. Track battery range, recharge responsibly. Perform regular checks: tire pressure, brake pads, chain lubrication, bolt tightness, and wiring integrity. Store battery safely and maintain suspension components.
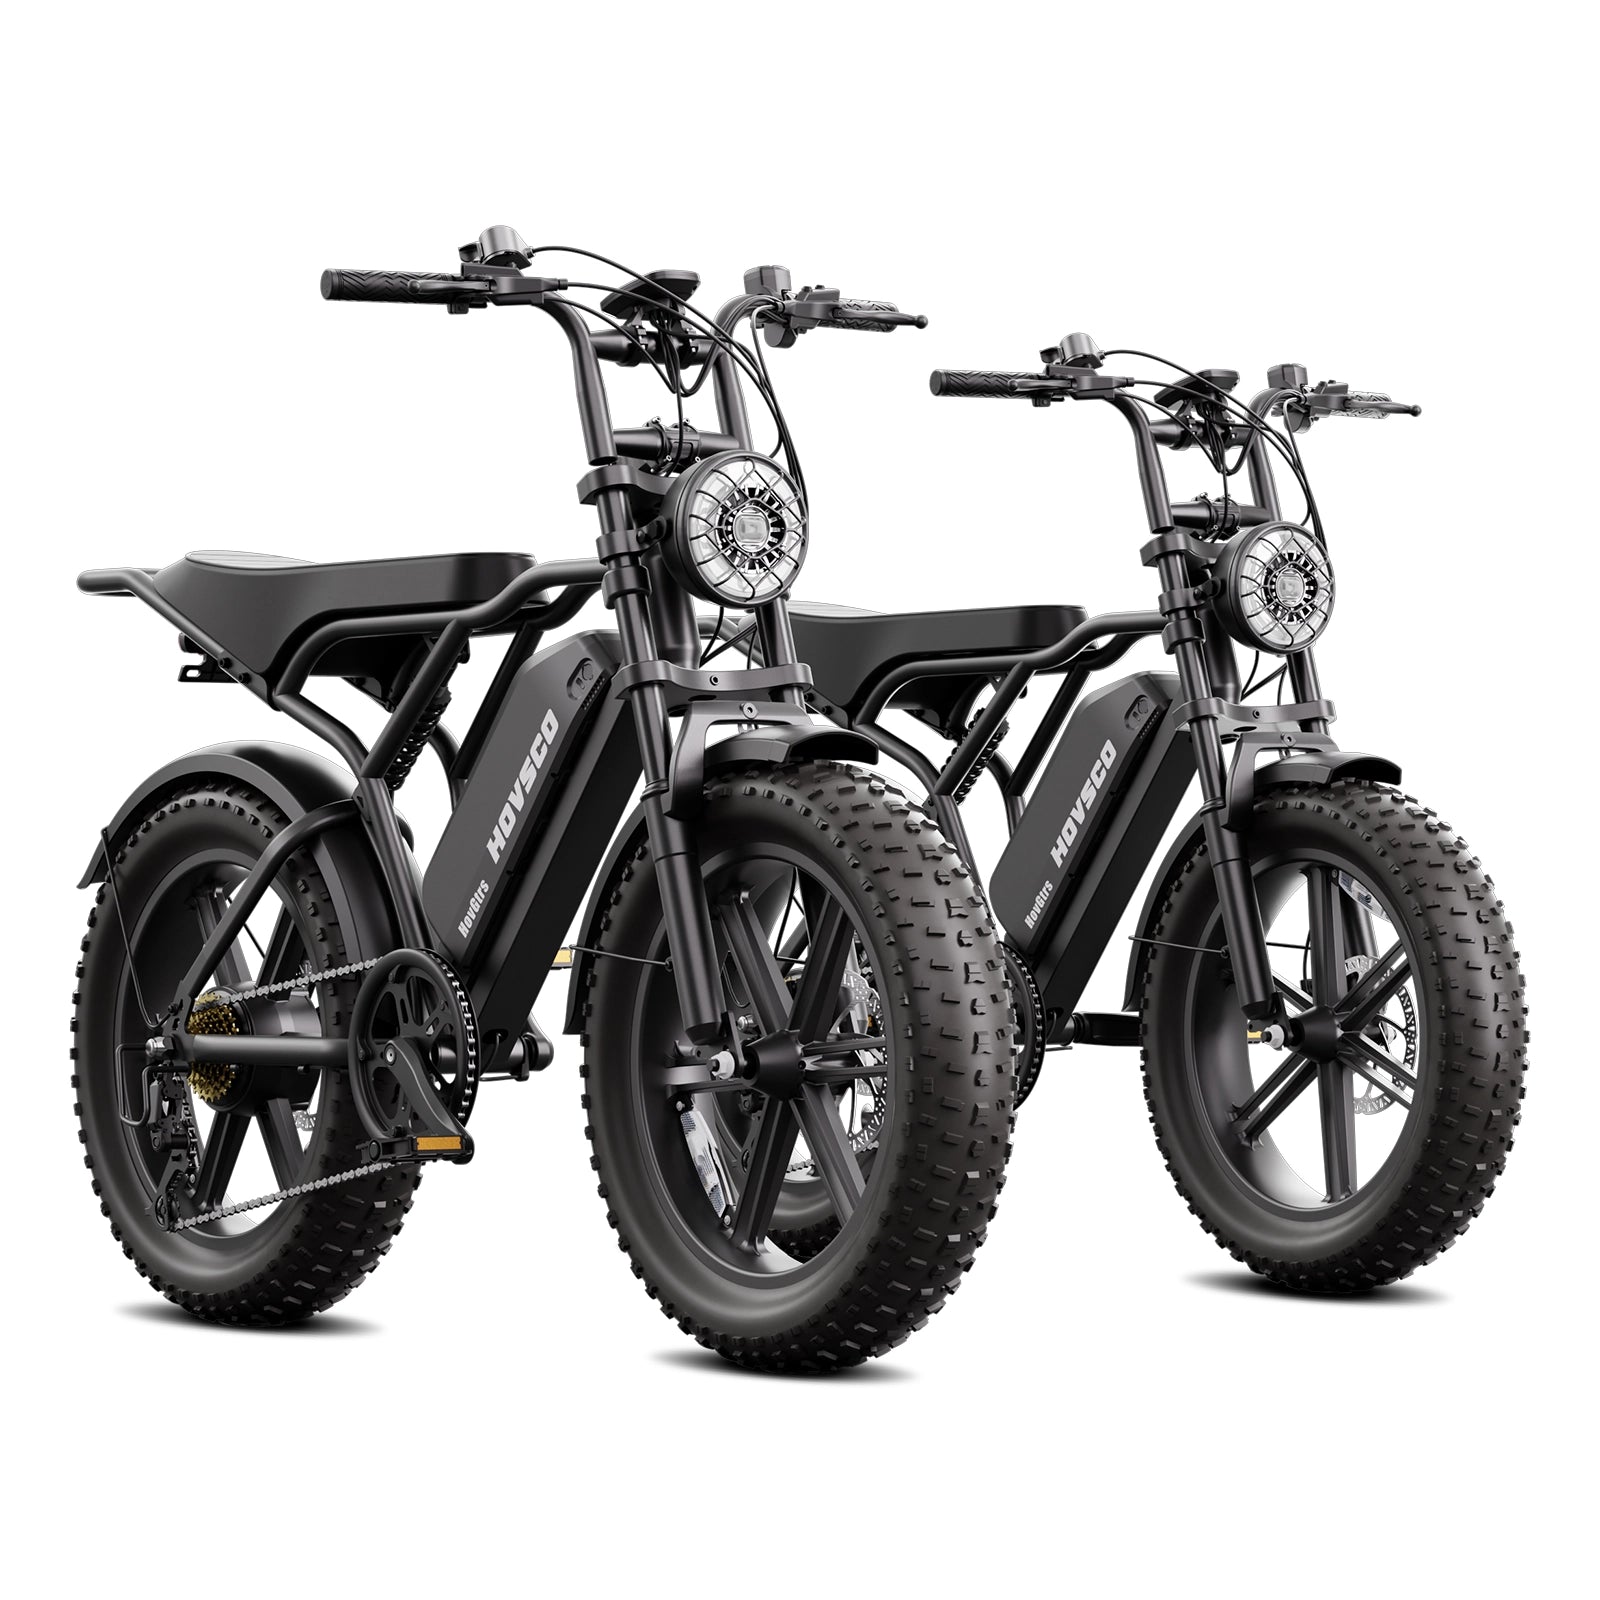
Select a strong frame and quality conversion kit, prioritizing compatibility and support. Choose a motor system (hub or mid‑drive) based on terrain and power preference. Budget $500–$1,200 for parts; allocate extra for tools and upgrades like disc brakes or lights. Focus on components from trusted vendors with warranties and clear installation guides.
"At HOVSCO, we’re inspired by DIY ingenuity. A well‑built e‑bike combines component harmony with rider intent—balance becomes performance."
"Our ethos values customization and safety; building your own lets you tailor torque, range, and ride experience in ways factory models can’t match."
What is the easiest e‑bike motor kit to install?
Front or rear hub motor kits are simplest—they involve wheel swap, mount battery, connect controller and throttle, and you’re ready to ride.
Can I convert a standard road bike?
Yes—but lightweight road frames may struggle under e‑bike weight or power; steel-forked commuter or MB frames are safer and more durable.
Do I need special tools?
Basic bike tools—Allen wrenches, screwdrivers, wire cutters, torque wrench—are sufficient. For mid‑drive installs, crank pullers and bottom-bracket tools may be required.
Is it legal to build my own e‑bike?
Yes, if it meets e‑bike regulations: power under 750 W (or local limits), top speed under ~20–28 mph with assist cutoff, and safety features like lights and brakes.
How long will the DIY e‑bike take to build?
A hub motor kit can be installed in 2–4 hours; mid‑drive setups may take 4–8 hours depending on skill and wiring complexity.
Share:
What Makes 49cc Scooters Ideal for Beginners and Urban Commuters?
How to Choose the Best Cheap Ebike Without Sacrificing Quality?