


- by EO S
How to Build an E‑Bike: Ultimate DIY Guide?
- by EO S
E-Bikes
Shop By Models
Shop By Style
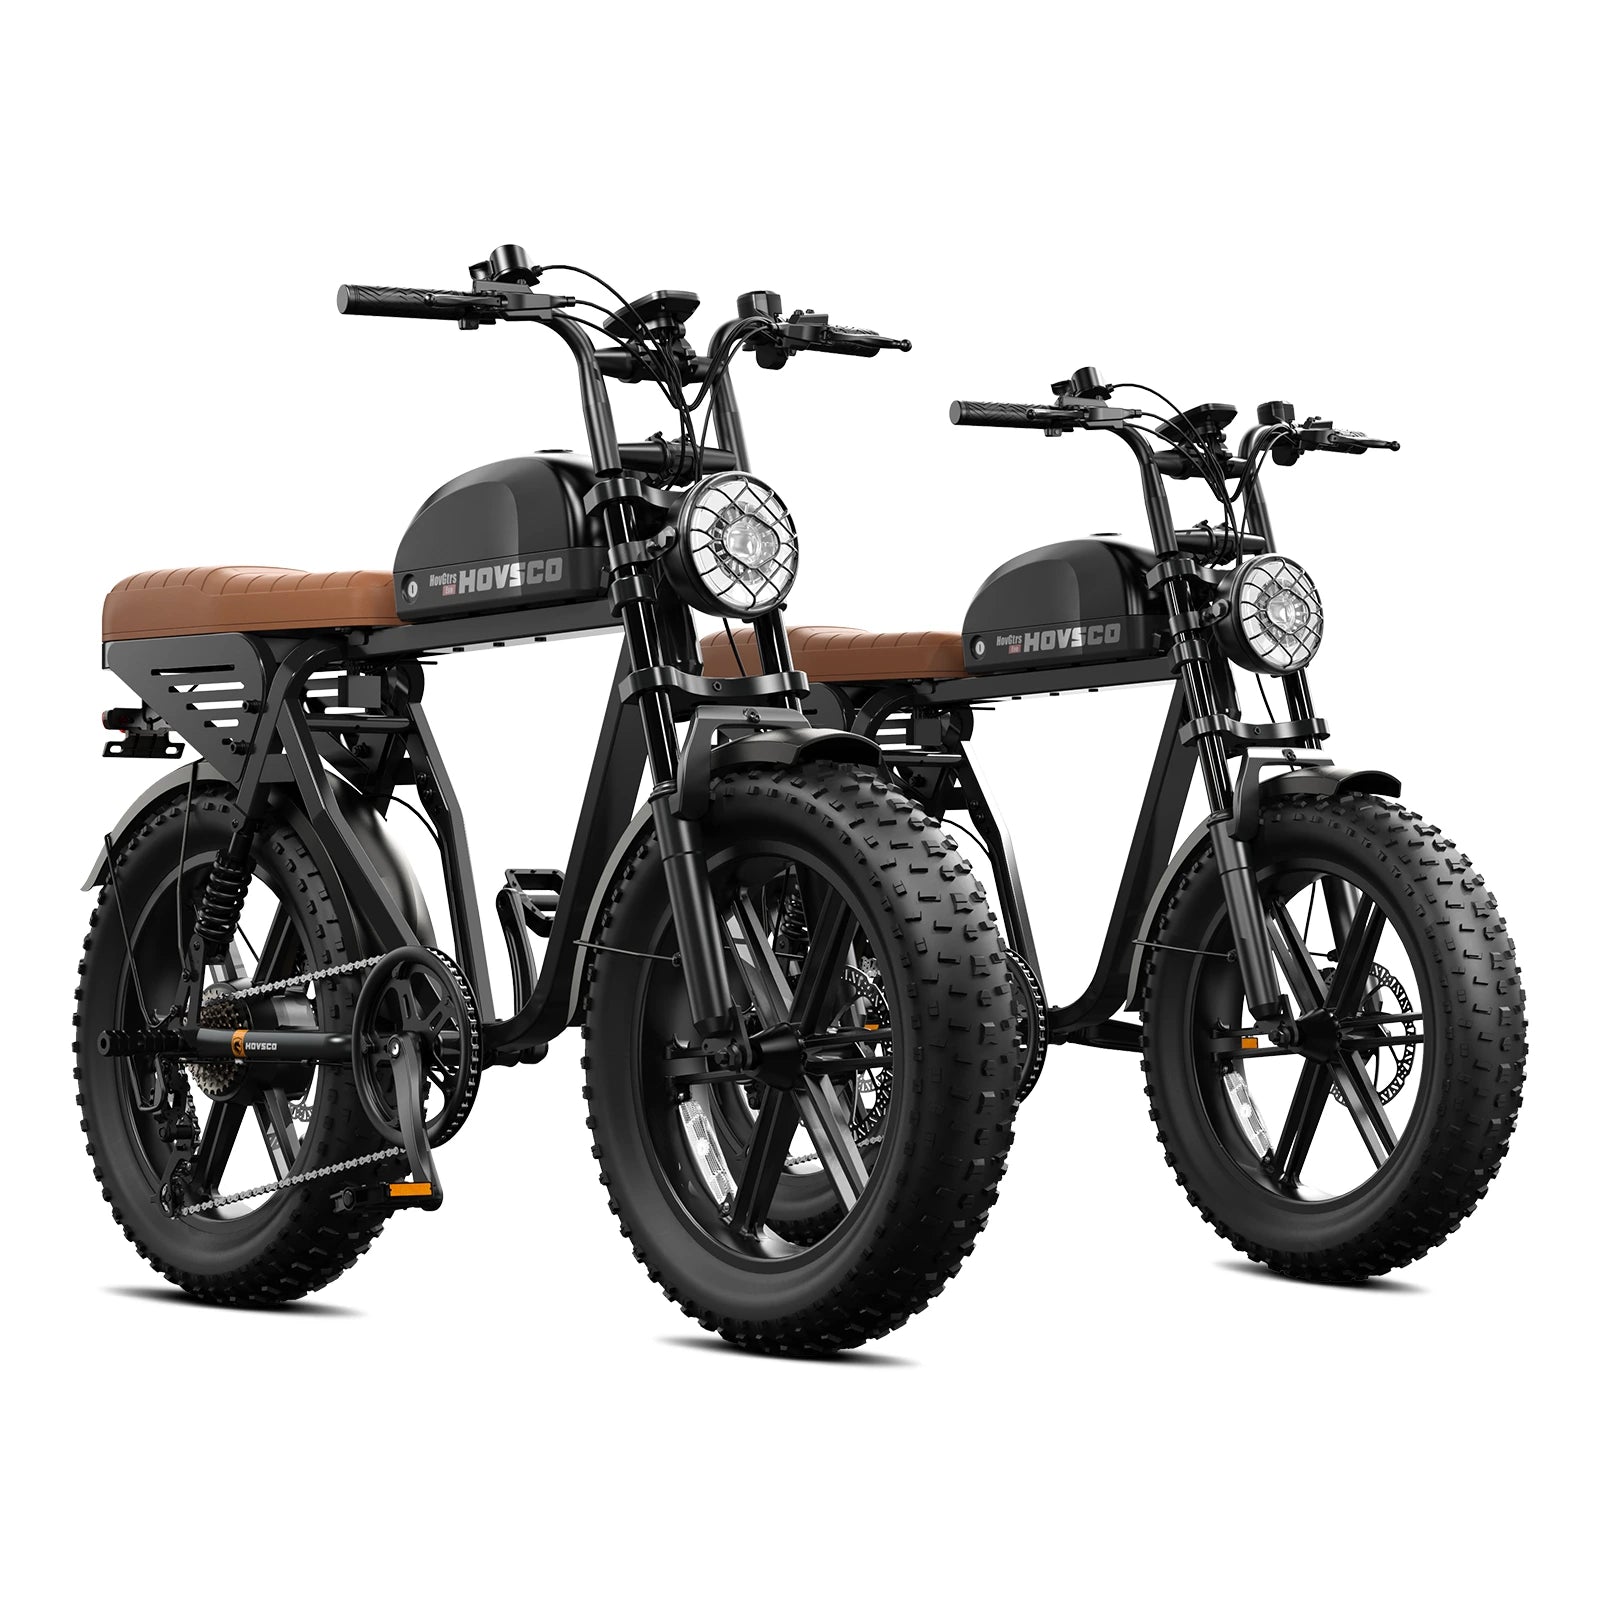
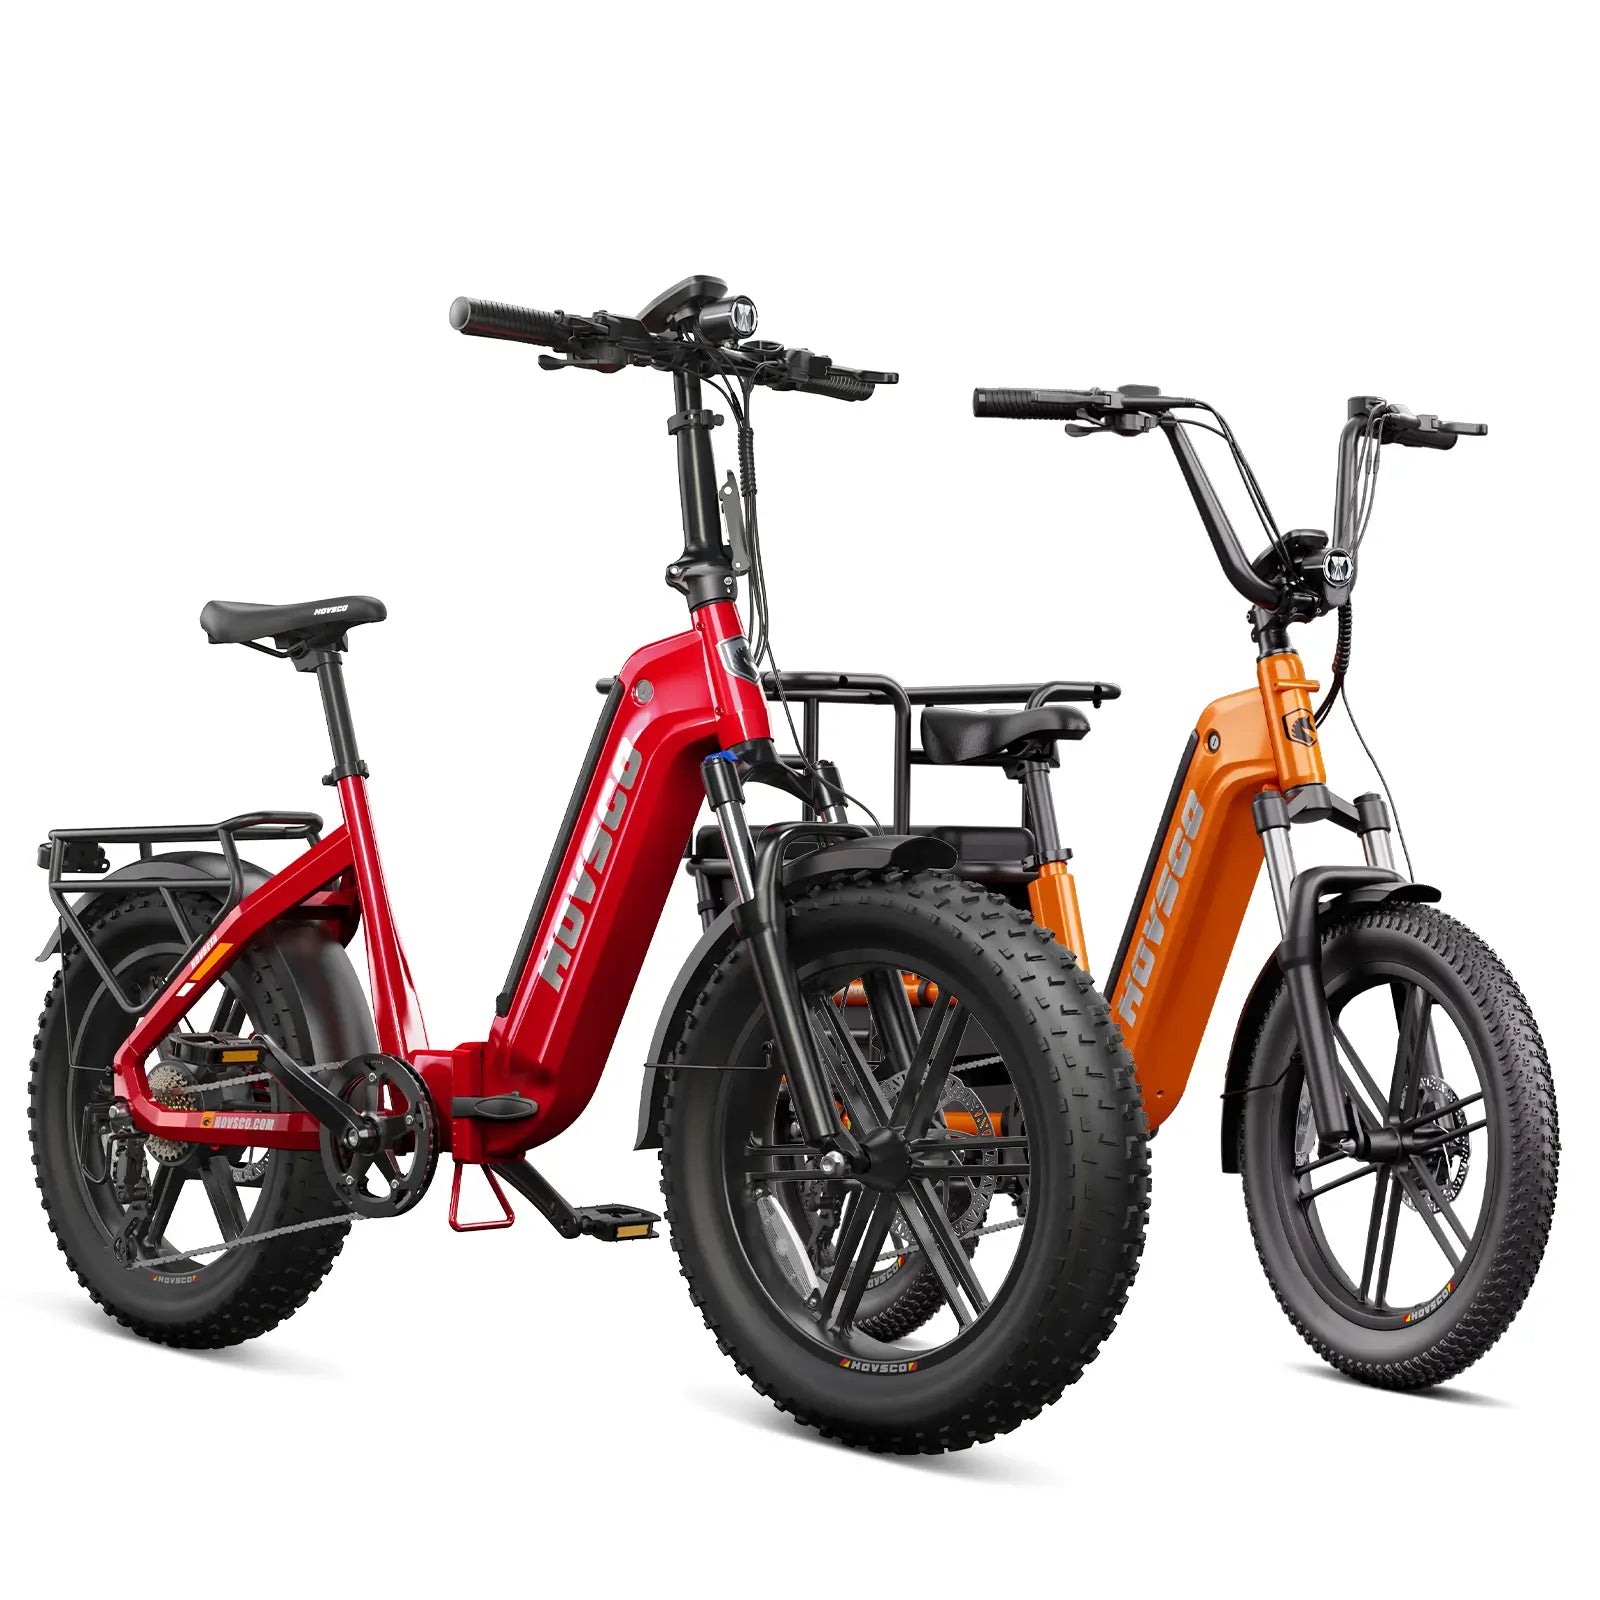
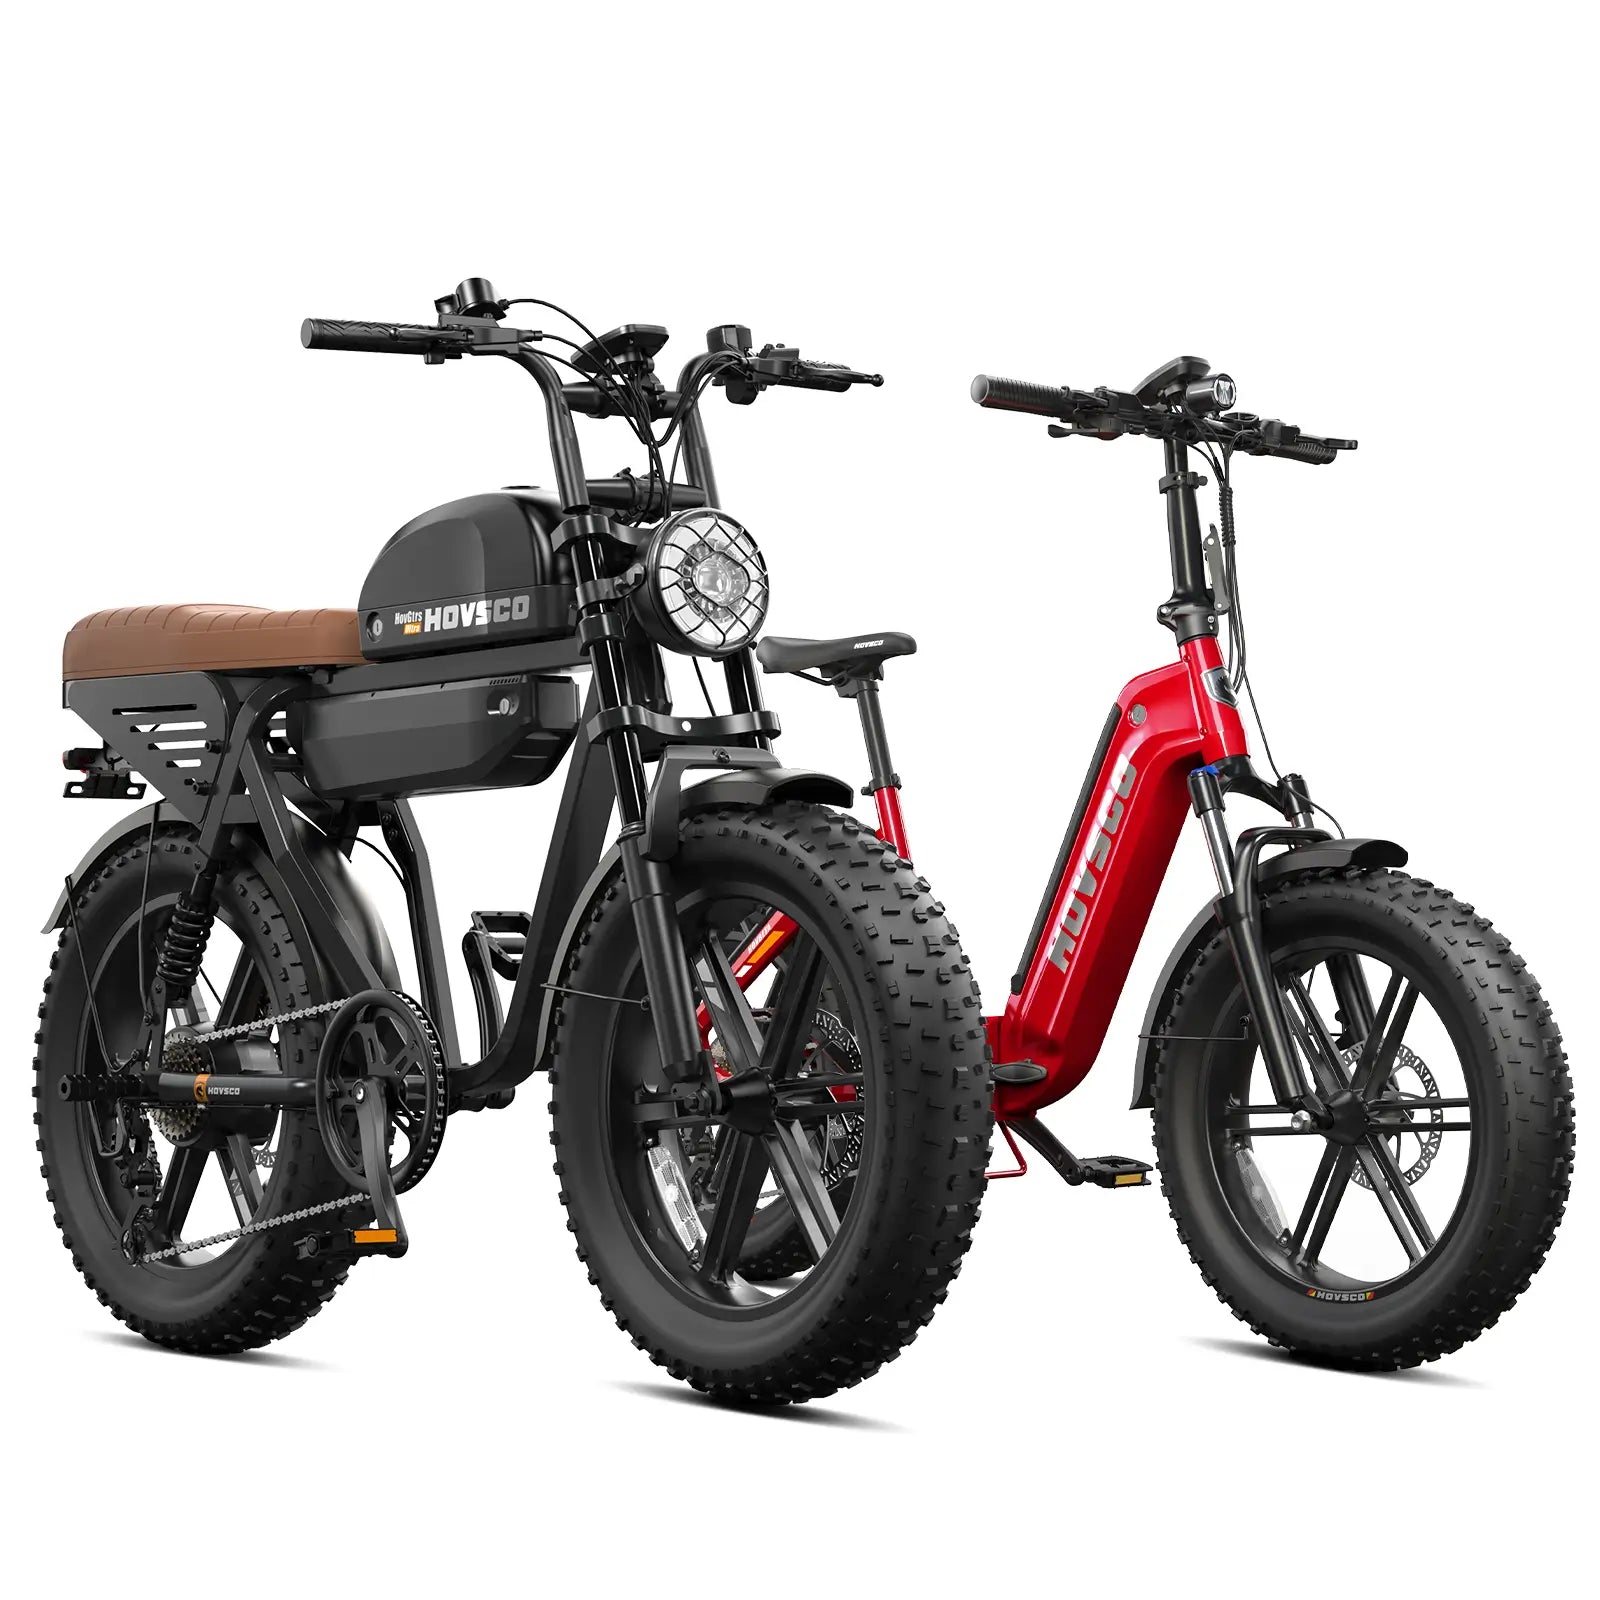
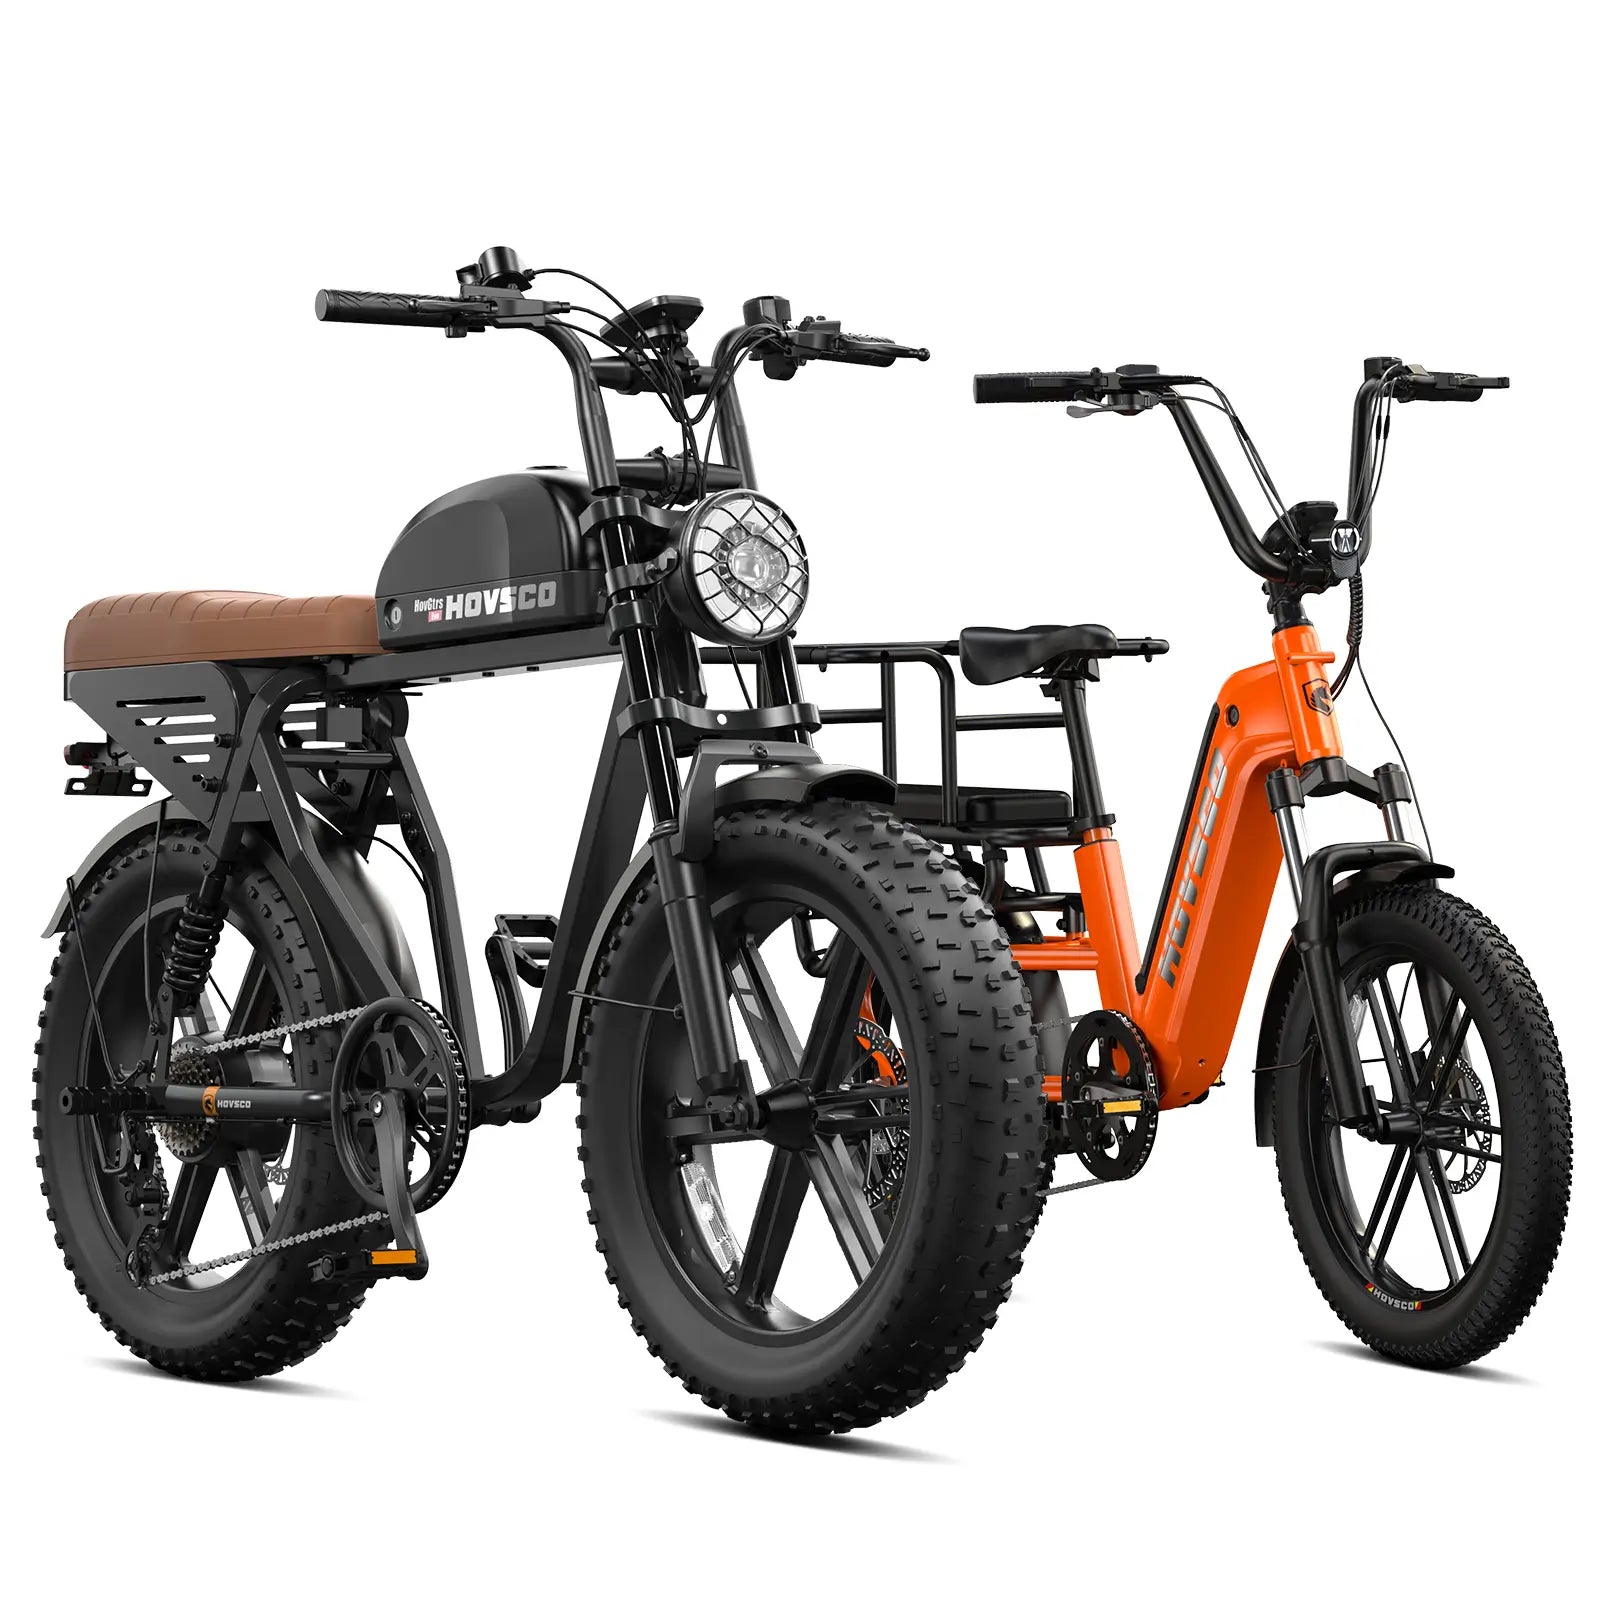
A DIY e-bike is built by pairing a conversion kit (motor, battery, controller, wiring, throttle, brake levers) with a sturdy donor bike, then installing, securing, and testing each component. The safest path is to plan carefully, choose compatible parts, mount the battery and motor correctly, tidy wiring, and finish with rigorous safety checks and a low-speed test ride.
Start with your route, terrain, and load. Choose a donor bike with disc brakes and a sound frame. Decide whether you want hill-climbing torque (mid-drive) or simple installation (hub). Sketch placement for battery and controller, and confirm voltage/connector compatibility across components. Lock your budget, timeline, and range goals before purchasing anything.
Chart: DIY build planning timeline (first-timer)
| Stage | Tasks | Typical time |
|---|---|---|
| Plan | Choose motor type, battery size, legal class | 1–2 days |
| Acquire | Order kit + tools, confirm specs/connectors | 3–7 days |
| Install | Fit motor, battery, controller, sensors | 4–8 hours |
| Verify | Torque checks, wire management, firmware | 1–2 hours |
| Test | Parking-lot shakedown + short commute | 1–2 hours |
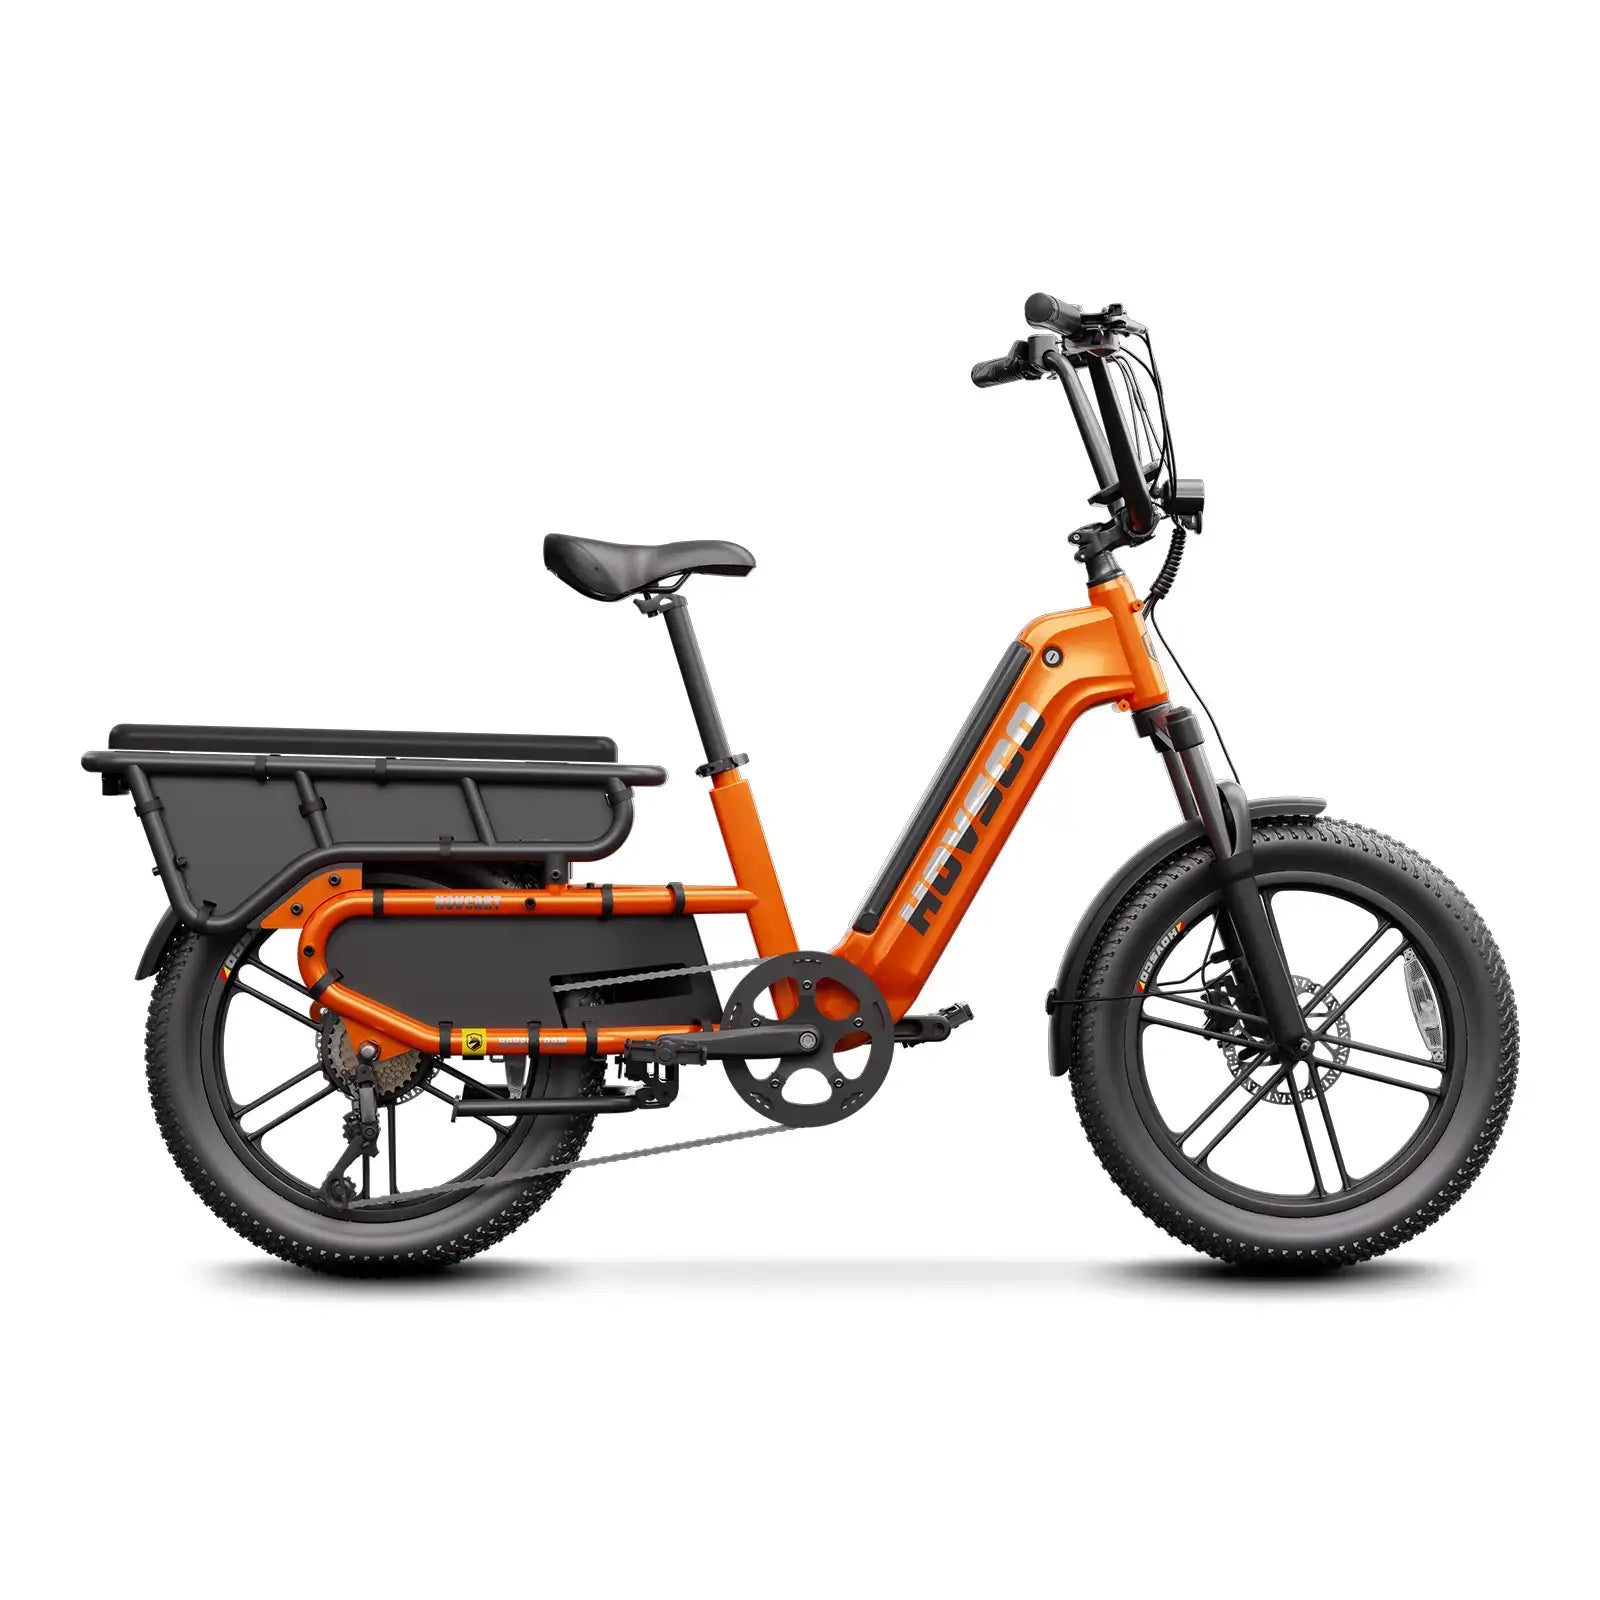
Front hub is easiest to install and keeps the drivetrain stock; steering feel changes slightly. Rear hub adds traction and a “push” feel; wheel/dishing and cassette transfer are more involved. Mid-drive sits at the crank, multiplying your gears for superior climbing and efficiency; installation is more technical but ride feel is the most “bike-like.”
Match battery voltage to motor/controller specs (e.g., 36V/48V). Ensure current (A) and continuous power ratings meet motor demands. Verify connector types (XT60/XT90, bullet, Higo/Julet) to avoid adapters. Choose a controller that supports your display, throttle, pedal-assist sensor (PAS), and brake-cutoff levers. Aim for a balanced watt-hour (Wh) capacity that meets your real-world range.
When putting together an electric bike, all main parts must work well together. The battery needs to match the motor and controller in both voltage and power, such as 36V or 48V systems. If the battery cannot deliver enough current, the motor may perform poorly or even get damaged. The connectors that join the parts—like XT60 or Higo types—should also fit properly to ensure safe and efficient power flow without the need for extra adapters.
Next, the controller acts as the brain of your e-bike, managing how much power goes from the battery to the motor. It should be compatible with features like the pedal-assist system, throttle, and brake sensors. Choosing a setup with a reasonable energy capacity (measured in watt-hours) gives a good balance between performance and range. Brands like HOVSCO design their e-bike systems carefully so riders enjoy efficiency, reliability, and safety in every ride.
You’ll want hex wrenches, torque wrench, screwdrivers, tire levers, pump, chain tool, crank puller/bottom-bracket tools (for mid-drive), zip ties, frame tape, heat-shrink, dielectric grease, and electrical tape. Parts include the motor, battery, controller, PAS sensor, display, throttle, brake-cutoff levers, torque arms (for hub motors), and mounting brackets.
Use keyed, waterproof connectors wherever possible. Connect PAS to ensure pedal-assist logic. Install brake-cutoff levers so the motor stops when braking. Add a thumb throttle only if your local regulations allow it and your controller supports it. Secure excess wire with zip ties and provide drip loops to deter water ingress.
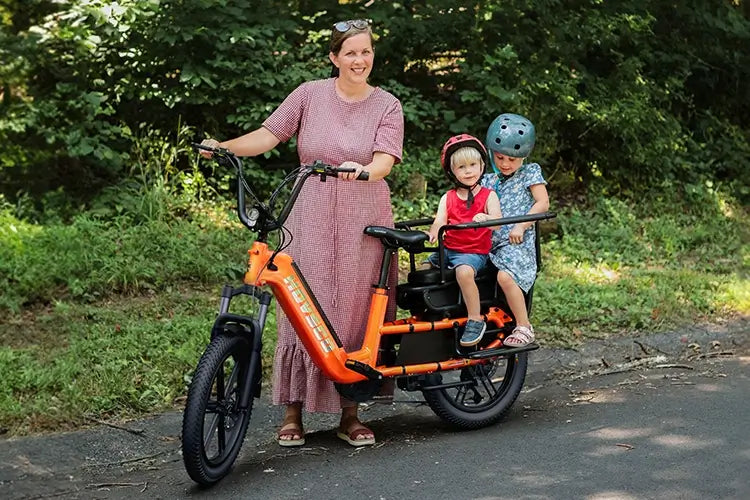
Mount low and central (downtube preferred) to keep handling neutral. Use metal brackets or riv-nuts when possible; add anti-slip padding to reduce vibration. Protect leads with grommets, avoid sharp bends, and never crush the case. For charging, use the correct charger, keep the pack in a cool, dry area, and never charge unattended.
Front Hub: Flat to rolling terrain, commuters prioritizing simplicity and cost.
Rear Hub: Mixed terrain, riders wanting traction and a tidy cockpit.
Mid-Drive: Hilly routes, off-roaders, cargo hauling, and anyone craving maximum efficiency.
Chart: Cost–range snapshot by motor type (typical 2025 kits)
| Motor type | Typical kit cost | Common battery | Practical range* |
|---|---|---|---|
| Front Hub | Low–mid | 36–48V, 10–14Ah | 20–40 miles |
| Rear Hub | Mid | 36–52V, 12–17Ah | 25–50 miles |
| Mid-Drive | Mid–high | 48–52V, 14–20Ah | 30–70 miles |
| *Rider weight, assist level, terrain, tires, and weather strongly affect range. |
Torque every fastener (axle nuts, chainring, crankarms, brake calipers). Verify that the wheel sits fully in the dropouts with torque arms installed (hub builds). Confirm the chainline and shifting. Test motor cutoffs, lights, and display alerts. Begin with a parking-lot roll, then a slow street loop—listen for rubbing, clicking, or connector rattles.
If you add significant speed or mass, step up to hydraulic disc brakes and larger rotors (180–203mm). Consider e-rated chains and a wider-range cassette for mid-drives. Tires with puncture protection and e-bike casings improve durability; set pressures appropriate to your load for grip and comfort.
Yes—know your local definitions. Commonly, Class 1/2 assist to ~20 mph, Class 3 to ~28 mph (pedal assist only). Power caps vary by region (often 250–750W). Throttles may be restricted. Build to the rules where you ride, and label your bike accordingly.
A realistic starter budget is $450–$1,200 for a hub kit and $700–$1,600 for a mid-drive, plus tires/brake upgrades if needed. Expect 4–8 labor hours if you’re methodical. Range depends on watt-hours (Wh) and assist level; many commuter builds land between 25–50 miles per charge under mixed conditions.
Prioritize compatibility and safety over maximum watts. Choose a reputable kit with clear documentation, waterproof connectors, and brake-cutoffs. Size your battery for 1.5× your longest regular ride. Mid-drive for hills/cargo, hub for simplicity. Add torque arms on hub motors. Budget for quality tires and hydraulic brakes. Buy the correct charger, and never leave batteries charging unattended.
“Start with your route and braking, not the motor wattage. Riders often overbuy power and under-spec brakes and tires. Keep wiring tidy, add torque arms, and position the battery low—handling matters as much as horsepower. The cleanest builds happen when every connector, voltage, and mount location is planned before the first bolt turns.”
How to Build an E-Bike from Scratch in 2026?
Building an e-bike in 2026 starts with selecting a sturdy donor bike, hub motor kit, 48V battery, controller, and display. Remove the rear wheel, install the motored wheel with torque arm, mount the battery, wire components securely, add throttle and PAS sensor, then test ride. Takes 2-4 hours with basic tools.
Which Are the Best E-Bike Conversion Kits in 2026?
Top 2026 e-bike conversion kits include Bafang BBS02 mid-drive, TongSheng TSDZ2, and Voilamart 1000W hub kits for power and compatibility. They offer easy installs, reliable torque sensors, and ranges up to 50 miles. HOVSCO kits excel in value and safety for DIY builders.
How to Choose and Install the Right E-Bike Motor?
Choose hub motors for simplicity on flats or mid-drive for hills and efficiency. Match wattage (500-1000W) to needs. Install by swapping rear wheel, securing torque arm, and wiring to controller. Test for smooth acceleration and no dropout stress.
How to Build a Safe and Long-Lasting E-Bike Battery?
Use 18650 lithium cells in a 48V 15Ah pack with BMS for protection. Spot-weld connections, encase in PVC tube, add XT60 connector. Charge to 80% max, store at 50%. Ensures 1000+ cycles and fire safety when balanced properly.
How to Set Up and Program Your E-Bike Controller?
Mount controller under frame, connect motor, battery, throttle, PAS, brakes, and display. Match phase wires (green/blue/yellow). Program via LCD for speed limits, PAS levels, and wattage. Secure with zip ties; test all functions before riding.
How to Design the Perfect DIY E-Bike Frame?
Select aluminum or steel frames with downtube battery space and strong dropouts. Reinforce motor mounts with plates; ensure geometry supports added 10-15kg weight. Balance for handling; weld custom brackets for controller and PAS stability.
How Much Does It Cost to Build an E-Bike in 2026?
DIY e-bikes cost $600-$2000 in 2026: $200-500 motor kit, $300-600 battery, $50-100 controller/display, $50 tools. Cheaper than $2500+ factory bikes; source from AliExpress or Amazon for best value without sacrificing quality.
What Are the Legal and Safety Rules for DIY E-Bikes?
Classify as pedal-assist under 750W/28mph (US); add lights, reflectors, brakes. Use torque arms to prevent spin-outs; helmet mandatory. Check local laws—some limit speed to 15.5mph. Insure frame; test stability before roads.
Share:
What Makes 49cc Scooters Ideal for Beginners and Urban Commuters?
How to Choose the Best Cheap Ebike Without Sacrificing Quality?