


- by HOVSCO Official
How to Ship an Ebike Safely and Efficiently
- by HOVSCO Official
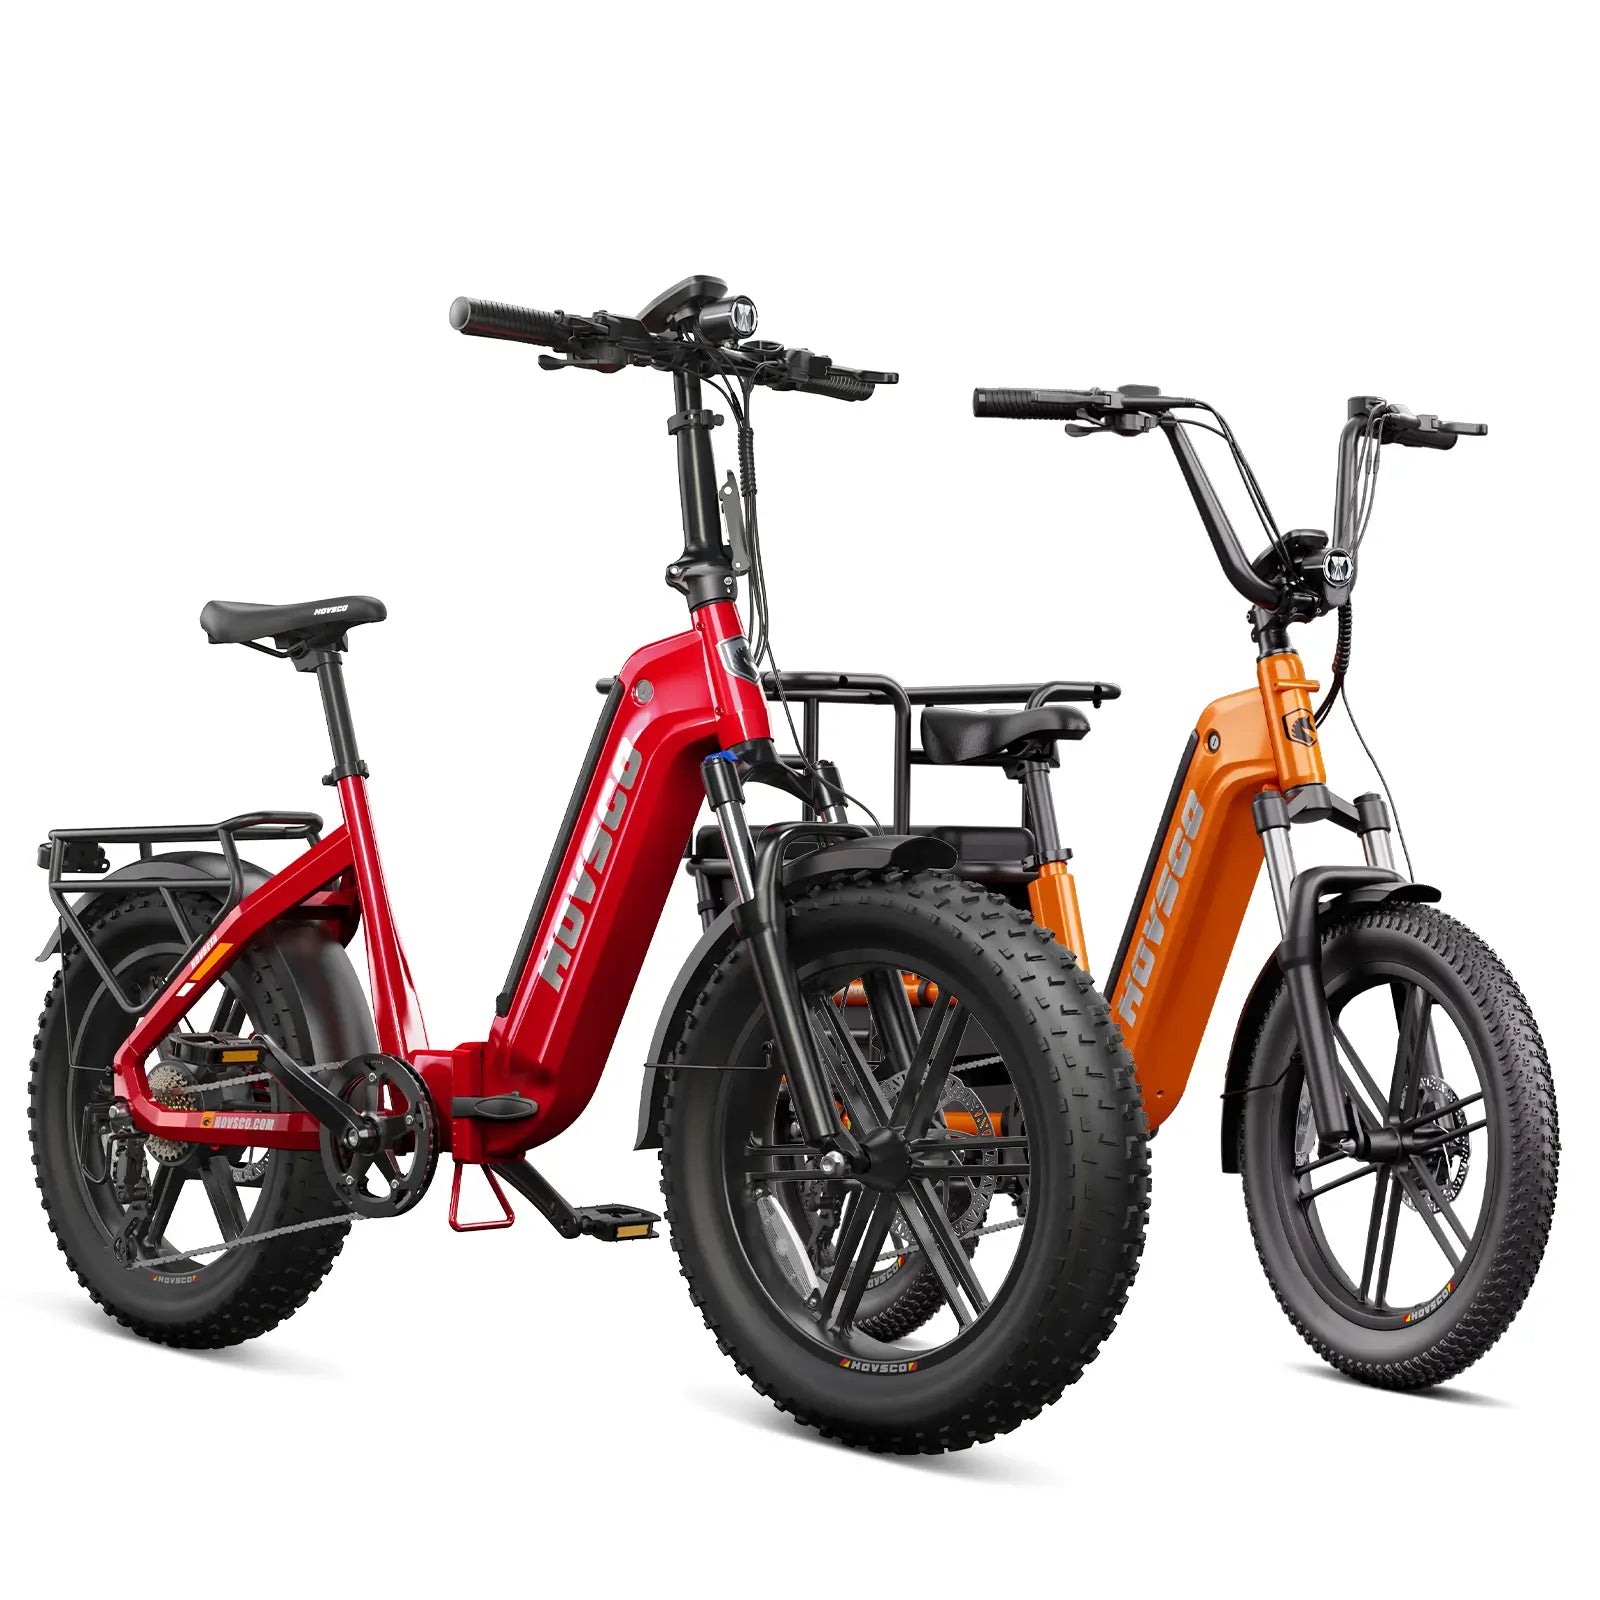
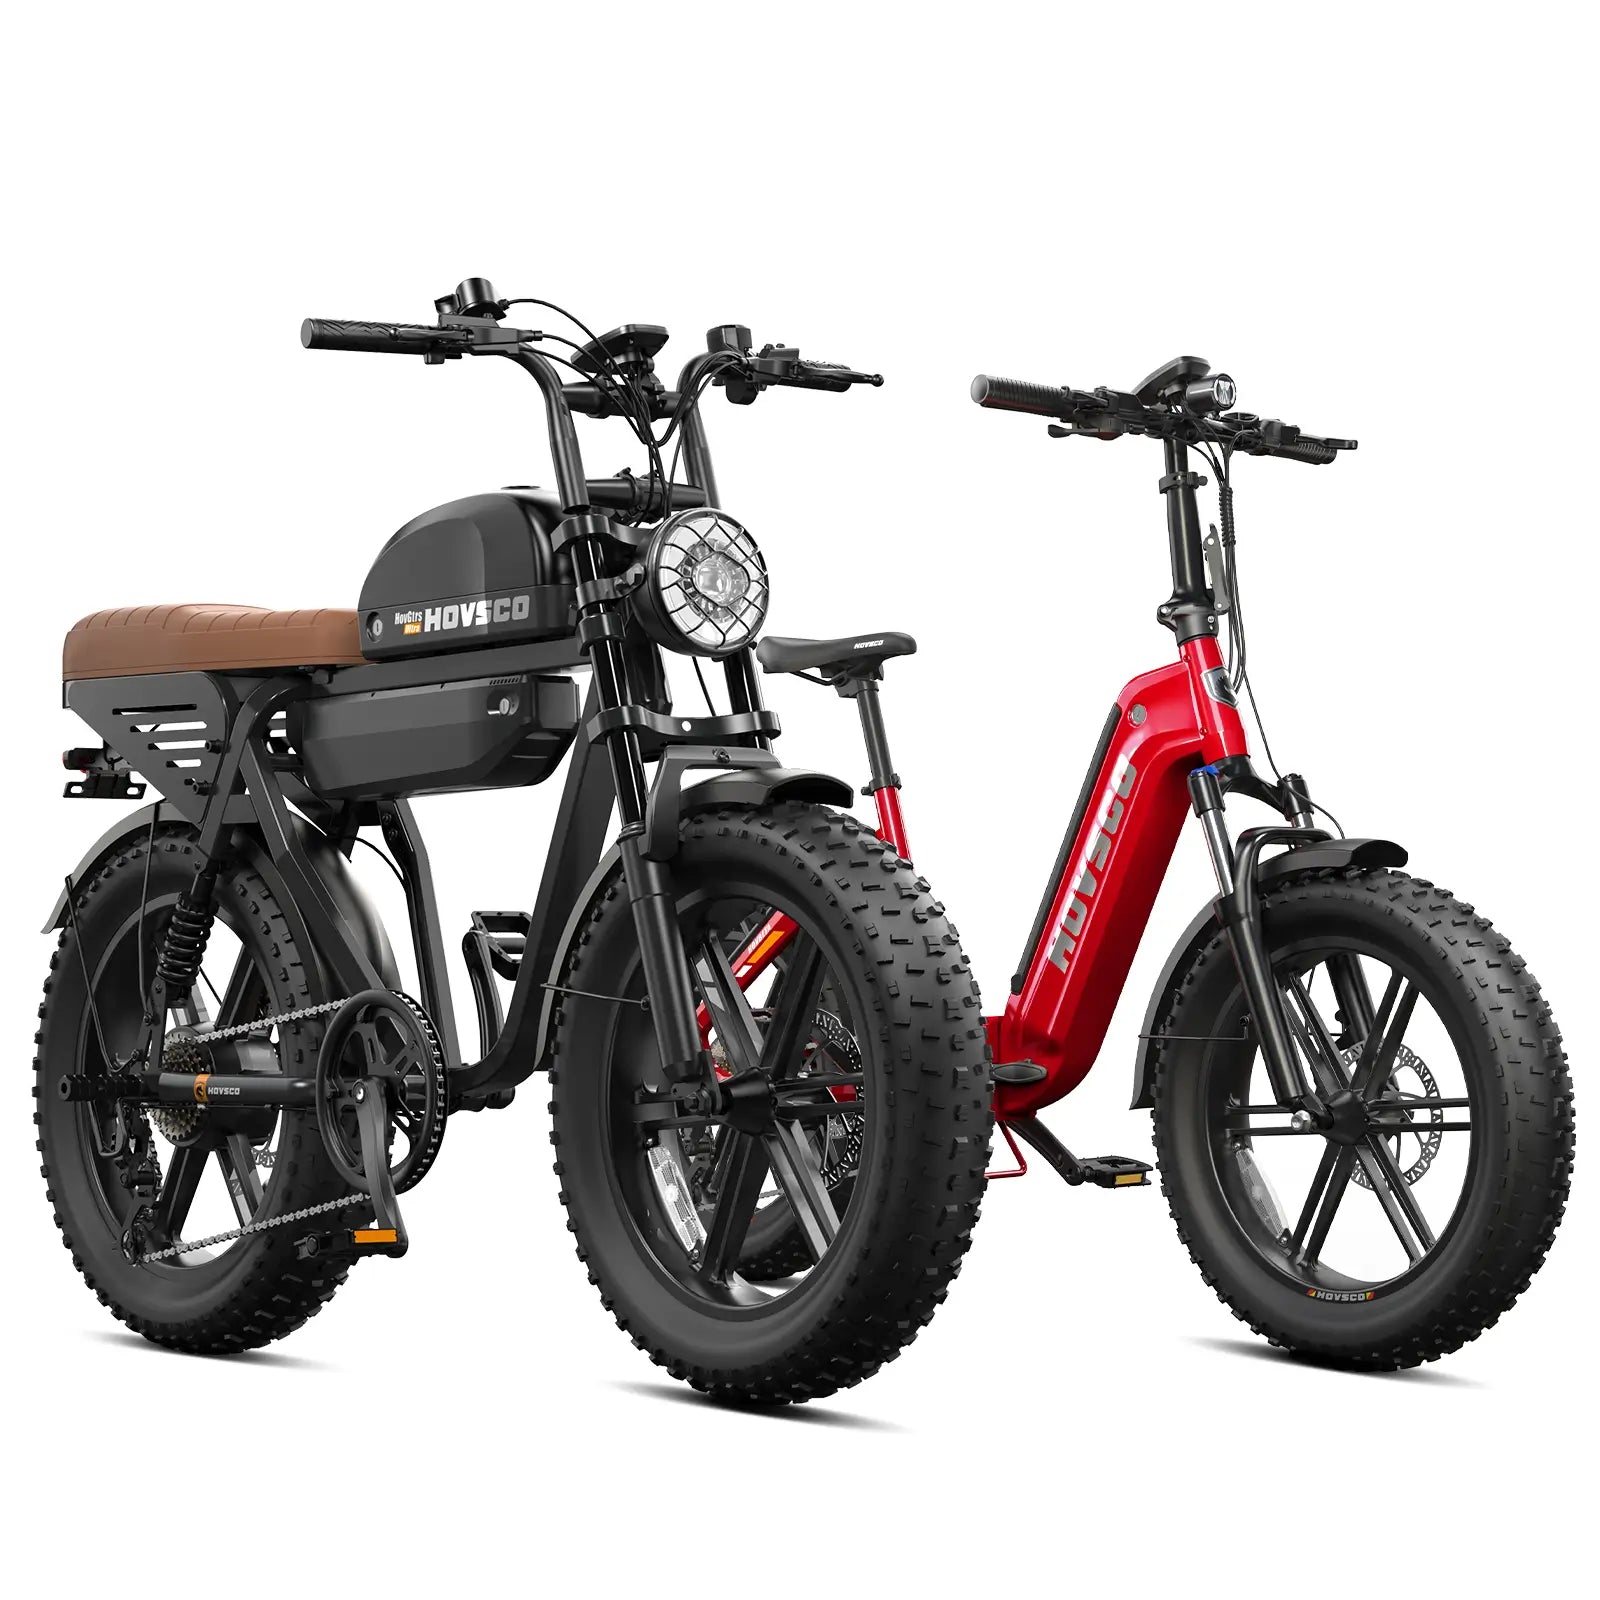
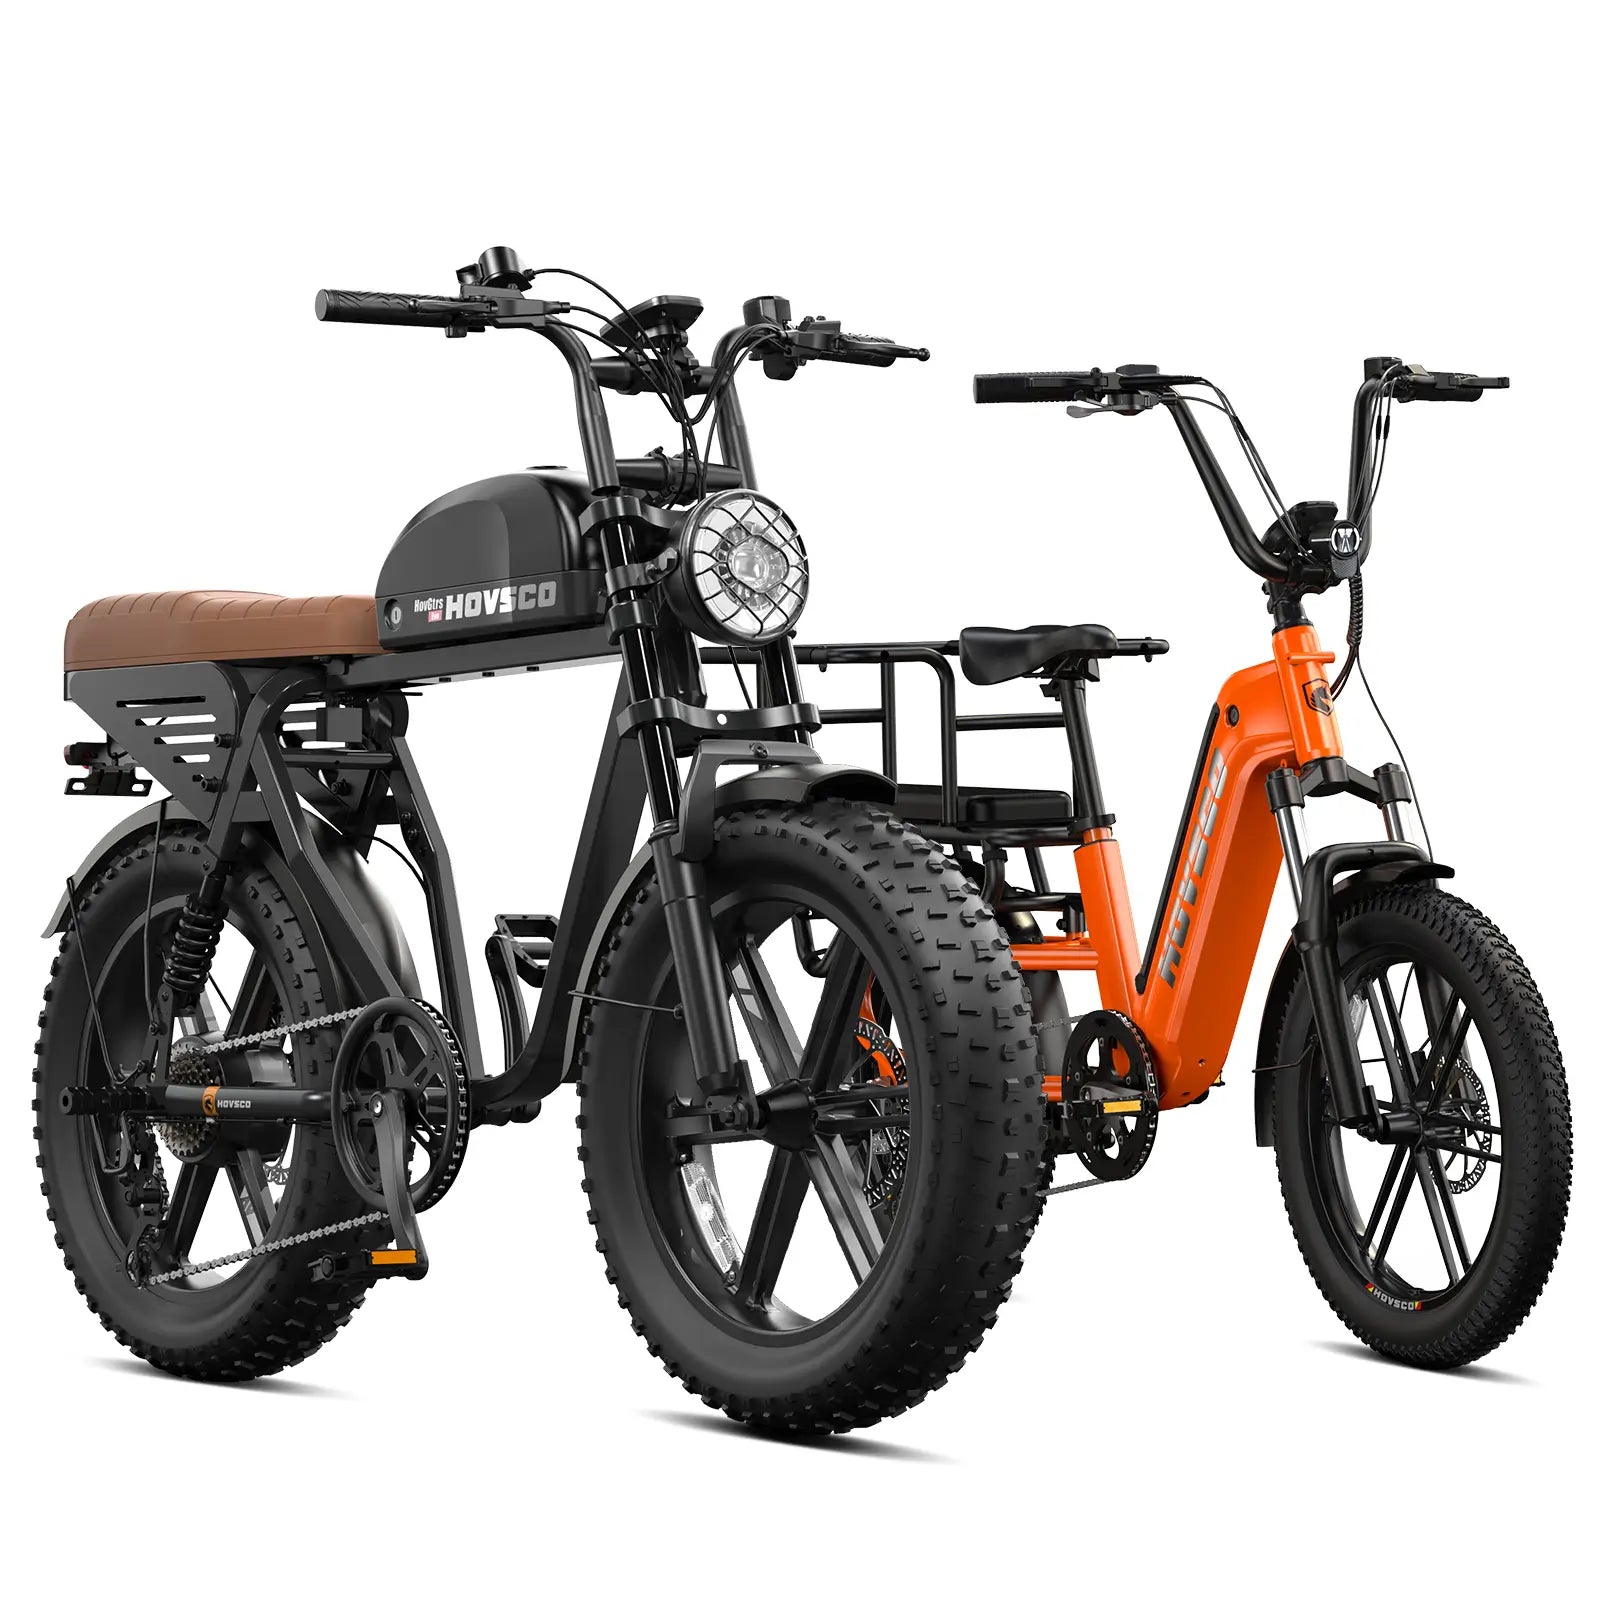
E-Bikes
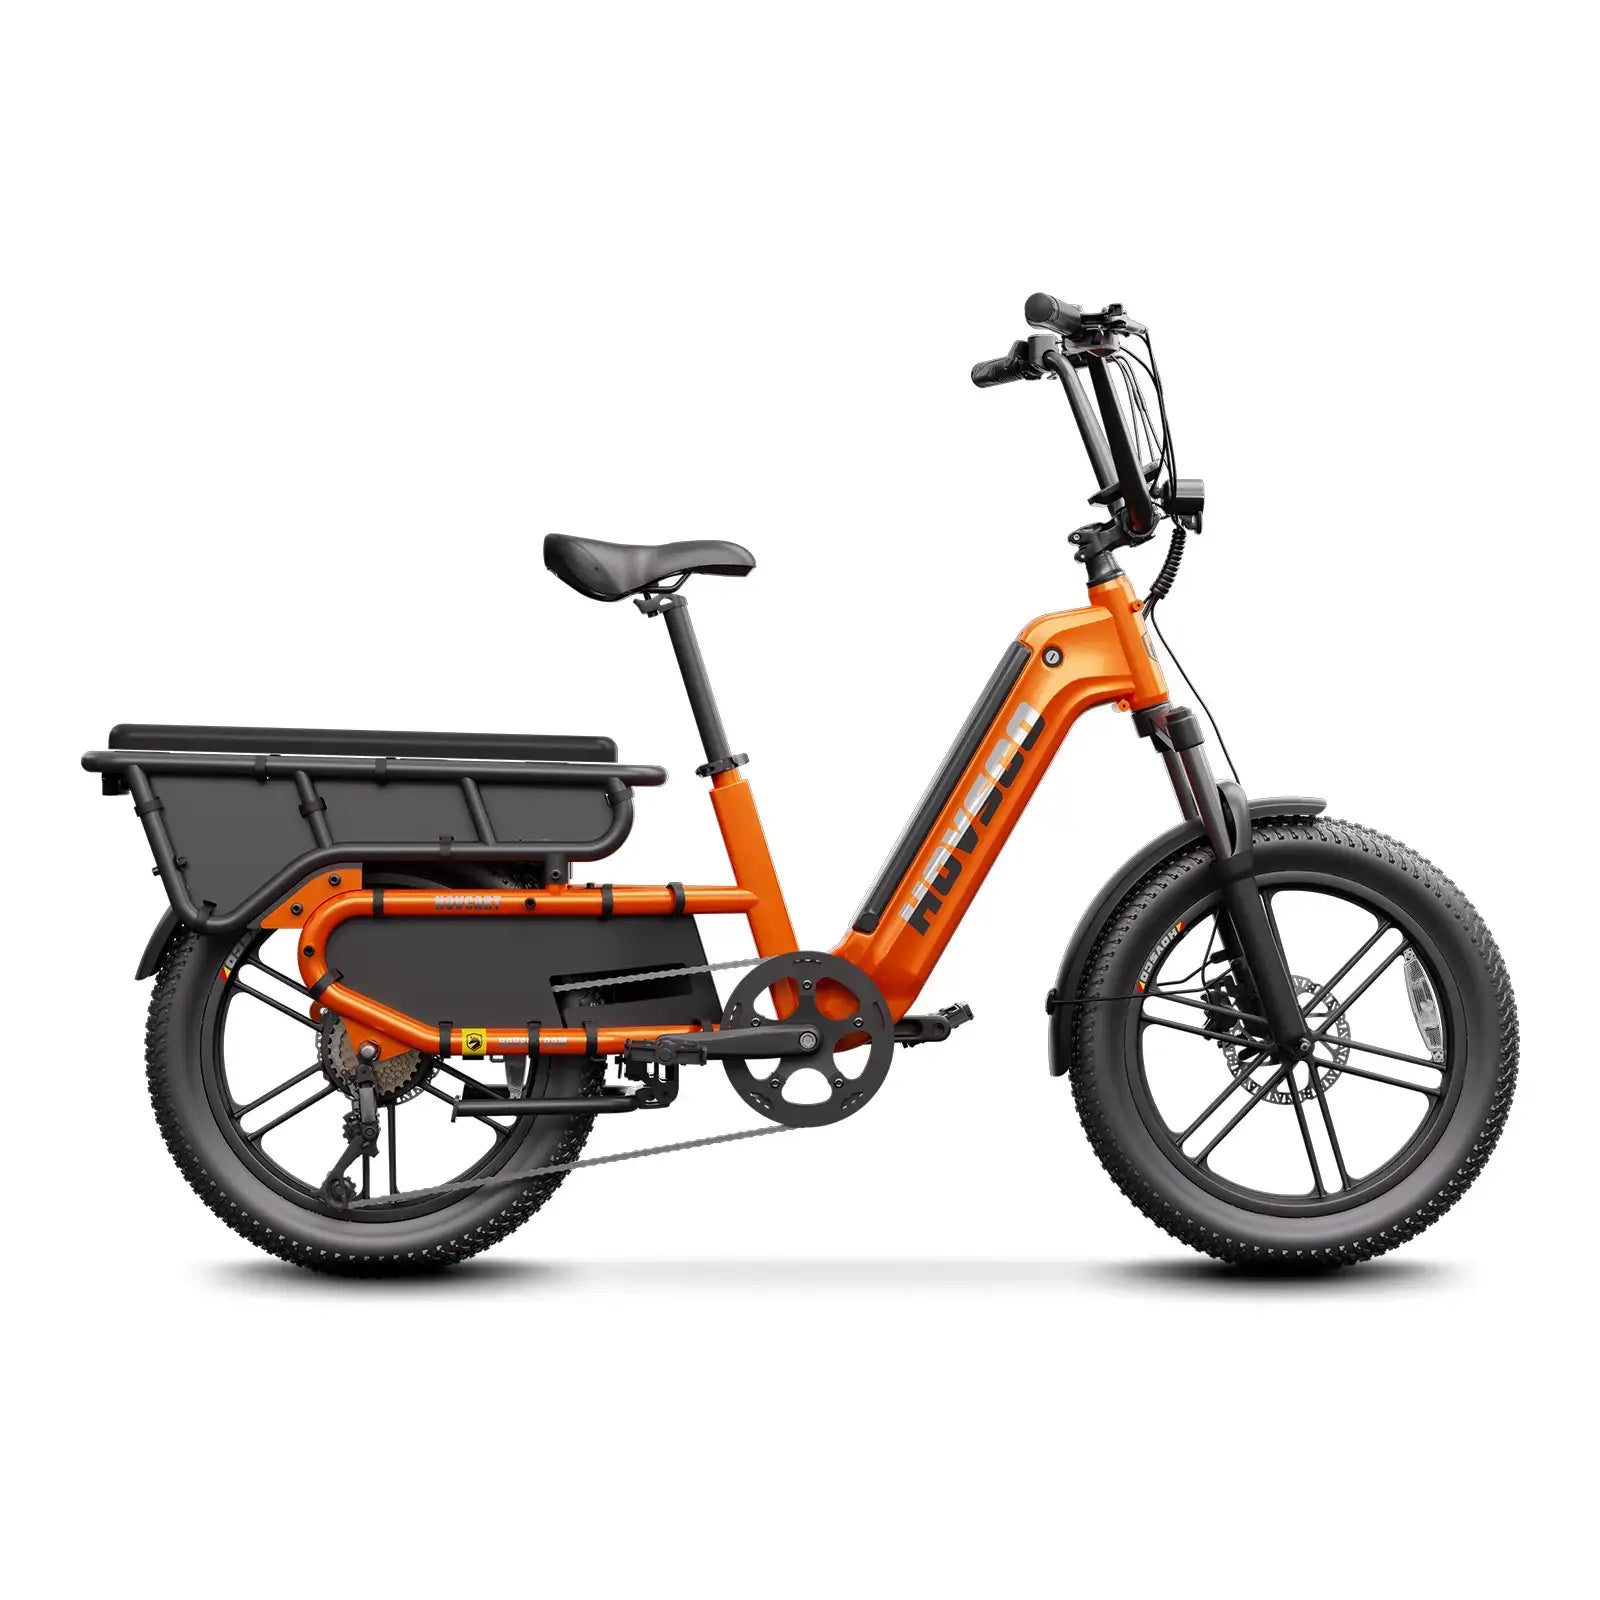
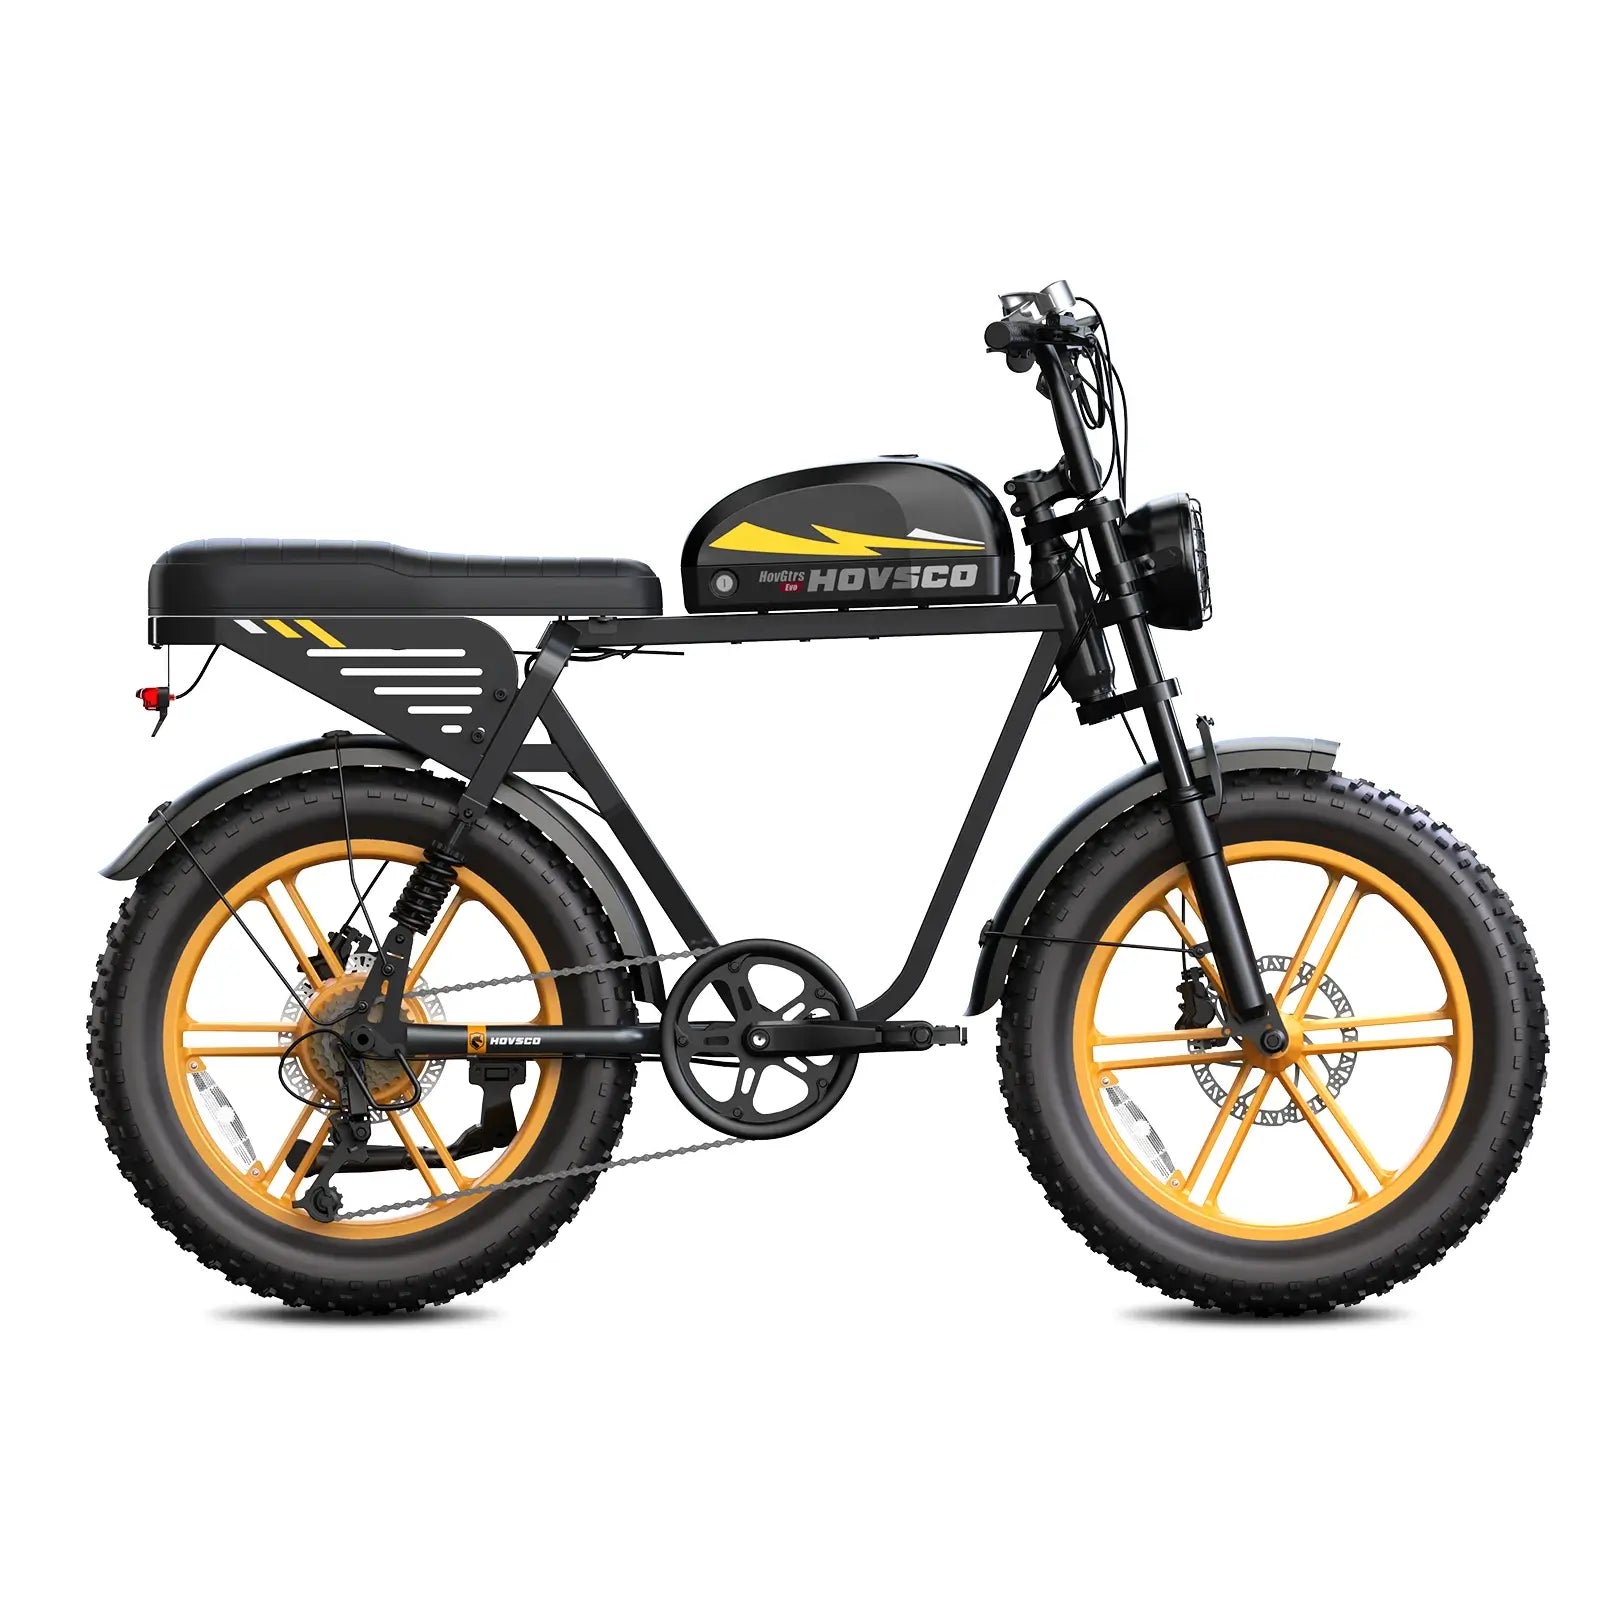
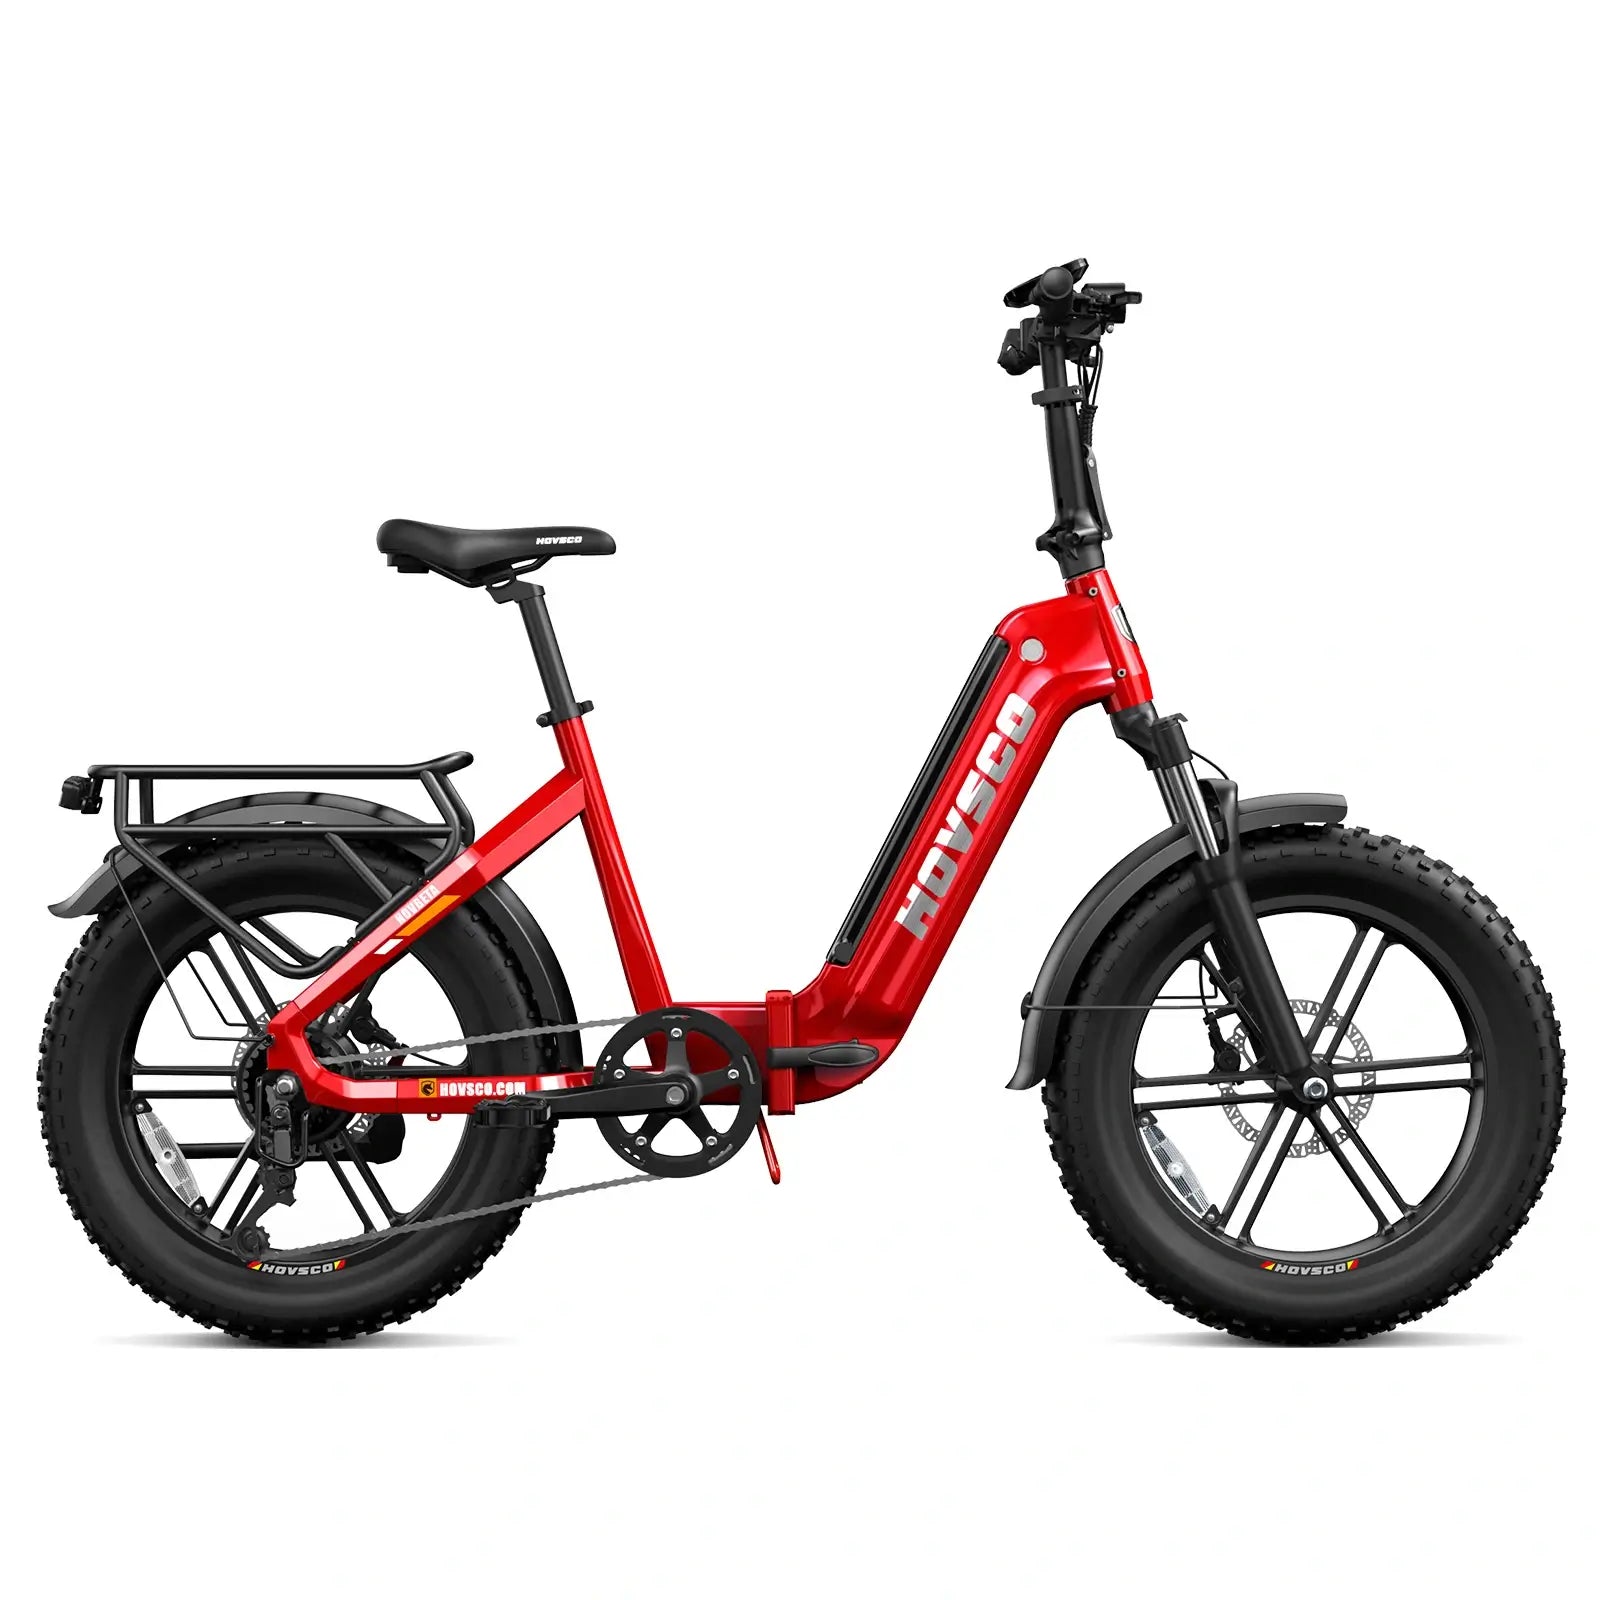
Shop By Models
Shop By Style
Shipping an ebike requires careful preparation due to its size, weight, and lithium-ion batteries classified as hazardous materials. To ship an ebike properly, disassemble key parts to reduce size, use a sturdy, reinforced box designed for e-bikes, and ensure the battery is either shipped separately in UN-certified packaging or safely secured if shipped with the bike. Compliance with shipping regulations and clear labeling are essential for safe and legal transport.
Shipping regulations for ebikes are strict because of their size and hazardous lithium-ion batteries. The International Air Transport Association (IATA) governs air shipments, while local laws regulate ground and sea transport. Lithium-ion batteries must be packed in UN-certified packaging and often shipped separately. Weight and dimension limits apply, and international shipments must comply with import/export rules, tariffs, and duties. Partnering with logistics providers experienced in hazardous materials helps navigate these rules smoothly.
The best shipping methods for ebikes involve ground freight or specialized couriers experienced in handling lithium batteries. Choose services that offer tracking, insurance, and experience with e-bike packaging to ensure safe transit for both bikes and batteries.
Choosing the right shipping method depends on cost, speed, and destination:
Balancing these factors ensures your ebike arrives safely and on time without excessive cost.
To pack an ebike for shipping, first remove the battery and pedals. Lower or detach the handlebars and wheels. Use foam padding and zip ties to secure components. Place everything in a sturdy bike box and seal it with heavy-duty tape.
Proper packing minimizes damage and regulatory issues. Key steps include:
Including assembly instructions for the recipient is recommended if the bike is disassembled.
Use a double-walled bike box, foam inserts, zip ties, bubble wrap, and anti-crush spacers. Original HOVSCO packaging, if available, offers ideal protection. Avoid loose materials that may shift in transit, and reinforce corners for extra durability.
Recommended packaging materials include:
Using these materials ensures the ebike withstands shipping rigors and arrives undamaged.
To ship ebike batteries safely, disconnect and insulate the terminals, use an approved UN 3480/3481-certified container, and label the package per lithium battery regulations. Many couriers require special documentation and may restrict air transport, so always confirm requirements in advance.
Ebike batteries are hazardous and require special handling:
Proper packaging and documentation are critical to avoid delays and ensure compliance.
International ebike shipping challenges include high costs, customs delays, and strict lithium battery restrictions. Some countries prohibit battery imports entirely. To avoid issues, use experienced logistics providers familiar with ebike and battery regulations in destination countries.
International shipping of ebikes is complicated by:
Many manufacturers and shippers limit international shipments due to these challenges, so planning ahead and consulting experts is essential.
When purchasing items for shipping an ebike, prioritize:
Choosing these items ensures your ebike is well-protected, compliant with shipping laws, and easier to handle during transit.
"HOVSCO stresses that shipping an ebike is not just boxing a bike; it demands understanding hazardous material regulations and specialized packaging. We recommend disassembly and certified packaging to protect both the bike and environment. Planning shipments well in advance, especially internationally, helps navigate customs and regulatory complexities smoothly." — HOVSCO Logistics Specialist
Q: Can I ship an ebike with the battery installed?
A: It depends on the carrier and regulations. Batteries are often shipped separately in UN-certified packaging due to safety concerns. If shipped with the bike, the battery must be disconnected, insulated, and secured.
Q: How much does it cost to ship an ebike?
A: Costs vary by shipping method, distance, and package size. Ground shipping is cheapest domestically, while air shipping is fastest but most expensive.
Q: Do I need to disassemble my ebike for shipping?
A: Yes, removing pedals, handlebars, wheels, and sometimes fork and seat reduces package size and protects components.
Q: Are there restrictions on shipping ebikes internationally?
A: Yes, international shipments face strict regulations on lithium-ion batteries, customs duties, and documentation requirements.
Q: What should I include in the package to help the recipient?
A: Include clear assembly instructions and any necessary tools or parts removed during disassembly.
To ship an e-bike, choose a reliable shipping method, carefully prepare and pack the bike, and follow all safety and labeling guidelines. Remove or protect key components, secure the battery, and use proper padding to prevent damage during transit. Label clearly and plan for safe delivery.
Packing a bike for the first time can be challenging. A bike is a delicate, expensive piece of equipment, and its size makes it difficult to pack. It requires advance planning to get to a destination safely. Get tips on how to break down and prepare your ride for transportation, whether you're sending it in a box or a case.
You will need to do the following to prepare your bike for shipping:
Select a shipping method based on speed, budget, and destination. Common options include bike shipping services, courier companies, or freight carriers. Ensure the service accepts e-bikes with lithium batteries and offers tracking and insurance for peace of mind.
When it comes to shipping a bike, you have two options: a traditional shipping carrier or a bike shipping expert. Do your research before making a decision. Rates are always changing.
Check your bike if you're flying. Check with your airline for specific instructions and to see if any special fees apply. In 2019, American Airlines and Delta announced they would no longer charge oversize baggage fees for sports equipment like bikes.
Container options are also available. Shipping companies sell bike-specific boxes and packing materials. Sometimes bike shops will give away leftover shipping boxes and packing materials. Ask around. It might make sense to buy a bike bag or case if you plan to travel with your bike often.
Before shipping your e-bike, remove or secure fragile parts, disconnect the battery, and deflate the tires slightly. Clean the bike to avoid customs issues and inspect it for damage. Preparation ensures safety and reduces the risk of parts breaking during transit.
Depending on the shipping method you choose, you may have to disassemble components to keep them safe. The following tips will help you secure each part of your bike.
Gather your supplies:
Protect the frame and fork by wrapping them with foam or bubble wrap. Secure them firmly in the box to prevent movement. Add padding around sharp or exposed edges to avoid scratching or denting during shipping.
You can save your paint job by wrapping tubes with foam padding and securing them with tape or zip ties. Make thin tubes more durable by adding a layer of cardboard or additional foam.
Wrap the fork (or stanchions, for mountain bikes) in foam.
If your bike has external cables, place a soft cloth between the frame and the cables.
Remove or loosen the handlebars and stem to reduce size. Wrap them securely in padding and place alongside the frame. Protect brake levers from damage with extra cushioning to prevent breakage or misalignment in transit.
Remove the handlebar and wrap it in bubble wrap or foam.
To prevent contact with the sides of the container, position it parallel to the top tube so that all shift and brake levers face inward. Secure with a zip tie.
Remove the seatpost and pedals to minimize box size and prevent damage. Wrap each part in bubble wrap or foam and label them clearly. Store them in a designated section of the box to keep everything organized and secure.
Remove your saddle and post, and wrap them in bubble wrap or foam. After you place them in the box or bag, secure them so the seatpost does not damage other parts of the bike. Zip ties or tape can be used to secure them to the frame or the inside of the box.
Remove the pedals and store them in a small bag or box. Place the container inside the bike box and secure it with tape or cardboard so that it won't rattle around.
Insert brake pad spacers to prevent caliper compression. Wrap disc rotors separately and keep them flat to avoid bending. Protect calipers with foam or padding to ensure your braking system remains aligned and functional upon arrival.
When the wheels are off, use a pad spreader to keep disc brake pads apart.
Remove calipers that extend beyond the back dropout of the bike, pad them, and secure them inside the frame. When the fork is rotated, this prevents them from being damaged or punching through the box. In addition, it provides some extra slack in the cables for the handlebar to be parallel to the top tube.
Store the caliper mount in a small parts bag or box with the pedals by wrapping it in shipping tape.
Remove or protect the rear derailleur and hanger to avoid bending. Wrap them securely and position them inside the frame triangle or a separate padded section. This step prevents costly drivetrain damage during shipping.
Avoid damaging the derailleur and hanger during transit by removing them if possible, wrapping them in dense padding, and securing them to the inside of the frame with tape or zip ties. If you cannot remove them, shift the rear derailleur into the easiest gear and wrap it in bubble wrap and cardboard.
Remove the wheels and deflate tires slightly. Place wheel protectors on each side or wrap rims in foam. Secure them to the sides of the box, ensuring they don't shift or press against the frame during transport.
Take off the front wheel. Pad the wheel with foam, secure with cardboard in the box, or use padded wheel bags. Most bike boxes can accommodate a frame with the rear wheel attached.
Cover the cassette on the rear wheel with foam or padding to prevent damage to other components.
Install end caps over the axle ends of both wheels to prevent damage to the box and other components. Remove skewers, thru-axles, and rotors, if possible.
Install dropout spacers to maintain frame alignment and prevent crushing. These plastic or metal inserts keep the fork and rear stays spaced correctly, preserving the bike's structural integrity during shipping.
Place a spacer between the fork dropouts to prevent damage to the box and to prevent the fork from being compressed.
Some good spacer options include:
Remove all accessories like lights, racks, or GPS units. Pack them separately in bubble wrap and label them clearly. This prevents items from being lost or damaged and makes the reassembly process easier at the destination.
Remove all accessories, such as fenders, racks, and bottle cages. Put all small parts and hardware in a sealed small parts bag or box, and secure inside the bike box with tape or cardboard.
Use a sturdy bike box or e-bike shipping case. Wrap all parts in padding, secure loose components, and stabilize the bike frame. Include protective materials between parts to prevent movement. Proper packing ensures your e-bike arrives intact and ready for reassembly.
Before sealing the box, gently shake it to detect any loose parts. Secure any movement with extra padding. A solid, rattle-free pack reduces the risk of internal damage during handling or transit.
Put your bike and all its parts in the container, close it up and shake it up. If anything rattles or rolls around, repack accordingly, adding additional padding or zip ties if necessary.
Double-check the destination address, especially for international shipments. Confirm customs rules for e-bikes and lithium batteries. Research delivery times and regulations to ensure smooth, compliant shipping to your chosen location.
When you're staying somewhere, it's a good idea to ship your bike there. Alternatively, you can take it to a local bike shop (make sure they know it's coming and get some ride beta while you're there).
Clearly label the box with the shipping address, return address, and “Fragile” or “This Side Up” stickers. If shipping a battery, include required lithium-ion hazard labels. Proper labeling ensures safe handling and accurate delivery.
Make three labels: two for the outside and one for the inside. Put two shipping labels on opposite sides of the box. When applying packing tape, cover all four edges of the label (don't cover the barcode).
Attach the labels to a travel case using shipping luggage tags.
If the outer labels are damaged, place a backup label inside the box.
Notify the recipient about delivery timing. Share tracking info and confirm someone will be available to receive and inspect the e-bike. This helps ensure prompt reassembly and quick reporting of any damage if needed.
In case anything goes wrong during shipping, bring some spare supplies. We recommend bringing a tire (suitable for front or rear use), spokes, a shift cable, a quicklink, a derailleur hanger, a shock pump, and a pair of cable cutters.
Share:
The Best Way to Change Your Bike Chainrings
What Is A Class 2 Electric Bike? Find Out How They Differ