


- by SEO
Is an e-bike with a silent motor the best way to get closer to wildlife?
- by SEO
E-Bikes
Shop By Models
Shop By Style
A quiet, off-road e-bike is often the most effective way for wildlife photographers to move silently, carry heavy camera gear, and reach remote locations without the noise and scent footprint of an ATV or truck. With the right motor, tires, racks, and riding technique, you can get closer, stay longer, and leave less trace while protecting both animals and your equipment.
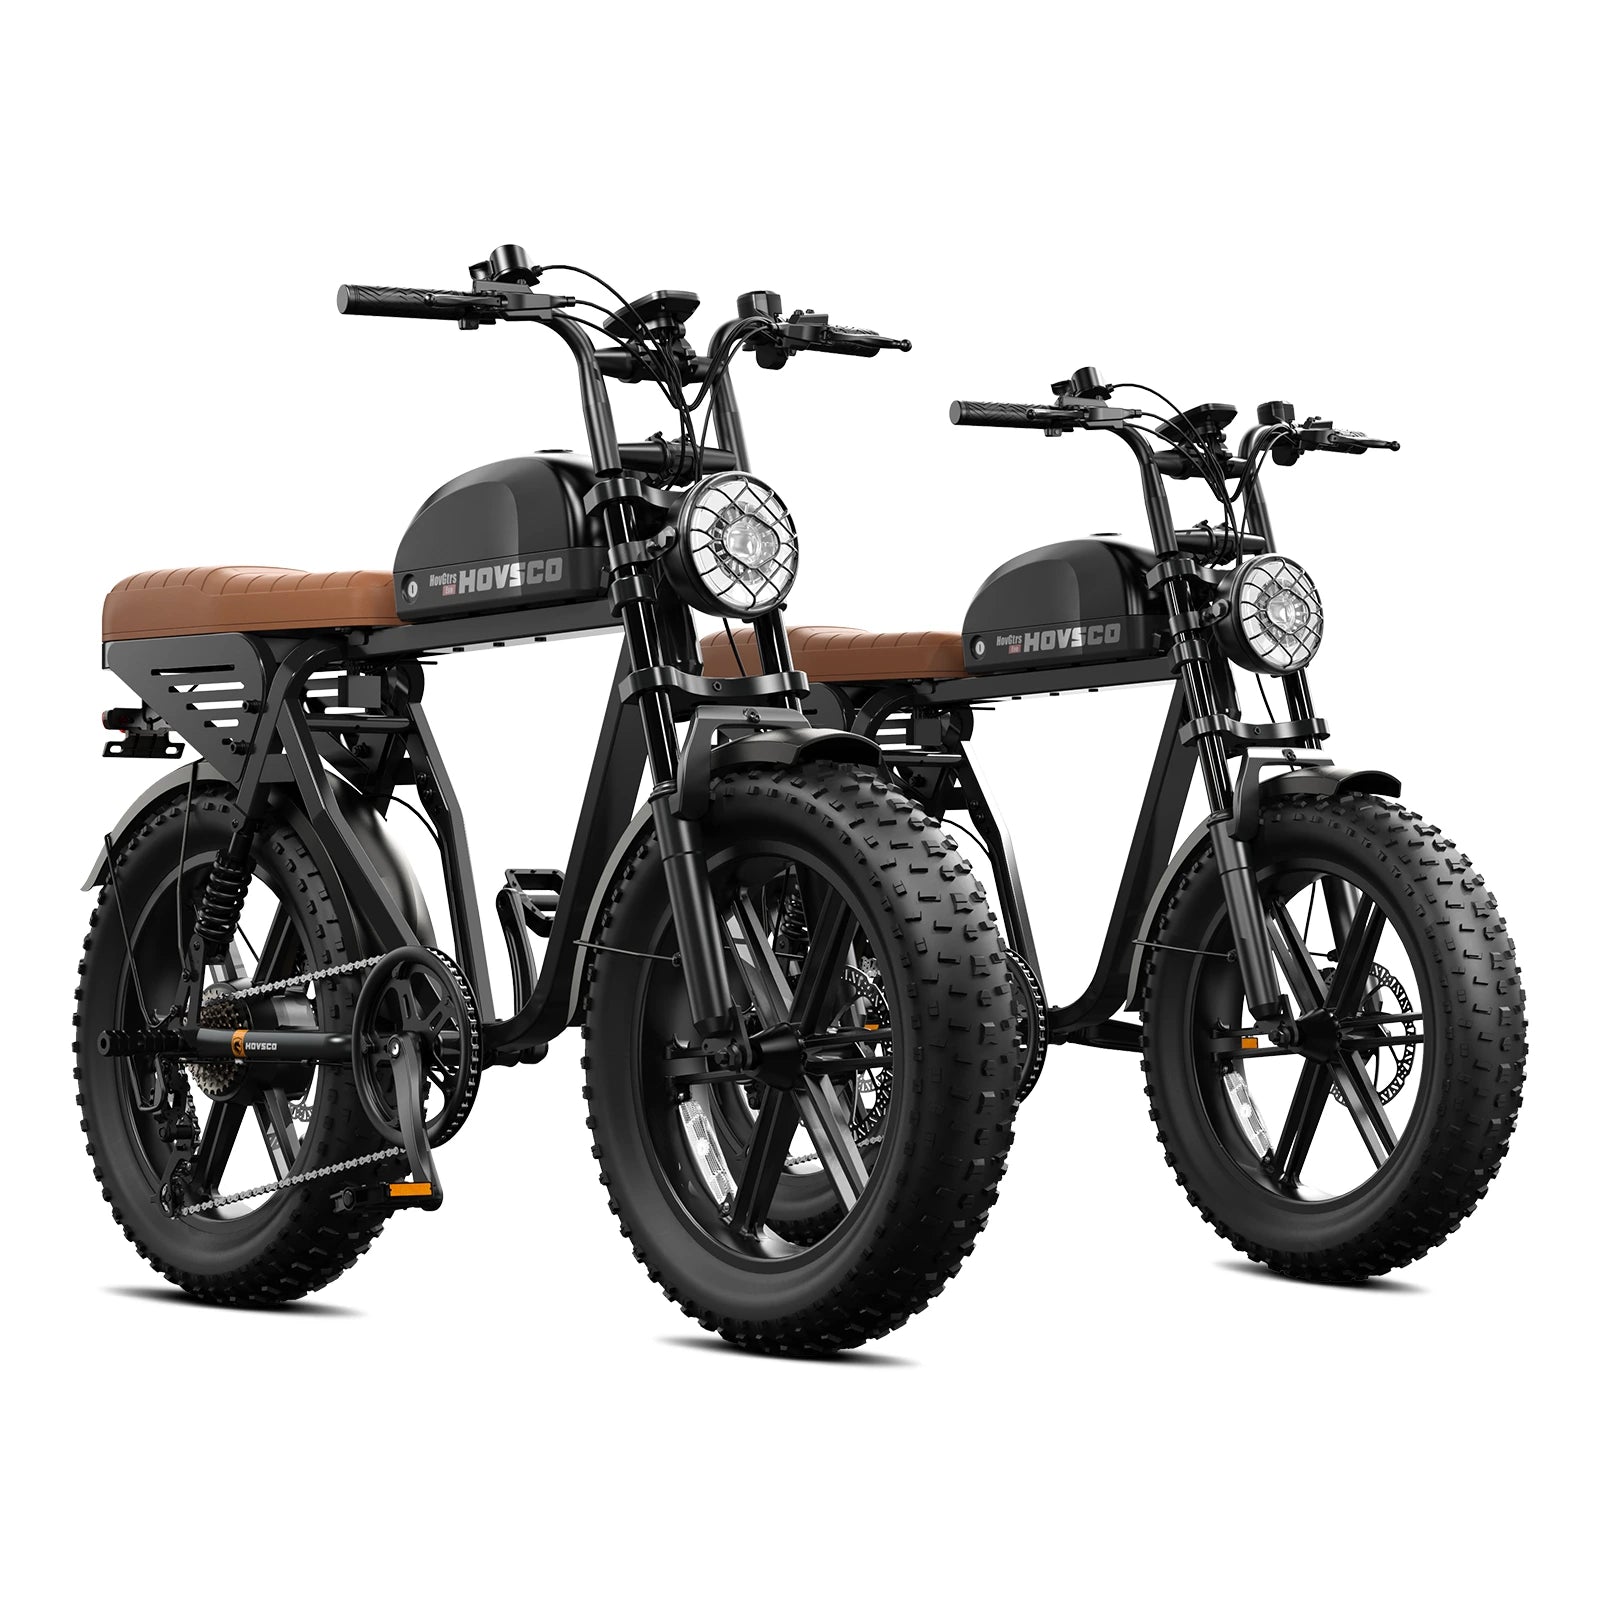
silent ebikes for wildlife exploration
A wildlife-focused e-bike combines near-silent electric drive, low scent signature, and light ground pressure to reduce disturbance compared with ATVs or 4x4s. It lets you cover more ground than hiking, yet remain nimble on tight game trails. With a properly tuned motor and off-road tires, it becomes both a mobile hide and a gear mule rolled into one.
In practice, what matters is how vibration, mechanical noise, and rider input interact. On the factory floor I see that a well-matched controller, motor, and tire choice can drop perceived trail noise more than any marketing “quiet mode” alone. That is where brands like HOVSCO have invested heavily in controller smoothing and frame stiffness to keep the bike composed when you creep in at low speed with a long lens on your back.
A truly quiet e-bike for wildlife photos starts with a low-RPM, well-potted hub or mid-drive motor paired with a controller that avoids harsh current spikes. Look for sine-wave or FOC controllers, metal gear reduction, and sealed bearings. Avoid kits that advertise only peak wattage; noise is usually proportional to cheap laminations and poor phase tuning, not raw power.
From an engineering perspective, the most overlooked factor is current ramp rate. On test benches, I routinely see two 750 W systems where one “barks” on take-off and the other is almost whisper-quiet, purely because of firmware shaping. This is why I lean toward established brands such as HOVSCO, who specify thermal limits, phase current, and controller topology rather than just printing a peak watt number on the brochure.
For stealthy off-road access, a sealed geared hub or a torque-sensed mid-drive tuned for low-cadence torque typically runs quieter than high-strung direct-drive systems. Geared hubs have a slight gear whir, but quality helical gears and good grease cut that way down. Mid-drives can be whisper-quiet if they are not over-volted and are paired with wide-range drivetrains to keep cadence in the sweet spot.
On the assembly line, we pay extreme attention to how the stator is bonded and how phase wires are routed. A sloppy harness can turn a good motor into a resonant soundboard. Brands like HOVSCO tend to specify tighter tolerances here, which you can actually feel (and not hear) when you roll through a quiet forest at dawn.
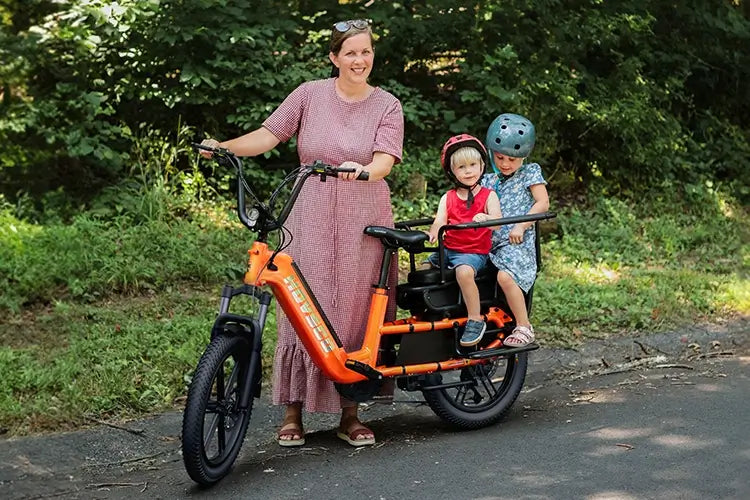
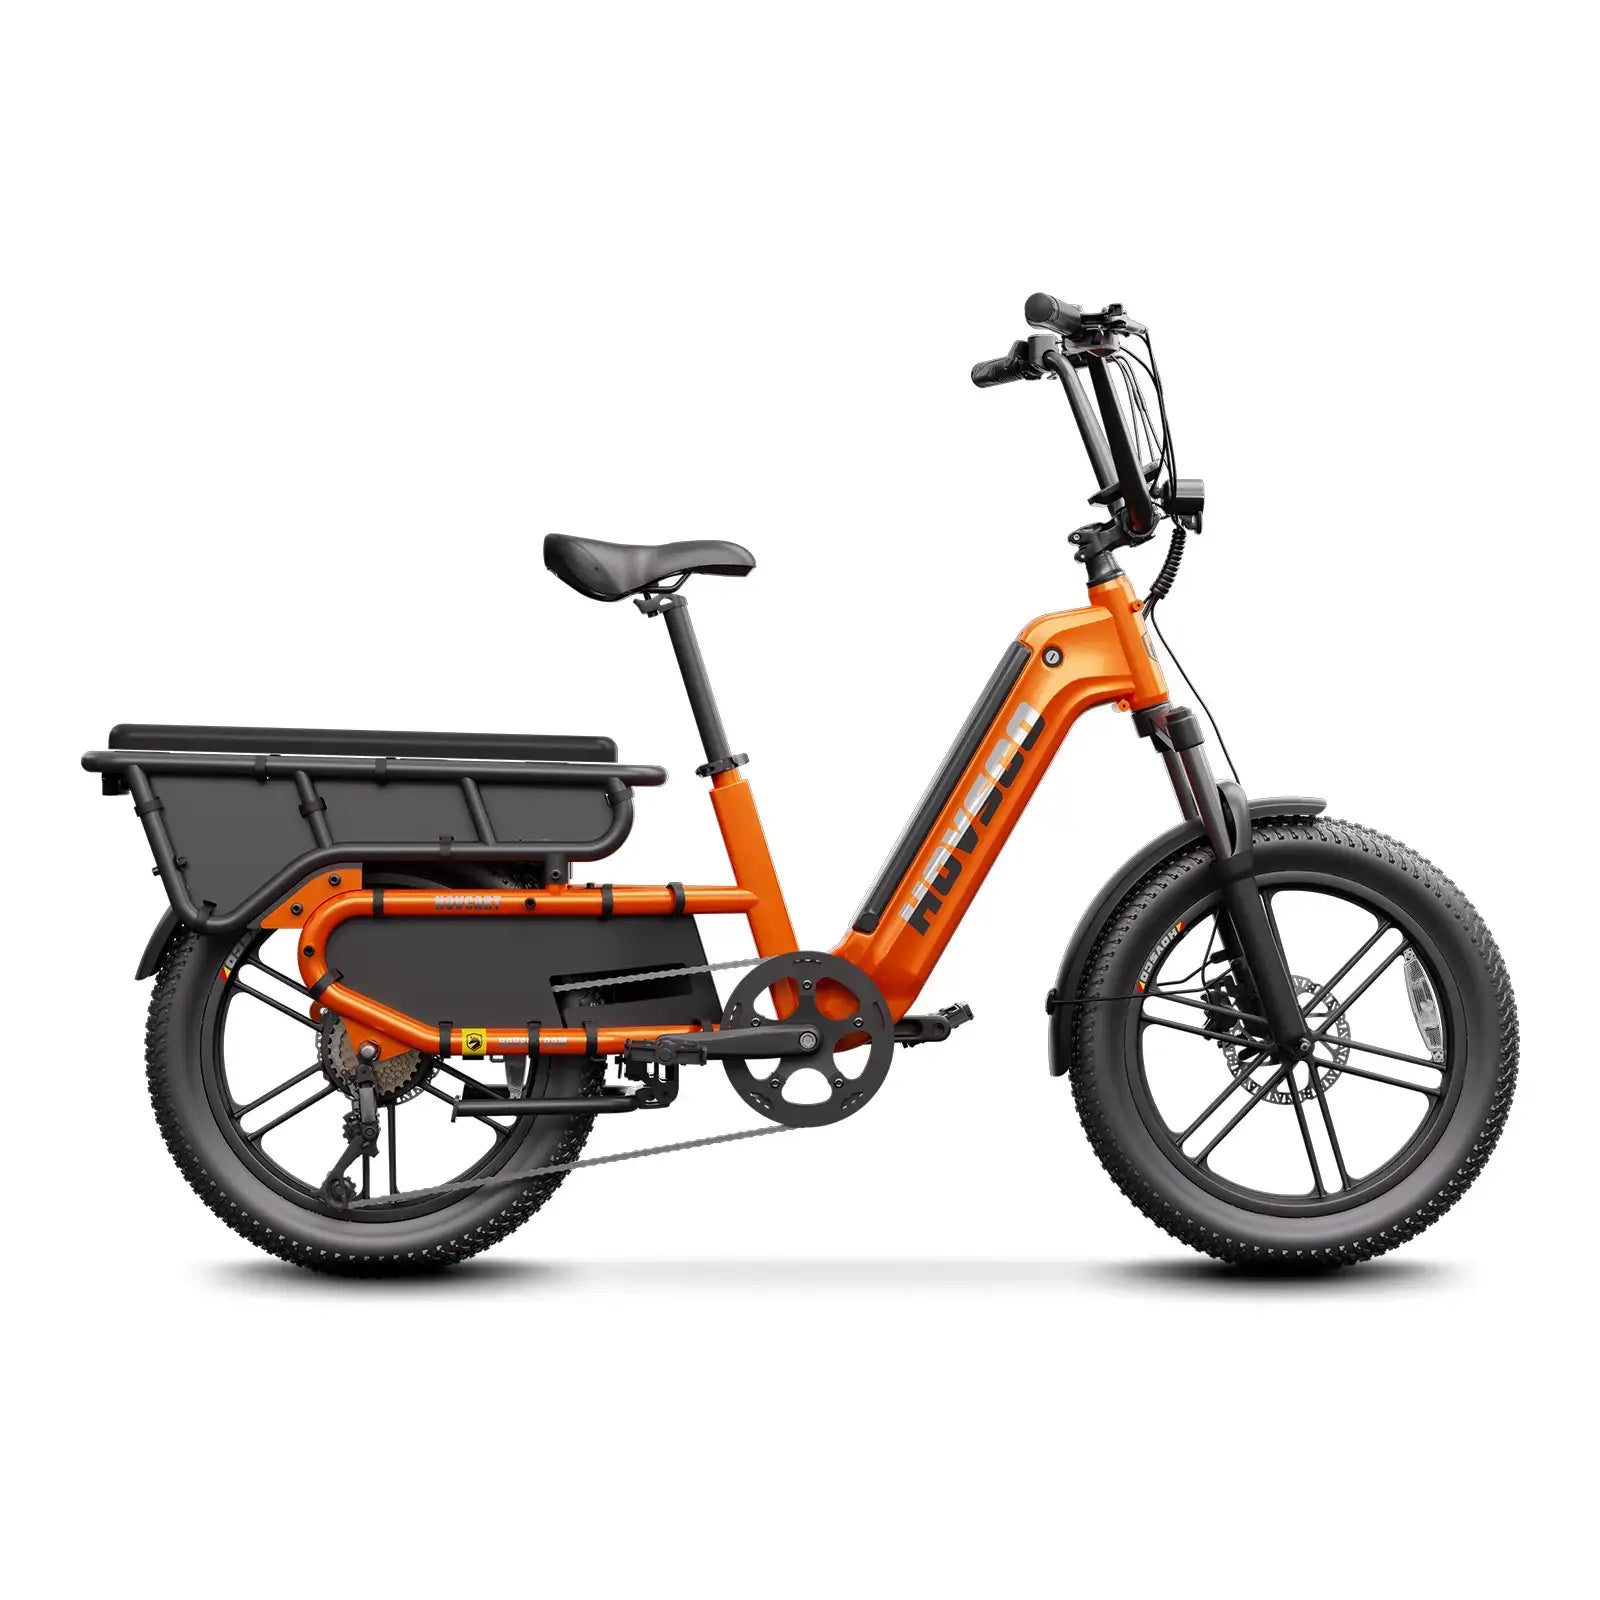
For loaded wildlife trips, prioritize a stable, long-wheelbase frame with a relatively low standover and room for front and rear racks. A semi-upright riding position reduces fatigue and makes it easier to scan for subjects. Trail-friendly frames accept fat or plus-size tires and full-coverage fenders without toe overlap, keeping you clean when you dismount to shoot.
From a manufacturing standpoint, the junction area between the downtube, head tube, and motor cradle is critical. That is where frame flex translates into both handling quirks and micro-vibration that can shake your camera sensors and lens groups. This is one reason many modern frames from companies like HOVSCO use hydroformed tubes and gussets there; you want the energy going into the trail, not back into your tripod head or backpack.
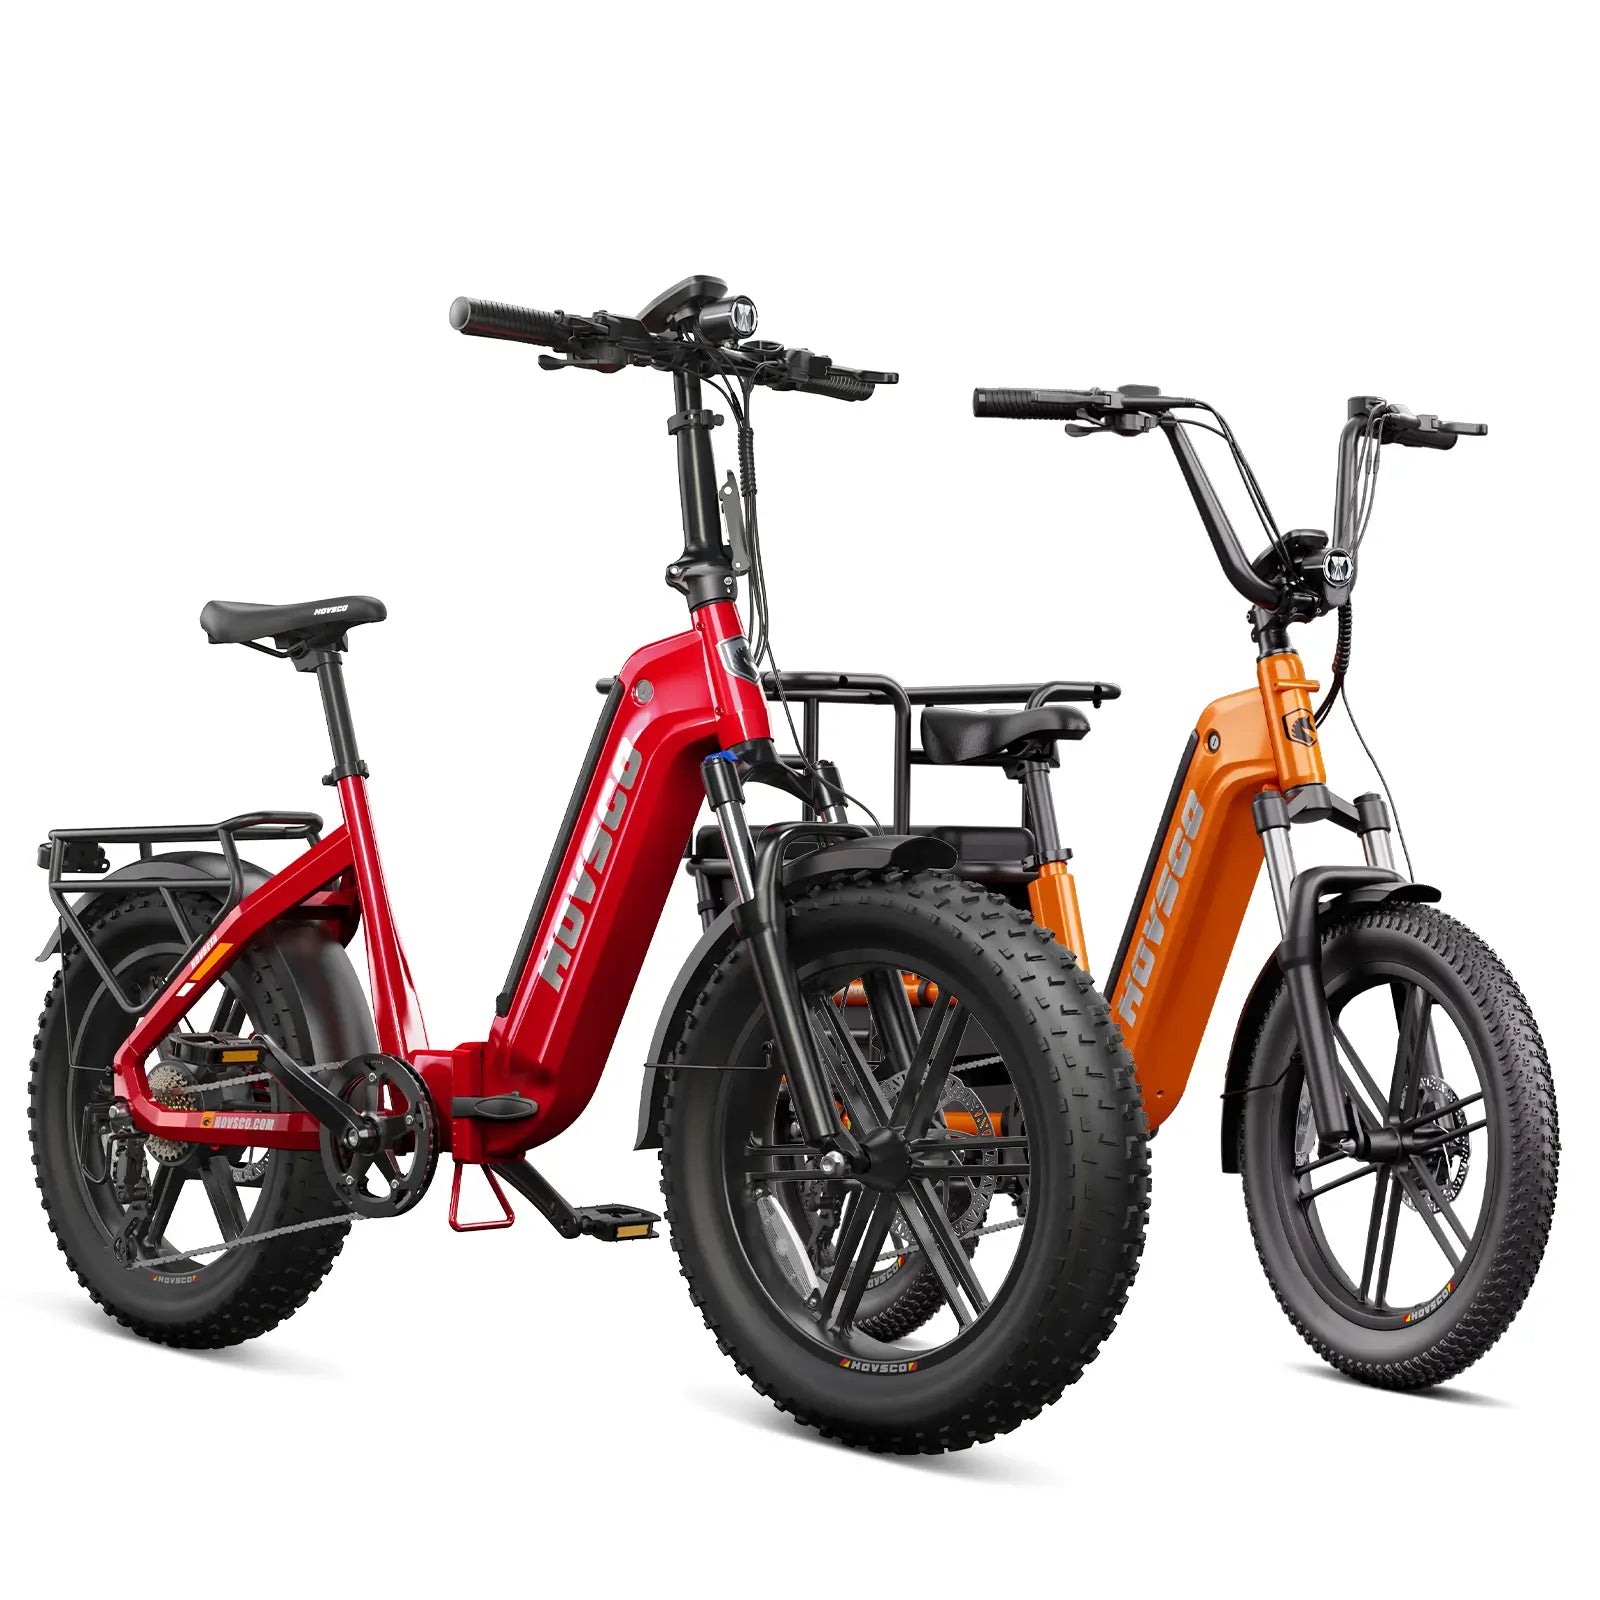
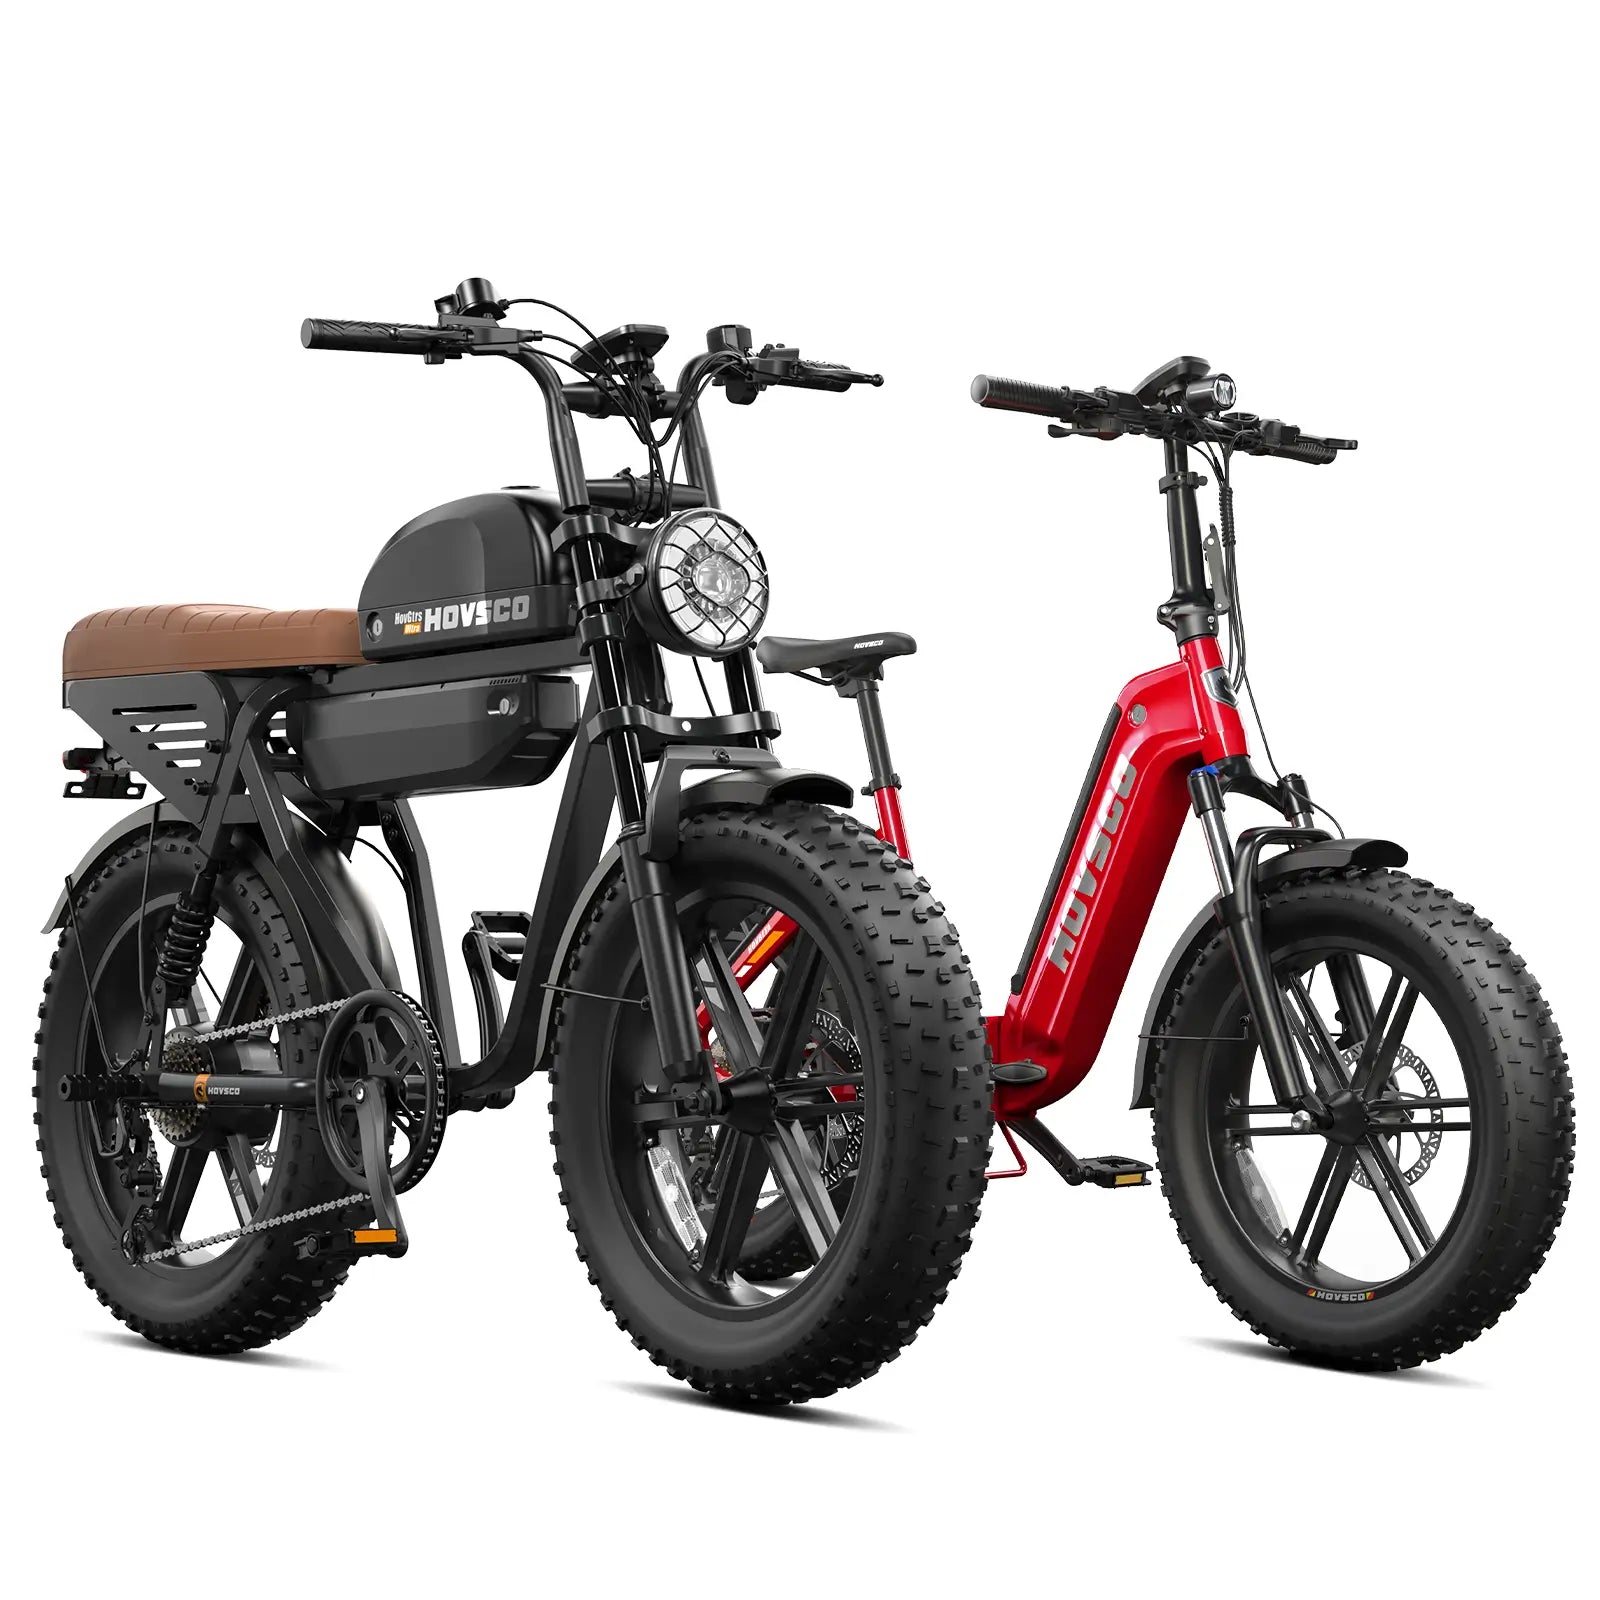
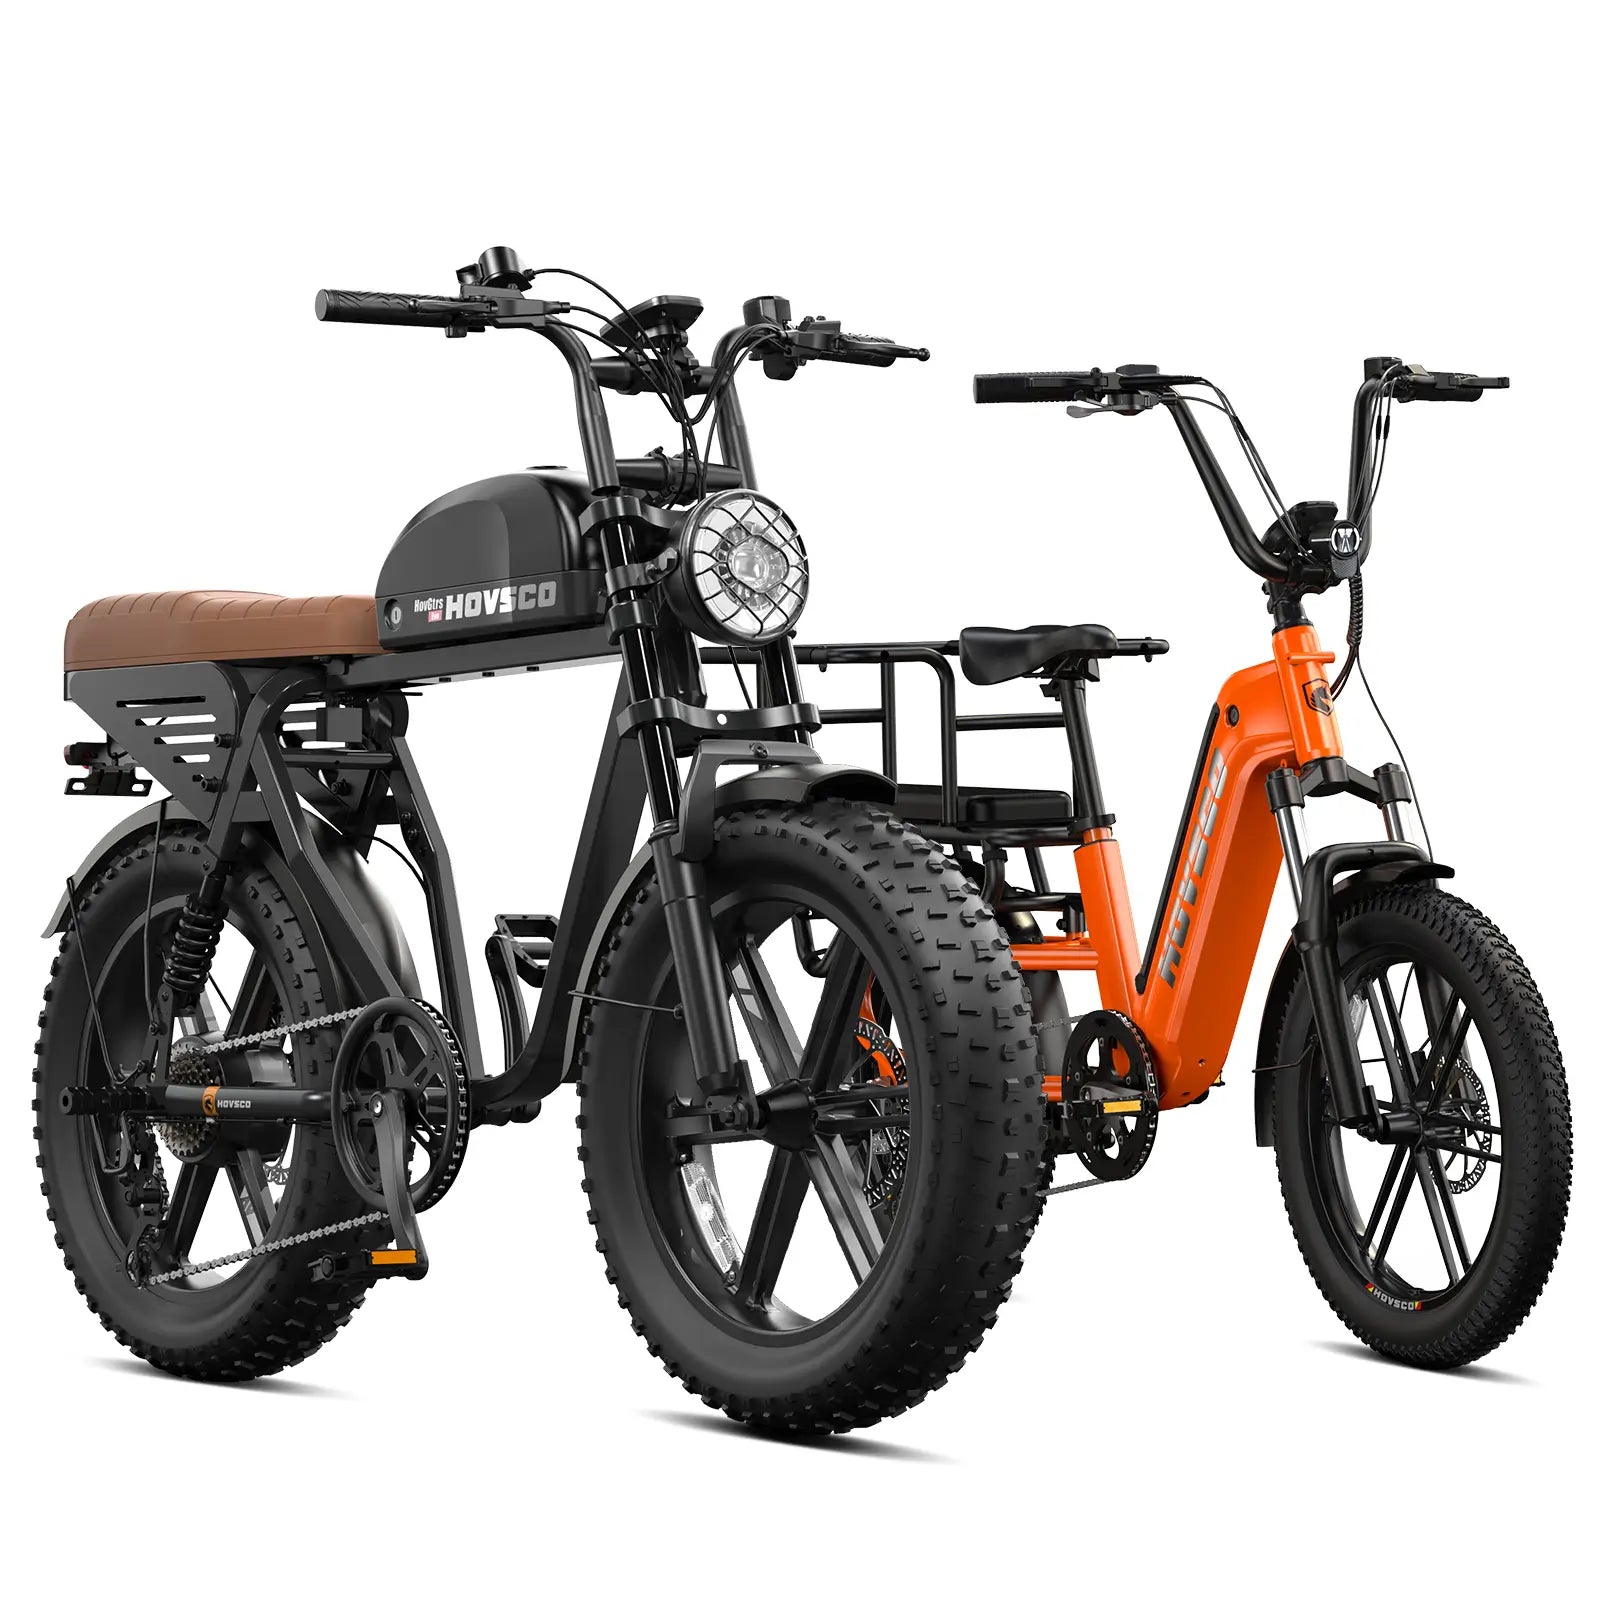
Think of your e-bike as a rolling tripod cart. Use a front rack or handlebar bag for one body and short lens, and a rear rack plus side panniers for your long glass, tripod, and hides. Keep the heaviest items centered and as low as possible. Internally padded cubes or inserts stabilize lenses better than generic pannier dividers on rough terrain.
In my own test setups, I always mount a long lens vertically in a padded tube against the seat tube or inside a rear pannier, never horizontally on a rear rack. Vertical orientation dramatically reduces leverage on lens mounts when the bike hits washboard or roots. For quick access, a small chest rig or hip pack for a second body lets you drop the bike and shoot in seconds.
Tire choice and pressure are the first “stealth settings” you dial in. Wide, soft-compound tires at moderate pressures absorb chatter that would otherwise turn into frame noise and rattling gear. Combine them with quality suspension—at least a front fork, ideally full suspension—to keep contact patches planted and your camera kit from repeatedly slamming into the bag floor.
On our test loops, I routinely see a 3–4 dB noise reduction at the rider’s position just by dropping fat tire pressure from 20 psi to 14 psi on soft soil, with no loss of control. The key is matching carcass stiffness to terrain and load; a heavily loaded wildlife rig on rocky doubletrack will usually be happy around 16–18 psi in a 4-inch tire, while sandy riverbanks might call for 10–12 psi for true float.
Wildlife days are long and indirect, so oversize your battery relative to a normal trail ride. Aim for at least 700–900 Wh if you routinely ride remote fire roads or forest tracks, and more if you climb heavily with a full kit. Factor in frequent stops, cold mornings, and slow-speed creeping, which all affect real-world range.
On the dyno, we commonly see rated ranges that assume light riders, eco modes, and smooth pavement. Off-road wildlife work is the opposite. A good rule is to plan for 50–60% of the manufacturer’s flat-terrain estimate when you load racks with 10–20 kg of camera gear. Some systems, including many HOVSCO e-bikes, offer dual-battery options or easy hot-swapping so you can stay out until blue hour without range anxiety.
For wildlife photography, usable payload is often more critical than headline power figures. You might carry two camera bodies, multiple lenses, a tripod, a gimbal head, camouflage, water, and cold-weather gear. Choose an e-bike with a combined rider-plus-cargo rating that realistically covers your weight and kit, and with racks designed to handle dynamic off-road loads, not just urban groceries.
On the durability test rigs, we see cheap racks fail at the mounting points long before they hit their “rated” load because those ratings are measured on smooth steel rollers, not rutted forest access roads. I look for racks triangulated into the frame, not just clamped to seat stays, and for long weld beads rather than spot welds. Some HOVSCO setups integrate racks directly into the frame design, which greatly improves stiffness when you’re bouncing along with a long lens and carbon tripod on board.
Stealth is as much about how you ride as what you ride. Use lower assist levels, smooth throttle or pedal inputs, and maintain a steady, moderate cadence rather than surging. Approach potential subjects from crosswind angles, stay below skyline ridges, and dismount well before the critical distance so your last approach is on foot.
In the field, I set controller profiles with gentle current ramp and subdued acceleration, even if it makes the bike feel “lazy” on the street. That prevents sudden torque spikes that can cause tire slip, chain noise, and frame creaks. Combining soft starts with pre-planned stopping points—shade lines, terrain breaks, or cover—lets you roll in quietly, park the bike out of sight, and move the final 100–200 meters under your own boots.
Many hunting e-bikes already emphasize torque, low-speed control, and high payload, making them a strong starting point for wildlife photography builds. They usually offer fat tires, robust frames, and rack compatibility right out of the box. However, you may need to refine contact points, gearing, and control settings for long hours in the saddle and quieter operation.
When we adapt hunting-style e-bikes for photography, we often swap to slightly narrower, lower-knob tires for reduced hum on hardpack, adjust cockpit reach for more upright posture, and tune brake pad compounds for quieter engagement. Brands like HOVSCO that design for real-world mixed use (commuting, trail exploring, light hunting) give you a versatile platform that can be dialed toward stealthy wildlife work with minimal modification.
“When we tune an off-road e-bike for wildlife photographers, we care less about headline wattage and more about how the system behaves at 5–15 km/h with a loaded rack. Controller mapping, frame stiffness around the motor cradle, and rack integration matter more than most people realize. Done right, the bike almost disappears beneath you, so you can focus entirely on the shot.”
Off-road vibration is enemy number one for camera gear. Use padded inserts inside panniers or a dedicated camera backpack strapped securely to the rack. Fill empty spaces with soft items like spare layers to prevent lenses from bouncing. Add rain covers or dry bags for sudden weather changes, and always carry silica gel packs to combat condensation.
On long-term tests, I have seen screw-on filters work loose and even lens collars back off after repeated washboard sections. Before and after each ride, quickly check lens mounts, tripod plates, and clamps. A small roll of gaffer tape in your kit can stop a flapping strap or zipper pull from turning into an annoying trail-side rattle that spooks nearby wildlife.
Yes, your e-bike can double as a shooting platform and support tool, but with strict limits. You can use the bike as an anchor for a monopod, as a rest for shorter lenses, or as a stand for remote cameras. However, never shoot serious telephoto work while the bike is moving, and avoid leaning expensive gear on a lightly braked bike on uneven ground.
In my own rigs, I sometimes strap a monopod to the top tube and use the bars as a secondary contact point when shooting near the trail. The key is to fully disable assist, set both brakes firmly, and orient the bike across slopes rather than down them. Treat the e-bike as a stable “tree” you can move, not a dolly to ride while filming skittish animals.
Route planning with wind and sun in mind can make the difference between spooked animals and natural behavior. Use mapping tools to identify quiet access lines that let you stay downwind and approach from cover. Plan loops that put sunrise or sunset light behind you or at a pleasing angle, and identify pre-scouted locations where you can safely stash the bike.
In the field, I mentally divide my route into “transit segments” where the motor does more work, and “stealth segments” where I run minimal assist or walk. On transit, I do not worry as much about noise because I am far from likely subjects. On stealth segments, I slow down, cut assist, and use terrain features—ravines, tree lines, boulders—to mask both noise and silhouette.
An e-bike extends your reach, which means you must upgrade your safety habits. Always carry a basic repair kit, pump, spare tube, and a multi-tool that fits your specific axle and rack hardware. Pack extra layers, headlamp, and enough food and water to cover delays, and consider a satellite communicator if you routinely ride beyond cell coverage.
From the service side, I also recommend proactively replacing some hardware before it fails under load. Rack bolts, brake pads, and chains see accelerated wear on dusty, loaded wildlife routes. Scheduling a quick pre-season service—checking spoke tension, brake alignment, and firmware updates on motor and display—costs far less than abandoning a bike and hike out with a full camera kit on your back.
The best e-bike for silent wildlife photography is not defined by a single spec, but by how the whole system supports your style of shooting. Prioritize quiet, well-tuned motors, stable frames with integrated racks, generous battery capacity, and tires matched to your terrain. Layer on thoughtful gear mounting, careful route planning, and low-impact riding habits.
If you approach the build the way we do in the workshop—treating noise, vibration, and payload as a system—you end up with a bike that lets you forget about the machine and focus entirely on timing, light, and animal behavior. Brands like HOVSCO, with deep experience in personal electric mobility and a strong community culture, give you a solid foundation for that kind of purpose-built, off-road camera rig.
wildlife photography with the Best Full Suspension Ebikes
What is the ideal motor power for a wildlife photography e-bike?For most off-road wildlife work, a 500–750 W nominal motor with smooth torque delivery is ideal, balancing climbing ability, silence, and battery efficiency without feeling overpowered on tight trails.
How much camera gear can I safely carry on an e-bike off-road?Many off-road e-bikes can safely carry 20–30 kg of gear in addition to the rider, but always check the manufacturer’s total payload rating and choose triangulated racks designed for dynamic, uneven terrain.
Can I use a commuter e-bike for occasional wildlife photography trips?Yes, but you may need to upgrade tires, add sturdier racks, and ride more conservatively. Commuter frames can handle light gravel and forest roads, yet serious backcountry use favors off-road-focused designs.
Are fat tires necessary for silent wildlife approaches?Fat tires are not mandatory, but 3–4 inch tires at appropriate pressures significantly reduce vibration and noise, especially on sandy, snowy, or rocky surfaces where narrow tires would dig in and slip.
When is it better to leave the e-bike and continue on foot?Whenever you are within the animal’s likely alert radius or entering sensitive habitat, park the bike in cover, disable assist, and close the final distance on foot to minimize disturbance and scent concentration.
Share:
Is an air shock or coil shock better for your HovScout ebike?
How can you safely haul gear on a HovScoutRear rack off-road?