


- by EO S
How to Self Build a Fat Electric Cargo Bike
- by EO S
E-Bikes
Shop By Models
Shop By Style
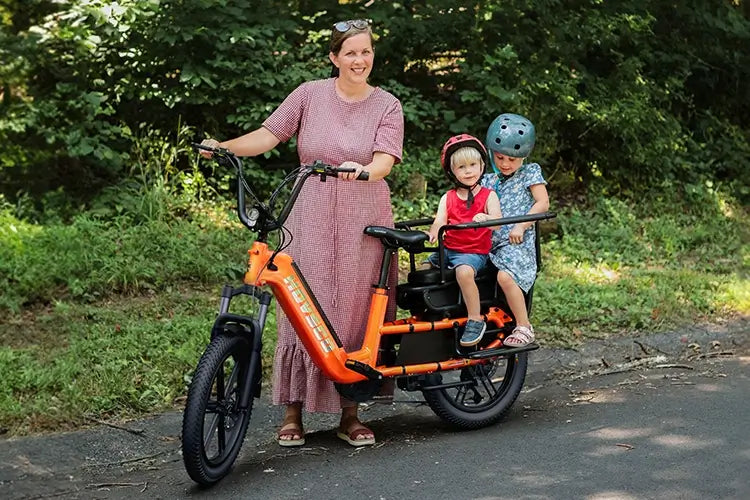
Self-building a fat electric cargo bike empowers riders to tailor a durable, powerful bike capable of hauling heavy loads across varied terrain, including snow and sand. The process entails selecting a strong fat tire cargo frame, installing a compatible electric motor and battery system, managing cables and controls with precision, and assembling components designed to withstand cargo weight and off-road stresses, making a versatile and personalized e-cargo solution.
Building a fat electric cargo bike requires several key components: a cargo-compatible fat tire bike frame with a wide bottom bracket, a powerful motor (mid-drive or hub motor suited for fat tires), a high-capacity lithium-ion battery optimized for long range, a motor controller with programmable settings, brakes (preferably hydraulic disc brakes for stopping power under load), fat tires sized 4 inches or wider, a suitable drivetrain (often Shimano 7-speed or higher), a throttle or pedal assist system, plus wiring harnesses, connectors, displays, and mounting hardware. Custom mounts or 3D printed brackets are commonly used for battery and component attachment.
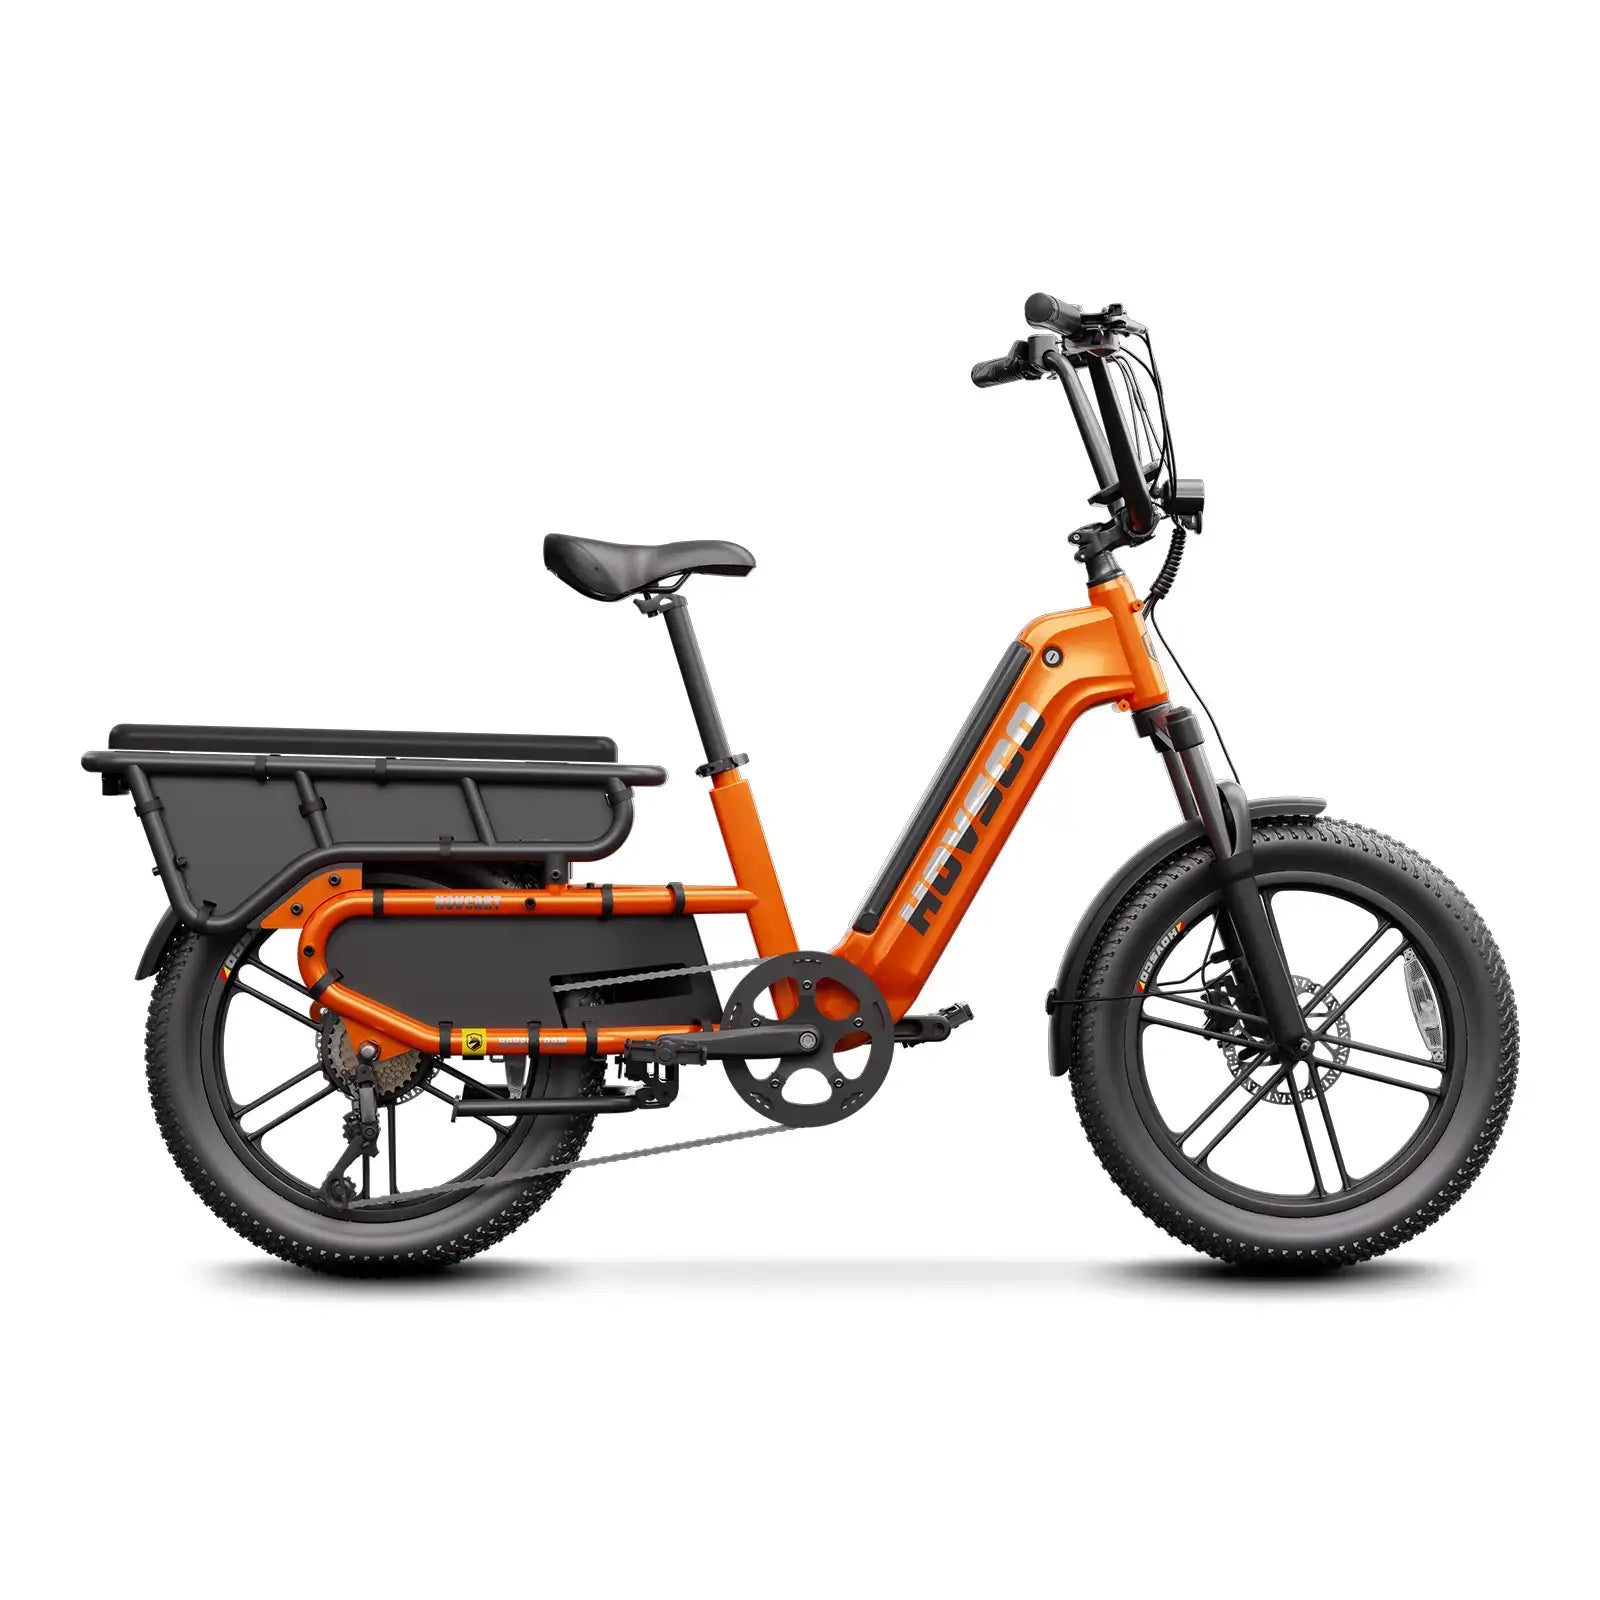
Selecting the frame involves ensuring it has a wide bottom bracket shell (83mm-100mm) compatible with fat tires, reinforced rear triangle or cargo racks for load bearing, and geometry suited for stability and comfort. The tires should be 4 inches wide or more to provide shock absorption and traction on soft or rough terrain. Durable rims and reinforced spokes are essential to accommodate cargo weight and motor torque.
Mid-drive motors such as the Bafang BBS02 or BBSHD series are preferred for fat tire cargo bikes because they use the bike’s gears for efficient torque delivery and handle steep hills better. Hub motors can also be used, especially rear hub geared motors rated for 750W or higher, but mid-drive offers better hill climbing and maintenance ease on cargo builds.
High-capacity lithium-ion batteries (48V, 15-20Ah or higher) with Samsung or LG cells provide longer range and reliability. Batteries are often mounted using custom 3D-printed brackets, zip ties, or bottle cage mounts adapted for cargo frames. Secure mounts minimize vibration and water ingress. Positioning the battery low and central helps maintain bike balance when loaded.
Neat wiring prevents shorts, water damage, and snagging on cargo or obstacles. Most builders route cables internally through frame tubes or use plastic sleeves and cable ties for external runs. Waterproof connectors, protective heat shrink tubing, and careful sensor placement (speed, torque, brake cutoff) ensure reliable system operation, reduce maintenance, and enhance safety.
A robust drivetrain with wide range gearing (Shimano 7-11 speed) allows manageable pedaling under load. Installing mechanical or hydraulic disc brakes with large rotors (180mm or greater) ensures stopping power to handle cargo weight safely. Proper brake lever and cable routing, and adjustment are vital to maintaining effective control.
Using programming tools or USB connections, configure motor power limits, pedal assist levels, speed limits, and torque sensor sensitivity according to your build specs and legal limits. Testing sensor calibrations for speed and torque ensures smooth power delivery. Safety functions like brake cutoffs and speed limiters should be verified before riding.
Inspect all bolts and mounts, check brake functionality, verify wiring and waterproofing, confirm battery charge and connections, and test throttle and pedal assist response. Conduct low-speed tests without cargo before loading, then progressively test full load handling and braking. Regular maintenance and inspection schedules prolong component life and rider safety.
Buy from reputable suppliers of fat tire frames and electric conversion kits; Bafang mid-drive kits and quality batteries come recommended. Consider local bike shops for components and assembly tools. 3D printing services or files can assist in custom mounting parts. Prioritize components with warranties and good customer support to ease troubleshooting.
“Building your own fat electric cargo bike allows unparalleled customization and a deep understanding of your riding needs. Our team at HOVSCO encourages builders to prioritize quality components, proper assembly, and safety programming to unlock the full potential of e-cargo biking. DIY builds inspire innovation while advancing riding experiences that align with sustainability and urban mobility goals.” – HOVSCO Engineering Team
Can I convert any fat tire bike into an electric cargo bike?
Most fat tire cargo frames with the appropriate bottom bracket width and reinforced racks are suitable.
What power motor should I choose for hauling cargo?
A 750W or higher mid-drive motor is recommended for torque and hill climbing.
Is 3D printing necessary for mounts?
Not necessary but 3D printed custom mounts improve fit and battery security.
How do I ensure safety with DIY wiring?
Use waterproof connectors, proper insulation, and route cables carefully away from moving parts.
Can this bike handle rough off-road terrains?
Yes, fat tires and mid-drive motors provide excellent traction and power for off-road cargo hauling.
Share:
What Is an Electric Bike? Definition, Components, and How It Works
What Is The T Electric Fat Cargo Bike?