


- by OfficialHOVSCO
Why Won’t My Fully Charged E-Bike Battery Turn On? Troubleshooting Guide
- by OfficialHOVSCO
If your fully charged e-bike battery won’t turn on, first check secure connections, inspect the charger and power cycle the battery. Look for blown fuses or a tripped Battery Management System (BMS). Moisture or corrosion can also cause issues. If none of these work, the problem may be internal, and professional help is advised.
Checking the battery connection is critical. Ensure the battery is securely seated in the frame and the terminals are clean and free of corrosion. Dirty, loose, or corroded contacts disrupt power flow.
A step-by-step process includes:
Maintaining clean and secure connections ensures your e-bike battery can deliver its full charge to the motor system.
Test your charger and charging port to rule out charging faults:
Faulty or incompatible chargers and damaged ports are common reasons a fully charged battery does not turn on. Ensuring proper charging hardware function is essential.
Resetting the battery’s internal system can awaken it from protective sleep modes:
These reset methods can revive a Battery Management System (BMS) that has shut down due to faults or safety triggers.
The BMS protects the battery from damage but sometimes trips or blows a fuse incorrectly:
A faulty BMS or fuse can leave your fully charged e-bike battery powerless despite correct charging.
External factors can impair battery performance or startup:
Environmental conditions often silently impair battery function, causing no visible signs but stopping power.
If all external checks fail, internal failure is possible:
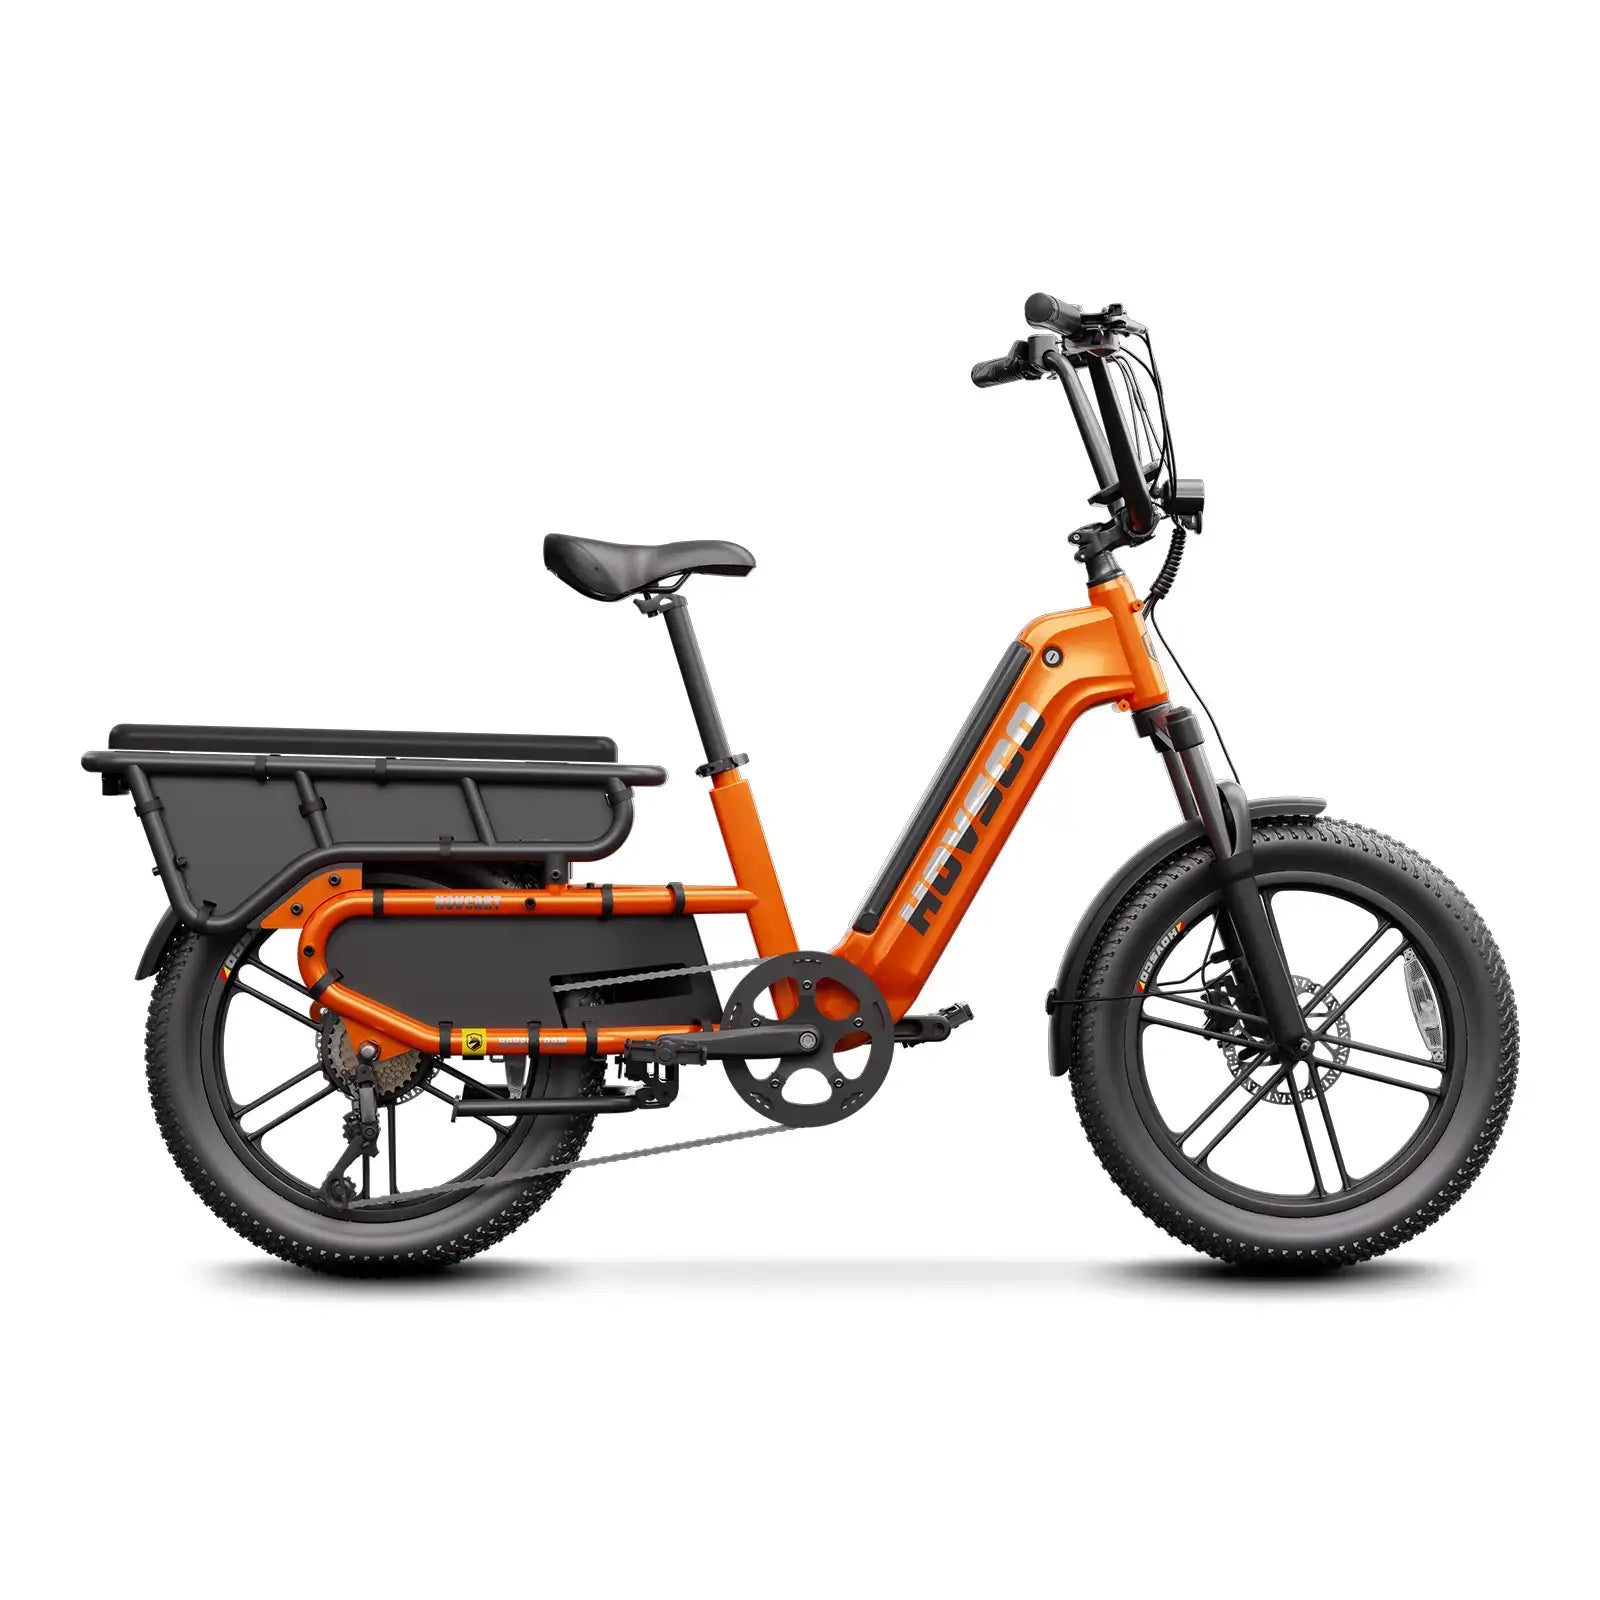
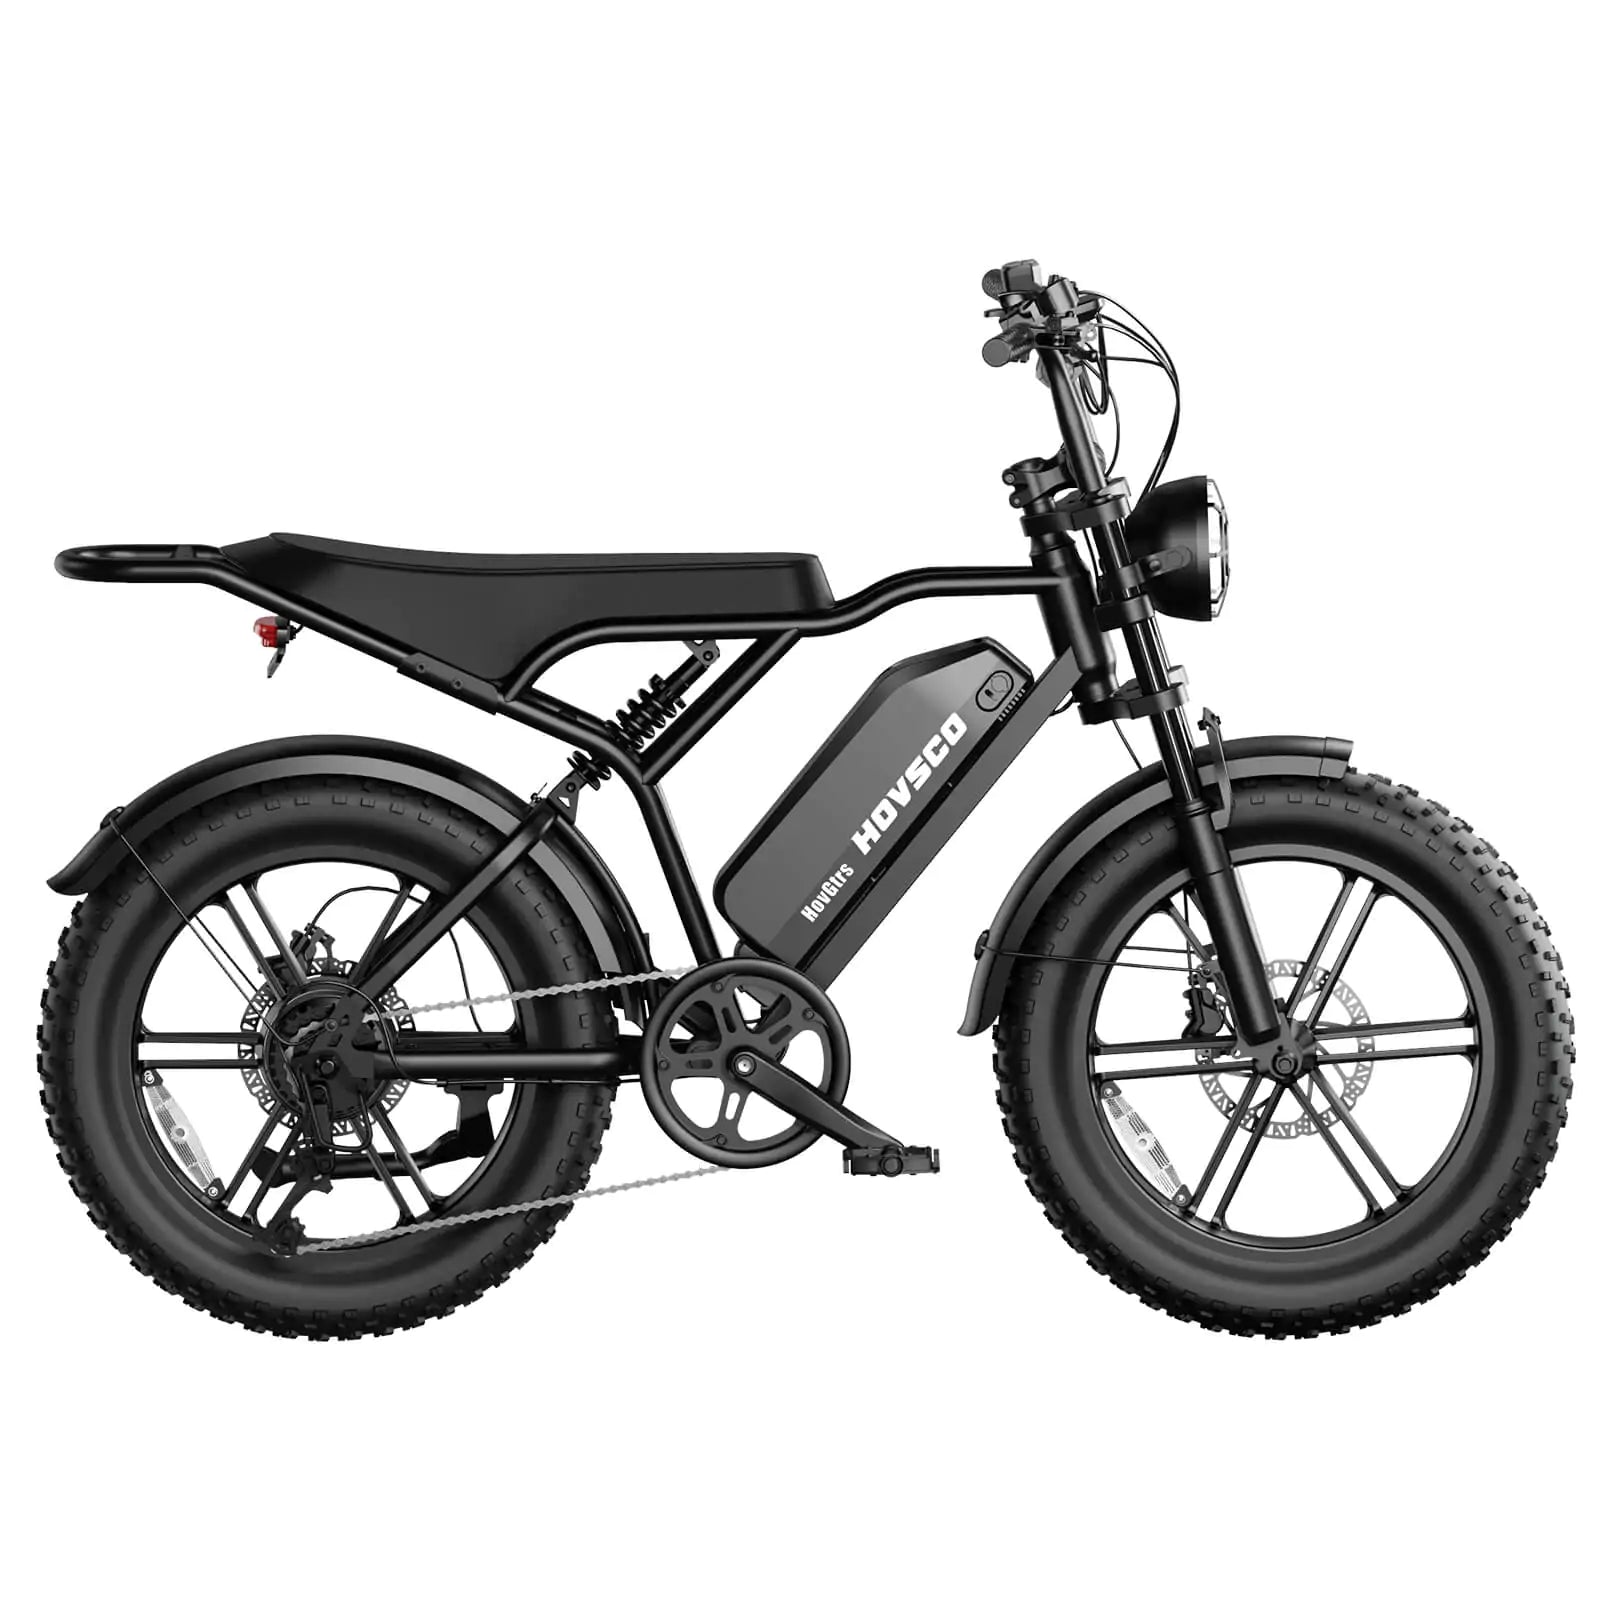
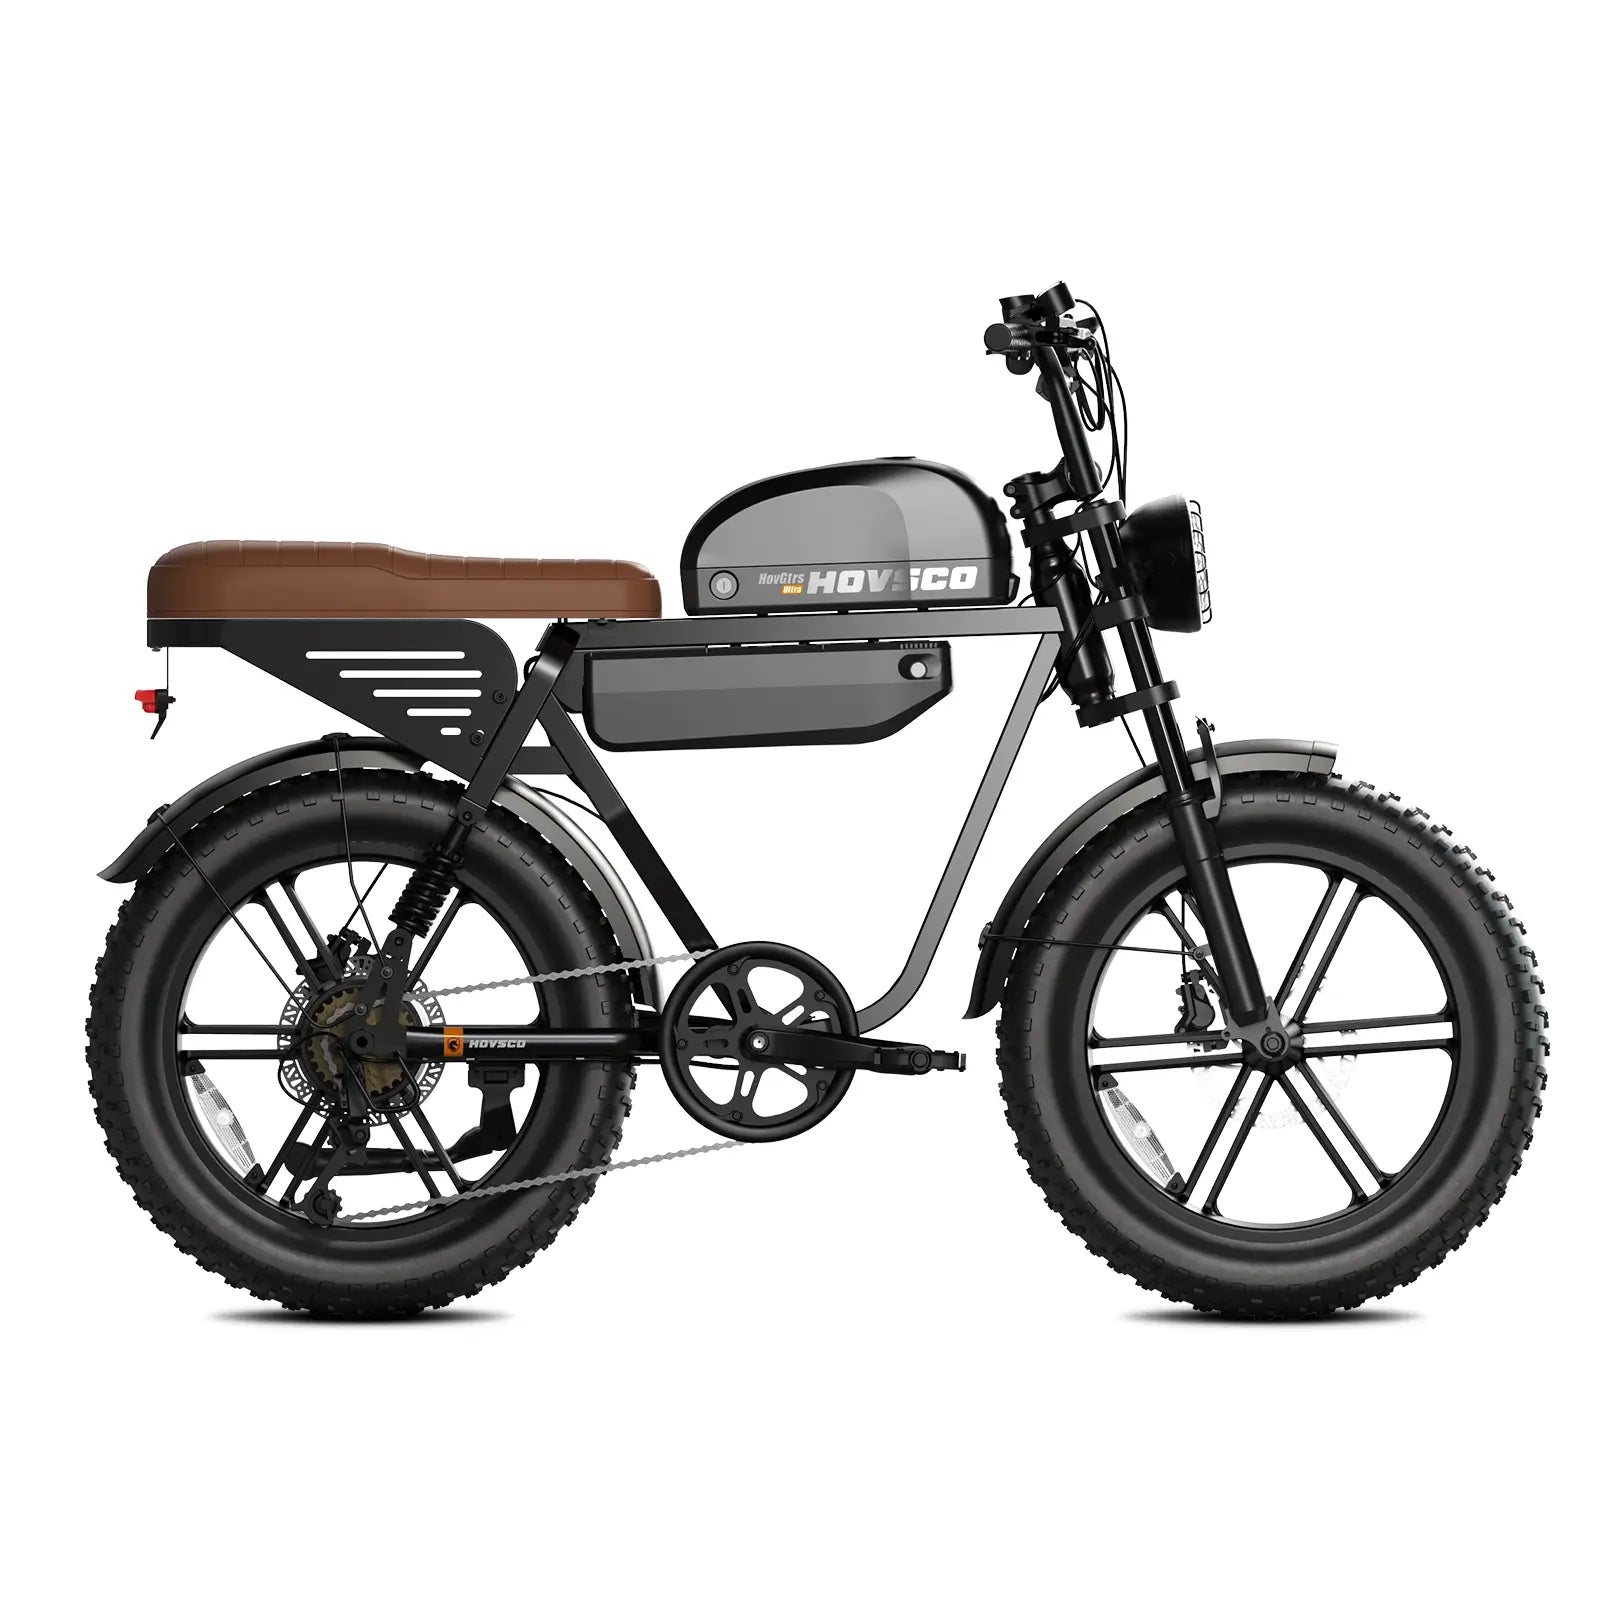
HOVSCO’s bikes are engineered for reliability, but even the best brands can encounter such issues over time.
HOVSCO is dedicated to delivering durable, high-performance e-bike batteries through:
Their goal is to keep riders experiencing smooth, dependable power on every ride, minimizing frustrating failures.
When troubleshooting does not resolve power issues:
HOVSCO supports riders with a strong service network for battery and electrical system repairs.
Table: Common Causes and Fixes for Fully Charged Battery Not Turning On
| Cause | Troubleshooting Step | When to Seek Professional Help |
|---|---|---|
| Loose or corroded terminals | Clean terminals, re-seat battery securely | If corrosion irreparable after cleaning |
| Faulty charger or port | Test with alternate charger, clean port | After charger and port replacements fail |
| Tripped BMS or blown fuse | Inspect fuse, reset battery system | If fuse keeps blowing or BMS resets fail |
| Environmental moisture/temp | Dry battery, adjust to room temperature | If battery damage evident |
| Internal battery/controller | N/A | Always for internal faults |
“HOVSCO prioritizes rider safety and battery reliability through innovative battery management and rigorous quality standards. We understand that a fully charged battery failing to power on is frustrating, so we design our systems to detect faults early and make reset processes straightforward. Our commitment extends beyond manufacturing—offering expert support to keep our riders on the road and enjoying every journey.” – HOVSCO Engineering Team
When your fully charged e-bike battery won’t turn on, methodically verify secure connections, test the charger and charging port, and reset the battery system. Inspect for blown fuses or BMS faults, and consider environmental impacts like moisture and temperature. If these steps fail, internal battery or controller issues require expert diagnosis. HOVSCO’s quality standards and customer support empower riders to quickly troubleshoot and resolve such problems, ensuring safe, reliable rides every time.
Why is my e-bike battery not turning on even though it shows full charge?
Loose connections, a tripped BMS, or a blown fuse can stop power delivery and need checking.
Can a battery reset fix a non-responsive e-bike battery?
Yes, removing and reinserting the battery or holding the power button can reset internal controls.
Should I use any charger with my HOVSCO e-bike battery?
Always use the recommended charger to avoid damage and charging errors.
How do environmental conditions affect battery performance?
Extreme cold or moisture can reduce battery output or cause safety shutdowns.
When is professional repair necessary for e-bike battery issues?
If troubleshooting steps don’t work or you suspect internal faults, consult a technician.
Share:
How to Reset an Electric Bike Battery: A Comprehensive Guide
How to Choose the Right E-Bike for Your Ride