


- by hovsco ebikes
How to Change a Rear Bike Tire: Bikes and Hub Motor eBikes
- by hovsco ebikes
Changing a rear bike tire on both traditional bikes and hub motor eBikes involves shifting gears, releasing brakes, removing the wheel carefully, replacing or repairing the tube, and reinstalling the wheel with proper alignment. The process requires attention to the drivetrain and electrical connections on eBikes but follows similar principles to standard bikes to ensure safe, smooth riding.
Start by shifting the chain onto the smallest cog on the rear cassette and the smallest chainring in front to create slack in the chain, making wheel removal easier. For rim brake bikes, release or open the brake calipers to allow the tire to pass through. On disc brake or hub motor eBikes, brake release is usually unnecessary. Disconnect any electrical connectors carefully on hub motor eBikes before wheel removal.
Open the quick-release lever or loosen axle nuts depending on your bike type. Hold the bike frame steady, pull the rear derailleur backward gently to create space, and lift the wheel out of the dropouts. On hub motor eBikes, ensure the motor cable is unplugged and routed properly to avoid damage. Take care not to strain or twist cables during removal.
Deflate the tire completely by releasing air from the valve. Use tire levers to pry one side of the tire bead off the rim, starting opposite the valve to avoid damage. Remove the inner tube by pulling the valve stem through the rim hole and sliding the tube out. Inspect the tire and tube carefully for punctures, sharp objects, or damage that caused the flat.
Partially inflate the new or patched tube to give it shape. Insert the valve stem into the rim hole, ensuring it is straight. Place the tube inside the tire evenly. Starting opposite the valve, push the tire bead back inside the rim on both sides, using tire levers if necessary but cautiously to avoid pinching the tube. Double-check that the tube is not caught between the tire and rim.
Align the chain with the smallest cog and carefully place the wheel into the rear dropouts. Reconnect the motor cable on hub motor eBikes, ensuring no pinching or twisting. Tighten the quick-release lever or axle nuts evenly and securely. Re-engage the brakes and check for proper wheel alignment and brake function before inflating the tire to the recommended pressure.
Hub motor eBikes require extra care with electrical connections; unplugging and reconnecting the motor cable is essential to avoid damage. The motor’s weight can make wheel handling heavier and more cumbersome. Some eBike motors have built-in torque arms or special dropout designs that require attention during removal and installation. Always consult your eBike manual for model-specific instructions.
When purchasing replacement tires and tubes for bikes and hub motor eBikes, select sizes matching your wheel diameter and width specifications. For eBikes, opt for puncture-resistant tires and durable tubes designed for higher speeds and weights. Brands like HOVSCO offer high-quality components engineered for eBike performance and longevity. Keep essential tools like tire levers, pumps, and multi-tools handy for quick repairs.
“HOVSCO advises riders to familiarize themselves with rear wheel removal and tire changing for both traditional bikes and hub motor eBikes. Understanding the drivetrain and motor connections is critical to avoid damage and ensure smooth reinstallation. Using quality tires and tubes designed for eBikes enhances reliability and safety. Regular maintenance and preparedness empower riders to handle flats confidently on any ride.” — HOVSCO Technical Team
Q: Can I change a rear tire on a hub motor eBike myself?
A: Yes, with proper tools and care for motor cables, most riders can change rear tires on hub motor eBikes.
Q: How do I avoid damaging the motor cable when removing the rear wheel?
A: Always unplug the motor connector first and handle the cable gently without twisting or pulling.
Q: What tire pressure should I use after installation?
A: Inflate to the manufacturer’s recommended PSI, usually printed on the tire sidewall.
Q: How do I know which tire size fits my eBike?
A: Check the sidewall of your current tire or your eBike’s manual for diameter and width specifications.
Q: Is it better to repair or replace a punctured tube?
A: For small punctures, patching is fine; for larger damage or multiple repairs, replacement is safer.
How to replace rear tire on eBike?
First, turn off the e-bike and remove the battery for safety. Shift the chain to the smallest gear, disconnect the motor cable from the rear hub, and loosen the axle nuts or quick-release. Remove the rear wheel carefully, being mindful of cables. Use tire levers to remove the tire and tube, then replace with a new one. Reinstall the wheel, reconnect cables, secure nuts, reinstall the battery, and test the bike.
How long do eBike rear hub motors last?
E-bike rear hub motors typically last 5 to 10 years or about 15,000 to 20,000 miles with proper maintenance. Lifespan depends on usage, terrain, load, and care. Quality brands like HOVSCO design motors for durability and reliability within this range.
What is a hub motor on an eBike?
A hub motor is an electric motor integrated into the hub of the front or rear wheel of an e-bike that provides propulsion by directly driving the wheel. It offers a compact design and simple installation, commonly used in models including those by HOVSCO.
Can you change an e-bike motor?
Yes, you can change an e-bike motor, especially in hub motor systems. This involves disconnecting electrical connections, removing the wheel or motor assembly, and installing a new motor compatible with the bike’s frame and controller. It requires technical knowledge and correct tools for safe replacement.
It happened; you’ve found yourself with a flat tire or a warped rim and need to get a little surgical with your bike. The front wheel isn’t so daunting, as there isn’t as much going on as the rear. But as luck would have it, it’s the rear tire that you need to change!
Well, don’t worry. With a combination of the help through this article and a bit of practice, you can have that rear tire removed and replaced in no time. We’ll cover the ins and outs of changing tires of un-assisted bikes as well as hub motor eBikes.
When changing a rear tire on an e-bike, be aware that the rear wheel is heavier due to the hub motor. This added weight may require more effort to remove and install. Additionally, e-bike tires often have higher pressure requirements to support the motor's power output. Ensure you inflate the new tire to the recommended pressure for optimal performance and safety.
Knowing how to change a rear bike tire is an essential skill for any cyclist, whether you ride a regular bike or an eBike. While the basic principles remain the same, there are some differences to keep in mind when dealing with an eBike.
One of the main differences is the weight of the rear wheel on an eBike. This is because the motor is located in the hub, making the wheel heavier than a regular bike. As a result, you may need to apply extra force when removing the wheel.
Another key difference is the higher tire pressure required for eBikes. This is necessary to withstand the added stress from the motor. When changing the rear tire on an eBike, you’ll need to ensure that you inflate the new inner tube to the correct pressure. This may be higher than what you’re used to with a regular bike.
Despite these differences, the process of changing a rear bike tire on an eBike is similar to that of a regular bike. With the right tools, some basic know-how, and a bit of rehearsal, you can become confident in your ability to handle this task.

To change the rear tire on a non-electric bike, shift the chain to the smallest gear, then flip the bike upside down or place it on a stand. Use a 15mm or 18mm wrench to loosen the axle nuts. Remove the wheel, deflate the tire, and use tire levers to remove the tire from the rim. Install the new tire, ensuring it's properly seated, inflate it to the correct pressure, and reattach the wheel.
It is a rare occasion that a flat happens when it’s most convenient for you. To combat the foul intentions of “Murphy’s Law,” it is always smart to have a tube, pump, and tools on you or somehow attached to your bike. This list of steps assumes that you already have a spare tube and everything you’ll need on hand. If you see things you don’t have on this list, go get them! Doing so will make your life much easier when something happens to your tires.
Another option is to unscrew the valve cap and press on the valve core to let the air out. Both methods are effective in deflating the tire and preparing it for maintenance or repair.
By following these steps, you can safely and effectively reattach your tire without causing any harm to yourself or the tire. Reinstall the wheel on the bike, and if you’re roadside and have had to replace the inner tube rather than patch it, don’t forget to take the old tube with you. Why leave it for someone else to deal with?
Changing the rear tire on a hub motor e-bike involves additional steps due to the motor's integration. Start by removing the battery and disconnecting the motor cable to prevent electrical issues. Use appropriate wrenches (typically 18mm or 19mm) to loosen the axle nuts. Carefully remove the wheel, being mindful of the motor cable. Replace the tire as you would on a regular bike, ensuring the motor cable is not pinched during reinstallation. Reattach the wheel, reconnect the motor cable, and reinstall the battery. Ensure everything is secure before testing the e-bike.
As stated above, many steps for a regular, un-assisted bike are the same for an eBike, even with a hub motor. Some obvious differences need to be observed, though. For the sake of consistency, here are all the steps involved.
Reinstall the wheel on the bike, reconnect the power to the motor, put the chain back on, throw in the battery, and you’re off!
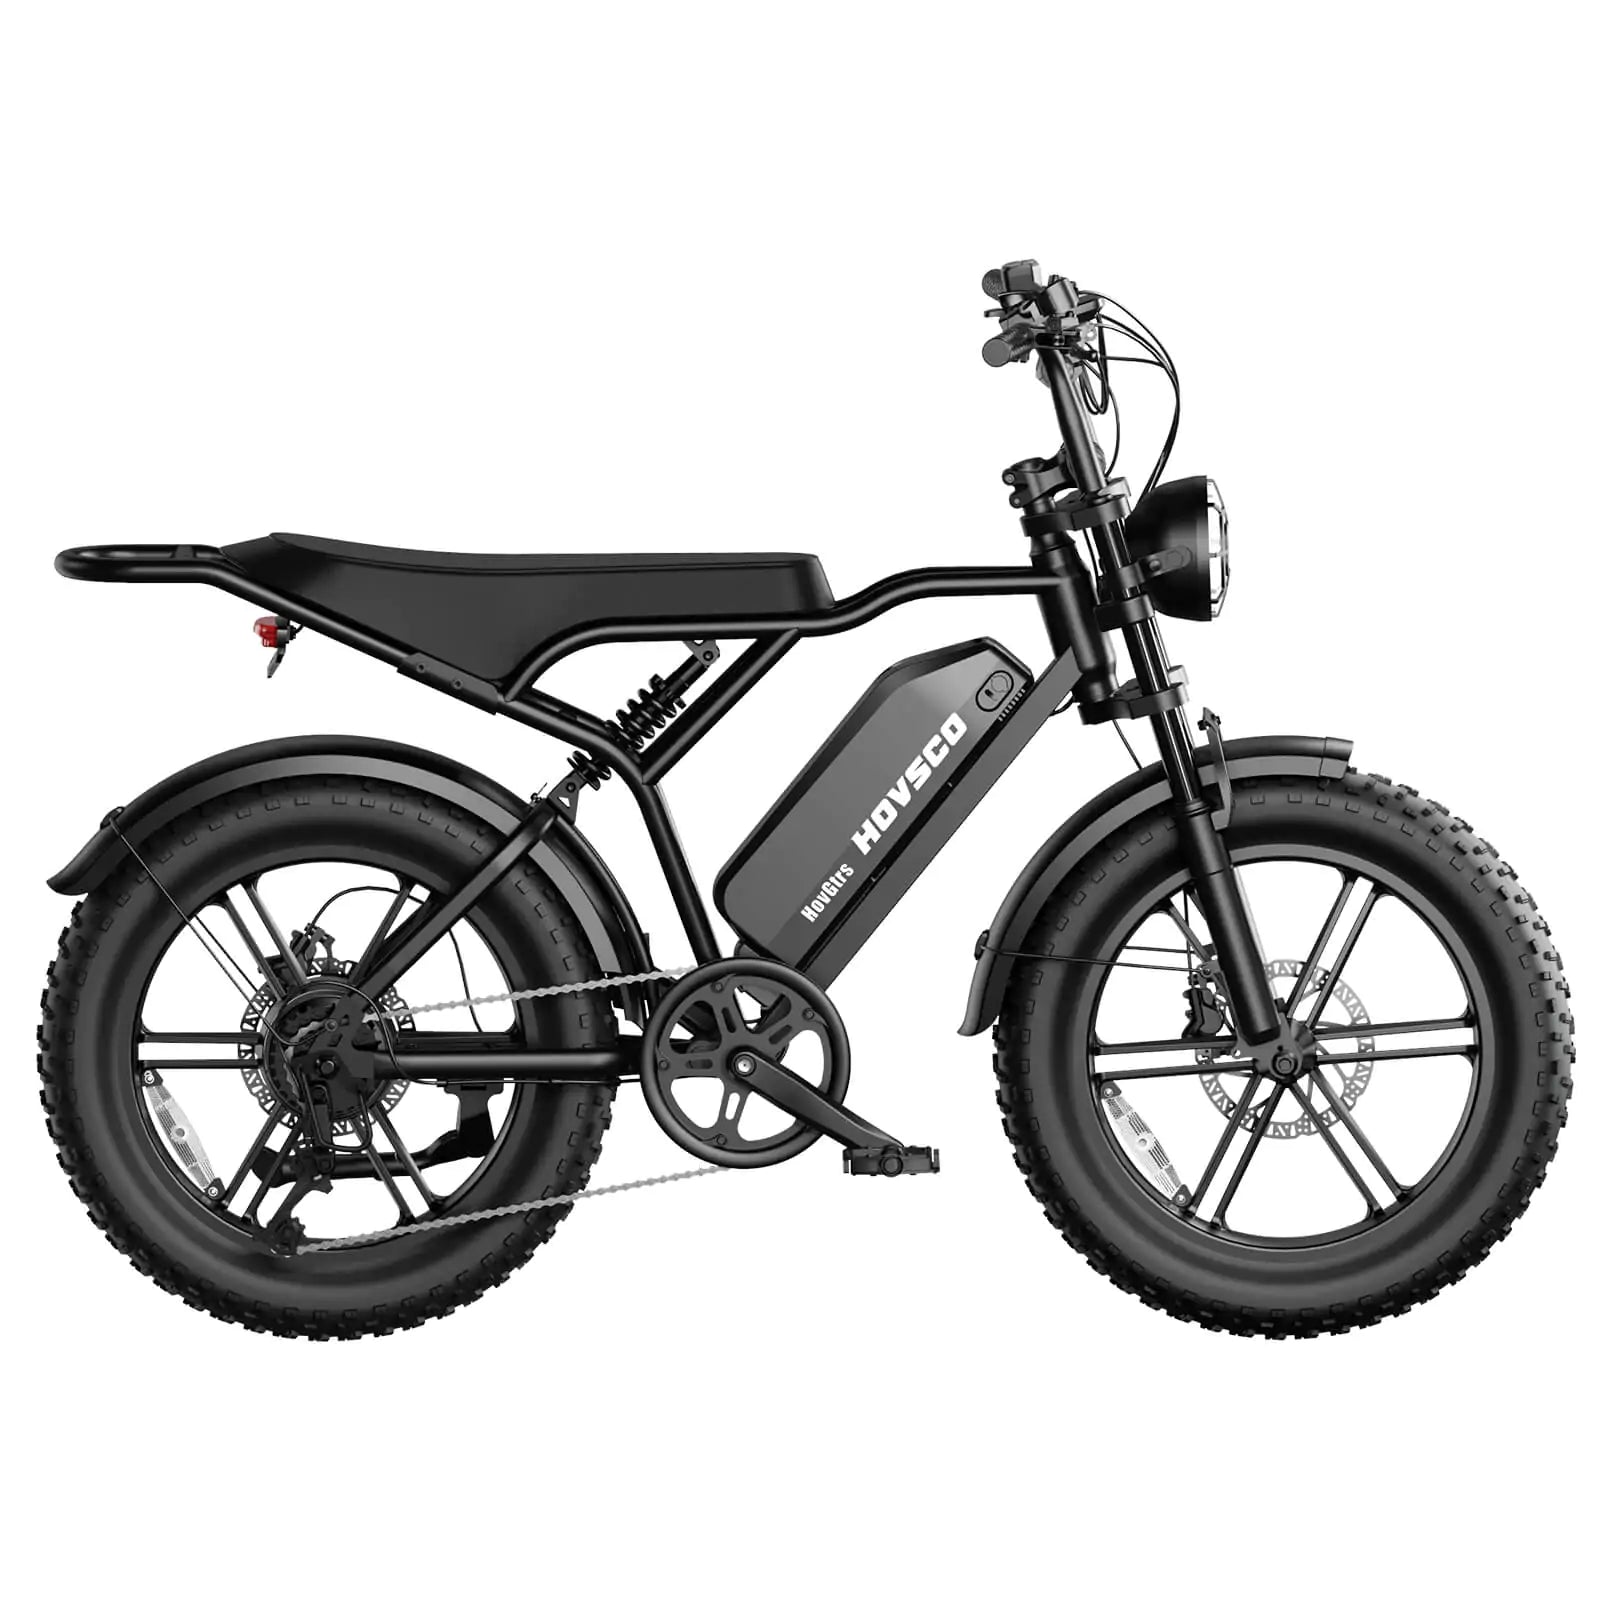
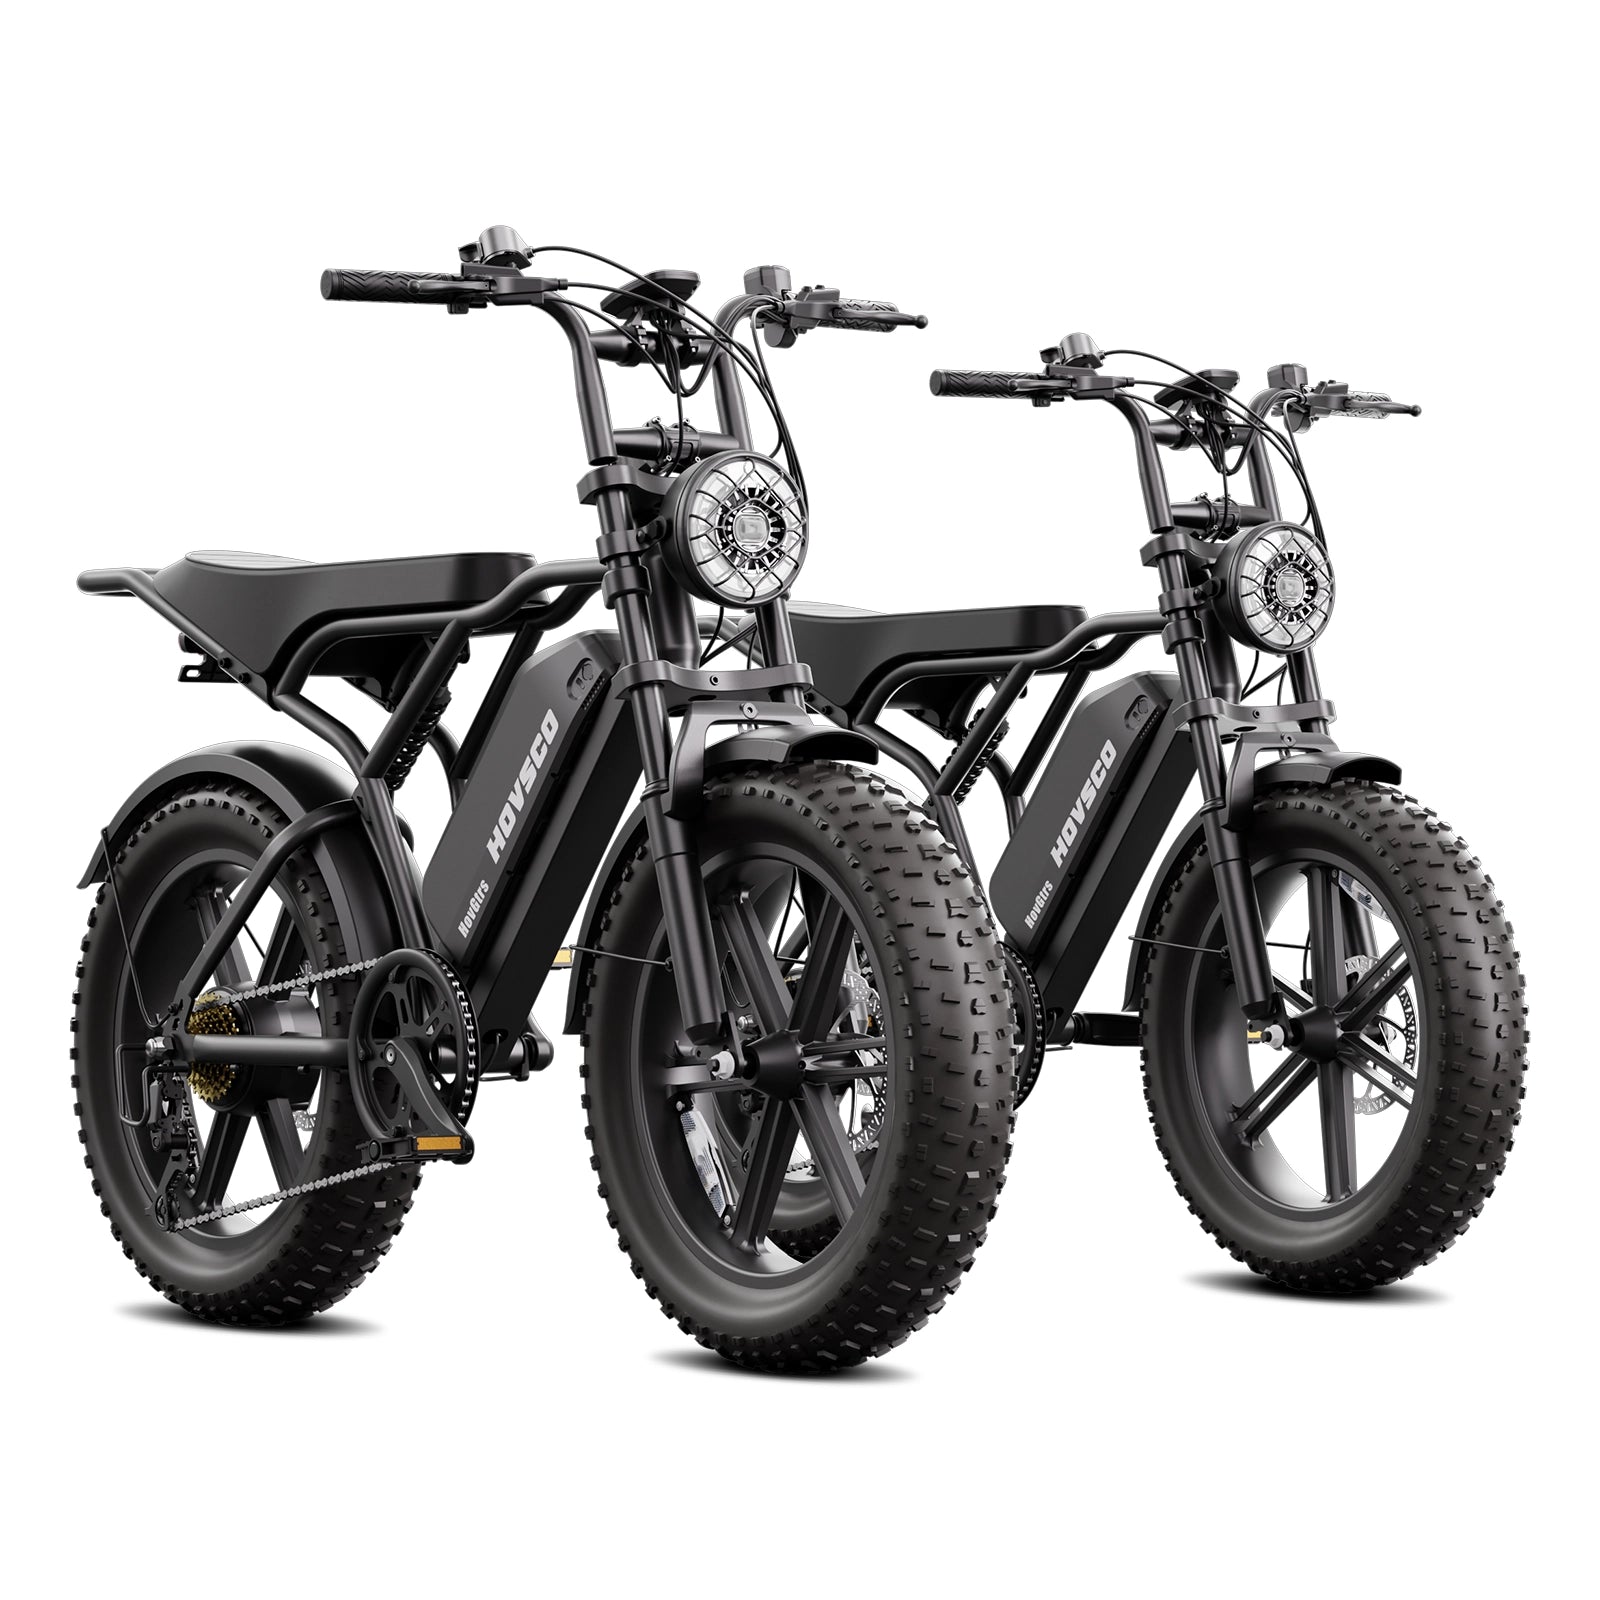
At Hovsco, we use eBike-rated all-terrain puncture-proof tires with rugged rims, strong spokes, and a few sizes. For example, the HovRanger and the HovCity are equipped with 27.5” x 2.25” tires, the HovBeta and HovCart come with 20” x 4” tires, and all of our other models come with 26” x 4” tires.
These are common sizes and are easy to get your hands on. So, to save you some heartache, make sure to include a tube or two along with some simple tools when going off on your next trek.
Share:
The Truth About Ebike Fires and the Dangers of an Ebike Battery Fire
What Are Geared Hub Motors for E-Bikes? A Comprehensive Guide