


- by EO S
How Can You Remove and Reinstall an E-Bike Wheel Safely?
- by EO S
E-Bikes
Shop By Models
Shop By Style
Removing and reinstalling an e‑bike wheel is safe when you first power off and remove the battery, support the bike securely, disconnect any motor cable, then loosen the axle hardware in the correct order. Carefully guide the disc rotor between brake pads, keep track of spacers and washers, torque the axle correctly, and test the brakes and motor before riding.
Shut the e‑bike off, remove the battery, and shift to the smallest rear cog before touching the wheel. This reduces derailleur tension and prevents accidental motor spin‑up. Then support the bike in a stand or upside down on soft padding so the handlebar controls, display, and HOVSCO frame are not stressed while you work.
A factory prep routine is non‑negotiable when I work on customer e‑bikes in the workshop. I always start by killing all power at the display, switching off the battery, and physically removing it from the frame to eliminate any chance of an accidental throttle bump or PAS activation during wheel removal. Next, I shift the rear derailleur into the smallest cog; this straightens the chainline and makes the wheel drop out and reinstall much more cleanly than fighting against a crossed chain under load. For stability, I prefer a proper repair stand, but when riders work at home I advise laying down a folded towel and flipping the bike so it rests on the saddle and handlebar ends, making sure no weight sits on brake levers, the display, or an external controller box. On a HOVSCO or any quality e‑bike, these simple steps protect the electronics, prevent pinched fingers, and turn a stressful job into a predictable, repeatable process.
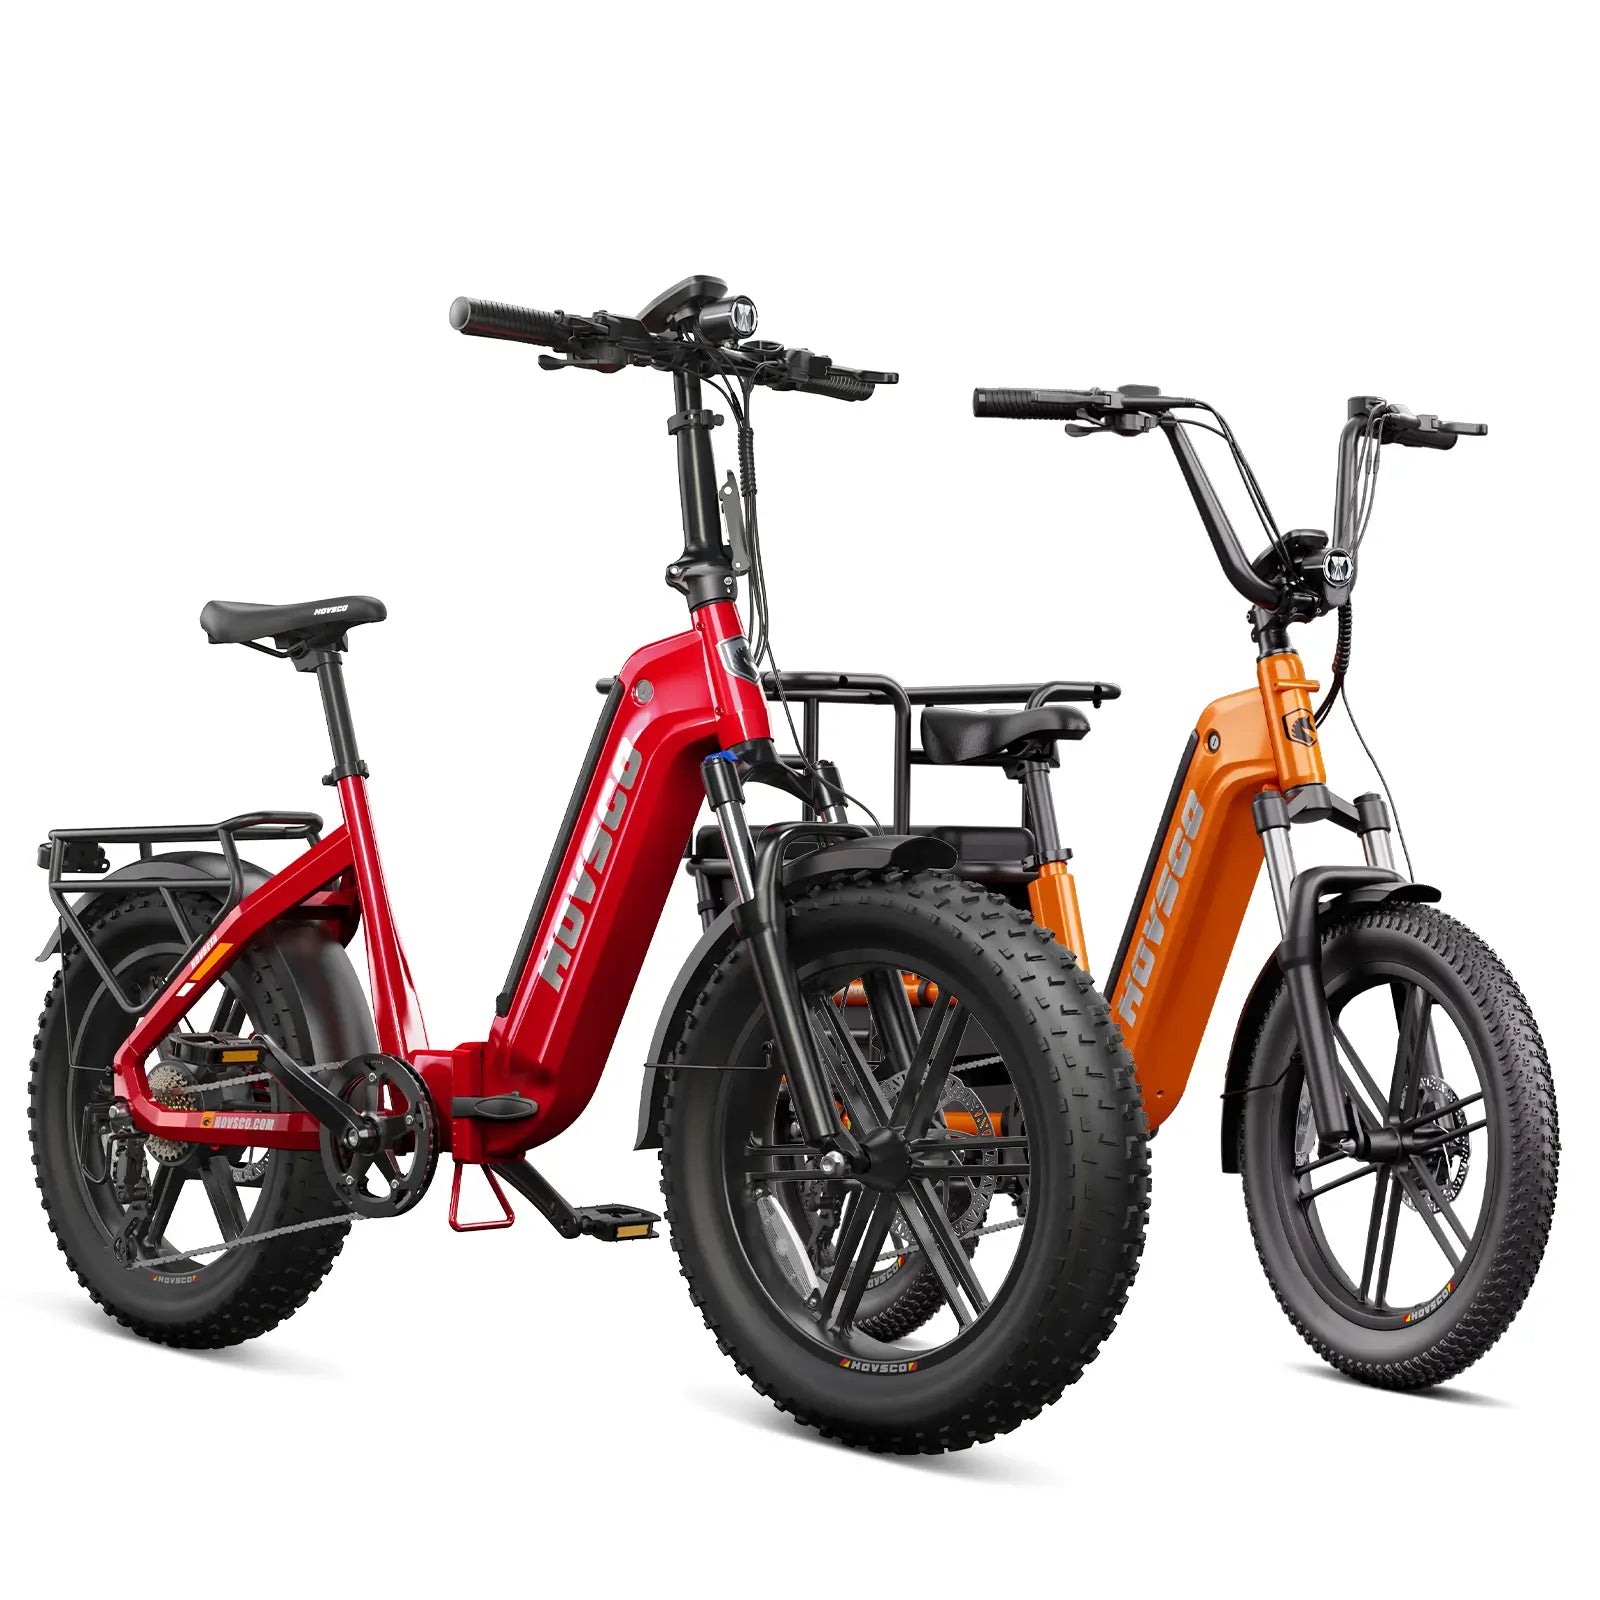
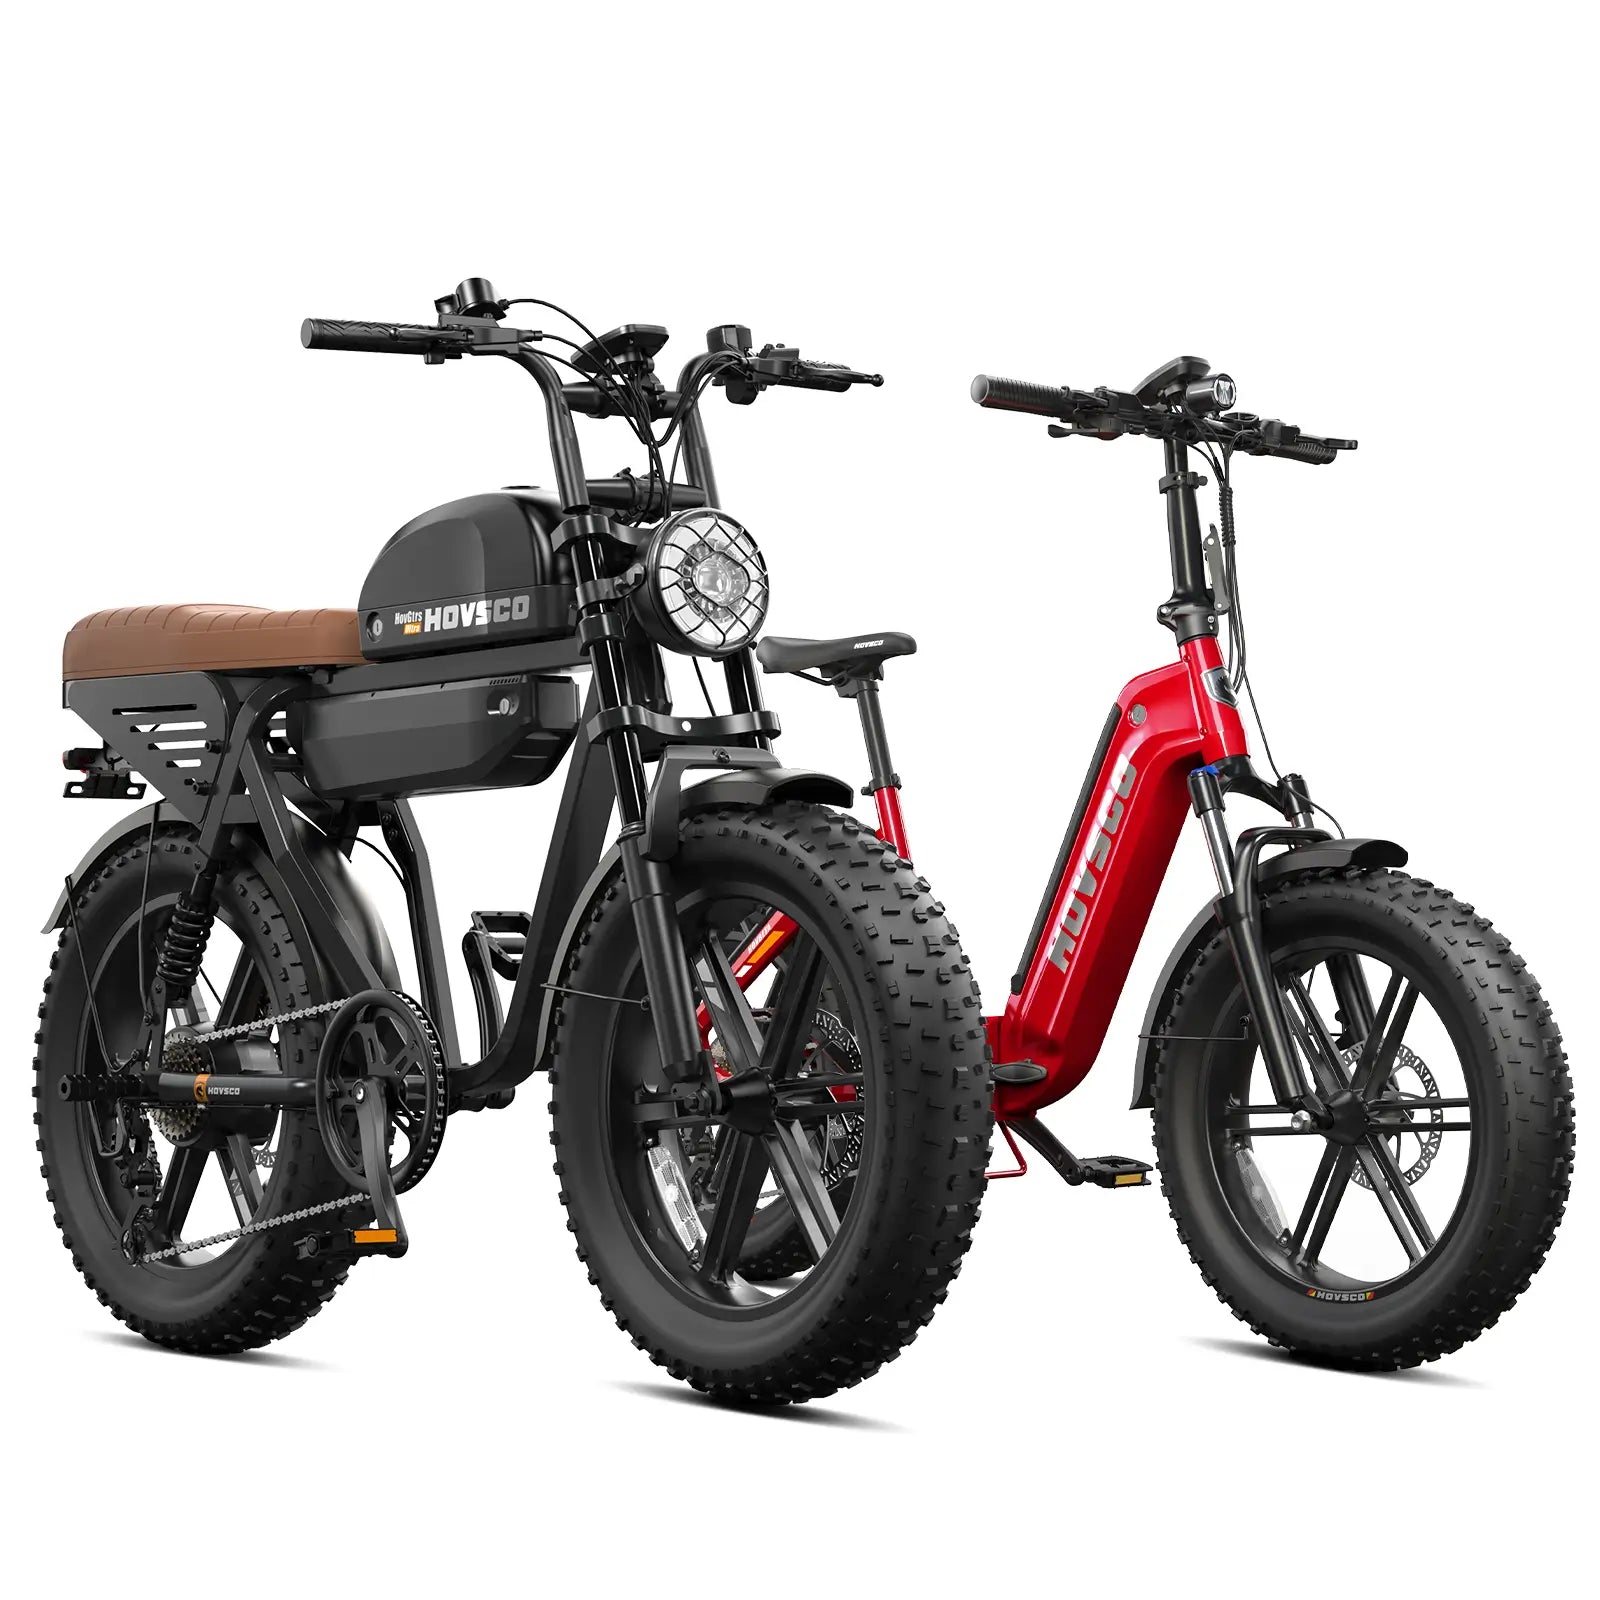
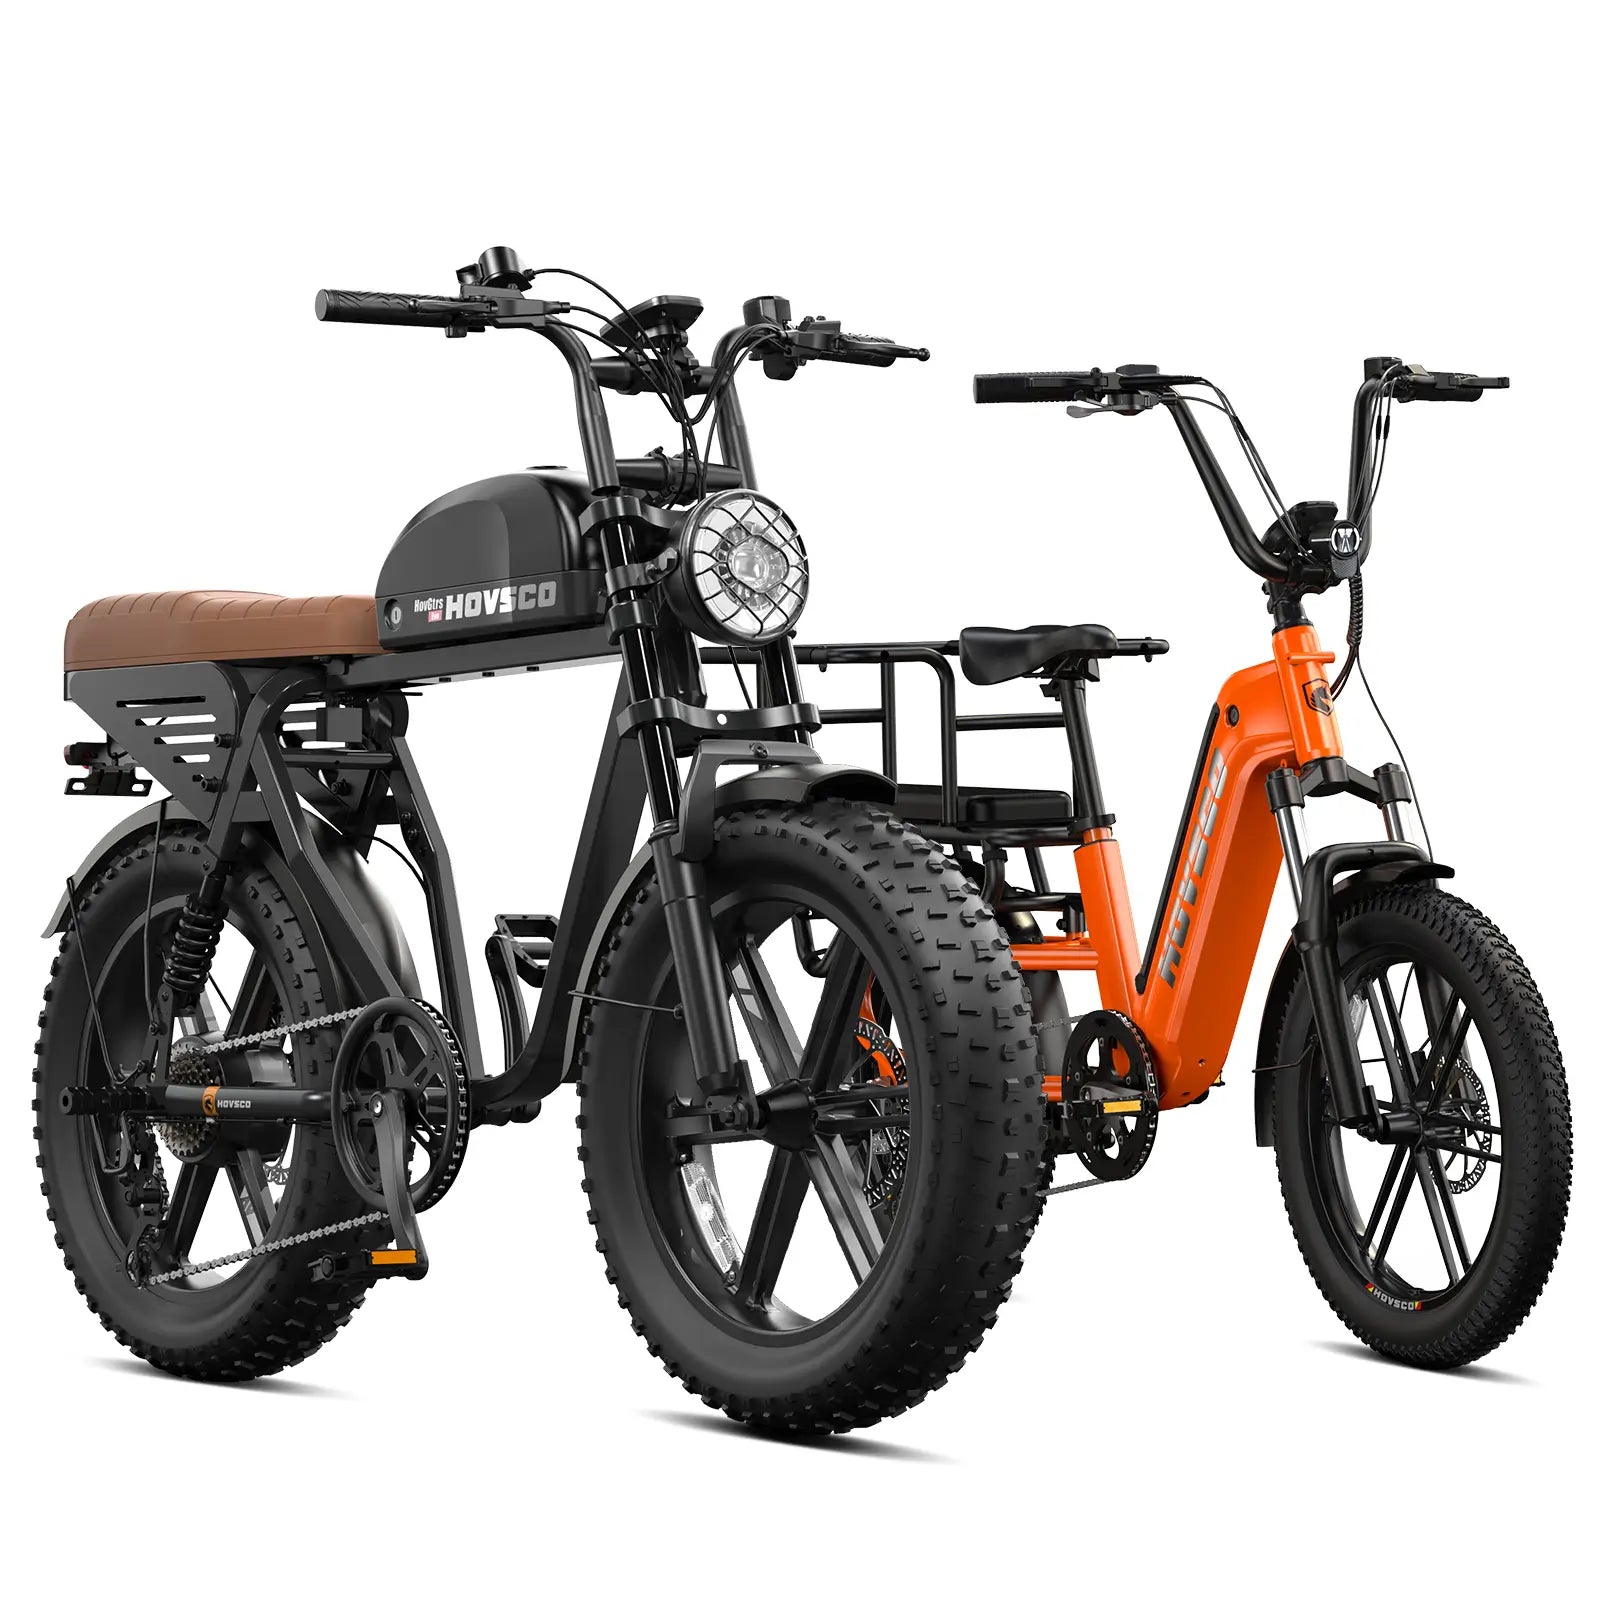
An e‑bike wheel usually carries a hub motor, motor cable, and extra weight, so you must disconnect wiring, watch torque arms or anti‑rotation washers, and handle more mass. There may be thru‑axles instead of quick‑releases, and disc rotors must be guided carefully into calipers. Compared with a regular bike, a HOVSCO e‑bike rear wheel feels heavier and more “wired in” to the frame.
From a mechanic’s point of view, the main difference is that an e‑bike wheel is not just a hoop in dropouts; it is part of the drive system. On a hub‑drive rear wheel, the axle is fixed and keyed, so the dropouts and torque washers are designed to resist motor torque, not just pedaling load. That is why you often see slotted anti‑rotation plates and specified torque values for the axle nuts. The motor harness usually exits the axle on one side, which means you must support the wheel as it drops out so that the cable is never bearing the weight of the hub. This is especially important on heavier commuter and fat‑tire builds like many HOVSCO models, where the wheel can easily exceed 6–8 kg once you add rotor, cassette, and tire. Treat the wheel as an electrical and mechanical assembly, and you will avoid the expensive mistakes that happen when riders yank it like a normal bicycle wheel.
To safely remove a front e‑bike wheel with hub motor, power the system off and remove the battery. Disconnect any motor cable near the fork, noting alignment marks. Loosen the axle nuts or thru‑axle, lift the fork slightly, and drop the wheel while guiding the disc rotor out of the caliper. Keep track of torque washers and spacers for correct reassembly.
On the factory floor we teach new technicians a strict sequence for front hub‑motor wheels. First, I locate the motor connector near the fork leg and separate it by pulling on both molded halves, never the cable, and I watch for small arrows or alignment marks that will need to match during reassembly. Then I check what axle system is used: for nutted axles I use a correctly sized box wrench to crack the nuts loose without “cheating” with pliers that can round them, while for thru‑axles I use the specified hex key size and count full turns so I know how far they were threaded in. Before the wheel actually drops, I gently spread the fork legs with one hand and use the other to guide the rotor straight out of the brake caliper, making sure the pads are not forced sideways. Anti‑rotation washers sit with their keyed faces against the fork; I always lay them on the bench in left/right order to prevent flipping them when the HOVSCO or other e‑bike goes back together.
On a front e‑bike wheel you must track axle nuts or thru‑axle, torque washers or plates, spacers, and any safety tabs on the fork. Each part has a specific orientation to resist motor torque and keep the wheel centered. Misplacing a thin spacer or flipping a torque washer can shift the rotor into the brake, so organize these parts in left/right order during removal.
From experience, the small hardware around a front hub‑motor axle causes more problems than the big obvious pieces. The washers with little “wings” or D‑shaped holes are not decorative; they lock the axle flats against the fork and keep the motor from twisting under load. Many HOVSCO and similar e‑bikes use a stack of flat and spring washers between the fork and nut to maintain clamping force without over‑compressing the dropouts. When I train staff, I insist they lay the components out on a magnetic tray in the exact left/right sequence they came off the bike, often snapping a quick photo as a reference. That way, when we reinstall the wheel, the rotor lands perfectly in the caliper, the fork legs remain parallel, and the torque path from hub to fork is exactly as the engineer designed it.
To safely remove a rear e‑bike wheel with hub motor, shut the bike off, remove the battery, and shift to the smallest rear cog. Disconnect the motor cable and any zip‑ties securing it. Loosen the axle nuts evenly, push the derailleur rearward to release chain tension, and drop the wheel out while keeping the motor cable relaxed and the disc rotor clear of the caliper.
Rear hub‑motor wheels are where I see most rider mistakes, because they combine derailleur, chain tension, rotor alignment, and motor wiring in one operation. In the workshop I always start by cutting or unfastening any zip‑ties that hold the motor cable to the chainstay, then I unplug the harness by the connector body, checking for arrows or keyed shapes. With the bike supported, I use a proper wrench to loosen both axle nuts a few turns instead of fully removing them at once; this preserves the washer stack and prevents the wheel from suddenly dropping and yanking the cable. Once loose, I stand behind the bike, pull the rear derailleur straight back with one hand, and with the other lower the wheel so the smallest cog slips out from under the chain. On a HOVSCO fat‑tire or cargo build, I will often support the wheel with my knee as it clears the dropouts so the heavy hub does not twist the motor cable or bend the derailleur guard.
For easier rear wheel removal, shift into the smallest rear cog before starting. When ready to drop the wheel, pull the rear derailleur body backward to release tension and lift the chain off the smallest cog. This keeps the chain slack and straight, helping the hub motor wheel slide smoothly out of the dropouts without snagging.
In practice, I treat chain management as its own mini‑procedure. I ask riders to spin the crank gently while I click the shifter into the highest gear, watching the chain climb down onto the smallest sprocket. With tension now minimal, I grab the derailleur cage near the lower pulley and pull it slightly backward and outward; this adds just enough slack to let the cassette walk out under the chain. If the bike has a clutch derailleur, I may temporarily switch the clutch off for even more slack, then reactivate it before test rides. On HOVSCO e‑bikes and other high‑torque commuters, controlling the chain in this way prevents it from gouging the frame, slipping between cassette and spokes, or wrapping awkwardly around the motor cable as the wheel comes free.
Before reinstalling an e‑bike wheel, inspect the axle, dropouts, and torque washers for wear or deformation. Check the disc rotor for bends and confirm brake pads are not spread too wide. When the wheel is back in, ensure the axle is fully seated, torque nuts or thru‑axle to spec, reconnect the motor harness firmly, and test brakes and motor in a stand.
When I sign off a wheel job on the shop floor, I run through a mental checklist focused on hard‑to‑see failures. I look at the dropout faces for rounding where the axle flats seat; any damage there on a high‑torque hub motor, such as those used on many HOVSCO bikes, is a red flag for future slippage. I spin the rotor between the pads, watching from the rear and listening for high spots that indicate a bend from a previous flat repair. Before putting the wheel back, I lightly grease the axle threads and the underside of the nuts so the torque wrench reads true, then I clamp the wheel in with the bike supported. Once everything is tight, I reconnect the motor cable until I feel and sometimes hear a soft “click,” then I lift the rear wheel off the ground, power the system, and gently apply throttle or pedal assist while watching for any wobble, rubbing, or cable movement.
Torque accuracy is critical because e‑bike hub motors generate high twisting forces at the axle. Under‑torqued nuts can let the axle spin and damage dropouts or wiring, while over‑torqued hardware can crush dropouts or strip threads. Using a torque wrench, especially on HOVSCO or other high‑power e‑bikes, keeps clamping force within the safe design window.
From an engineering standpoint, the axle‑to‑dropout interface on an e‑bike is a torque coupling, not just a clamp. When a motor delivers hundreds of watts at low wheel speed, the static friction between axle flats, washers, and dropouts must exceed that torque repeatedly over thousands of cycles. I have seen riders hand‑tighten axle nuts, only to return a month later with notched dropouts and slightly twisted motor cables from micro‑slippage. In the factory, we specify a torque range (often 30–40 Nm for many hub‑motor axles, depending on design) and validate it with destructive tests before going to production. On customer bikes including HOVSCO models, I always reach for a calibrated torque wrench so that I am not gambling with thin aluminum or steel dropouts that were engineered with a specific clamping pressure in mind.
Riders who are new to tools, own high‑speed or full‑suspension e‑bikes, or see damage around axles or wiring should consider professional service. If you lack a torque wrench, are unsure about motor connectors, or ride a heavily loaded HOVSCO cargo commuter, a shop mechanic can prevent costly errors and verify everything with proper testing.
From my bench, the tipping point is not pride but risk and complexity. A simple front hub motor with nutted axle and rim brakes is well within reach for a careful home mechanic who follows instructions and works patiently. But once you add hydraulic disc brakes, internal routing, frame‑integrated batteries, and powerful hub or mid‑drive systems, the number of ways to make an expensive mistake multiplies quickly. I recommend professional service whenever a rider cannot confidently identify their axle type, brake system, and motor connector, or when they rely on the bike for daily commuting where downtime is costly. For HOVSCO riders using their e‑bike for long adventure trips or hauling children, a one‑time visit to a qualified technician to observe the process and ask questions often pays for itself in future stress avoided.
To reinstall an e‑bike wheel straight and quiet, seat the axle fully into both dropouts, ensure torque washers are correctly oriented, and center the disc rotor in the brake caliper. Tighten hardware evenly to torque spec, reconnect the motor cable, then spin the wheel to confirm no brake rub or wobble. Fine‑tune caliper position if needed.
In the workshop I treat wheel alignment as a geometry problem rather than a guessing game. I always start with the bike supported and the chain draped correctly over the smallest cog, then I lift the wheel into the frame, guiding the axle flats fully into the dropout slots until there is no visible gap. On hub‑motor builds, I confirm the keyed washers sit flush with their tangs in the slots, which locks the hub in rotation. Before tightening anything fully, I look down from above the tire toward the fork crown or seatstays to see whether the tire is centered between the legs. Only then do I snug the nuts or thru‑axle a little at a time, alternating sides so the wheel does not “walk” to one side. On a quality e‑bike like a HOVSCO, this process restores the factory alignment and keeps rotor and pads working quietly.
Disc brakes need extra care because the rotor passes between delicate pads and pistons. Avoid squeezing brake levers with a wheel removed, and guide the rotor straight between pads during install. If pads close, use a proper pad spreader before re‑installation. After reassembly, check for rotor rub and bed the brakes again if needed.
With hydraulic systems, I treat the caliper as a live hydraulic circuit, not just a clamp around the rotor. In the shop I warn staff never to pump the brake lever with the rotor out, and we keep plastic pad spacers handy for bikes that will sit disassembled. When guiding a wheel back in, I aim the rotor like a key into a lock, watching it enter exactly between the pads without contacting the caliper body. If the lever has been touched and pistons crept outward, I crack the bleed port only if necessary or, more often, gently press the pads back with a clean, flat tool to restore pad spacing. For high‑mileage commuters and HOVSCO riders who depend on precise braking on hills, this extra discipline prevents chronic rotor rub, overheating, and premature pad wear.
You can protect electronics and motor cables by fully powering down and removing the battery, avoiding any pulling on cables, and supporting the wheel’s weight during removal and installation. Always unplug connectors by their molded housings, keep them clean and dry, and re‑secure cables with proper clips or zip‑ties away from moving parts once the HOVSCO wheel is reinstalled.
From an electronics perspective, wheel service is where many avoidable failures start. I have seen otherwise careful riders let a rear hub motor hang by its cable, which strains the conductors right at the axle exit where there is already a tight bend radius and limited strain relief. In the assembly plant we specify generous cable loops and robust grommets, but no design can tolerate repeated abuse. My rule is simple: if you ever feel the wheel’s weight through the cable in your hand, something is wrong. Instead, keep one hand or knee under the wheel as it exits the dropouts, lay it down gently next to the bike, and keep the connector off the floor where dirt or metal shavings could contaminate it. Reattach all guides and ties when finished so, on a HOVSCO commuter or mountain e‑bike, the harness stays clear of the tire, rotor, and chain through many seasons of riding.
As an e‑bike engineer, I tell riders that safe wheel removal is 90% preparation and 10% wrenching. When you control power, chain position, cable routing, and rotor alignment before touching a single nut, even a heavy hub‑motor wheel on a HOVSCO or similar bike becomes a predictable, repeatable task instead of a risky experiment.
Consistent wheel maintenance extends e‑bike life by keeping bearings smooth, fasteners tight, and braking surfaces aligned. Smooth‑running wheels reduce stress on hub motors, controllers, and frames. By routinely inspecting axles, dropouts, tires, and cables during wheel removal, HOVSCO and other e‑bikes maintain efficiency, safety, and ride quality over many more miles.
In long‑term fleet tests I have overseen, the bikes that refused to die were not the ones with the biggest batteries but the ones whose wheels stayed true, tight, and clean. Every wheel removal is a chance to catch creeping problems: a slightly loose spoke pattern that hints at future rim failure, a faint groove in a dropout face, or a motor cable whose outer jacket is just starting to scuff where it crosses the stay. When riders use wheel work as a structured inspection window, they catch these issues before they escalate into controller overloads, cracked frames, or sudden flats at speed. For HOVSCO riders who rack up serious mileage, building this habit into seasonal tire changes and brake services is one of the most cost‑effective ways to protect their investment and keep the ride feel fresh.
Yes, a repeatable checklist helps you remove and reinstall e‑bike wheels safely every time. Steps include powering off, removing the battery, shifting gears, disconnecting motor cables, loosening axle hardware correctly, managing chain and rotor alignment, torquing fasteners to spec, re‑routing cables, and performing static brake and motor tests before your next HOVSCO ride.
From my experience training new mechanics and supporting riders remotely, a concise checklist bridges the gap between theory and clean execution. Here is a streamlined sequence that mirrors what we use in professional workshops:
Power down system and remove battery.
Shift rear derailleur to smallest cog.
Support bike in a stand or upside down on padding.
Disconnect motor cable and free any cable ties as needed.
Loosen axle nuts or thru‑axle, keeping hardware in left/right order.
Manage chain (rear) or fork legs (front) as you drop the wheel, guiding rotor out of caliper.
Perform tire, tube, or rim work.
Reinstall wheel, ensuring axle fully seats and torque washers are correctly oriented.
Tighten hardware to specified torque and reconnect motor cable.
Spin wheel to check for rub, then test brakes and motor under no‑load before riding.
Applied carefully, this routine gives riders with HOVSCO or any other e‑bike the same structured process we rely on behind the service counter.
What tools do I need to remove an e‑bike wheel?
You typically need the correct size wrench or hex key for axle nuts or thru‑axle, tire levers, a pump, and ideally a torque wrench. For hub motors, side cutters for zip‑ties and a pad spreader for disc brakes are very helpful.
Can I change an e‑bike tire without disconnecting the motor cable?
On some front hubs you can swing the wheel aside without unplugging, but it is safer to disconnect the motor cable to avoid strain. For rear hub motors, always unplug and free cable guides before fully removing the wheel.
How often should I check e‑bike wheel hardware and alignment?
Check wheel nuts or thru‑axle tightness, rotor rub, and cable routing every few weeks if you ride frequently, and after any impact or tire change. High‑mileage commuters should treat this as a regular safety inspection.
Are quick‑release axles safe on e‑bikes with hub motors?
Quick‑releases can be safe if the fork or frame is explicitly designed for them and you follow torque and positioning guidelines. Many hub‑motor e‑bikes instead use solid axles with nuts for higher clamping force and better torque resistance.
What should I do if my wheel does not spin freely after reinstalling it?
First check that the axle is fully seated and centered, then inspect for disc rotor rubbing or misaligned pads. If adjustments at the caliper and axle do not restore free spinning, consult a qualified e‑bike mechanic before riding.
Share:
Electric Bike Industry Trends: Market Growth, Cargo Adoption & Safety in June 2026
Best High-Performance Urban Electric Scooters?