


- by HOVSCO Official
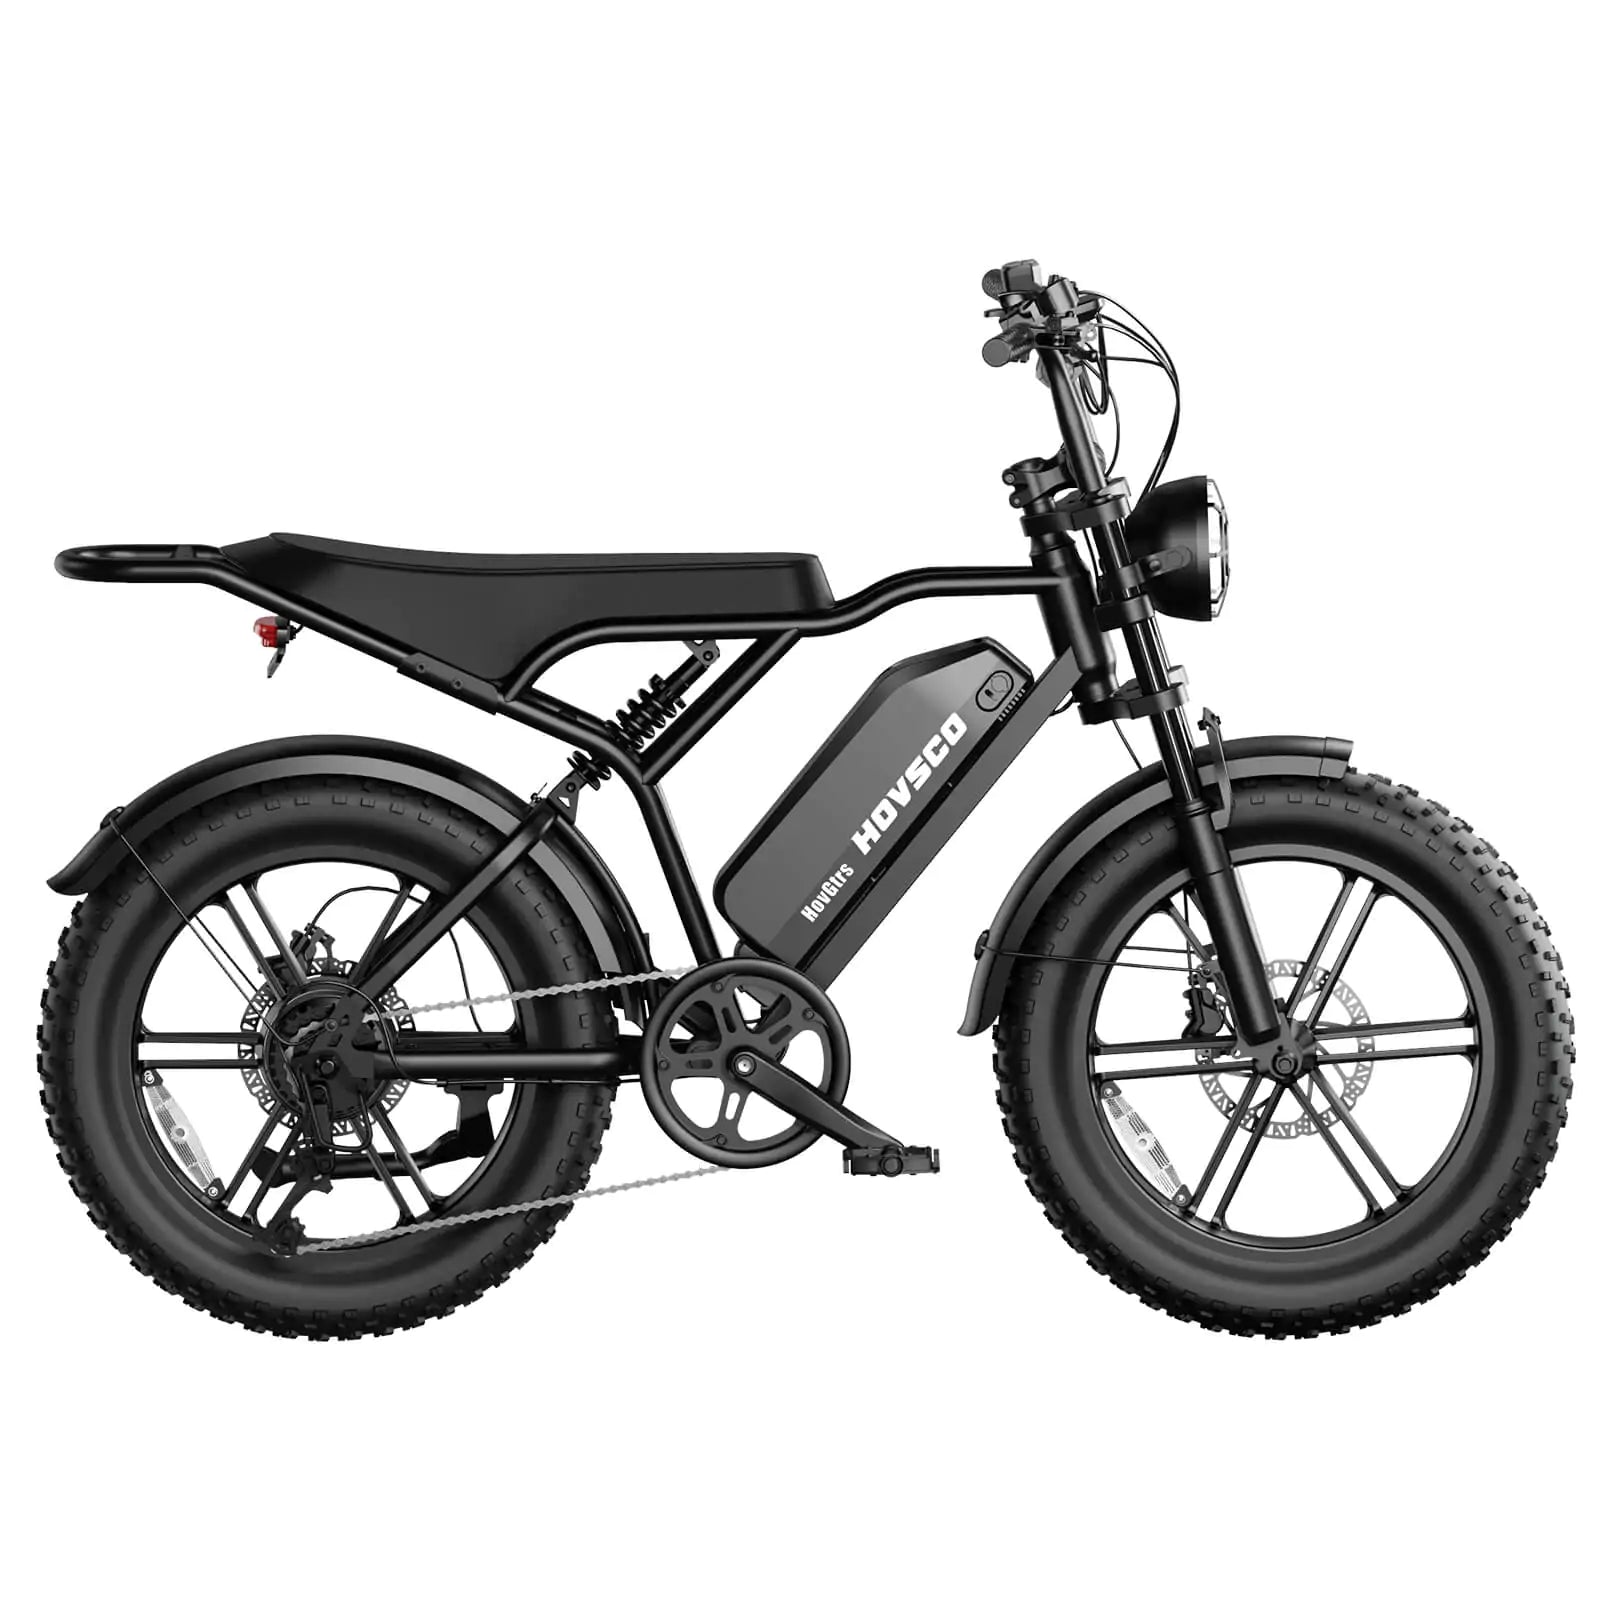
How to Patch a Bike Tube in an E-Bike: Step-by-Step Guide
- by HOVSCO Official
Patching a bike tube in an e-bike follows a careful step-by-step process that involves locating the leak, preparing the damaged area, applying a patch correctly, and reinstalling the tube to ensure airtight integrity. Using the right supplies and technique prolongs tube life and keeps your e-bike running smoothly on urban rides.
Essential supplies include:
Having these on hand ensures readiness for both roadside fixes and home repairs.
Begin by inflating the tube slightly above normal pressure to expand any holes. Slowly rotate and listen or feel for escaping air. If the hole is not obvious, submerge the tube section-by-section in water and watch for bubbles indicating the leak site. Mark the puncture with a permanent marker to guide subsequent preparation.
After locating the puncture:
Proper preparation is crucial for patch longevity on e-bike tubes, which are often under higher pressure due to heavier tires.
Peel the foil backing off the patch carefully, avoiding contact with the adhesive surface. Center the patch over the hole and press firmly, especially around the edges, to remove air pockets. Maintain pressure for several minutes if possible. It is advisable to leave plastic film on the patch after installation to prevent sticking inside the tire during reinsertion.
Proper installation prevents further damage and ensures safe riding.
Avoiding these errors improves repair success on heavier e-bike tubes.
Invest in comprehensive patch kits that include reliable glue and high-quality patches designed for durable adhesion under e-bike tire pressures. Consider self-adhesive patch kits for quick fixes, but keep vulcanizing kits for more secure repairs. Carry a small kit compatible with your e-bike tire size for roadside emergencies. Choose trusted brands like HOVSCO that provide matching spares and accessory solutions for your e-bike model to ensure compatibility and safety.
“Patching an e-bike tube requires precision and patience tailored to the unique stresses these batteries and motors place on tires,” explains a HOVSCO service expert. “Our recommendations focus on thorough surface preparation and using quality vulcanizing patches that withstand higher pressures typical in e-bike riding. Regular maintenance and carrying a reliable patch kit enhance rider confidence and minimize downtime.”
Q: Can I patch any hole in an e-bike tube?
A: Small punctures can be patched effectively; large tears mean tube replacement is necessary.
Q: How long does a patch last on an e-bike tube?
A: A properly applied patch can last thousands of miles, but inspecting before rides is recommended.
Q: Are glueless patches reliable for e-bike tubes?
A: Modern glueless patches offer convenient quick fixes, but glued patches provide stronger, longer-lasting seals.
Q: Should I inflate the tube inside or outside the tire when checking the patch?
A: Inflate outside for initial leak detection; reinflate inside to ensure proper tire seating post-patch.
Q: How often should I carry a patch kit with an e-bike?
A: Always carry a compact, lightweight patch kit on urban or trail rides for immediate repairs.
Mastering how to patch a bike tube in your e-bike equips you with a crucial skill to maintain mobility and safety on every journey.
How to fix a bike puncture step by step?
To fix a bike puncture, first remove the wheel, then take out the inner tube. Inflate the tube and locate the hole—listen for air or submerge in water for bubbles. Mark the spot, roughen around it with sandpaper, apply glue, and wait until tacky. Place the patch firmly over the hole, press for a minute, then reinsert the tube and reinstall the wheel. Inflate to the correct pressure and check it holds air.
How to install a bike tube patch?
To install a bike tube patch, locate the hole, mark it, and roughen a slightly larger area. Apply a thin layer of rubber solution, let it get tacky, then press the patch securely over the hole. Hold for at least a minute before reassembling. If using a self-adhesive patch, skip the glue step and just press the patch in place after roughening.
How to patch a hole in tubing?
Patch a hole in tubing by cleaning and drying the area, roughening it, and applying a patch as per the kit instructions. For rubber tubes, use a bike-specific patch or self-adhesive strip. Squeeze out air under the patch and let it set fully before inflating.
How to patch a hole in a bike tube?
To patch a bike tube, identify the puncture, roughen around it, apply glue (or use a self-adhesive patch), and press the patch on covering the hole. Allow the glue to set if used, then reassemble, inflate the tube, and check for leaks.
How To Patch A Bike Tire With A Patch Kit?
Using a patch kit, remove the tube, find and mark the hole, roughen the area, and cover with glue. Allow the glue to dry until tacky, then apply the patch, pressing it firmly for 1–2 minutes. Replace the tube and re-inflate the tire to ensure the fix holds.
What Is A Bike Tube Patch Kit Used For?
A bike tube patch kit is used to repair holes or punctures in an inner tube, allowing cyclists to patch up flats quickly without replacing the tube. The kit is essential for roadside repairs and extending tube lifespan.
How To Fix A Bike Inner Tube Without A Patch?
If you don't have a patch, use strong adhesive tape (like electrical or duct tape) to cover the hole after roughening the area, or fold the tube to block the puncture as a temporary fix. This should only be used to get you home, not as a permanent solution.
What Does A Bike Patch Kit Include?
A bike patch kit typically includes:
Some sets have self-adhesive patches that need no glue.
What Can Be Used As Bike Tire Patch Glue Substitute?
In emergencies, super glue or rubber adhesive (like automotive gasket maker) can substitute for patch glue, but they are not ideal and may fail. Duct tape can serve temporarily but is not a long-term fix.
What Is An Inner Tube Patch Kit And How Does It Work?
An inner tube patch kit is a compact repair set for sealing holes in bike tubes. It works by having you roughen the area, apply adhesive, then press a patch over the hole. The glue fuses the patch to the tube, restoring air tightness and getting you rolling again.
How To Find A Bike Shop Near Me?
To find a bike shop near you, use Google Maps or a map app, searching terms like "bike shop" or "bicycle repair." You can also ask in local cycling groups, check city directories, or use specialized cycling apps that list trusted service locations in your area.
Share:
How to Clean and Maintain Your E-bike Chain for Optimal Performance
How to Maintain Your Electric Bicycle Chain for Optimal Performance