


- by HOVSCO Official
How to Check Your Front Derailleur, Here's All You Wanted to Know
- by HOVSCO Official
The front derailleur is the mechanism that shifts the bike chain between the front chainrings, enabling smooth gear changes. To check your front derailleur, ensure it is properly aligned about 2mm above the largest chainring teeth, with the cage parallel to the chainring. Shift through all front gears while pedaling to confirm crisp, hesitation-free shifts without chain rub or overshooting.
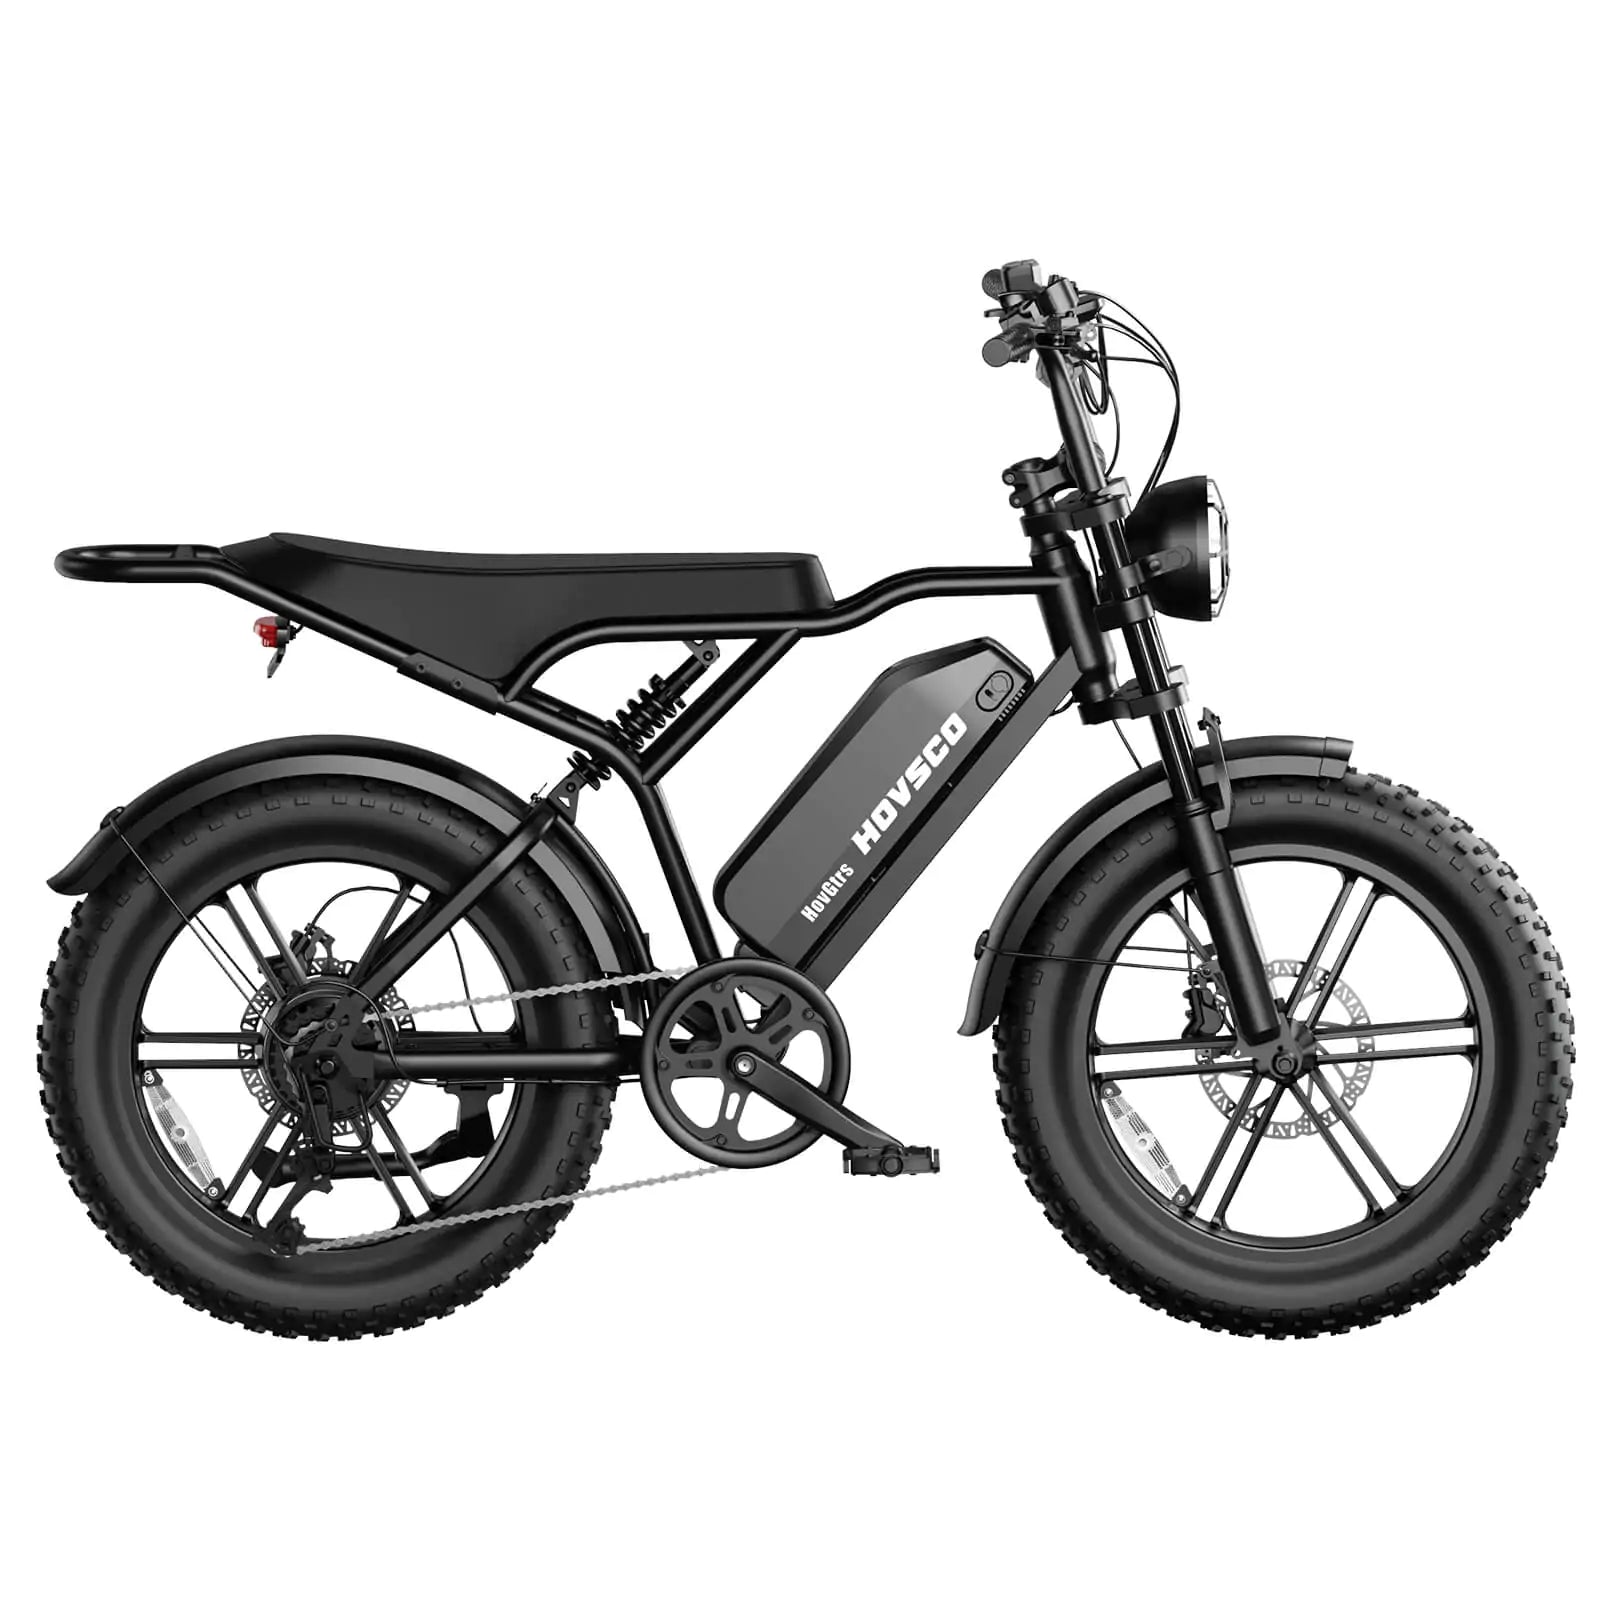
The front derailleur is a side-to-side moving mechanism that guides the chain across the front chainrings when you operate the front shifter. It is crucial for efficient gear changes, affecting pedaling performance and bike handling. A misaligned or poorly adjusted front derailleur can cause sluggish shifts, chain drops, or rubbing noises. Why Are Powerful Electric Dirt Bikes Better Than Gas?
To check front derailleur position, ensure it sits 1–3mm above the largest chainring and is parallel to it. Misalignment can cause poor shifting or chain rub. A correctly positioned derailleur allows smoother gear transitions and protects drivetrain components from premature wear.
To check the front derailleur position:
To test front derailleur functionality, shift through all front gears while pedaling. Observe if the chain moves smoothly and stays on each chainring without slipping. Listen for rubbing or delayed response. Consistent, noise-free transitions indicate proper function; otherwise, adjustments may be needed.
Testing involves:
Adjust the limit screws to prevent the derailleur from shifting the chain off the chainrings. Turn the low and high screws to set boundaries. Then, fine-tune cable tension using the barrel adjuster until shifts are crisp. HOVSCO bikes are designed for easier, user-friendly adjustments.
Limit screws control the derailleur’s range of motion to prevent the chain from falling off the chainrings.
Common front derailleur issues include misalignment, stretched cables, worn chainrings, and incorrect limit screw settings. These problems cause chain rubbing, slow shifts, or chain drops. Routine maintenance and inspections help keep shifting smooth and extend drivetrain life on any bicycle.
Typical issues include:
Cleaning and lubricating cables, realigning the derailleur, and adjusting screws usually resolve these problems.
For advanced front derailleur problems, inspect for bent derailleur cages, damaged shifters, or sticky pivots. Use a derailleur alignment tool if necessary. Replace frayed cables or housing. If issues persist, a professional tune-up ensures precise performance, especially on complex e-bike systems.
If basic adjustments fail:
When purchasing a front derailleur or related components, consider:
Investing in quality cables and housing can also extend shifting precision and reduce maintenance frequency.
"HOVSCO’s commitment to innovation extends to drivetrain components, emphasizing precision and reliability in front derailleur design. Proper front derailleur adjustment is essential for maximizing e-bike efficiency and rider experience. We recommend regular inspection and maintenance to prevent common shifting issues, especially in diverse riding conditions." — HOVSCO Technical Team
Q: How often should I check my front derailleur?
A: Check it before each ride for smooth shifting and proper alignment.
Q: Can I adjust the front derailleur myself?
A: Yes, with basic tools and knowledge, you can adjust limit screws, cable tension, and positioning.
Q: What if my chain keeps dropping off the chainrings?
A: This usually indicates incorrect limit screw settings or derailleur misalignment; readjust these carefully.
Q: Does dirt affect front derailleur performance?
A: Yes, dirt and grit in cables and housing cause friction, leading to sluggish shifting; regular cleaning is advised.
Q: When should I replace my front derailleur?
A: Replace if the cage is bent or damaged, or if shifting problems persist despite adjustments and maintenance.
Inspect your front derailleur by checking alignment (parallel to chainrings), cable tension, and limit screws. Shift through gears to ensure smooth transitions. Look for bent cages, chain rub, or sluggish movement. Clean and lubricate regularly. Proper adjustment prevents poor shifting and chain drops.
When the weather becomes destructive, it is essential to properly care for and maintain your components to reduce wear and strain. It's not only the extra friction that comes from mud and grime, though; this is generally true. It is also essential to ensure that the powertrain in your vehicle is correctly set. The amount of wear on your components will drastically increase if your chain is skipping between the sprockets and chainrings on your bicycle. Because of this, you need to make sure that everything is organized appropriately.
Shifting problems may be caused by the front derailleurs if any of the following conditions are present:
Option A: Move the Front Derailleur to a Different Position
To ensure that your front derailleur is in the correct position, move it so that the derailleur arm is positioned over the farthest chain from the center. It is recommended that the "cage" of the derailleur, which is the long, curved piece of the derailleur that the chain runs through, be roughly 2 millimeters above the teeth of the chainring (when viewed from the side). When seen from above, the outer plate of the cage needs to be aligned such that it runs parallel with the chainring.
To relocate your front derailleur, unscrew the derailleur mounting bolt holding it onto your frame. This will allow you to move the derailleur. This bolt is usually situated on the side of the seat tube opposite the side on which the derailleur body is positioned. After you have loosened the bolt, you may adjust the derailleur by moving it up and down or twisting it slightly in one direction.
(Note: to move the derailleur body, you may first need to release the cable that connects the derailleur.) To do this, read the part that is located below and is labeled "Setting the inner stop.") Before you start riding, give the mounting bolt a good tightening with the wrench. Bring your derailleur cage into your local REI or another bike shop for servicing if you discover that it has been bent or broken while doing this operation.
Option B: Tweak the Derailleur Limit Screws to Get the Perfect Gear Ratio
Most of the time, sloppy shifting is caused not by a front derailleur that is not positioned correctly but rather by limit screws that are not correctly set. To move your chain from one chainring to the next, the case of the derailleur swings back and forth relative to the body of the derailleur in response to your shift instructions. It must move from side to side within a specific range to function correctly.
Limit screws govern both the inner and outer bounds of the movement that your derailleur arm may make from side to side. On the main body of the front derailleur, these tiny screws usually are arranged close to one another on the main body of the derailleur, either stacked horizontally or positioned side by side. Each screw is responsible for controlling one of the derailleur's movements extremes. The "outside stop" screw regulates the maximum distance the derailleur may move away from the frame before it becomes stuck. The "inner stop" screw controls how near the derailleur may go to the frame as it moves.
By turning the screws in a clockwise direction, the derailleur's outside range of motion (also known as its "throw") may be restricted. You should only adjust the screws in a clockwise direction if your chain is bouncing off either end of your chainrings or outer cassette. In this case, you would spin the screws counterclockwise.
By rotating the screws in the opposite direction from clockwise, the derailleur may be adjusted to have a greater range, also known as a throw, on the outside limits. Your derailleur should operate without incident if the two limit screws are correctly adjusted, a task that REI strongly advises should only be committed to expert bike technicians.
Option 3: Adjusting the Barrel
The derailleur systems of most contemporary bicycles are equipped with equipment for fine-tuning, known as barrel adjusters. You can fine-tune your derailleur adjustments with the help of these clear round adjustment knobs, which are typically located along the derailleur cable path at the base of your shift lever or on the derailleur body itself. This is accomplished by increasing or decreasing the tension of your shift cable very slightly.
Not all derailleur systems feature barrel adjustments. However, this is true for most bikes that use "indexed" derailleur systems. The rear derailleur's position is often adjusted using the barrel adjusters more frequently than the position of the front derailleur.
When utilizing the barrel adjuster to fine-tune your front derailleur, you should begin by having your chain on the biggest chainring possible and the most extensive rear gear. Move your chain to the next smaller chainring, and then check to see how near the inner surface of the chain is to the inner wall of the derailleur cage. You may do this by shifting your chain down to the next smaller chainring. The distance between the two surfaces should not exceed 0.5 millimeters, but they should be as near as possible to one another. Adjust the derailleur cage by moving it inside, away from the chain surface, by turning the barrel adjuster in a clockwise direction a quarter turn at a time. To move the cage outward, turn it in the order opposite clockwise.
TAKE NOTICE: You may have a more significant shifting issue if you have difficulty shifting even after making the modifications outlined above. Only a knowledgeable bicycle technician should attempt to resolve persistent shifting issues.
Solution D: Make Sure Your Front Is Clean Derailleur
Most front derailleur issues are brought on by filth, grit, or an absence of enough lubrication. Even minute levels of grit and dirt may lead to problems, so you must maintain your derailleurs as clean as possible. To ensure that they operate correctly under all circumstances, you should re-lubricate them about once per month.
To remove any grit or dirt from your front derailleur, clean it by giving all exposed sections a good brushing with a stiff brush. Wiping the derailleur with a clean cloth that has been dipped insolvent is an effective method for removing stubborn grit. Be sure to give the derailleur mechanism a thorough cleaning, paying particular attention to the regions of the main derailleur body and the derailleur arm that are difficult to access.
When re-greasing the derailleur system, pay particular attention to the moving pivots. Use drip lubrication that is created exclusively for bikes, and as you are applying it, be sure to move the derailleur back and forth so that you can push the lube into the parts that are difficult to access. When you are finished, remove any extra lubrication by gently wiping it off.
Share:
How to Clean an Ebike: A Step-by-Step Guide for Peak Performance
Does an E-Bike Need Special Bike Racks for Safe Transport?